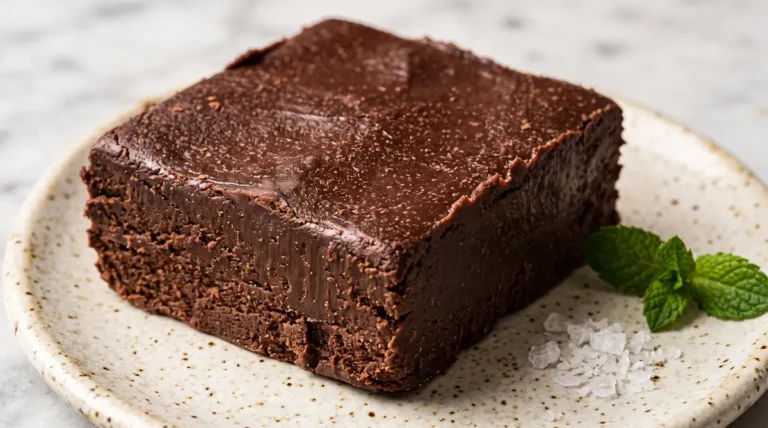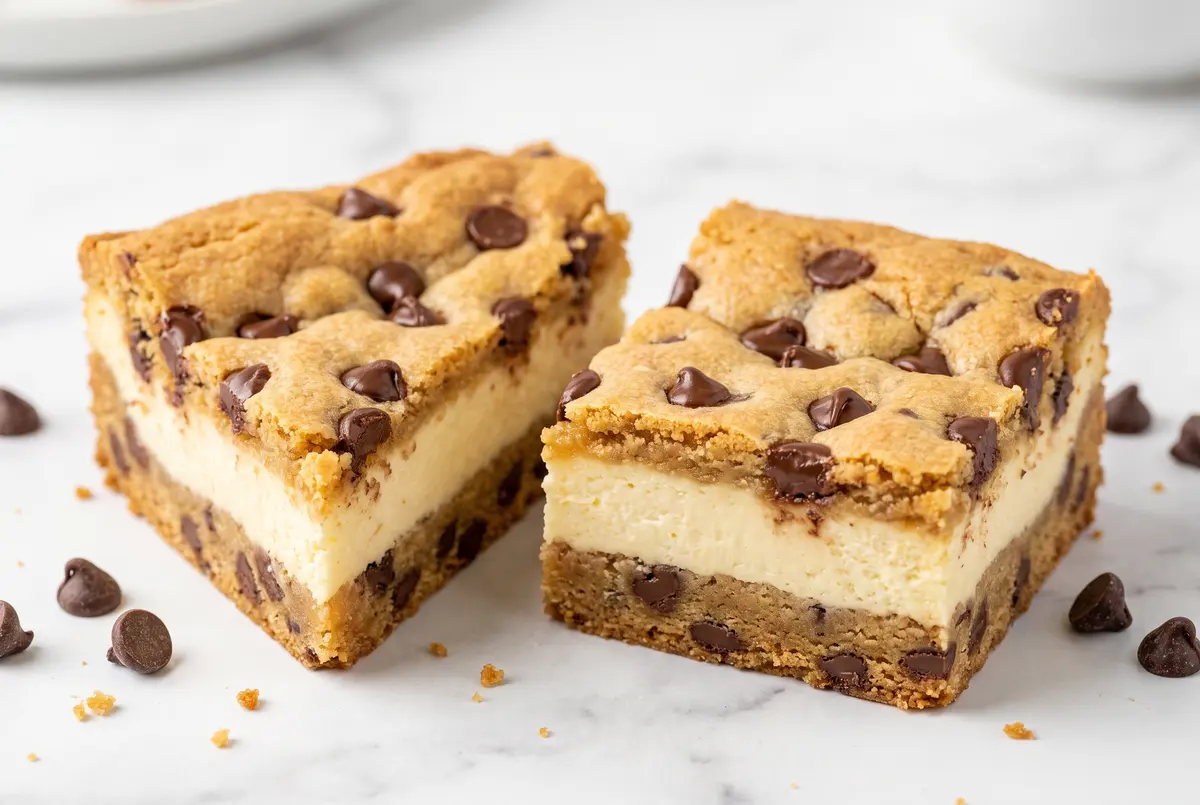
I’ve made a lot of dessert bars in my time. I’ve made lemon bars that weep, brownie-blondie hybrids that refuse to set, and more than a few “five-layer” bars that collapsed dramatically on the first bite. But these chocolate chip cookie cheesecake bars? These I make on repeat, without hesitation, and without ever getting tired of them.
Here’s the premise: golden, chewy chocolate chip cookie crust. Creamy, tangy cheesecake layer on top. A few extra chocolate chips scattered over everything. One pan. One bite that gives you cookie and cheesecake simultaneously. It’s the kind of dessert that makes people ask for the recipe before they’ve finished chewing.
The Layering Strategy That Always Works
The key to a great cookie cheesecake bar is patience between layers. The cookie base needs to be fully baked and fully cooled before you add the cheesecake layer — otherwise the filling will sink into the dough and your layers will blur together. Not a disaster, but not the goal.
Also: line your pan with parchment paper and leave an overhang. I cannot stress this enough. You’ll thank me when it’s time to lift these out. Nothing ruins a beautiful bar faster than scraping the bottom of a metal pan with a spatula while the cheesecake is still slightly warm.
Ingredients
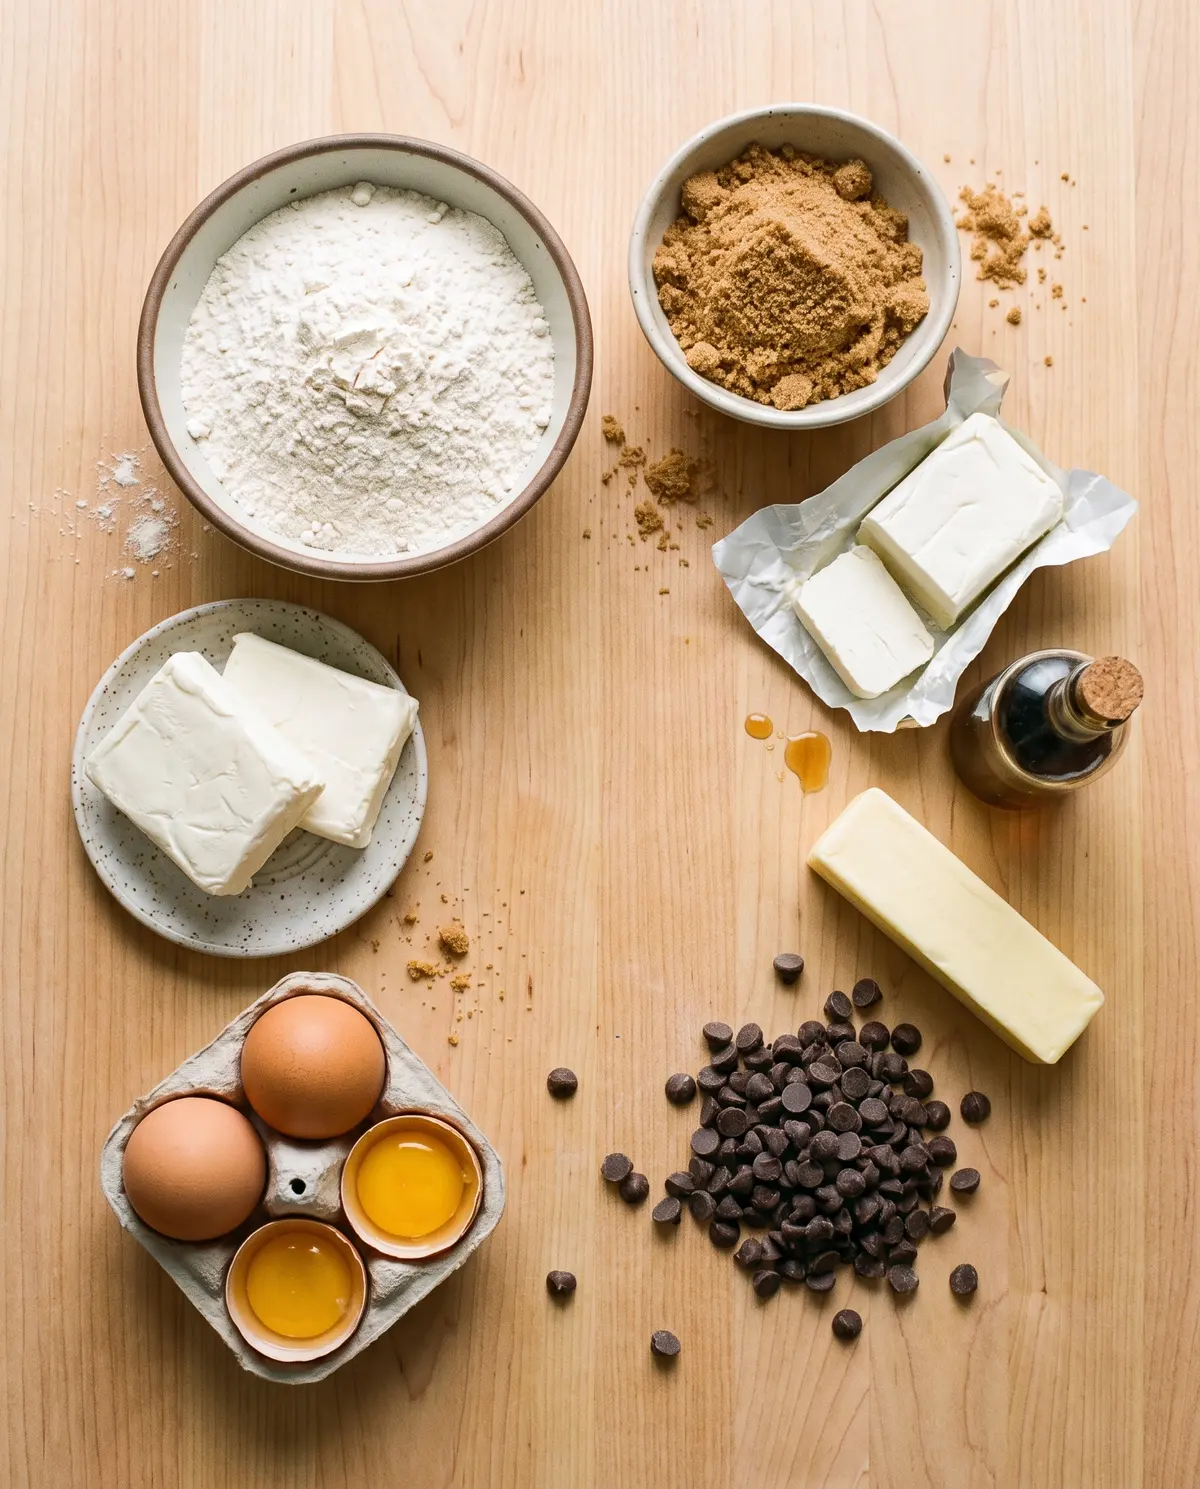
- 3 cups all-purpose flour
- 1 tsp salt
- 1/2 tsp baking soda
- 1/2 tsp baking powder
- 1 cup unsalted butter, room temperature
- 1 1/4 cups brown sugar
- 1/2 cup granulated sugar
- 2 large eggs
- 2 tsp vanilla extract
- 1 1/4 cups semisweet chocolate chips (for dough)
- 16 oz cream cheese, softened
- 1 cup granulated sugar (for filling)
- 2 large eggs (for filling)
- 2 tsp vanilla extract (for filling)
- 1/4 tsp salt (for filling)
- 1/4 cup chocolate chips (for topping)
- Flaky sea salt, optional
Putting It All Together
The beauty of this recipe is that you build it in stages — each step is simple on its own, and together they create something genuinely impressive.
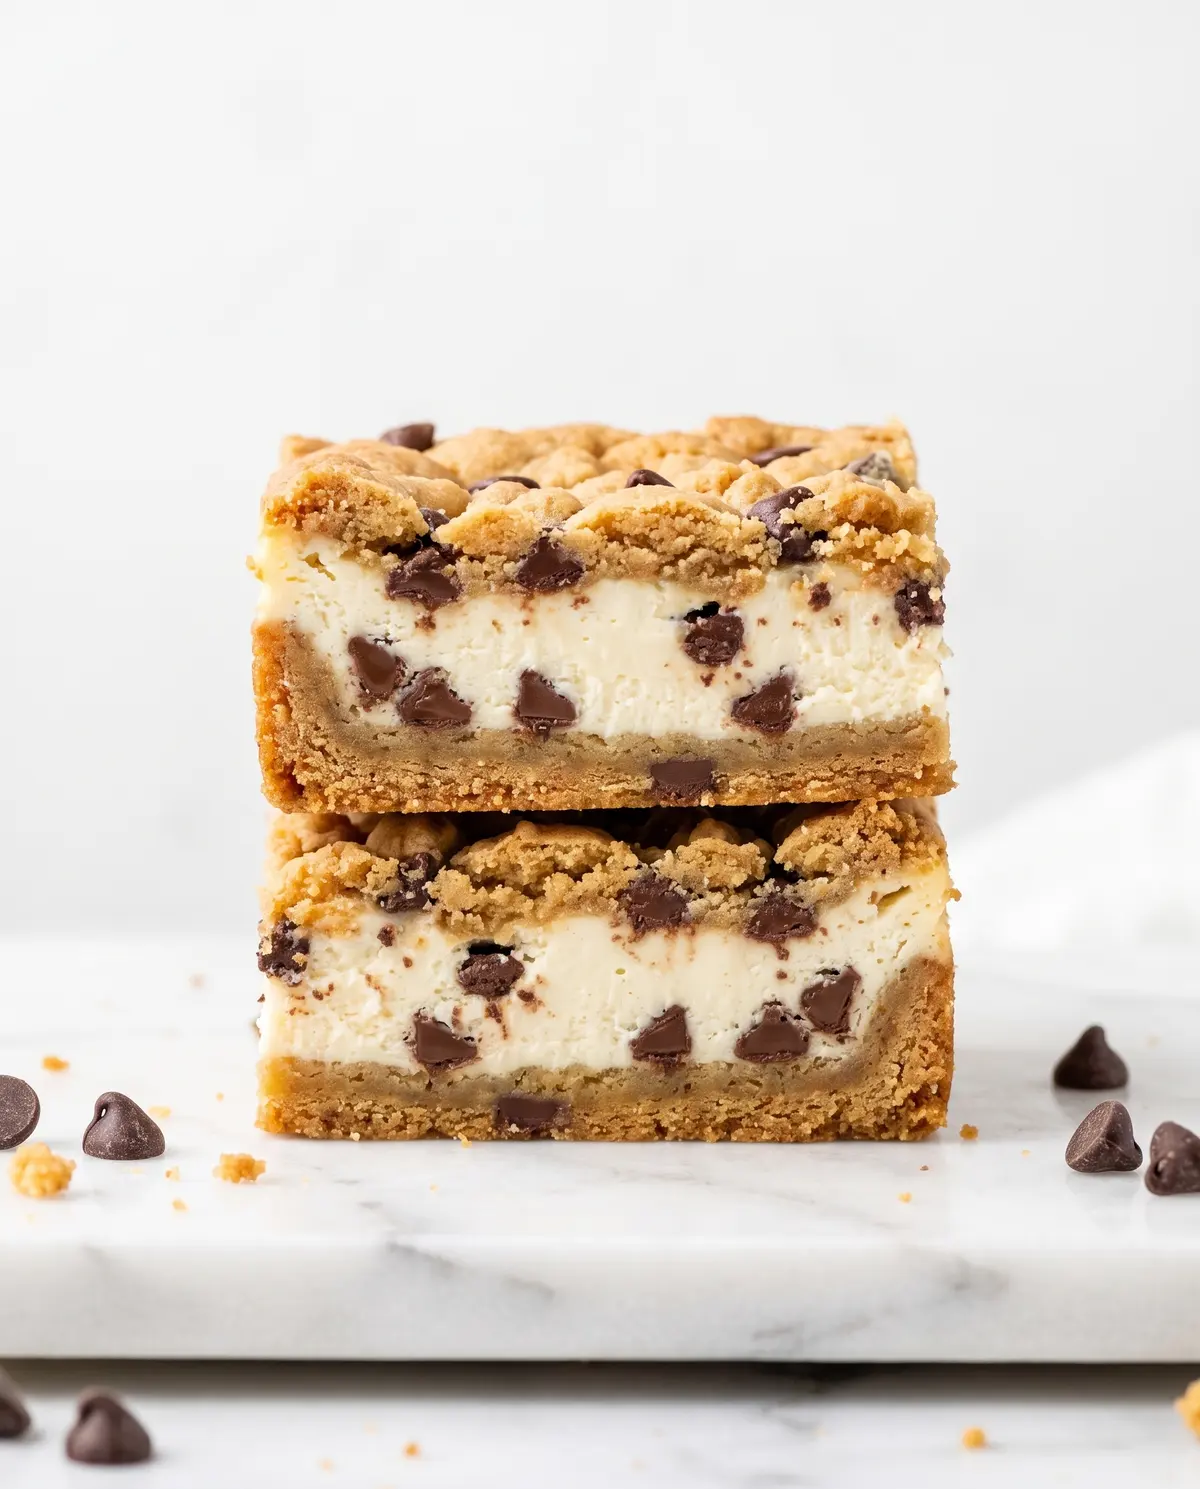
Step 1: Preheat oven to 325°F. Line a 9×13-inch metal pan with parchment paper, leaving a 2-inch overhang on the long sides. This is the most important step — don’t skip it.
Step 2: In a medium bowl, whisk together the flour, salt, baking soda, and baking powder. Set aside. In a large bowl or stand mixer, cream the butter and both sugars together until light and fluffy — about 3 full minutes. Beat in the eggs one at a time, then the vanilla.
Step 3: With the mixer on low, add the flour mixture in two additions, mixing until just combined. Fold in the chocolate chips by hand. The dough will be thick and slightly sticky.
Step 4: Press about two-thirds of the cookie dough evenly into the bottom of the prepared pan. I find this easiest with lightly damp hands. Chill the remaining dough in the fridge.
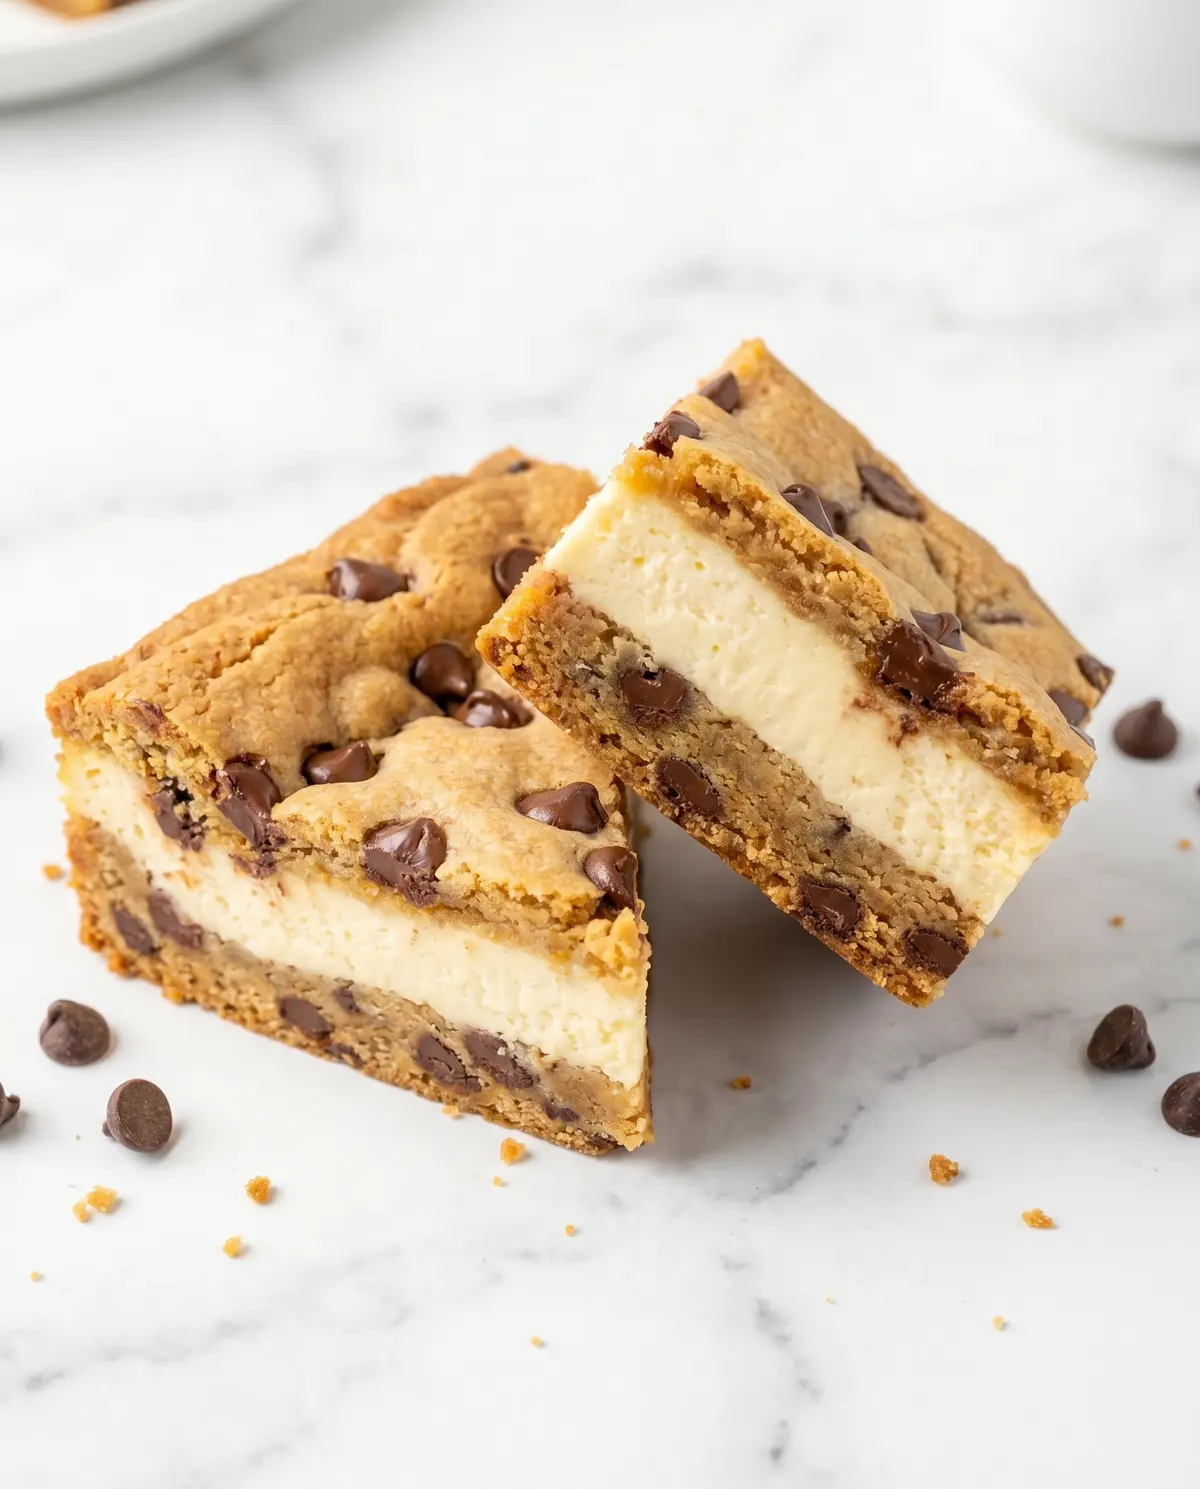
Step 5: Bake the cookie base for 20-22 minutes until it’s lightly golden and set. Let it cool completely in the pan — this is non-negotiable for clean layers. Resist the urge to rush this step.
Step 6: While the base cools, make the cheesecake filling. Beat the softened cream cheese until completely smooth — no lumps. Add the sugar and beat until fluffy. Mix in the eggs one at a time, then the vanilla and salt. Beat on medium speed just until smooth; don’t overmix or the filling can crack.
Step 7: Pour the cheesecake filling over the cooled cookie base. Smooth the top gently. Crumble the remaining cookie dough over the filling in small pieces — this creates a beautiful rustic topping as it bakes.
Step 8: Scatter the remaining 1/4 cup chocolate chips over the top. Bake at 325°F for 35-40 minutes until the edges are set and the center still has a gentle wobble. It will firm up as it cools.
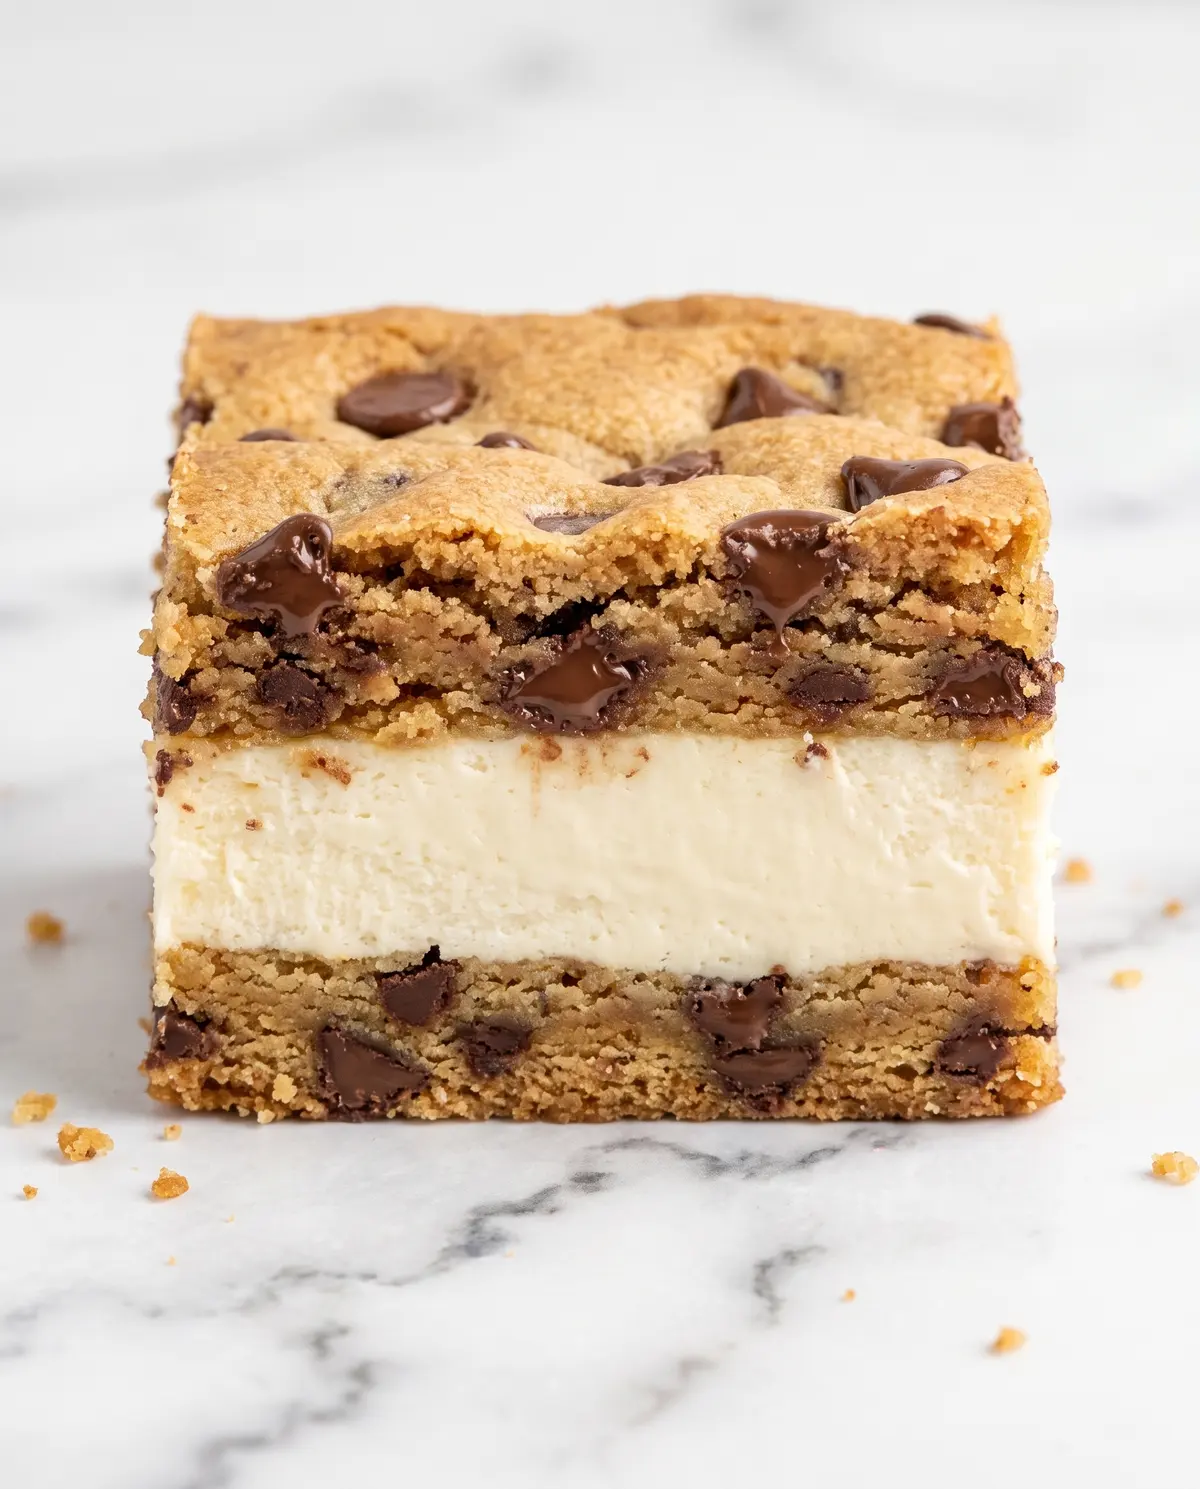
Step 9: Let the bars cool completely in the pan at room temperature, then refrigerate for at least 2 hours before slicing. Use the parchment overhang to lift them out, then cut with a sharp knife — cleaning the knife between cuts for clean slices.
Creative Twists
- Use white chocolate chips in the cookie dough and add lemon zest to the cheesecake for a lemon-white chocolate version
- Swirl 1/4 cup raspberry jam into the cheesecake filling before baking
- Press the cookie dough into the pan and freeze the whole pan (unbaked) for slice-and-bake convenience
- Add 1 tsp espresso powder to the cookie dough for a mocha-inspired version
- Swap semisweet chips for dark chocolate chips (70%+ cacao) for an extra rich bar
- Add 1/2 cup chopped toasted pecans to the cookie dough
Serving & Pairing Ideas
These bars are rich, so a little goes a long way. Cut them smaller than you think — 2-inch squares are perfect. Serve slightly chilled for the cleanest slices and the most satisfying cheesecake texture.
They’d be wonderful with a drizzle of warm salted caramel, a handful of fresh berries, or a small scoop of vanilla ice cream alongside. For a brunch setting, they’re impressive enough to serve on their own.
Storage & Make-Ahead Tips
The bars keep beautifully in the fridge for up to 5 days, stored in an airtight container with parchment between layers. They’re actually even better on day two — the flavors meld together beautifully overnight.
You can also freeze the fully cooled and sliced bars, layered in an airtight container, for up to 2 months. Thaw in the fridge overnight. The cookie crust softens slightly after freezing, but the flavor stays wonderful.
Common Mistakes & Easy Fixes
The cheesecake layer cracked: This usually means the oven was too hot or you overmixed the filling. Next time, bake at 325°F (not higher), and beat the filling just until smooth. A water bath can help too — place the pan in a larger roasting pan with warm water halfway up the sides.
The layers blurred together: The cookie base wasn’t fully cooled before you added the filling. Always cool the crust completely. If it really happened, serve it as a “rustic” style bar and call it a feature, not a bug.
The bars are too sweet: This is a rich dessert — try serving with a pinch of flaky sea salt on top to balance the sweetness, or pair with fresh berries that provide natural acidity.
Sticking to the pan: The parchment paper is your friend. Make sure you have at least 2 inches of overhang on the long sides and lift gently using the paper as handles.
Your Cheesecake Bar Questions, Answered
Can I use a different pan size? This recipe is specifically tested for a 9×13 pan. A 10×15 jelly roll pan would work but the bars will be thinner and the baking time will be shorter. Don’t try an 8×8 pan — the layers won’t fit.
Do I have to use full-fat cream cheese? Full-fat gives the best flavor and texture — the low-fat versions tend to be runnier and less rich. If you’re watching fat content, this recipe isn’t the place to compromise.
Can I make these in mini muffin tins instead? Absolutely — press a small amount of cookie dough into each cup, add a spoonful of cheesecake filling, and bake at 325°F for 15-18 minutes. They bake up into adorable individual servings.
My cheesecake filling is lumpy — what happened? The cream cheese wasn’t fully softened before you started. Always let it sit at room temperature for at least an hour before beating. Lumpy cream cheese won’t smooth out, even with vigorous mixing.
Can I add a second layer of cookie on top instead of crumbling it? Yes — press the remaining dough into a thin layer on a piece of parchment, freeze until firm, then lift the frozen sheet and place it directly on the cheesecake filling before baking. Bake as directed.
A Little Goodbye from My Kitchen
These bars are a testament to the idea that the best desserts don’t have to be complicated — they just have to be made with good ingredients and a little attention. The cookie base, the creamy filling, the chips on top: it’s a combo that never, ever gets old.
If you make these, I want to know. Are you a save-the-whole-pan-for-yourself person, or do they actually make it to a gathering? Let me know in the comments — I’m genuinely curious. And if you try any of the creative twists, come back and tell me how it went.
Chocolate Chip Cookie Cheesecake Bars
- Flour: 3 cups AP
- Baking soda: 1/2 tsp
- Baking powder: 1/2 tsp
- Butter: 1 cup, room temp
- Brown sugar: 1 1/4 cups
- Sugar: 1/2 cup + 1 cup
- Eggs: 2 large (dough) + 2 (filling)
- Vanilla: 2 tsp
- Chocolate chips: 1 1/4 cups + 1/4 cup
- Cream cheese: 16 oz, softened
- Salt: 1 tsp (dough) + 1/4 tsp
Instructions
- Preheat oven to 325°F. Line a 9×13 pan with parchment, overhang on long sides.
- Whisk flour, salt, baking soda, and baking powder. Cream butter and sugars until fluffy. Beat in eggs and vanilla. Mix in flour on low, fold in 1 1/4 cups chocolate chips.
- Press two-thirds of dough into pan bottom. Chill remaining dough. Bake base 20-22 min until set. Cool completely.
- Beat cream cheese smooth. Add 1 cup sugar, beat fluffy. Mix in eggs, vanilla, and salt just until smooth.
- Pour filling over cooled crust. Crumble remaining dough over top. Scatter 1/4 cup chips on top.
- Bake at 325°F for 35-40 min until edges set and center wobbles gently. Cool completely, then refrigerate 2+ hrs before slicing.