The Cookie That Almost Broke Me
I used to think cookie recipes were just a list of rules. Follow them exactly, and you get perfect cookies. Then I made a batch that spread into one giant sad pancake.
I was so mad. I wanted thick, chewy, bakery-style cookies. Not a crispy disc that crumbled in my hands. So I went back to the kitchen and started tweaking.
That First Bite Moment
This recipe is the one I finally landed on. It’s not fancy. It’s just a few small tricks that make everything work.
The cornstarch is the secret weapon here. It keeps the centers soft and tender while the edges turn golden. Have you ever had a cookie that was raw in the middle but burnt on the bottom? That’s the opposite of this.
The Brown Butter Lie (And The Truth)
I know everyone loves brown butter cookies right now. And they’re great. But sometimes you just want a cookie without the extra step.
So this recipe uses melted butter. It’s simpler, and it gives the dough a deep, toffee-like richness anyway. Just let it cool slightly before mixing. You don’t want scrambled eggs in your cookie dough. Trust me on that one.
The Waiting Game
Here is the hard part. The dough needs to sit in the fridge for at least two hours. Overnight is better. I know you want cookies now. I always do too.
But chilling the dough does two things. First, it lets the flavors blend and deepen. Second, it solidifies the butter so the cookies don’t spread into those sad pancakes. Patience is the only ingredient you can’t buy.
The Trick That Changes Everything
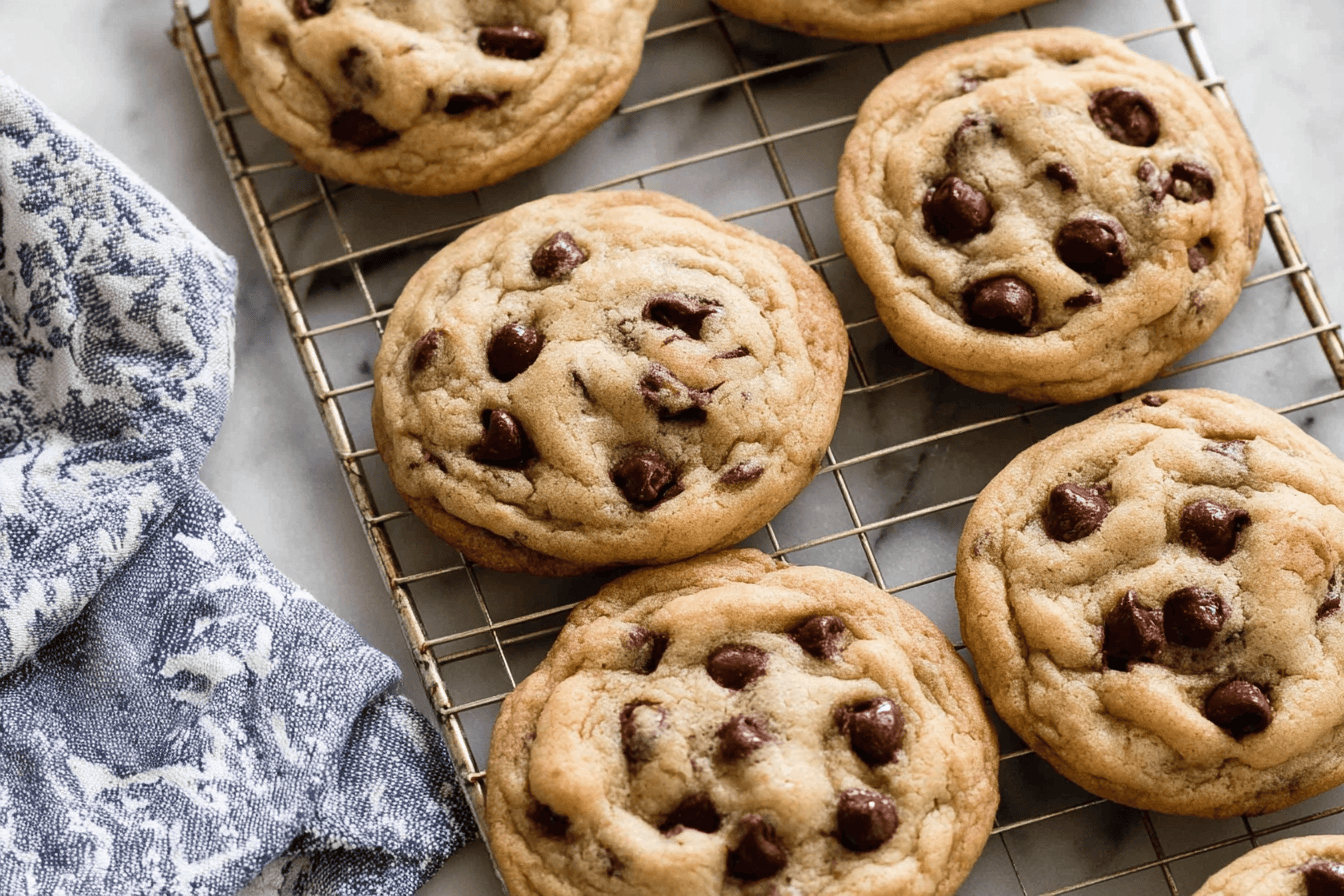
When you scoop the dough, don’t roll it into a smooth ball. Pile it up tall and uneven. Like a tiny mountain. This gives the cookie structure as it bakes.
Bake them at 325 degrees, not 350. Lower heat means more time to set up before they spread. Pull them out when the edges are golden but the center still looks soft. Let them rest on the pan for ten whole minutes.
Quick tip: Use a cookie scoop to get even mounds, then press a few extra chocolate chips on top right after baking. It makes them look like a bakery display.
The hardest part is waiting for that pan to cool. But when you finally bite into one, warm and gooey and perfectly chewy? It’s worth every minute. What’s your favorite cookie memory? I’d love to hear about it.
Instructions
Step 1: Whisk the flour, baking soda, cornstarch, and salt together in a medium bowl. I always do this first so the dry stuff is ready to go. Make sure you spoon the flour in, don’t scoop straight from the bag — you’ll pack it too tight otherwise. (That tip about spooning and leveling saves every cookie.) Do you usually remember to add the cornstarch when you bake? Share below! Step 2: In a second bowl, whisk the melted butter with both sugars until it looks smooth and kind of glossy. The smell hits you right away, and I always think, okay, this is going to be good. Then whisk in the egg, the extra yolk, and the vanilla until it’s all combined and a little thicker. (Make sure the butter isn’t hot, just warm — you don’t want scrambled eggs in your cookie dough.) Which do you think makes a bigger difference here, brown sugar or white? Share below! Step 3: Pour the wet mixture into the dry and stir with a spatula until a soft, shiny dough forms. It’ll look a little dry at first, but keep folding — it comes together. Then fold in the chocolate chips until they’re evenly scattered. (Don’t overmix once the flour’s wet, or the cookies get tough — stop as soon as you can’t see dry streaks.) I always sneak a few extra chips on top after, because why not? Step 4: Cover the bowl with plastic wrap and chill the dough for at least 2 hours. Overnight is honestly better, and you’ll notice the flavor deepens. I didn’t expect how much better they taste after a long rest, but it’s true — the butter soaks into the flour. (If you skip the chill, they’ll spread into thin, sad pancakes.) Do you ever get impatient and bake right away anyway? Share below! Step 5: When you’re ready, preheat the oven to 325°F and line your baking sheets with parchment paper. I use parchment every time — no greasing, no sticking, easy cleanup. Scoop the dough into tall, rounded mounds instead of flat balls. (This shape gives you thick, chewy centers instead of flat disks.) That always works for me, even after years of making these. Step 6: Space the mounds about 3 inches apart on the sheets, so they have room to spread. Bake for 13-14 minutes, until the edges are just barely golden but the centers still look soft and a little underdone. I pull them out even when I’m nervous they look too pale — trust that carry-over heat. (If you wait until the centers look fully set, they’ll be overbaked and crunchy.) What’s your favorite texture, soft and gooey or crisp all through? Share below! Step 7: Let the cookies cool on the pan for exactly 10 minutes before you move them to a wire rack. This step is non-negotiable — they need that time to set up or they’ll fall apart. I usually stare at them the whole time, honestly. (Use a thin spatula to transfer them, not your fingers — you’ll burn yourself otherwise.) That minute of patience is always worth it.Creative Twists
… Brown the butter before cooling it slightly — it adds a nutty, almost toffee flavor that makes the cookies taste fancy without any extra work. … Sprinkle a little flaky sea salt on top right when they come out of the oven. The salty crunch against the sweet chocolate? That’s my favorite surprise. … Swap half the chocolate chips for chopped dark chocolate bar pieces. You’ll get those melty pools of chocolate instead of uniform chips, which feels way more special. Which one would you try first? Comment below!Serving & Pairing Ideas
Serve these warm with a tall glass of cold milk — it’s classic for a reason, and the dunking factor is unbeatable. Or crumble a couple over a bowl of vanilla ice cream for a quick, messy sundae that feels like a real treat. I also love them with a strong cup of black coffee in the afternoon, no sugar needed, just the cookies doing their thing. Which would you choose tonight?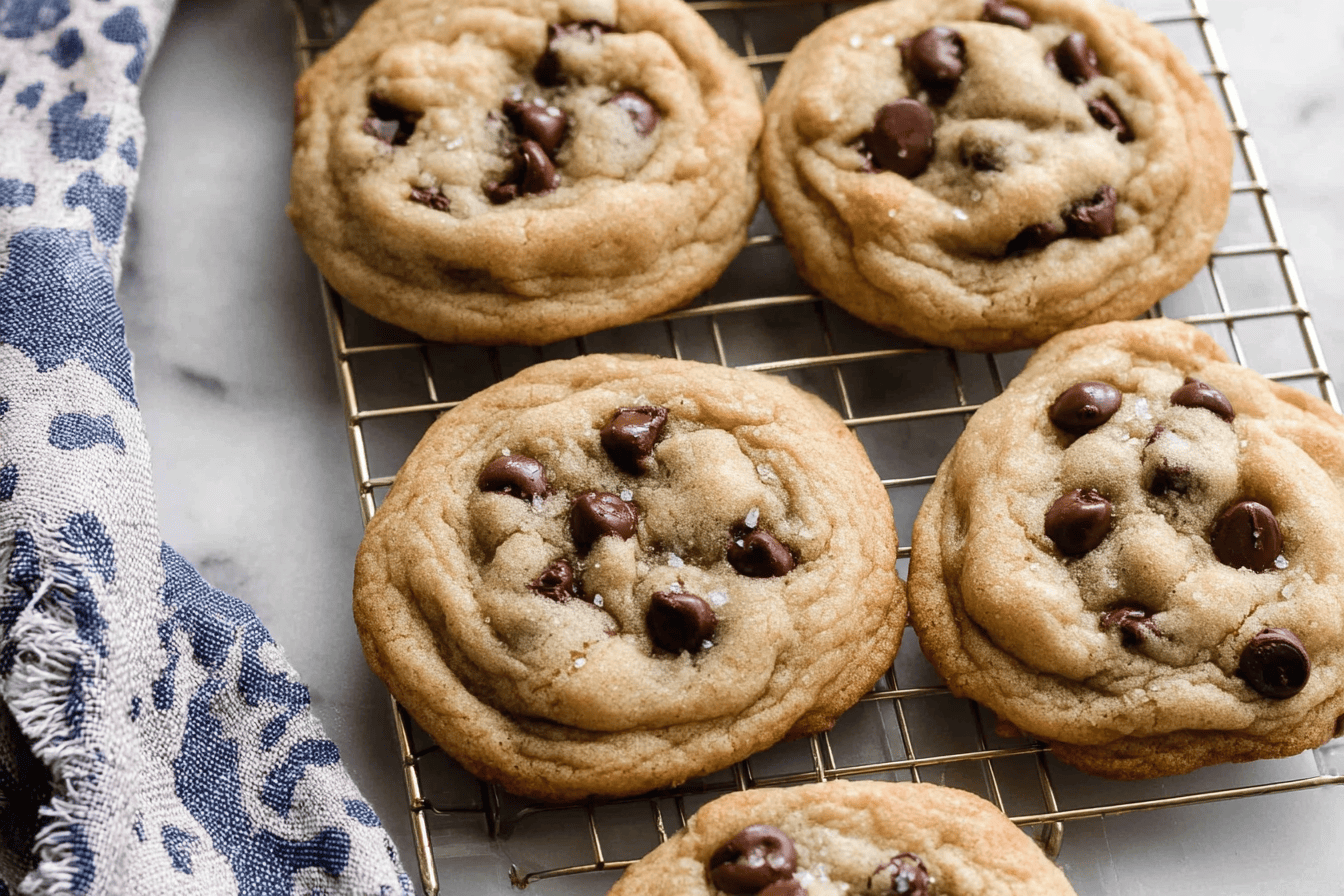
Storage & Make-Ahead Tips
These cookies keep really well. After they’re completely cool, store them in an airtight container at room temperature for up to three days. They stay soft and chewy. I’ve also popped them in the freezer. Just lay the baked cookies flat in a freezer bag, and they’ll last about three months.
When I want one, I let it sit on the counter for ten minutes. That’s all it takes. Fun fact: chilling dough for at least two hours lets the flour soak up the butter, which makes the cookies extra chewy. That’s why I always plan ahead.
For reheating, a quick ten seconds in the microwave brings back that just-baked warmth. Or pop it in a 300°F oven for five minutes if you want the edges crisp again. I once forgot to take the dough out of the fridge before baking. Surprise – it baked fine, just took an extra minute.
Batch cooking is a lifesaver here. Make a double batch of dough, scoop it into balls, and freeze them raw on a tray. Once solid, toss the balls in a bag. Then you can bake a few fresh cookies whenever the craving hits. No need to thaw – just add a minute or two to the bake time. This saves me from eating a whole batch myself. And honestly, it reduces waste too, because you’re not making more than you’ll eat. Have you ever saved leftovers like this? Tell me below!
Common Mistakes & Easy Fixes
First mistake: skipping the chill time. I know, it’s tempting to bake right away. But warm dough spreads into thin, greasy pancakes. I once forgot to chill and ended up with cookies that looked like frisbees. The fix is simple – just be patient. Pop the dough in the fridge for at least two hours, or overnight if you can. Why this matters: chilled dough holds its shape, giving you thick, chewy cookies instead of flat discs.
Second mistake: using hot melted butter. The recipe says melted and slightly cooled. If the butter is too hot, it’ll scramble the egg when you mix. That makes the dough oily and the cookies greasy. I’ve done that more than once. Let your melted butter sit for five minutes. Why this matters: the right butter temp gives you a smooth, tender dough that bakes up evenly. You’ll taste the difference.
Third mistake: overbaking. The centers should look soft when you pull the pan out. Don’t wait until they’re golden all over. They finish baking on the hot pan. If you bake too long, the cookies turn dry and hard. Trust the timer and your eyes. Why this matters: pulling them at the right moment gives you that perfect soft center with a slightly crisp edge. That’s the cookie confidence you’re after. Did this ever happen to you?
Your Cookie Questions Answered
Can I use salted butter instead of unsalted? Yes, you can. Just cut the added salt in the recipe to about 1/4 teaspoon instead of 1/2. Salted butter already has salt in it, so if you follow the full amount your cookies might end up too salty. I’ve done that once. They were edible, but the salt was noticeable. If you only have salted butter on hand, it’s an easy swap. Just remember to reduce the salt. Also, different brands have different salt levels, so taste the dough if you’re unsure. But honestly, using unsalted gives you more control. It’s what I recommend.
Do I really have to chill the dough? I get it – waiting is hard. But yes, chilling is a must for this recipe. The dough is soft because of the melted butter. When it’s cold, the fat firms up, and the flour absorbs more moisture. That means the cookies hold their shape better and don’t turn into flat puddles. The longer you chill, the more flavor develops too. I’ve baked right after mixing and ended up with sad, thin cookies. Chilled dough gives you thick, chewy cookies with a caramel-like taste. Even two hours helps. Overnight is even better. So please don’t skip it.
What does cornstarch do in the recipe? Cornstarch is the secret to a tender cookie. It’s a soft flour that doesn’t form much gluten. Gluten makes bread chewy, but we want cookies that are tender, not tough. Cornstarch also helps the cookies stay soft in the middle after baking. Without it, the texture would be more like a crisp cookie. I’ve tried this recipe without cornstarch, and they were okay, but the add-in version is way better. It’s a simple ingredient that makes a big difference. Don’t leave it out.
Can I swap the chocolate chips for something else? Absolutely. You can use dark chocolate chunks, milk chocolate, white chocolate, or even butterscotch chips. I’ve also tossed in chopped nuts or dried cherries. Just keep the total amount around 1 and 1/4 cups. The recipe is forgiving. If you use chunks instead of chips, they’ll melt into puddles here and there, which is lovely. For a fancier twist, try adding flaky sea salt on top right after baking. That’s my favorite upgrade.
Why an extra egg yolk? The extra yolk adds richness and moisture. Egg whites help with structure and spread, but yolks are mostly fat and lecithin. So by using one whole egg plus one yolk, you get a tender, chewy cookie without it being too cakey or too flat. I’ve tried using two whole eggs before, and the cookies puffed up more like muffins. The one-egg-plus-yolk combo gives that perfect dense, soft texture. It’s a classic bakery trick.
My cookies always spread too much – what went wrong? Several things can cause excess spread. First, the dough might not have been chilled long enough. Second, your butter might have been too hot when you mixed it. Third, your baking soda could be old or expired. Check the date. Also, make sure you measured the flour correctly. Too little flour leads to spreading. Use the spoon-and-level method: spoon flour into the cup, then level it with a knife. And lastly, make sure your baking sheets are not too greasy. Parchment paper is best. Fix those, and your cookies will hold their shape.
A Little Goodbye
I hope this recipe finds its way into your kitchen soon. These cookies have gotten me through late-night cravings, unexpected guests, and even some sad days. There’s something about the smell of butter and sugar mixing together that feels like a warm hug. I really mean that.
Don’t worry if your first batch isn’t perfect. Mine wasn’t either. I overbaked them and they were a bit crunchy. But I tried again, and that second batch? Just right. That’s what I love about baking – you can always try again. And the dough is forgiving.
So go ahead. Make a batch. Share some with a neighbor, or hide them for yourself. I won’t tell. And when you do, come back and let me know how they turned out. I’d love to hear your story. Will you make this soon?
Happy cooking!
–Marina Caldwell
Best Chocolate Chip Cookies Recipe for Baking
Ingredients
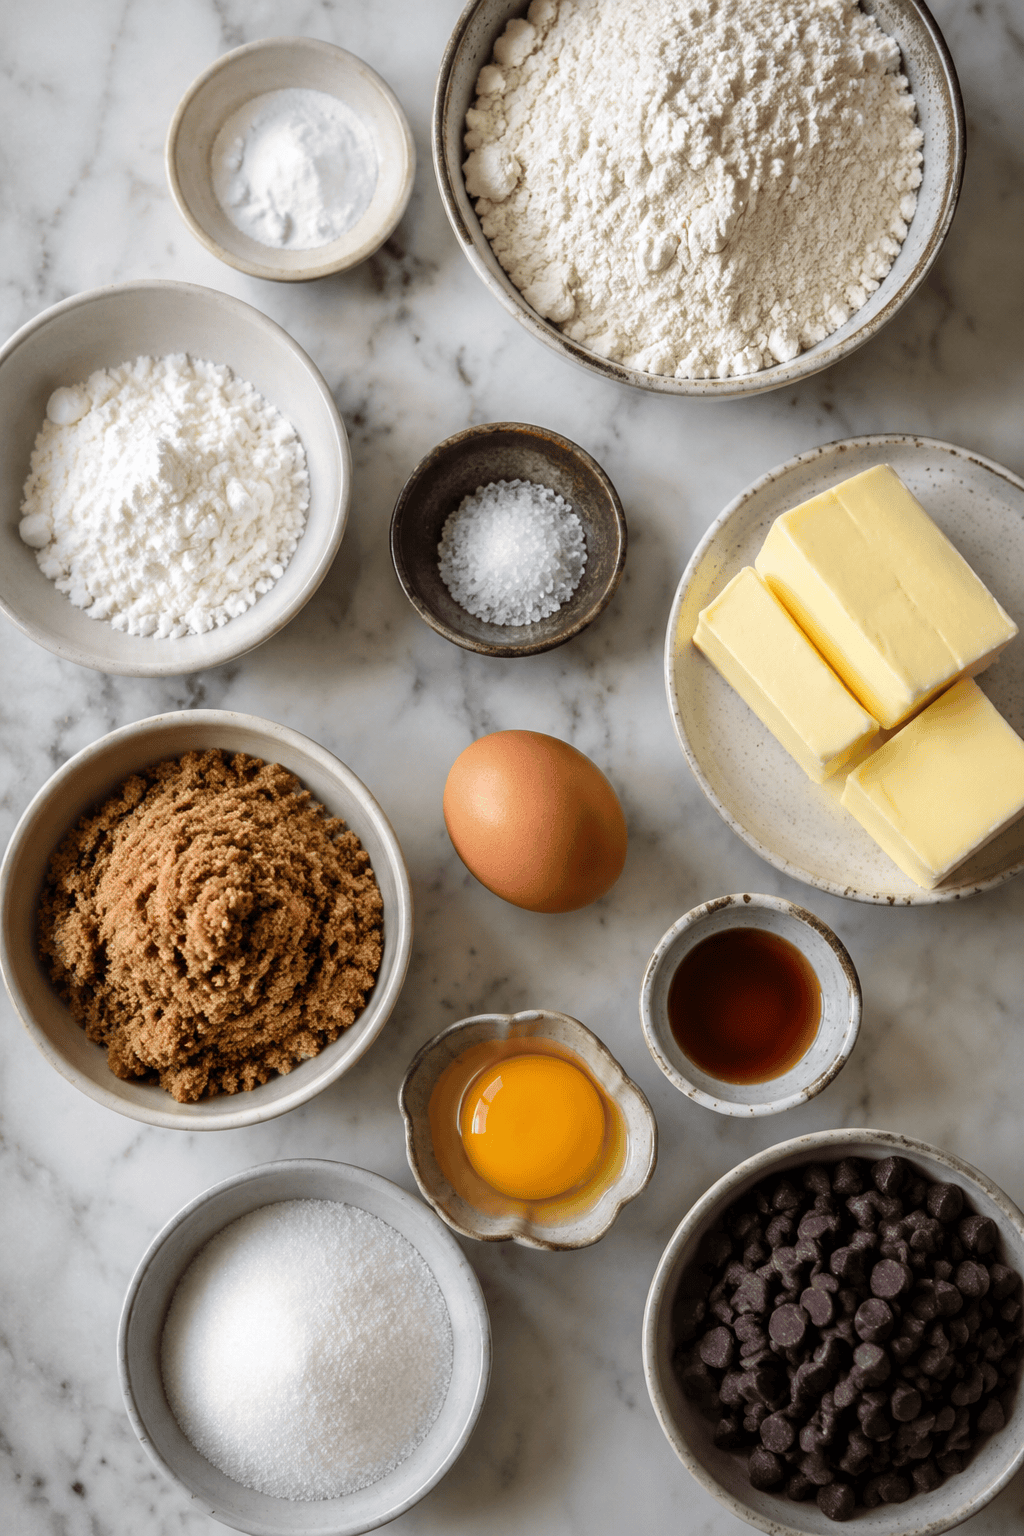
- 2 1/4 cups all-purpose flour
- 1 tsp baking soda
- 1 1/2 tsp cornstarch
- 1/2 tsp salt
- 3/4 cup unsalted butter, melted and cooled slightly
- 3/4 cup packed brown sugar
- 1/2 cup granulated sugar
- 1 large egg + 1 egg yolk, room temperature
- 2 tsp vanilla extract
- 1 1/4 cups semi-sweet chocolate chips or chunks
Instructions
- 1Whisk flour, baking soda, cornstarch, and salt together in a bowl.
- 2In a separate bowl, whisk melted butter with both sugars until smooth, then whisk in the egg, egg yolk, and vanilla.
- 3Pour wet ingredients into dry and stir with a spatula until a soft, shiny dough forms. Fold in the chocolate chips.
- 4Cover and chill the dough at least 2 hours, ideally overnight.
- 5Preheat oven to 325°F and line baking sheets with parchment.
- 6Scoop dough into tall, rounded mounds rather than flat balls (this helps them bake up thick) and space 3 inches apart.
- 7Bake 13-14 minutes, until the edges are just lightly golden — the centers will still look soft.
- 8Cool on the pan 10 minutes before transferring to a rack.
Notes
Chilling the dough is essential for best texture and flavor. For extra thick cookies, chill overnight.