Homemade Chocolate Hazelnut Spread (Better Than Nutella)
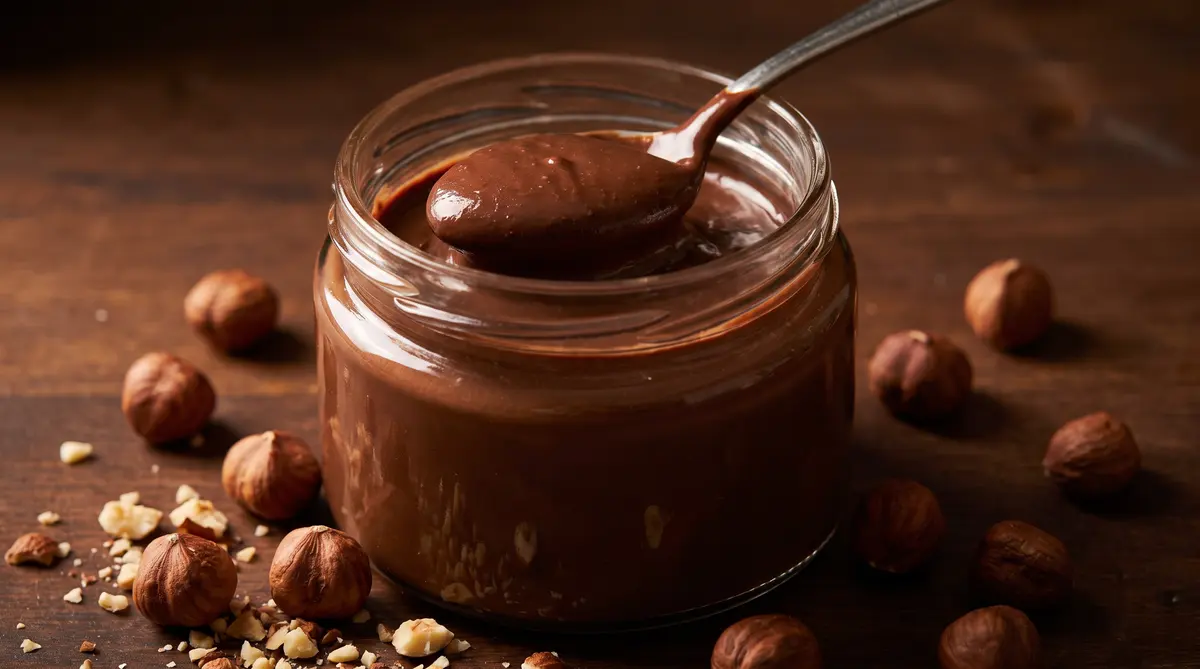
Why I Stopped Buying the Jar
Have you ever read the back of a Nutella jar? Sugar is the first ingredient. Not hazelnuts. SUGAR.
That’s the day I started making my own. The first batch I made, I spread it on toast and just sat there, a little stunned. It tasted like actual chocolate. Like hazelnuts. Like something real.
It’s become a Sunday ritual in my kitchen now. Toast the nuts, melt the chocolate, blend it all up. My house smells like a chocolate shop and I get to feel smug about reading the back of jars.
The Toasting Trick
Here’s the step most people skip — toasting the hazelnuts. It takes 10 minutes but transforms the entire spread.
Raw hazelnuts taste grassy and a little flat. Toasted hazelnuts taste like Nutella should. The heat brings out their natural oils and gives that deep, almost caramelized note that defines the spread.
You’ll know they’re ready when they smell nutty and the skins start to crack. Rub them in a clean kitchen towel afterward to remove the papery skins. You don’t have to get every last bit off, but the skins can make the spread bitter if you leave them on. Honestly, have you ever tried homemade hazelnut spread with skins? It’s a different thing entirely.
Homemade Chocolate Hazelnut Spread
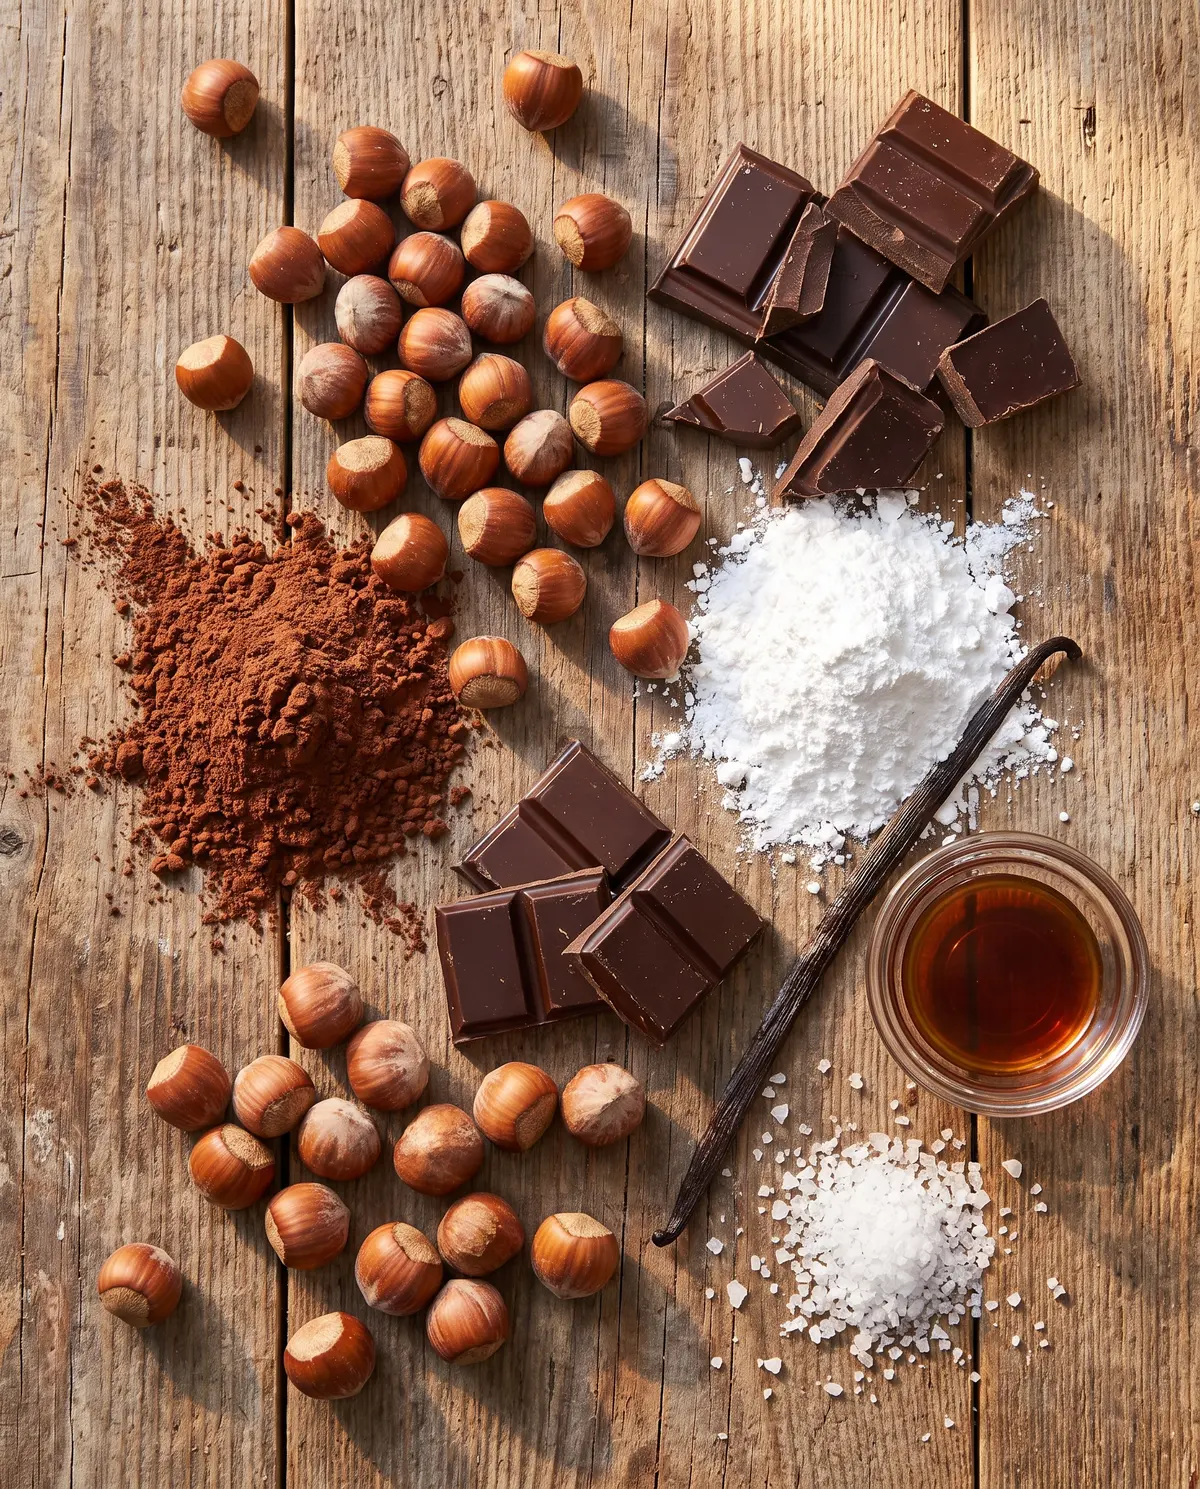
Ingredients
- 2 cups (about 8 oz) raw hazelnuts
- 1 cup (6 oz) high-quality dark chocolate, chopped
- 1/2 cup powdered sugar
- 3 Tbsp unsweetened cocoa powder
- 1 tsp vanilla extract
- 1/2 tsp salt
- 3-4 Tbsp hazelnut oil or vegetable oil
Instructions
Step 1: Preheat the oven to 350°F. Spread the hazelnuts on a baking sheet in a single layer and toast for 10 to 12 minutes, until fragrant and the skins are crackling.
Step 2: Place the warm hazelnuts in a clean kitchen towel and rub them together to remove most of the skins. Let them cool for 5 minutes.
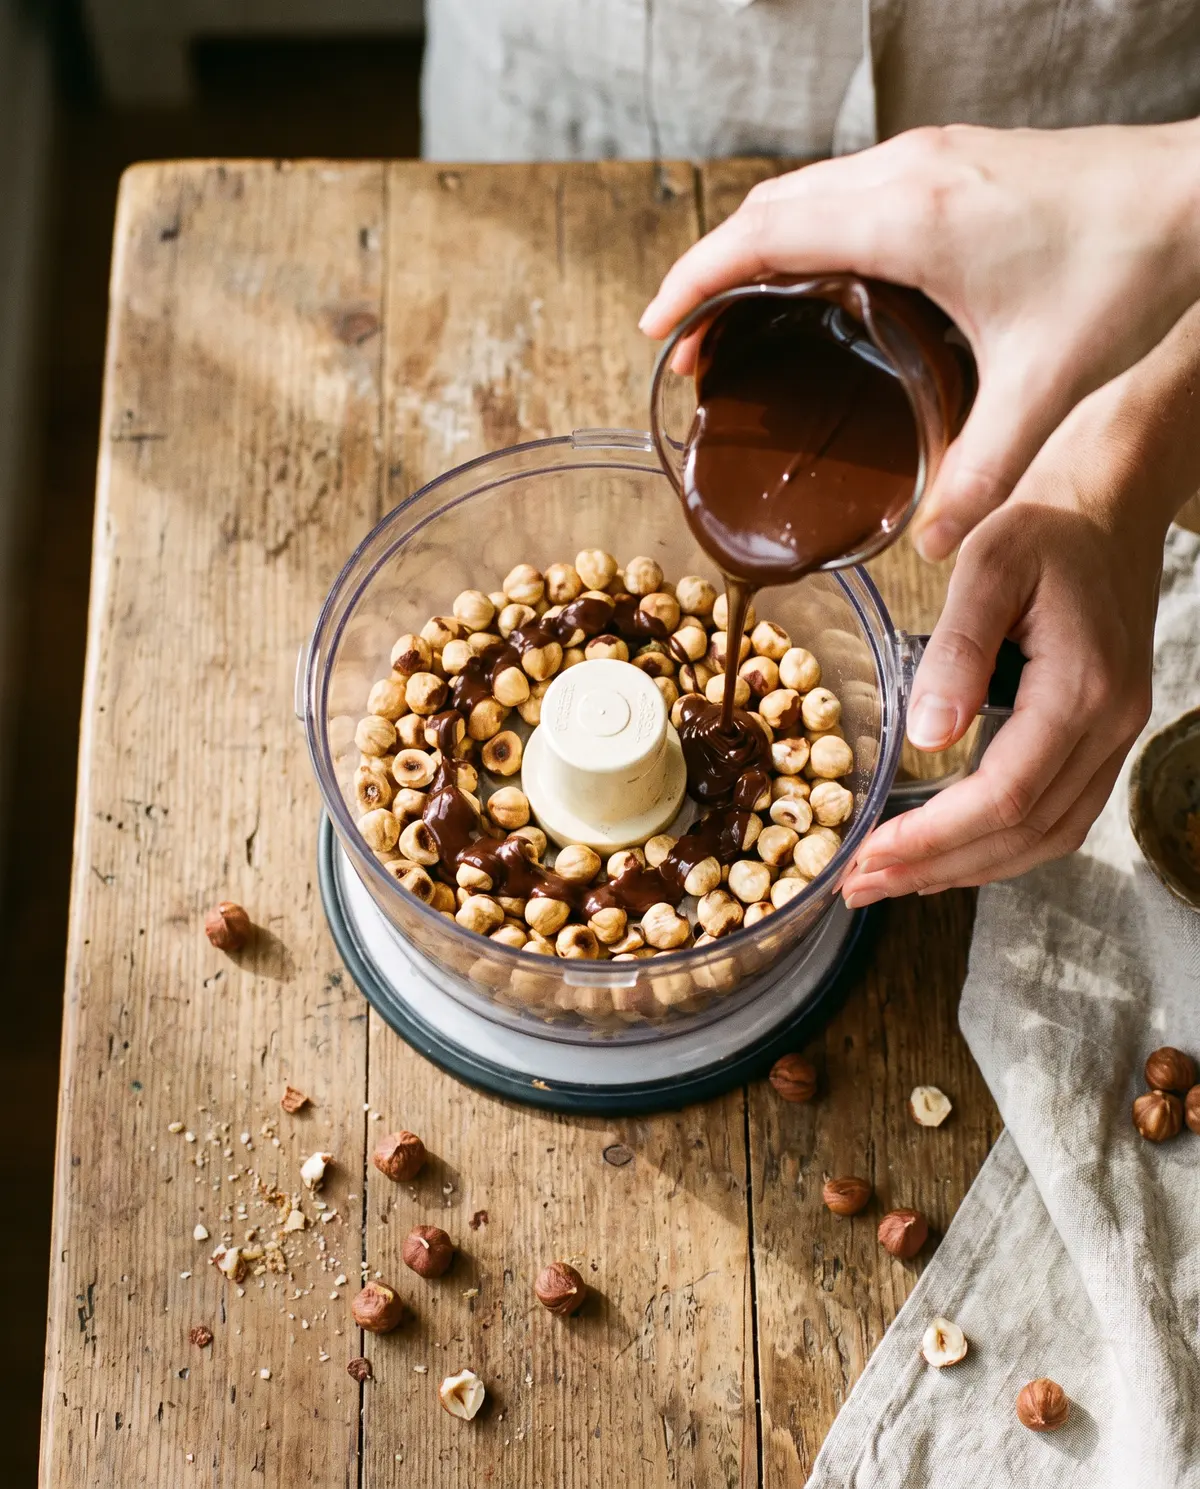
Step 3: Melt the chocolate in a double boiler or in the microwave in 20-second bursts. Set aside to cool slightly.
Step 4: Add the toasted hazelnuts to a food processor and pulse until finely ground. Then process continuously for 4 to 5 minutes — they’ll go from powdery to pasty to smooth and glossy. Don’t give up early; this is where the magic happens.
Step 5: Add the melted chocolate, powdered sugar, cocoa powder, vanilla, salt, and 3 tablespoons of oil. Process for another 1 to 2 minutes until completely smooth. If it’s too thick, add another tablespoon of oil.
Step 6: Taste and adjust — more salt if it needs depth, more sugar if you want it sweeter, more oil for a thinner consistency.
Step 7: Transfer to clean jars and let cool to room temperature before sealing. Keeps in the fridge for up to 3 weeks.
Creative Twists
- Swap hazelnuts for almonds, cashews, or peanuts for a totally different spread.
- Add a tablespoon of espresso powder for a mocha vibe.
- Stir in a pinch of cinnamon or cardamom for a warm spice version.
- Use milk chocolate instead of dark for a sweeter, kid-friendly version.
- Add a splash of bourbon or rum for an adults-only treat.
Serving & Pairing Ideas
Honestly, a spoon straight from the jar is the move. But warm bread, fresh strawberries, or a banana sliced lengthwise all make excellent vehicles.
Drizzle over ice cream, swirl into brownie batter, or use it as a filling for crepes. My kids love it on pancakes in the morning. My husband is partial to it with sharp cheddar on apple slices — don’t knock it till you try.
Homemade Chocolate Hazelnut Spread
Storage & Make-Ahead Tips
Store the spread in clean jars in the fridge for up to 3 weeks. It will firm up when cold — just let it sit at room temperature for 15 minutes before spreading, or microwave a jar for 10 seconds.
For longer storage, freeze in small jars for up to 3 months. Thaw overnight in the fridge. The texture stays beautifully smooth.
I always keep a few small jars in the freezer as emergency gifts. Tie one with a ribbon and you’ve got the most thoughtful present for under $5.
Common Mistakes & Easy Fixes
The biggest mistake? Not processing the hazelnuts long enough. They’ll go through a powdery stage that makes you think something’s wrong. Keep going — it WILL turn into a paste. Stop too early and your spread will be grainy.
Second, skip the toasting step. The spread will taste flat and slightly green. Toasting brings out the deep, rich flavor that makes it taste like the real thing.
Third, don’t add all the oil at once. Start with 3 tablespoons and only add more if absolutely needed. Too much oil makes the spread greasy rather than smooth.
Your Homemade Nutella Questions, Answered
Can I make this without a food processor?
Honestly, no. The 4-to-5-minute processing time is essential for the smooth texture. A blender won’t cut it — it won’t process the nuts long enough or uniformly.
Can I use pre-toasted hazelnuts?
Yes — just skip the oven step. Make sure they’re plain roasted hazelnuts, not honey-roasted or salted.
Can I reduce the sugar?
You can cut the powdered sugar to 1/3 cup for a less sweet, more intense chocolate-hazelnut flavor. I actually prefer it that way.
Why is my spread grainy?
Either you didn’t process the nuts long enough, or the skins were left on. Both contribute to a grainy texture.
How long does it keep?
Up to 3 weeks in the fridge in a sealed jar, or 3 months in the freezer.
Can I make it without oil?
You can — it just won’t be quite as silky. The hazelnut oil helps emulsify everything. You can skip it for a thicker, more spoonable spread.
A Little Goodbye from My Kitchen
This recipe changed how I think about store-bought spreads entirely. Once you’ve tasted homemade, the jar just can’t compete.
It’s also a surprisingly thoughtful homemade gift. I bring a small jar when staying with friends, and it’s always the most opened item in the fridge.
Give it a try. I’m curious — will you go with classic hazelnut or try one of the swaps?
Happy cooking!
—Marina Caldwell
Homemade Chocolate Hazelnut Spread
Ingredients
- 2 cups (about 8 oz) raw hazelnuts
- 1 cup (6 oz) high-quality dark chocolate, chopped
- 1/2 cup powdered sugar
- 3 Tbsp unsweetened cocoa powder
- 1 tsp vanilla extract
- 1/2 tsp salt
- 3-4 Tbsp hazelnut oil or vegetable oil
Instructions
- 1Preheat oven to 350°F. Spread hazelnuts on a baking sheet and toast 10-12 minutes until fragrant.
- 2Rub warm hazelnuts in a clean towel to remove skins. Let cool 5 minutes.
- 3Melt chocolate in a double boiler or microwave; set aside to cool slightly.
- 4Process hazelnuts in a food processor 4-5 minutes until they form a smooth paste.
- 5Add melted chocolate, powdered sugar, cocoa, vanilla, salt, and 3 Tbsp oil. Process until smooth.
- 6Taste and adjust seasoning.
- 7Transfer to jars and store in the fridge up to 3 weeks.