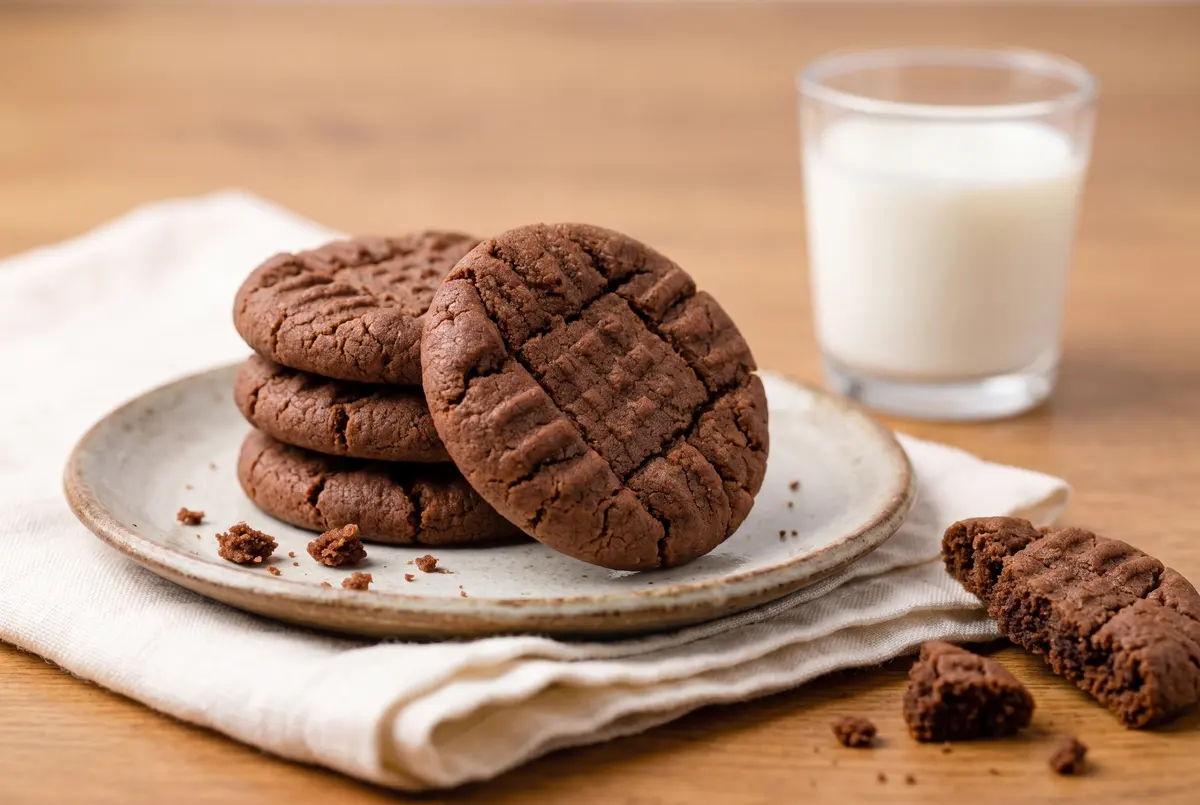
The Little Brown Bites I Cannot Stop Snacking On
Have you ever opened the fridge at 3 p.m. and just stared, hoping something chocolate would magically appear? That is exactly why I started making these chocolate energy bites in the first place. They are chewy, a little fudgy, full of cocoa, and they sit in a little glass jar on my counter like the kind of treat that knows it is loved.
The first time I made them was on a Sunday with my friend Gina, back when my kids were little and we were both trying to pretend we were being “so healthy” while still eating chocolate every single day. We threw dates, oats, and cocoa into the food processor and made a sticky chocolate dough, rolled it into little balls, and ate three each before they had even chilled. My dad, who is a chocolate man of the highest order, tried one and said, “Finally, a chocolate thing that does not pretend to be a brownie.” I have been making them ever since.
Why No-Bake Energy Bites Work So Well
The trick with these little bites is dates. Pitted dried dates are the secret to chewy, naturally sweet, sticky-together energy bites without a single egg, without a single bit of refined sugar, and without ever turning on the oven. They bind everything the way a streusel topping binds butter and flour, only sweeter and a little more caramelly.
Then there is cocoa powder, which gives you that deep chocolate flavor without the heaviness of melted chocolate. Almond flour adds a soft nutty body, cashews add buttery richness, and a tiny pour of maple syrup pulls everything together at the end. Oats give you chew. A pinch of salt wakes the whole thing up. It is one of those recipes where every single ingredient has a job, and once you make it once, you will not need to look at the recipe again.
Which is exactly the kind of recipe I want in my back pocket on a Wednesday afternoon, you know?
Chocolate Energy Bites
Soft, fudgy, no-bake chocolate bites with a chewy oat-and-date heart. Eight ingredients, ten minutes, zero oven. They are the snack I keep in the fridge all week and the lunchbox treat my kids have started requesting by name.
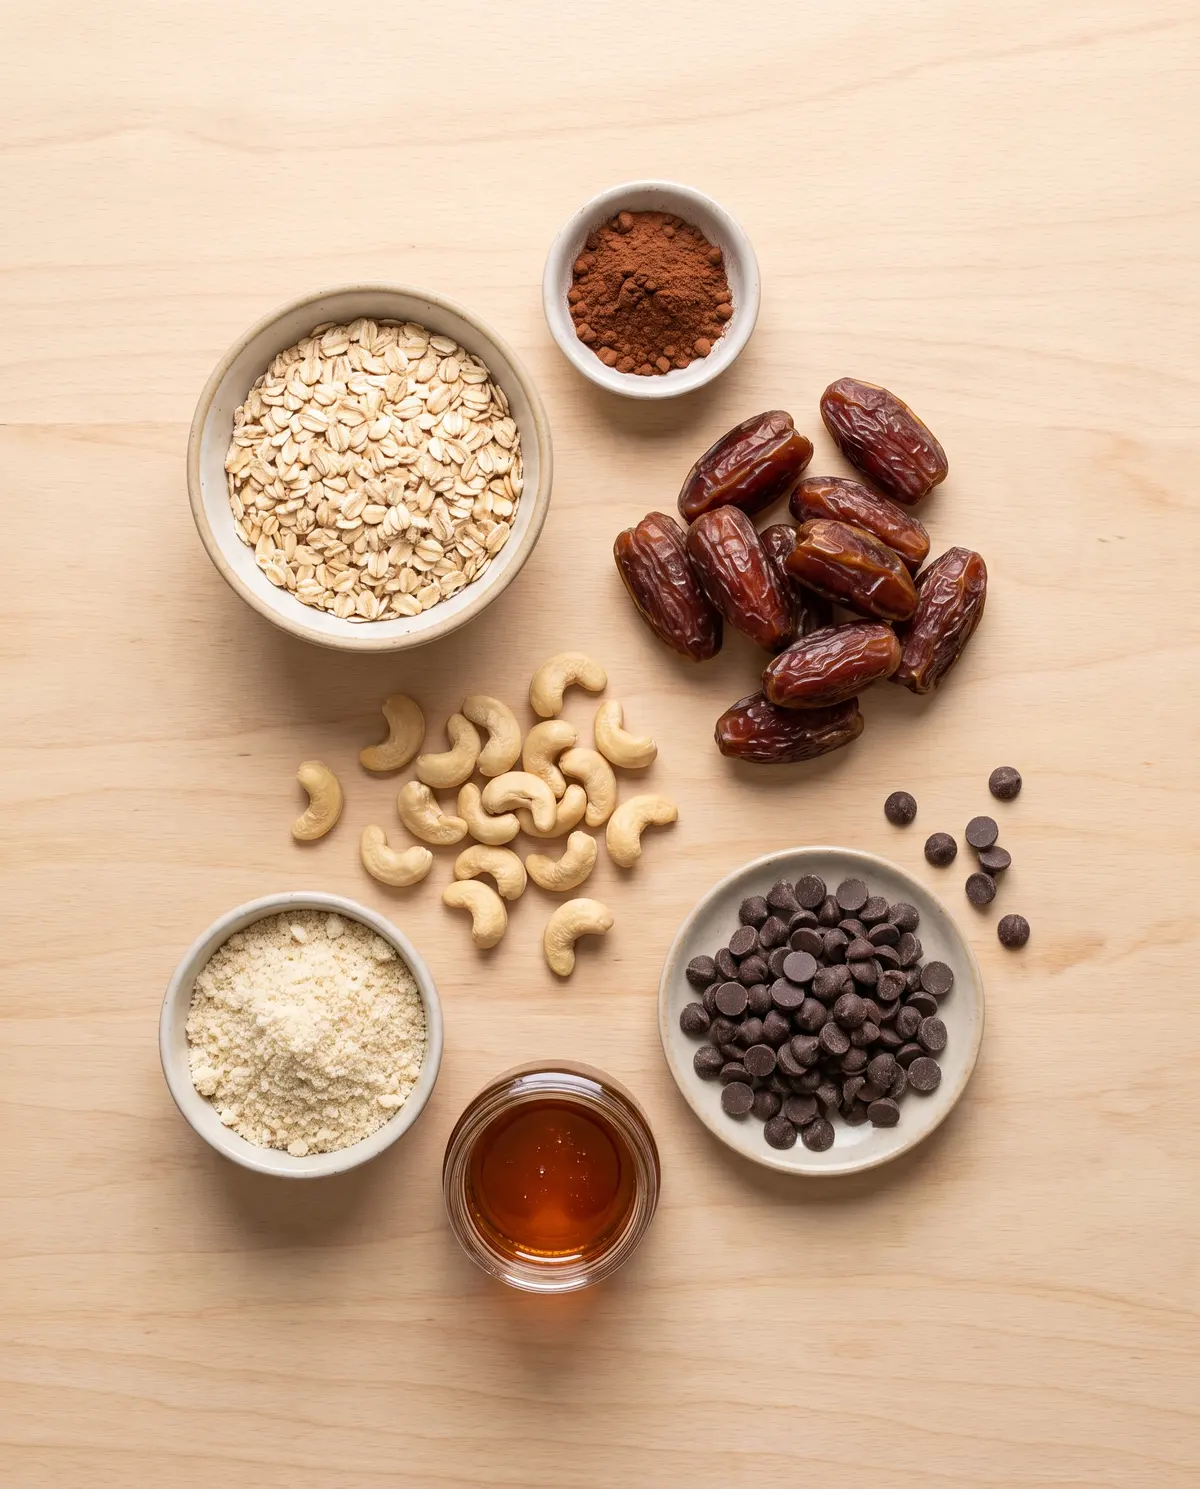
Ingredients
- 1 cup pitted dried dates
- 1/4 cup unsweetened cocoa powder
- 1/4 cup old-fashioned rolled oats, uncooked
- 1/4 cup unsalted cashews (or any nut you love)
- 2 tablespoons almond flour, or almond meal
- 1/8 teaspoon fine salt, optional but lovely
- 1 tablespoon pure maple syrup
From Bowl to Plate, in Ten Minutes
Step 1: Pulse the dry base. Add the pitted dates, cocoa powder, oats, cashews, almond flour, and salt to a 7-cup food processor fitted with the dough blade. Pulse until everything is broken down into a dry, coarse crumble. It will look almost too dry at this point — that is exactly right, so do not panic and add liquid yet. Trust the food processor, and trust the dates.
Step 2: Stream in the maple syrup. With the processor running, pour the maple syrup through the top opening. Keep pulsing until the mixture comes together into moist, cohesive crumbles that hold when you press them between your fingers. If it still looks sandy, add another teaspoon of maple syrup and pulse again. If it looks wet, sprinkle in a spoon of oats and pulse.
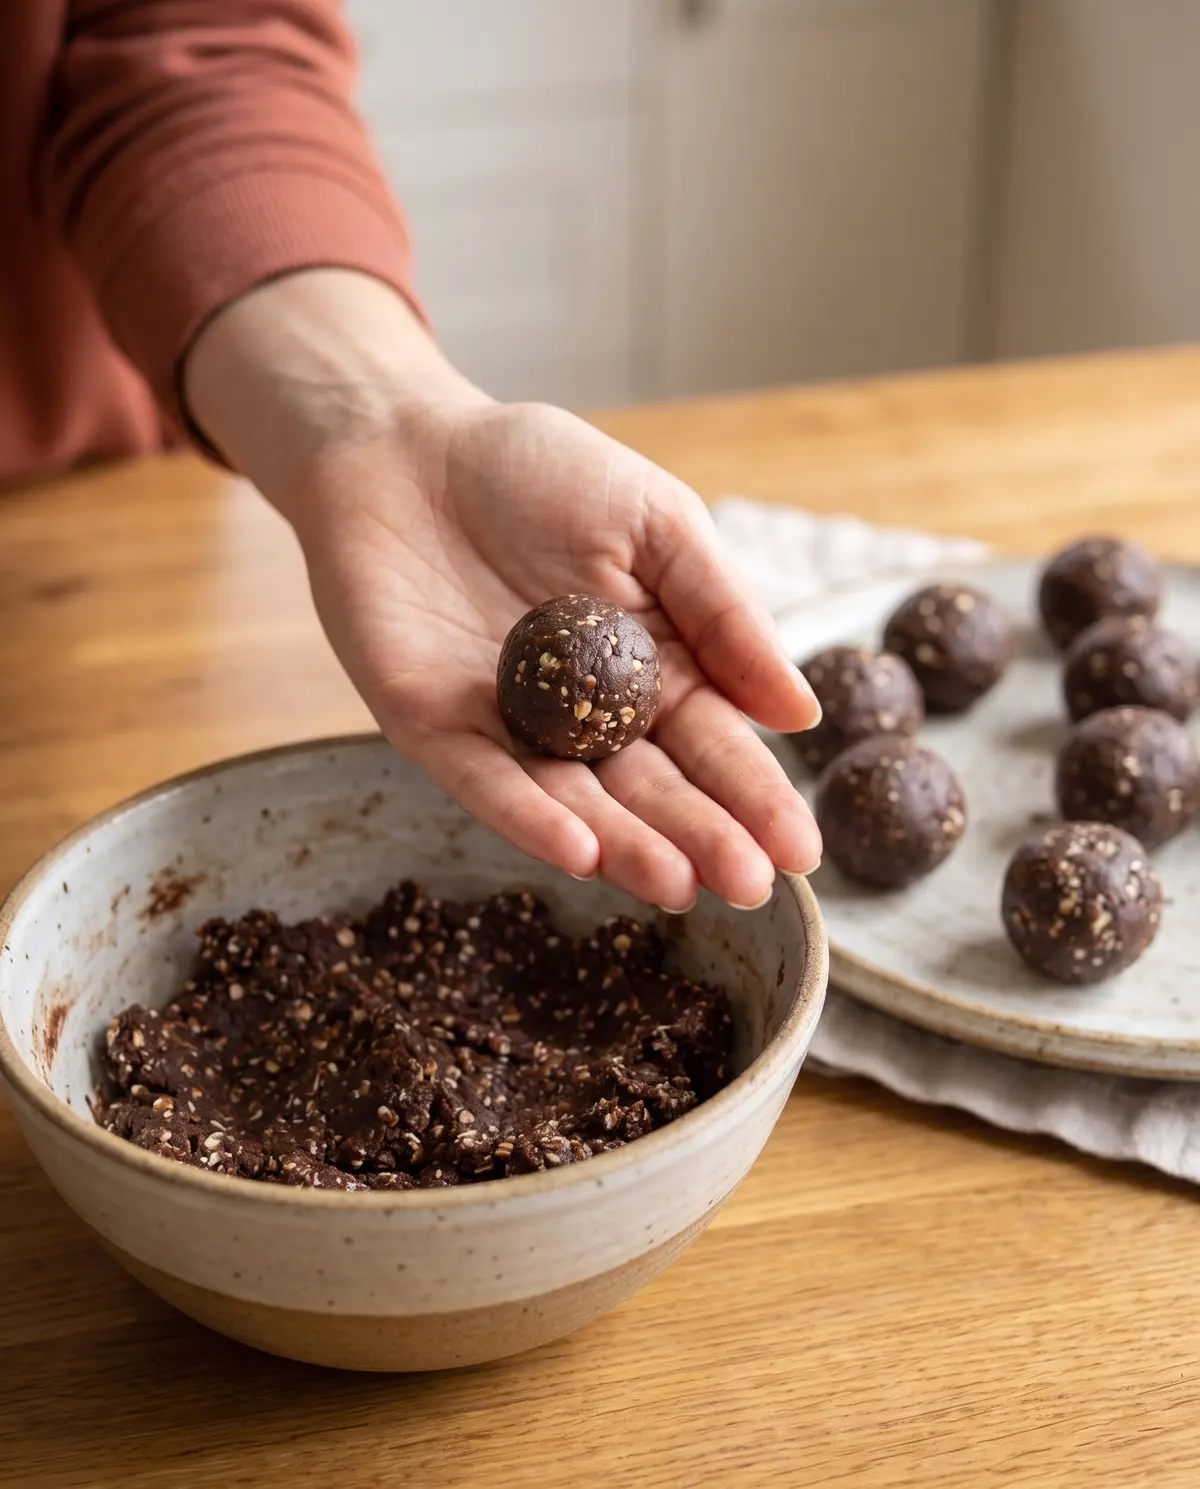
Step 3: Compress into a dough. Tip the crumbles into a small bowl and press them together firmly with the back of a spoon or your clean hands. You want one big lump of sticky chocolate dough, not a pile of crumbs. This is the moment the bites start to feel real.
Step 4: Roll into bite-sized balls. Scoop out generous tablespoon portions and roll them between your palms into 1-inch balls. A small cookie scoop makes this go faster and gives you uniform bites. You should end up with about 14 to 16 energy bites depending on how generous your “tablespoon” is. I am not judging either way.
Step 5: Chill and enjoy. Pop the bites onto a parchment-lined plate and chill for at least 20 minutes so they firm up. They are wonderful straight from the fridge, tucked into lunchboxes, or eaten standing at the counter at 9 a.m. while the coffee brews. I am not telling you to do that. I am just saying Gina does it, and now I do too.

Creative Twists to Try Next
- …stir in a handful of mini chocolate chips at the very end for extra melty pockets
- …roll the warm bites in shredded coconut, sesame seeds, or finely chopped pistachios for a pretty finish
- …swap the cashews for pecans, walnuts, or toasted hazelnuts depending on what is in your pantry
- …add a teaspoon of instant espresso powder to deepen the chocolate flavor without making it taste like coffee
- …drizzle the chilled bites with a little melted dark chocolate and flaky sea salt for a dinner-party version
Serving and Pairing Ideas
These little bites are happiest next to a glass of cold milk, a small espresso, or a thermos of hot chocolate on a winter afternoon. I tuck them into my kids’ lunchboxes alongside a sandwich and a piece of fruit, and they always come home empty. They are also a beautiful little plate to set out when friends drop by, especially with a bowl of [fudgy chocolate brownies](https://marina.savorydiscovery.com/decadent-fudgy-homemade-chocolate-brownie-recipe/) for the chocolate-obsessed among us.
Want to make a whole dessert board? Pair them with [mini chocolate lava cakes](https://marina.savorydiscovery.com/easy-mini-molten-chocolate-cake-recipe/) for special occasions, or with [chocolate chip banana bread](https://marina.savorydiscovery.com/best-homemade-chocolate-chip-banana-bread-recipe/) slices for a casual coffee morning. The bites also freeze beautifully, so I always keep a bag in the freezer for surprise guests or sudden chocolate emergencies.
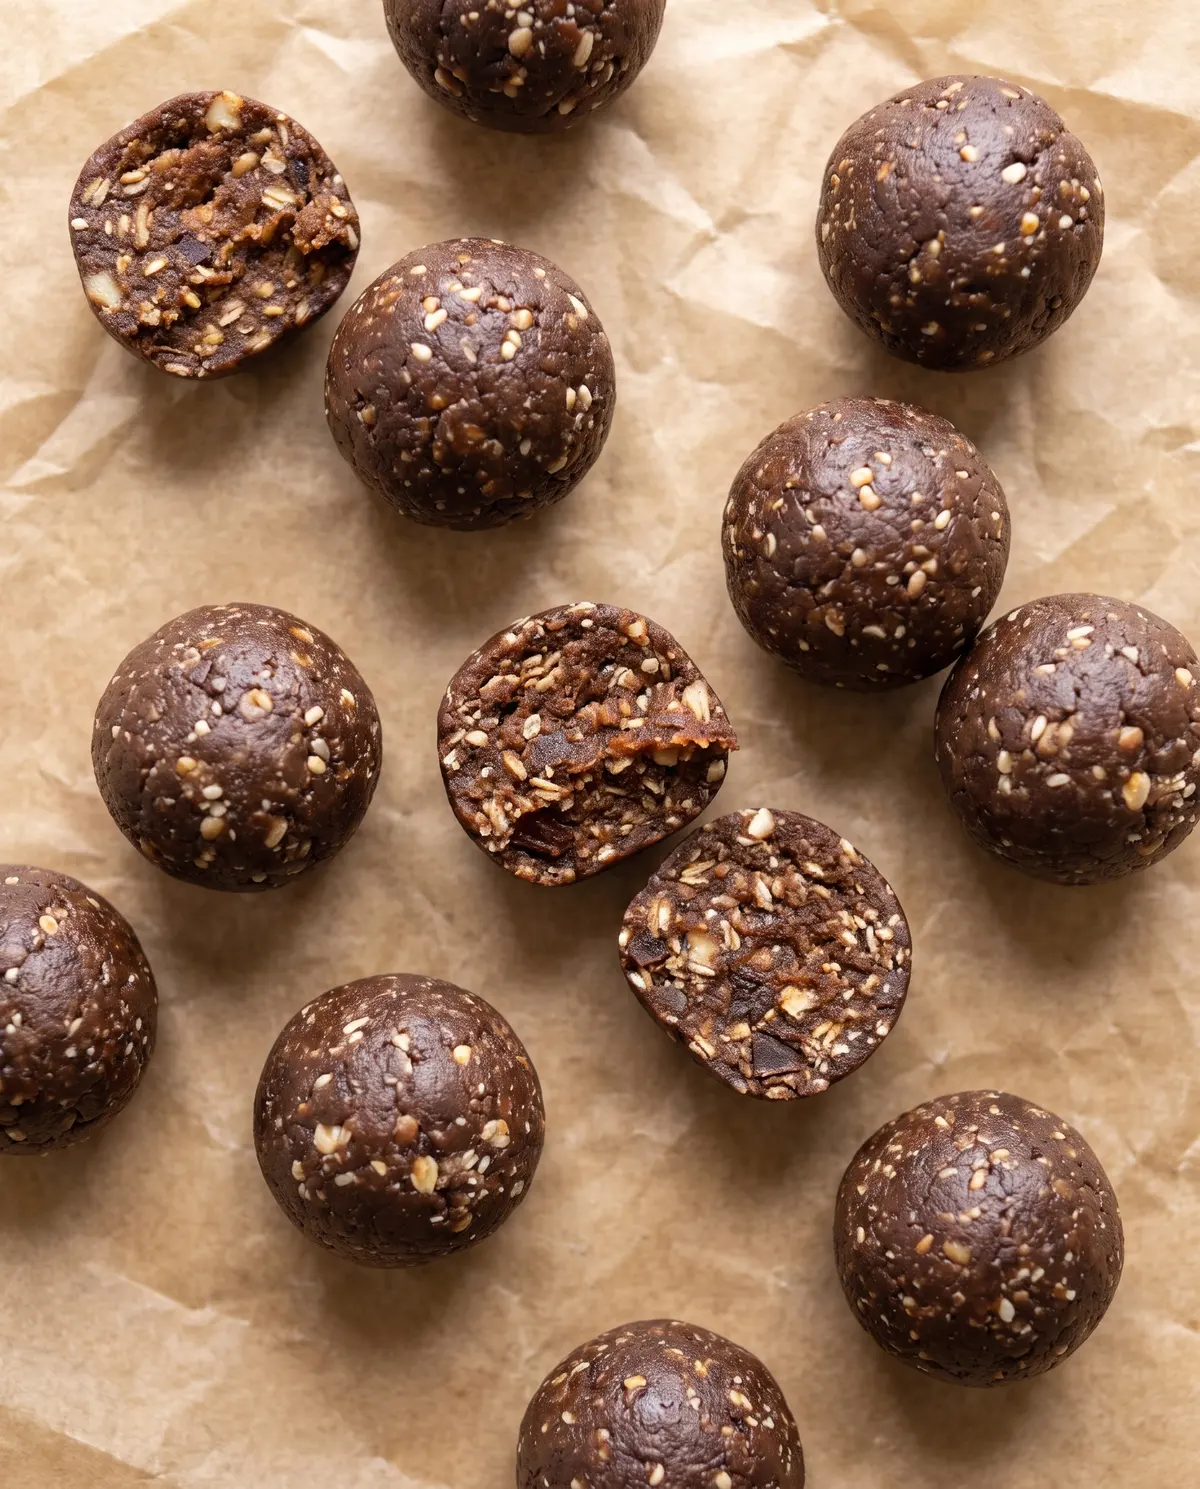
Why I Love These Chocolate Energy Bites
Honestly? They make me feel like a person who has it together, even on the days when nothing else is cooperating. I can pull a few from the jar, hand them to my kids, and feel good about what is going into their tummies. They are naturally sweetened, full of good things, and they actually taste like a treat. That is the dream, right?
My dad still asks for them every time he visits. He calls them “those little brownies,” even though they are not brownies at all, and I never correct him. Some things are sweeter when you let them be what they want to be.
Storage and Make-Ahead Tips
Keep the bites in an airtight container in the refrigerator for up to 5 days, and they will stay chewy and perfect. For longer storage, freeze them on a parchment-lined sheet until solid, then transfer to a freezer bag. They thaw in about 10 minutes on the counter, or you can eat them straight from the freezer, which I highly recommend on a hot afternoon.
You can also make the dough a day ahead and keep it wrapped in the fridge, then roll the bites the morning you want them. They are the kind of make-ahead treat that makes a busy week feel a little softer.
Troubleshooting Your Energy Bites
If the mixture is too dry and will not stick together — add another teaspoon of maple syrup at a time and pulse until the dough holds when squeezed. The dates need enough moisture to do their sticky job.
If the mixture is too wet or sticky — pulse in an extra tablespoon of oats or a sprinkle of almond flour. The dough should feel like cookie dough, not like a smoothie.
If the bites taste flat — bump up the salt slightly, or add a half teaspoon of vanilla extract with the maple syrup. Salt is the secret handshake of chocolate recipes.
If they fall apart when you roll them — your dates may have been a little dry. Soak them in warm water for 10 minutes, drain well, and try again. It fixes everything.
Your Quick Questions, Answered
Can I make these without a food processor?
Yes! Chop the dates, cashews, and oats very finely with a sharp knife, then mix everything in a bowl with a wooden spoon. It takes more elbow grease but absolutely works. I have done it when my food processor was in the dishwasher, and the bites still disappeared by the end of the day.
Are these good for kids?
They are wonderful for kids. They are soft, naturally sweetened, and easy to chew. I have been packing them in lunchboxes for years and I have never had a complaint, only a polite request for “one more please.”
Can I use a different sweetener instead of maple syrup?
Absolutely. Honey, agave, or even a little brown rice syrup will all work. Just use the same amount and adjust to taste. If your dates are very sweet already, you can even reduce the added sweetener by half.
How do I keep them from sticking to my hands when rolling?
Dampen your palms very lightly with water, or rub a tiny bit of neutral oil on your hands. The bites roll like a dream and your hands stay clean. Gina taught me that one, and it changed my entire snack life.
A Little Goodbye from My Kitchen
That is my chocolate energy bites, friends. The snack I keep in the jar, the lunchbox treat my kids actually eat, and the recipe I text Gina at least once a month. If you make them, please come back and tell me how yours turned out. I love hearing which mix-ins you tried and which ones your family fell in love with.
Until next time, keep a little jar of something chocolatey on your counter. It is good for the soul.
Happy baking!
—Marina Caldwell
Chocolate Energy Bites
Ingredients
- 1 cup pitted dried dates
- 1/4 cup unsweetened cocoa powder
- 1/4 cup old-fashioned rolled oats, uncooked
- 1/4 cup unsalted cashews (or any nut you love)
- 2 tablespoons almond flour, or almond meal
- 1/8 teaspoon fine salt, optional
- 1 tablespoon pure maple syrup
Instructions
- In a 7-cup food processor fitted with the dough blade, pulse dates, cocoa, oats, cashews, almond flour, and salt until dry, coarse crumbles form.
- With the processor running, stream in the maple syrup and pulse until the mixture forms moist, cohesive crumbles.
- Transfer to a bowl and compress with your hands or a spoon into a single sticky dough.
- Roll into 1-inch balls with your hands or a small cookie scoop.
- Chill on a parchment-lined plate for 20 minutes before serving. Store in an airtight container in the fridge for up to 5 days.