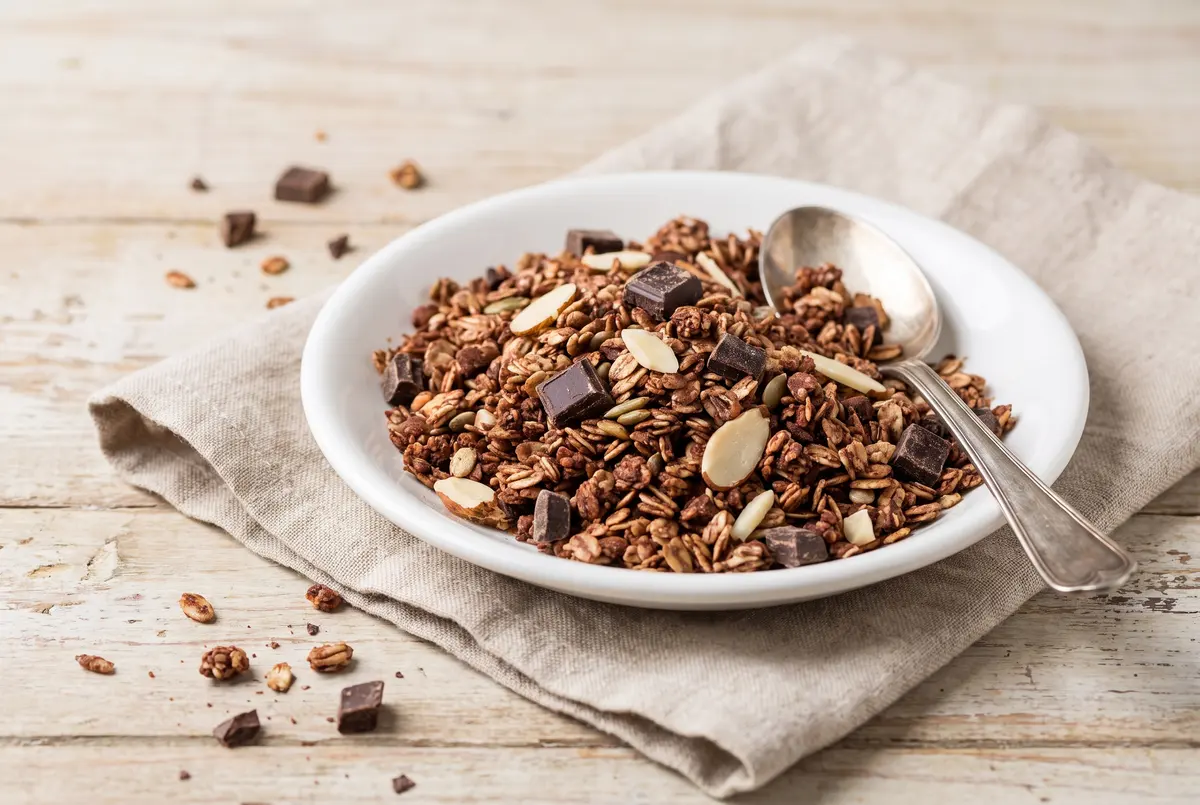
When Chocolate Met Granola in My Kitchen
Have you ever woken up craving something that feels a little indulgent but still has a heart full of oats? That’s exactly where this chocolate granola came from in my kitchen. I had a jar of cocoa powder sitting next to a half-empty bag of rolled oats and a thought popped into my head — why does granola always have to taste like maple and vanilla? Where is the chocolate?
My friend Gina came over for coffee that morning, took one bite of the test batch, and said, “You need to make this every week.” So I did. And then I started tweaking. More cocoa, a touch of coconut, a generous handful of slivered almonds for crunch. The result is the recipe below — the one my dad now asks for on his birthday instead of cake.
What I love about this granola is that it doesn’t pretend to be health food. It just tastes like a treat you can eat with a spoon. But it has real oats, real nuts, and a fraction of the sugar of anything store-bought. That’s a win in my book.
Why This Chocolate Granola Works
The trick to great chocolate granola is building flavor in two layers. First, you melt the cocoa powder with the coconut oil, honey, and vanilla on the stove. That blooms the cocoa — it deepens the chocolate taste from “brown” to “rich” without needing a lot of cocoa. Second, you bake the granola LOW and SLOW. I learned this the hard way after burning two batches at 350°F. The honey scorches, the cocoa turns bitter, and suddenly your kitchen smells like a campfire. We don’t want that.
At 325°F with a stir every 15 minutes, the granola toasts evenly and the honey caramelizes gently. The coconut on the edges gets just slightly golden, which is exactly what you want. The clusters form naturally as it cools, and that’s where the magic lives — a bite with a chunk of crispy, chocolatey cluster is the reason you’ll keep coming back to this jar.
Chocolate Granola
Crispy, clustery, deeply chocolatey granola that comes together in one bowl and bakes on a single sheet pan. Perfect over yogurt, with milk, or eaten straight from the jar on a Tuesday afternoon. No judgment here.
Ingredients
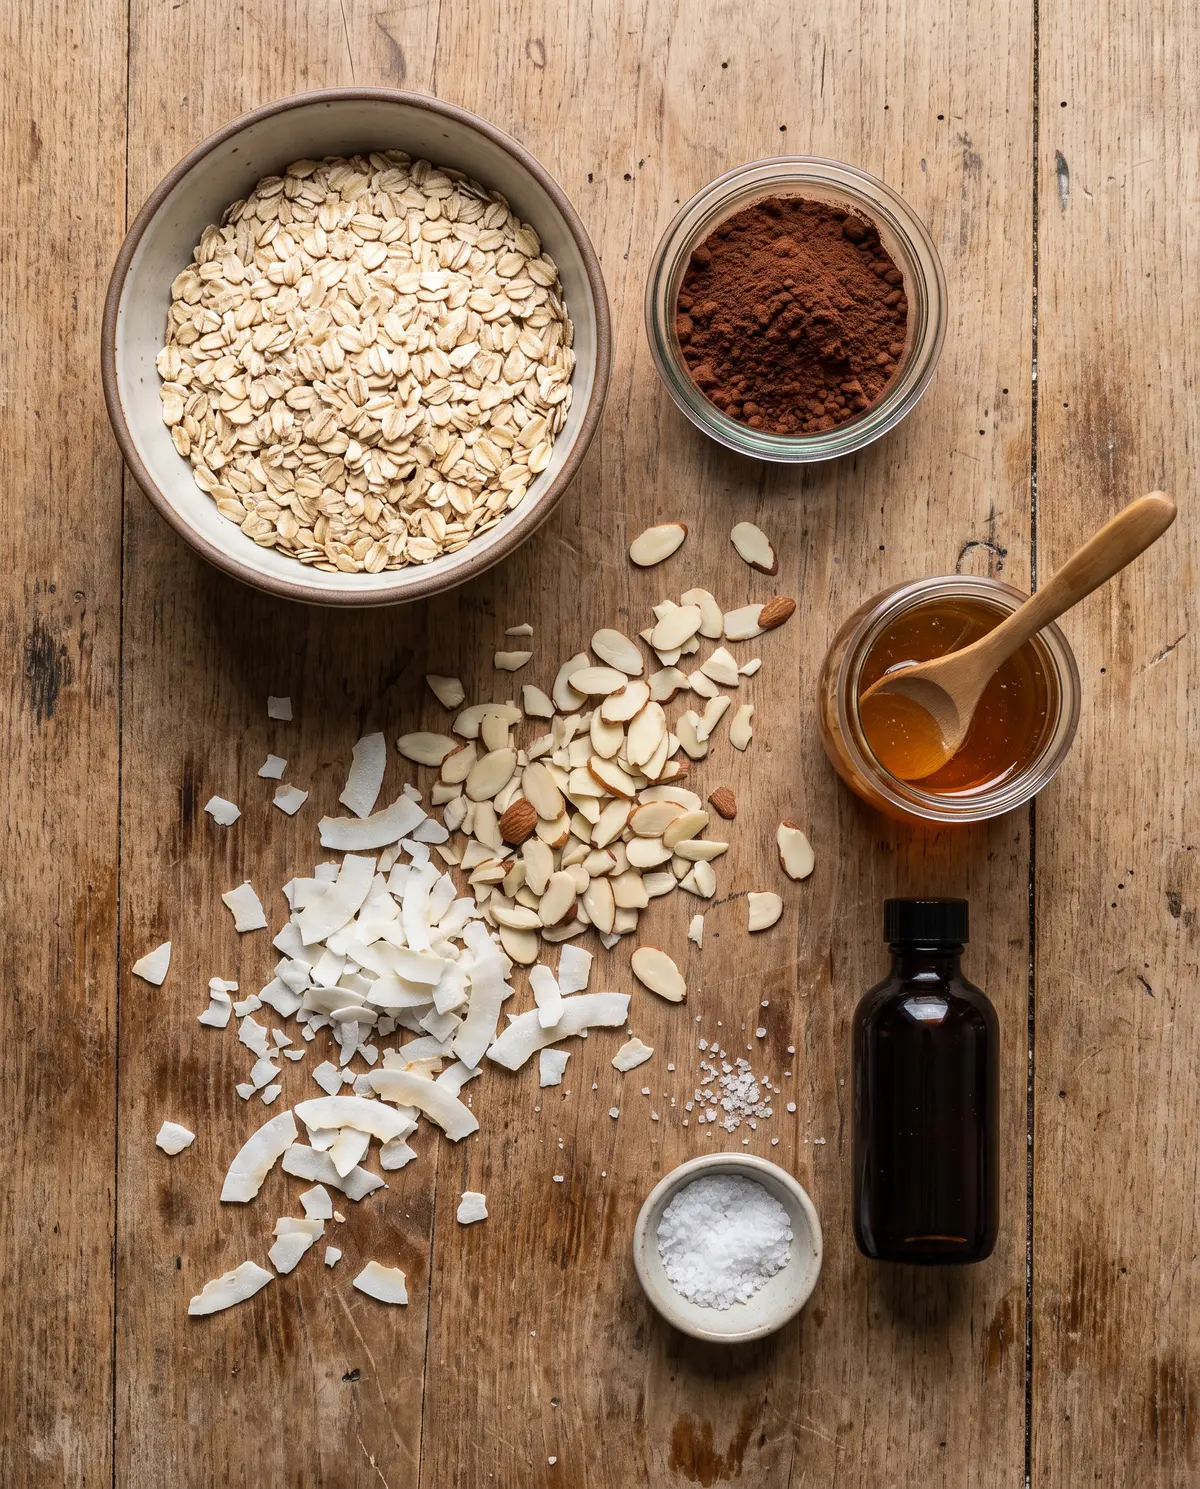
- 1/4 cup coconut oil
- 1/2 cup honey
- 1/2 teaspoon kosher salt
- 1/2 teaspoon pure vanilla extract
- 1/3 cup cocoa powder
- 2 1/4 cups rolled oats
- 1/2 cup slivered almonds
- 6 tablespoons unsweetened shredded coconut
From Bowl to Oven: My Method
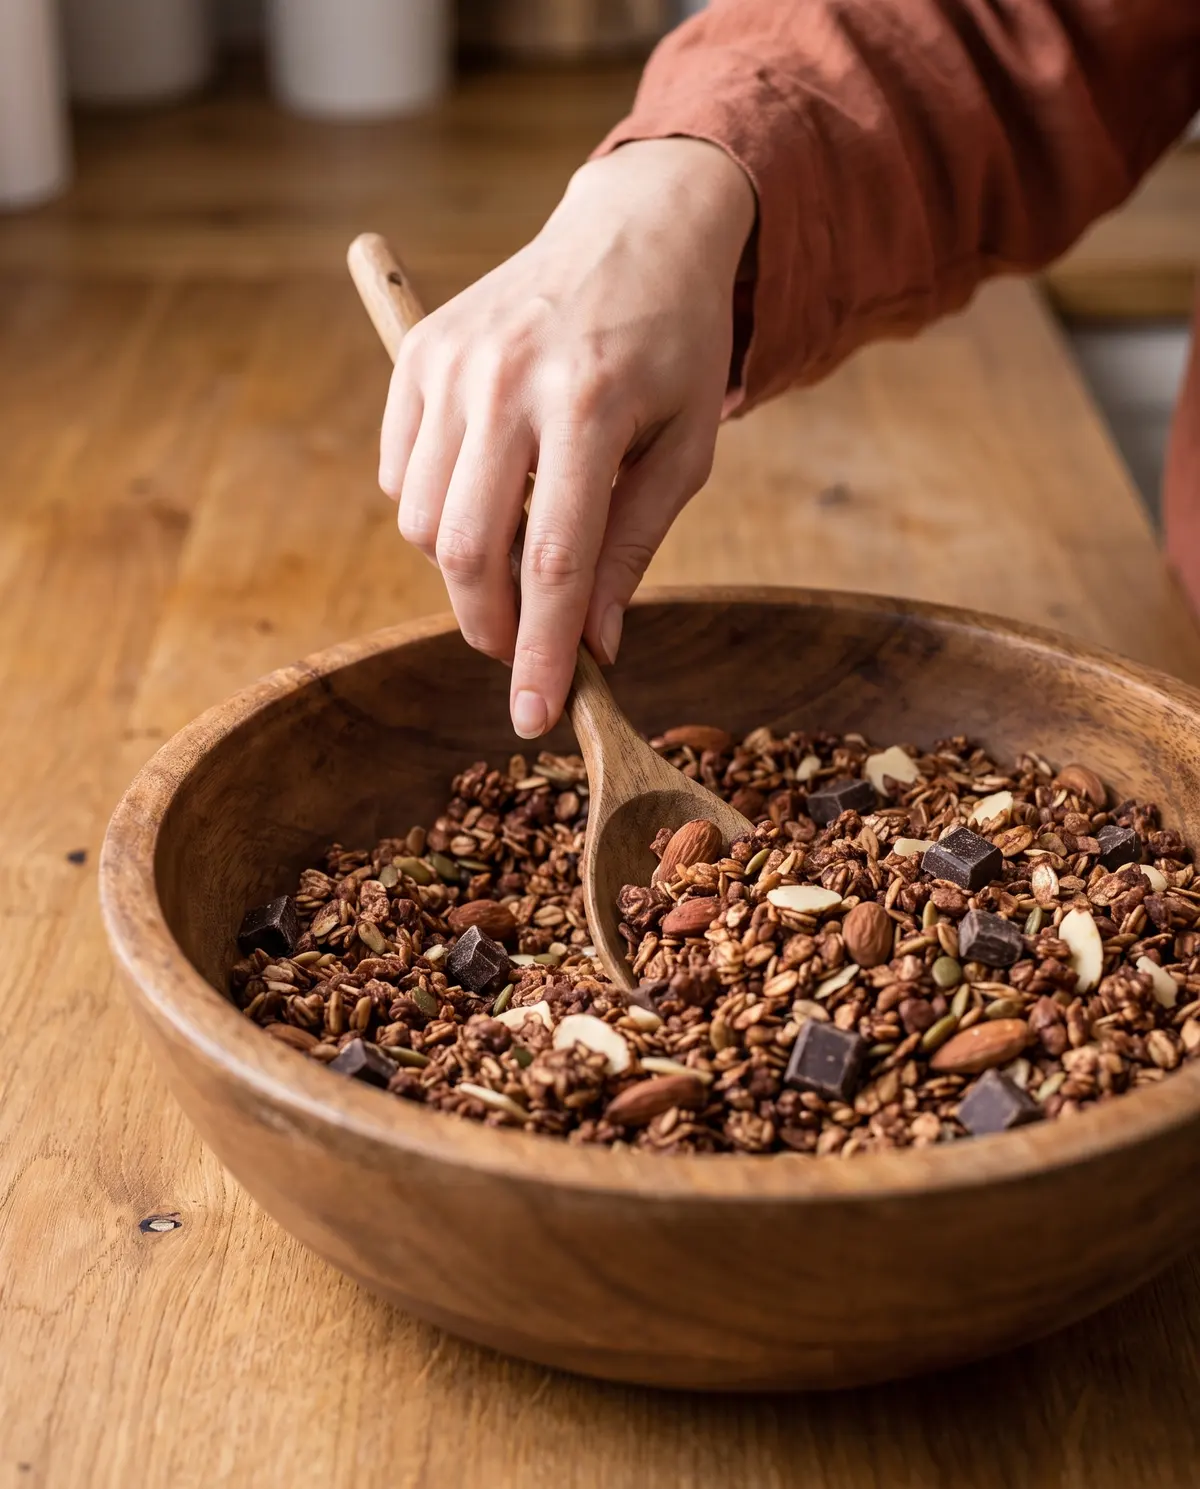
Step 1: Preheat the oven to 325°F. Line a rimmed baking sheet with parchment paper. Don’t skip the parchment — chocolate granola sticks like crazy to a bare pan, and you’ll lose half your clusters trying to scrape them off.
Step 2: In a small saucepan over low heat, combine the coconut oil, honey, kosher salt, vanilla, and cocoa powder. Stir constantly until the coconut oil and honey melt and everything comes together into a smooth, glossy chocolate sauce. This usually takes 2-3 minutes. Don’t let it bubble — you want it just warm enough to melt.
Step 3: In a medium bowl, combine the oats, slivered almonds, and shredded coconut. Pour the warm chocolate mixture over the dry ingredients and stir thoroughly. I use a wooden spoon and really get in there — you want every single oat coated. Any dry pockets will stay pale and taste chalky.
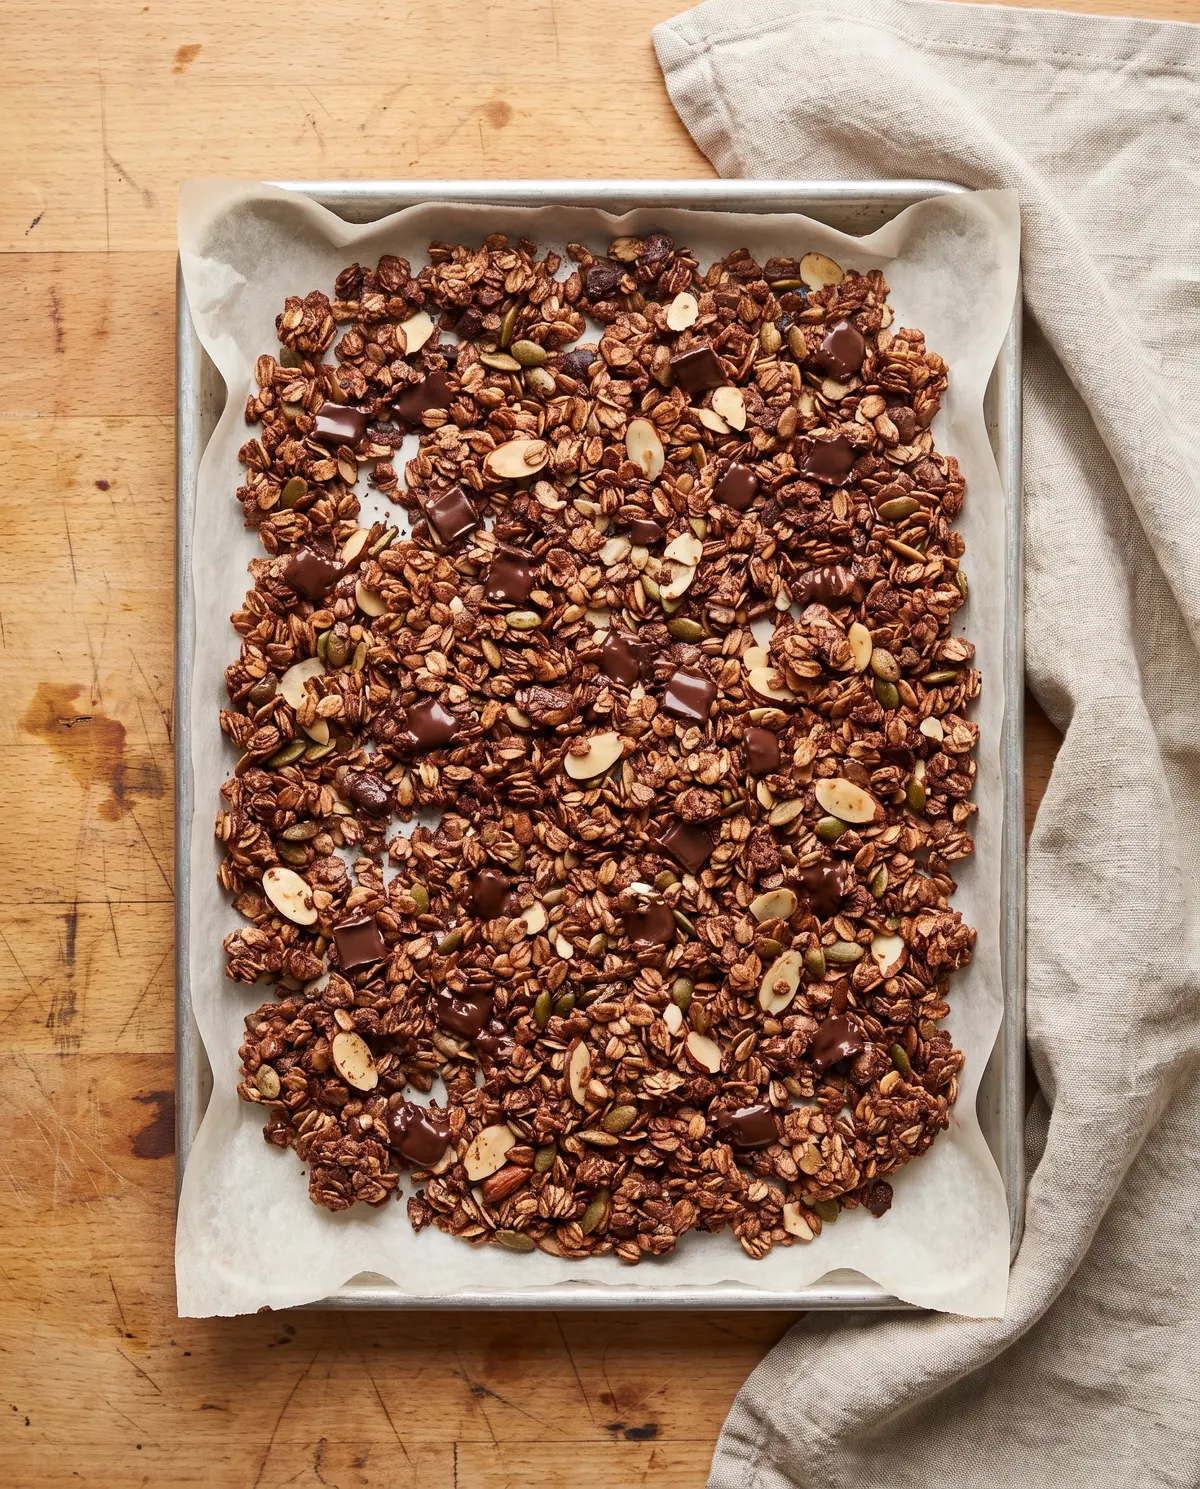
Step 4: Transfer the mixture to your prepared baking sheet and spread it into an even layer. Press it down a little with your spatula — this is the secret to bigger clusters. Bake for 40 minutes total, stirring every 15 minutes. Yes, stirring. The granola on the edges will brown faster than the middle, and the stir redistributes it for even toasting.
Step 5: Pull the sheet out and — this is the hard part — let it cool COMPLETELY on the pan. Don’t touch it. Don’t break it up. Walk away. The granola crispens as it cools, and the clusters set. If you break it up warm, you’ll get a fine crumb instead of those satisfying chunks.
Step 6: Once cool, break the granola into clusters of whatever size makes you happy. Store in an airtight container at room temperature for up to a week — if it lasts that long in your house. In mine, it never does.
Creative Twists
- Espresso chocolate granola: add 1 teaspoon of instant espresso powder to the wet ingredients. It deepens the chocolate flavor in a way that makes people close their eyes on the first bite.
- Spiced chocolate granola: a pinch of cinnamon and a tiny pinch of cayenne. Sounds strange, tastes like a Mexican hot chocolate moment.
- Tropical chocolate: swap the almonds for macadamia nuts and add 2 tablespoons of dried unsweetened mango after baking.
- Double chocolate: stir in 1/2 cup of dark chocolate chunks AFTER baking, while the granola is still warm. The chocolate melts into little puddles that harden into fudgy bits.
- Salted chocolate: flaky sea salt on top of the warm granola right out of the oven. The sweet-salty thing is unbeatable.
- Peanut butter cup: swirl 2 tablespoons of creamy peanut butter into the wet mixture and add 1/3 cup of chopped roasted peanuts.
Serving & Pairing Ideas
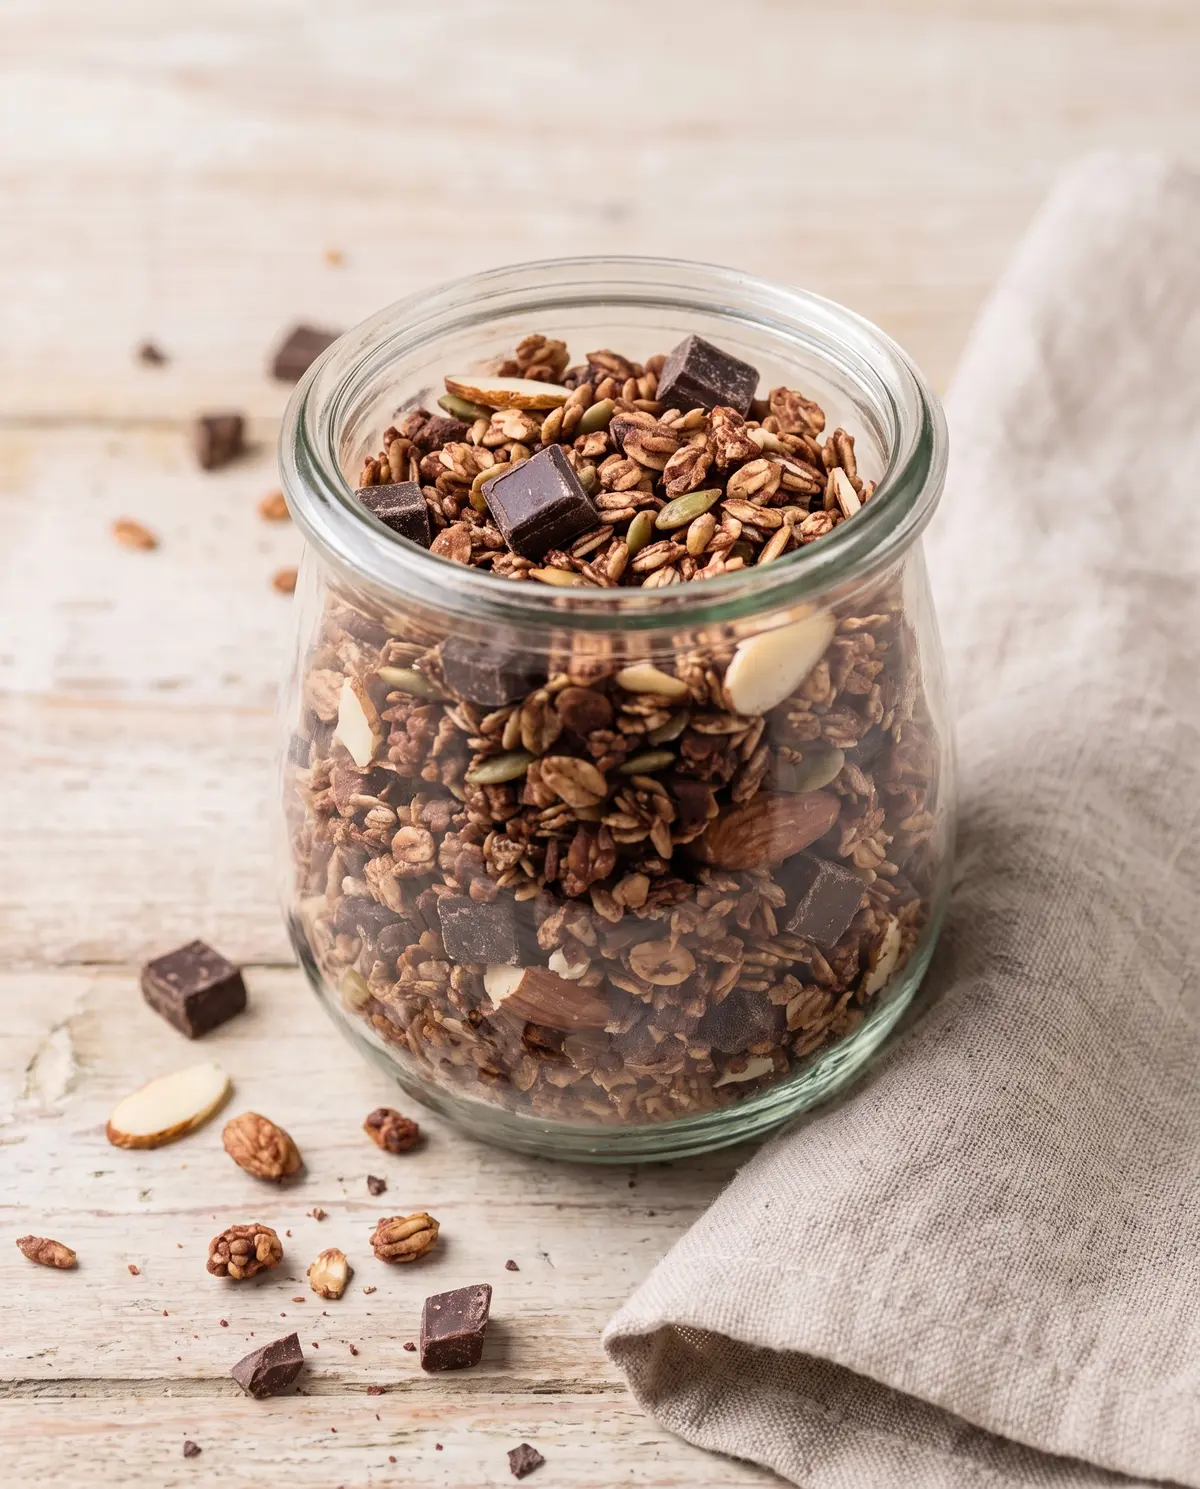
Honestly? A bowl with cold almond milk is my default. But this granola also loves being sprinkled over Greek yogurt with sliced banana, layered into a parfait with raspberries, or eaten as an afternoon snack with a square of dark chocolate on the side. I sometimes pack it in small mason jars for road trips — it travels well and doesn’t go stale for days.
For an after-dinner situation, try it as an ice cream topping. Vanilla bean ice cream + warm chocolate granola = a deconstructed chocolate crunch situation that nobody at the table will forget.
Why I Love This Chocolate Granola
I love this recipe because it makes my kitchen smell like a chocolate bakery for the entire afternoon. I love that one batch gets me through a whole week of breakfasts and snacks. I love that Gina asks for it every time she visits. And I love that my dad — a man who claims he “doesn’t really like granola” — has been caught eating handfuls of it straight from the jar on more than one occasion.
There is something about homemade granola that store-bought can never match. The texture, the freshness, the way the chocolate clings to every oat. Once you’ve made it yourself, the bagged stuff just feels like a compromise.
Storage and Make-Ahead Tips
Store the granola in an airtight container at room temperature for up to a week. A glass jar with a clamp lid works beautifully, but any sealed container will do. Keep it out of direct sunlight — the chocolate can bloom (get that white powdery look) if it warms up too much.
For longer storage, freeze it in a zip-top bag for up to 3 months. It thaws in minutes at room temperature and tastes just-baked. I usually double the recipe and freeze half — future me always thanks present me.
Troubleshooting Your Chocolate Granola
My granola is too crumbly and won’t form clusters. You probably didn’t press the mixture down on the sheet pan before baking, or you stirred it while it was still cooling. Next time, press it down firmly before baking and let it cool completely untouched.
My granola tastes bitter. The oven was probably too hot, or the honey scorched. Drop to 325°F and stir more often. Also check that your cocoa powder is fresh — old cocoa can taste dusty and bitter.
The edges are burning but the middle is pale. You’re not stirring often enough. Every 15 minutes is the sweet spot. If your oven runs hot, rotate the pan 180° at the halfway point too.
It feels too oily. A touch of oil on the spoon is normal, but if the granola looks greasy, you may have added too much coconut oil. Stick to the 1/4 cup measurement and you should be golden.
Your Quick Questions, Answered
Can I use maple syrup instead of honey? Yes! Maple syrup works beautifully. It will give a slightly deeper, more caramel-like flavor. Use the same 1/2 cup measurement.
Is this recipe gluten-free? It can be — just make sure you use certified gluten-free rolled oats. The rest of the ingredients are naturally gluten-free.
Can I make it nut-free? Absolutely. Skip the almonds and add an extra 1/2 cup of rolled oats, or swap in pumpkin seeds or sunflower seeds for a similar crunch.
How long does it keep? About a week at room temperature in an airtight container, or up to 3 months in the freezer. Realistically, it won’t last that long.
A Little Goodbye from My Kitchen
That’s it — your new favorite chocolate granola, ready in about an hour from start to finish. I hope this recipe finds its way into your regular rotation the way it did mine. The first time you pull a warm sheet pan of chocolate granola out of the oven and your kitchen smells like a brownie factory, you’ll know exactly what I mean.
If you try this, I’d love to hear how it turns out. Drop a comment, send me a message, or just leave the jar on the counter and see who finds it first. My money’s on whoever wakes up first in your house.
Happy baking!
—Marina Caldwell
Chocolate Granola
Prep: 10 minutes Bake: 40 minutes Total: 50 minutes Yield: about 4 cups
Ingredients
- 1/4 cup coconut oil
- 1/2 cup honey
- 1/2 teaspoon kosher salt
- 1/2 teaspoon pure vanilla extract
- 1/3 cup cocoa powder
- 2 1/4 cups rolled oats
- 1/2 cup slivered almonds
- 6 tablespoons unsweetened shredded coconut
Instructions
- Preheat oven to 325°F. Line a rimmed baking sheet with parchment paper.
- In a small saucepan over low heat, combine coconut oil, honey, salt, vanilla, and cocoa powder. Stir until melted and smooth.
- In a medium bowl, combine oats, almonds, and shredded coconut. Pour chocolate mixture over and stir to coat thoroughly.
- Spread mixture onto prepared baking sheet in an even layer, pressing down slightly. Bake 40 minutes, stirring every 15 minutes.
- Remove from oven and cool completely on the pan. Break into clusters and store in an airtight container for up to 1 week.