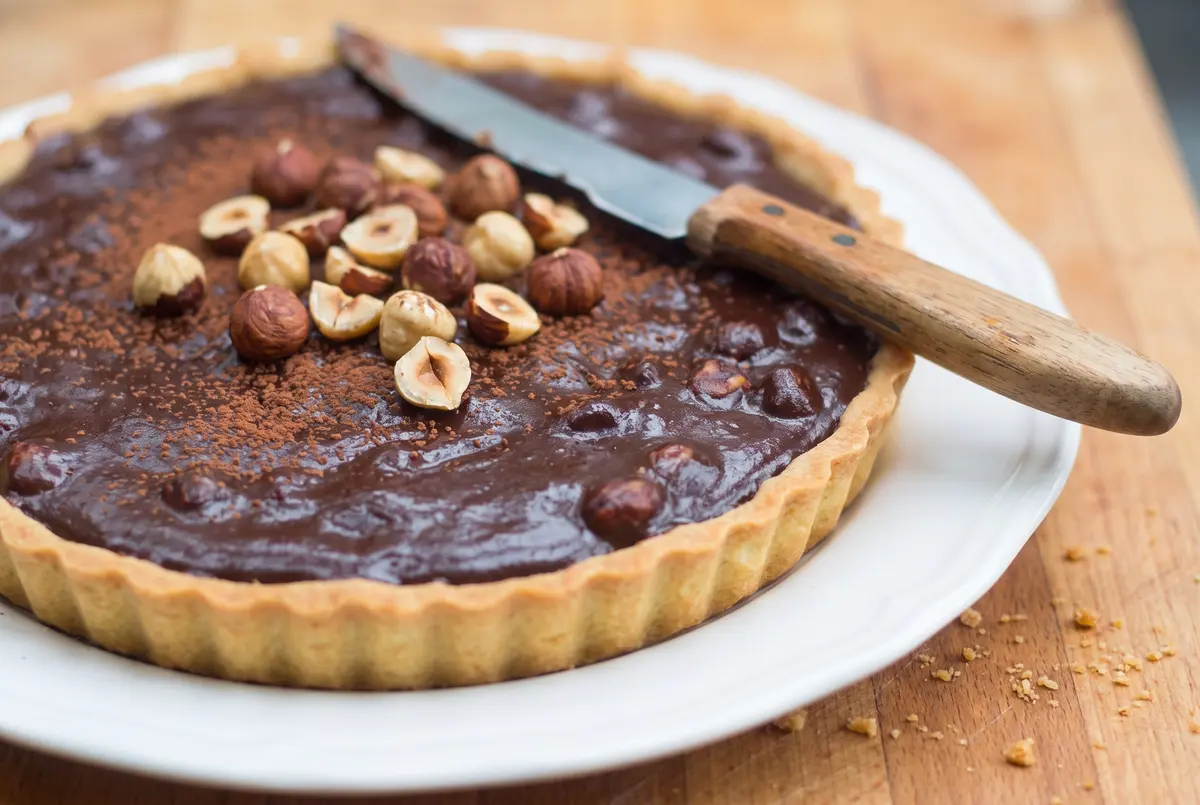
I first had a chocolate hazelnut tart at a little bakery in Lyon, and I still remember the exact expression on my face when I took the first bite. Rich, silky, and with that unmistakable toasted hazelnut flavor — it was one of those desserts that makes you stop and think: I need to learn how to make this. It turns out, you can. In fact, this version is simpler than most tarts because it uses a graham cracker crust instead of a traditional pastry shell. The result is deeply impressive and surprisingly achievable.
The Two-Part Chocolate Ganache That Does All the Work
Here’s the thing about this tart: the filling does almost all the heavy lifting. A two-step ganache — first chocolate and cream, then whisked with chocolate-hazelnut spread — creates a filling that’s simultaneously rich, nutty, and silky. You don’t need to temper eggs, you don’t need a water bath, and you don’t need any special equipment. Just a saucepan and a whisk. Have you ever been intimidated by tarts before? This one is going to change your mind.
Ingredients
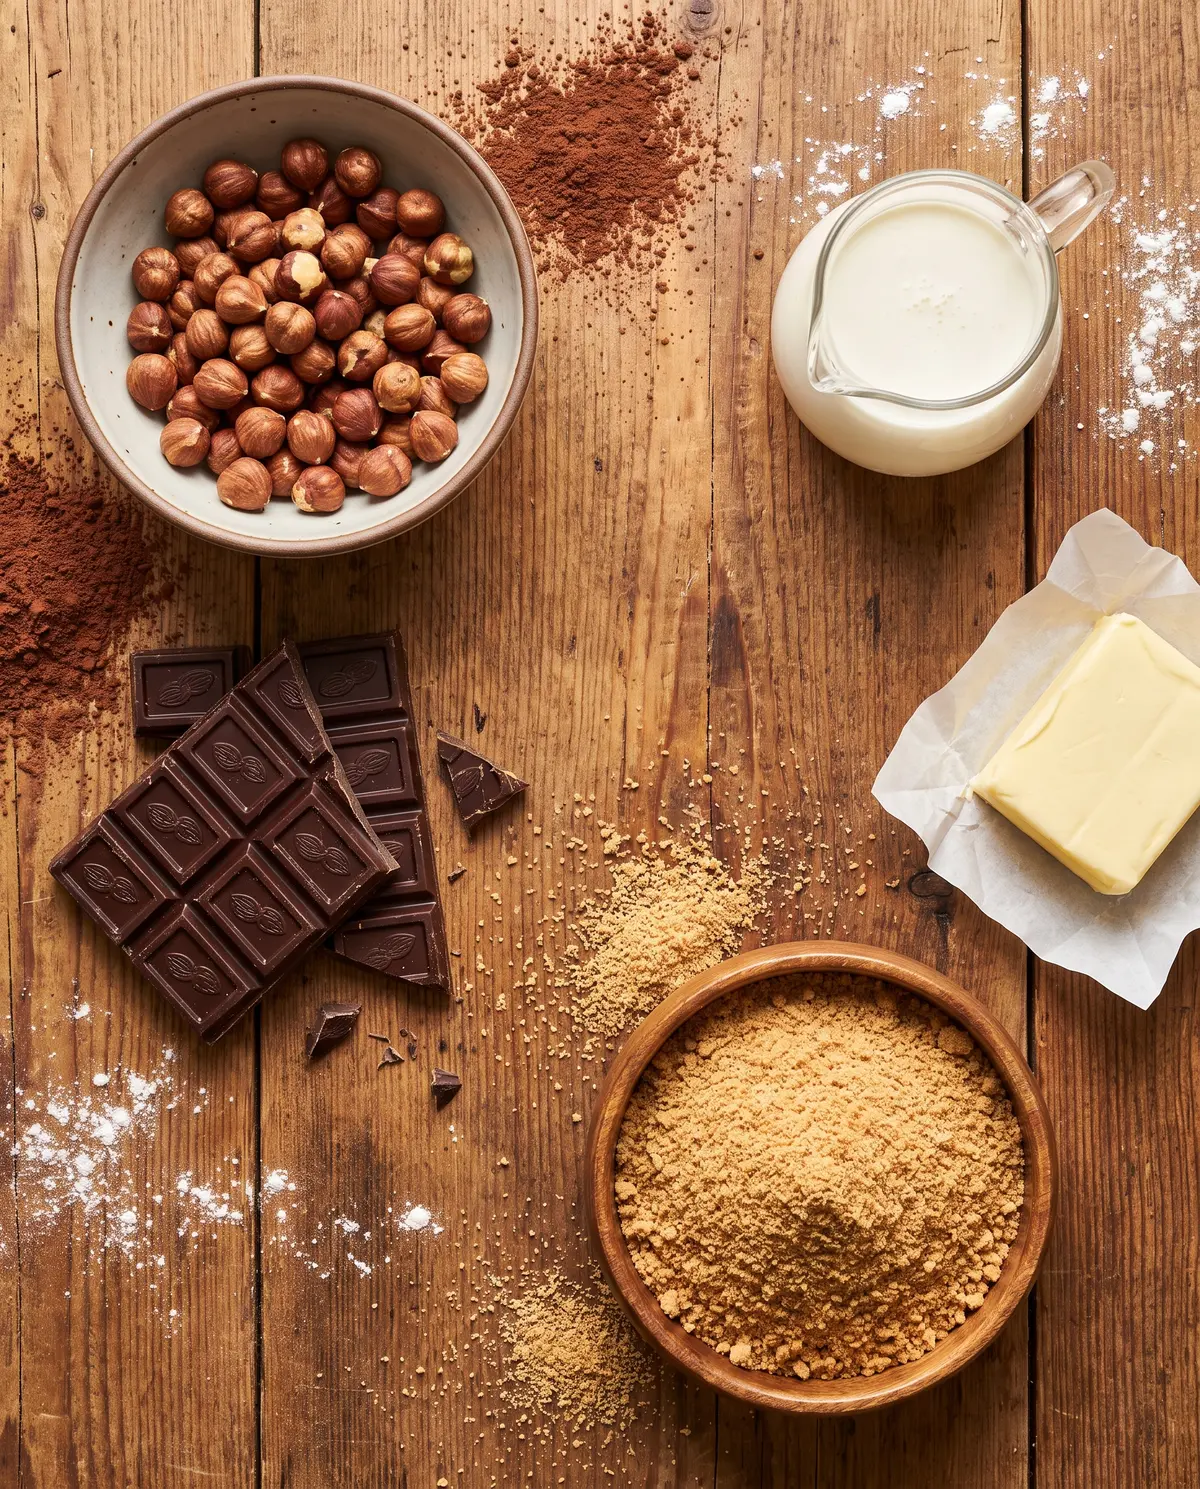
- 1 1/2 cups graham cracker crumbs (about 13 crackers)
- 6 tbsp melted unsalted butter
- 1/4 tsp salt, divided
- 1 cup heavy cream
- 10 1/2 oz bittersweet chocolate, chopped
- 1/2 cup chocolate-hazelnut spread
- 1 cup toasted hazelnuts, left whole or coarsely chopped
From Crust to Crown
Start by preheating your oven to 350°F and lightly greasing a 9-inch springform pan. The springform is my secret weapon here — it makes releasing the tart so much easier than a traditional tart pan.
Step 1: Make the crust. Mix your graham cracker crumbs with the melted butter and 1/8 tsp of the salt. Press the mixture evenly into the bottom of your prepared pan — I like to use the bottom of a glass to get it really compact. Bake for 7 minutes, then cool completely on a rack.
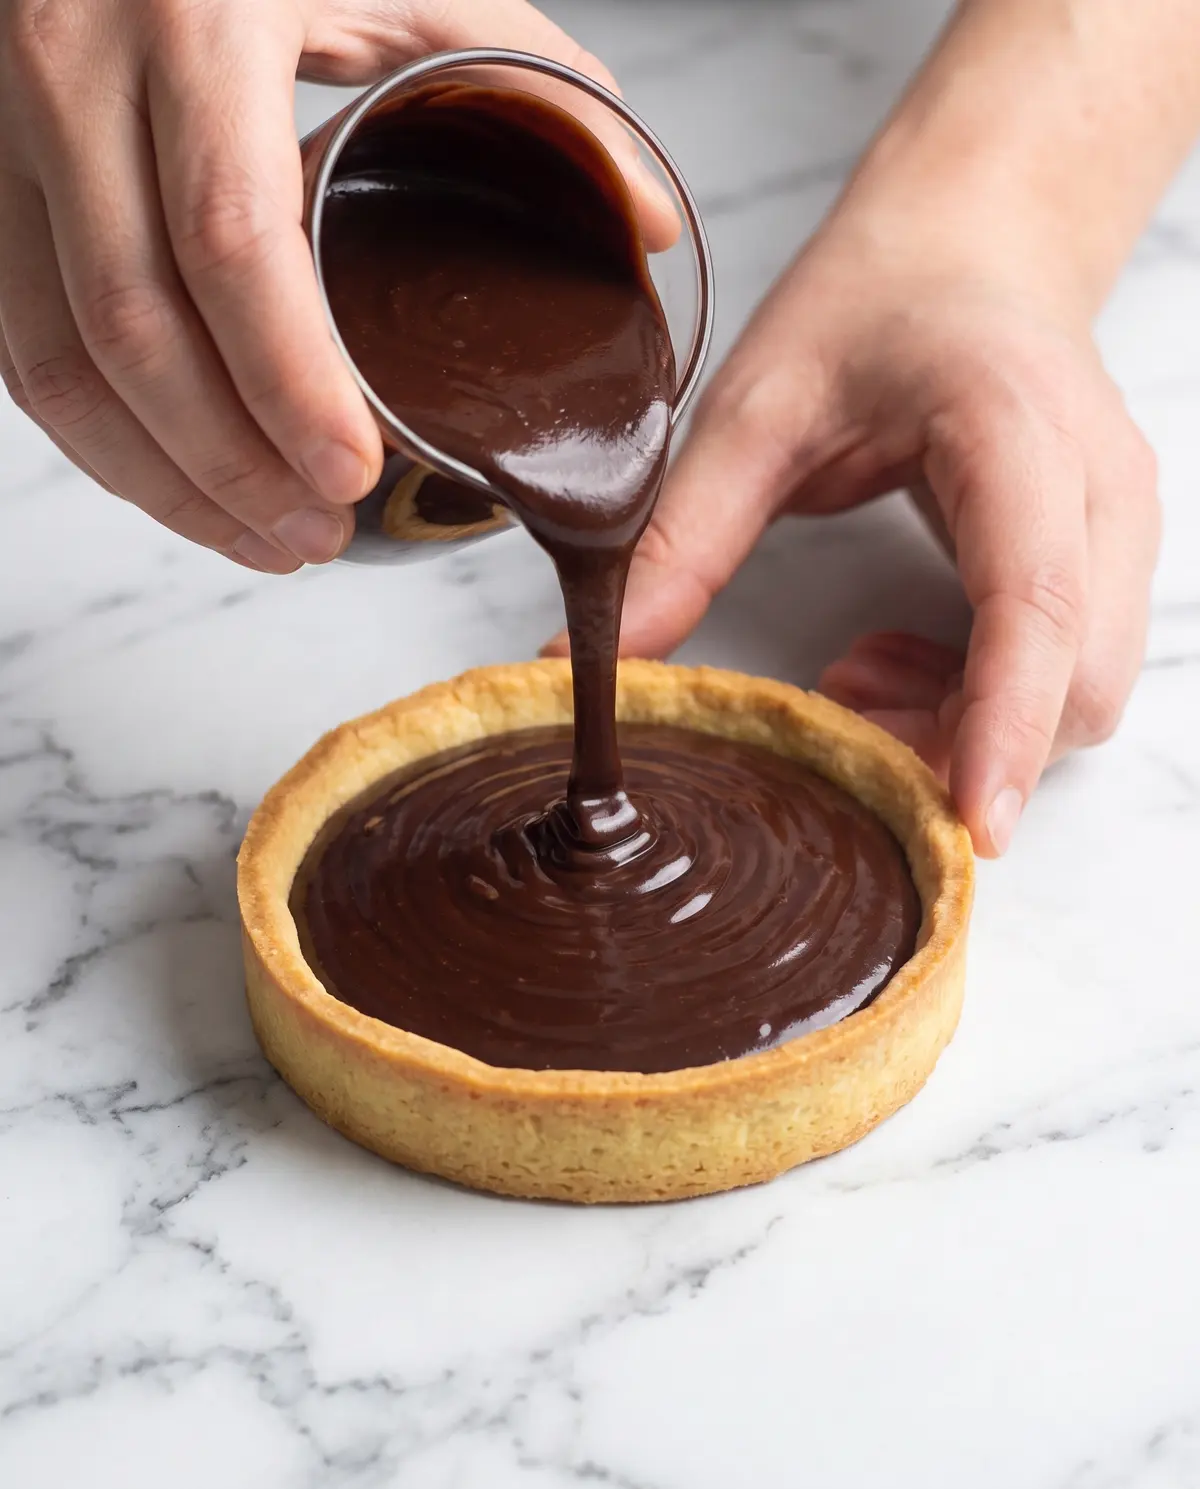
Step 2: Heat the cream. This is where the magic starts. Heat your cream with the remaining salt just until it starts to bubble at the edges — do not let it boil. Pour it over the chopped chocolate in a heatproof bowl and stir until completely smooth and glossy.
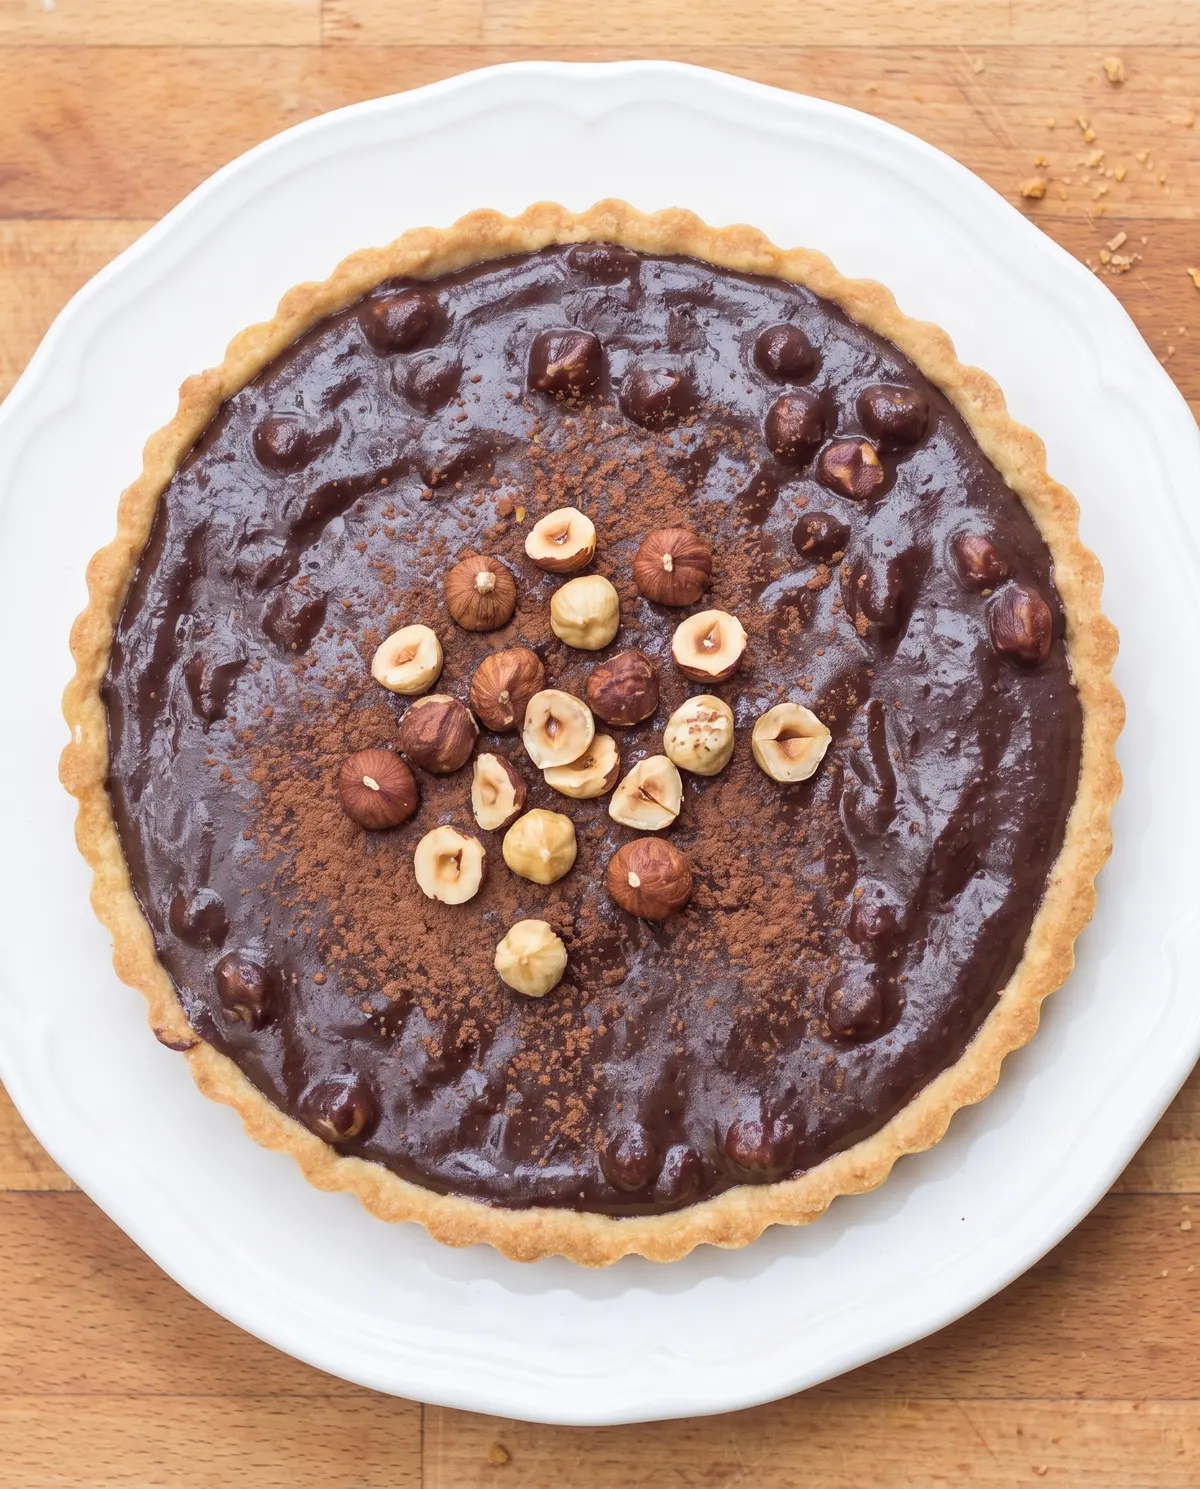
Step 3: Add the hazelnut spread. Whisk in the chocolate-hazelnut spread until fully incorporated. The mixture should be silky and deeply chocolate-brown. Then stir in the toasted hazelnuts.
Step 4: Pour and set. Pour the filling over your cooled crust. Give the pan a gentle shake to level it, then refrigerate for at least 1 1/2 hours — or freeze for 25 minutes if you’re short on time.
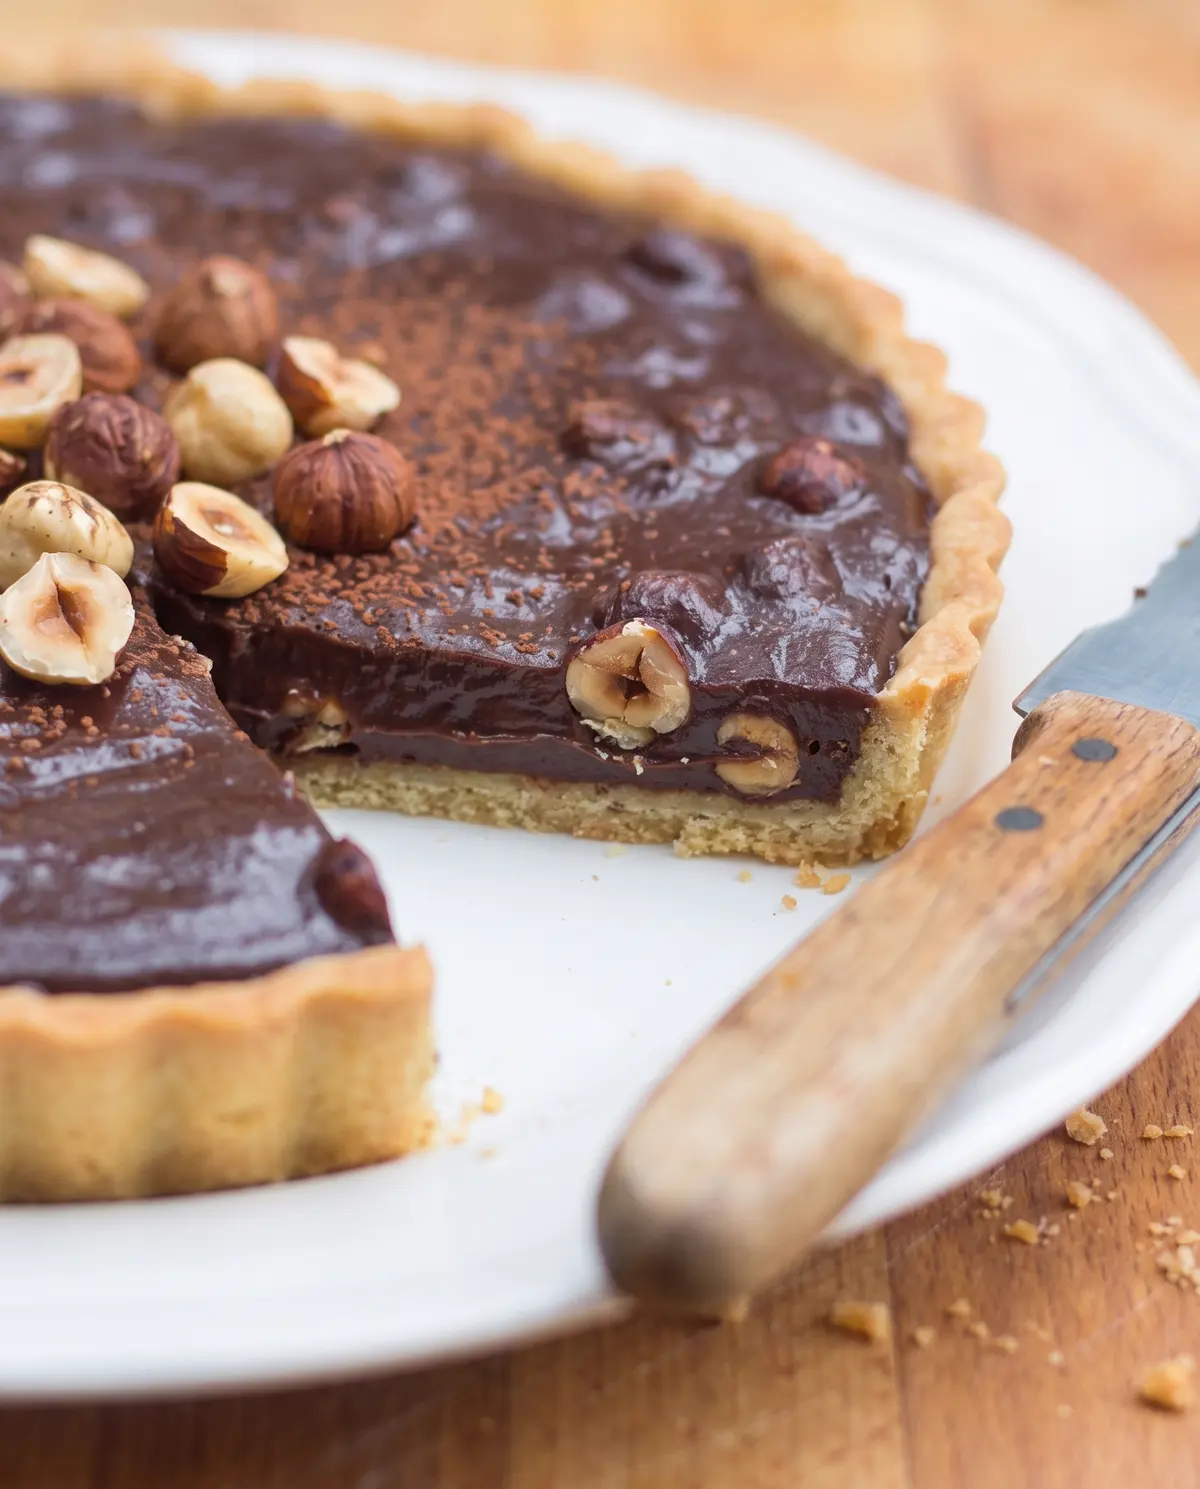
Step 5: Release and serve. Run a knife around the edge of the tart to loosen it from the pan sides before unclasping the springform. Slice and serve cold or at room temperature.
Creative Twists
- Swap the graham cracker crust for an almond biscotti crust for extra nuttiness
- Drizzle the finished tart with melted Nutella before serving
- Add a pinch of sea salt flakes on top for a salty-sweet contrast
- Serve with a dollop of lightly sweetened whipped cream and fresh berries
- Use milk chocolate instead of bittersweet for a sweeter, more kid-friendly version
Serving & Pairing Ideas
This tart is rich enough to hold its own with a simple garnish. A small scoop of vanilla bean ice cream, a few fresh raspberries, or even a drizzle of good olive oil (trust me on this) all complement it beautifully. I love it with a small glass of espresso or a cup of strong black coffee — the bitterness cuts right through the chocolate. How do you take your chocolate? Rich and dark, or sweet and creamy?
Storage & Make-Ahead Tips
The best part about this tart? It’s make-ahead friendly. The tart needs at least 1 1/2 hours in the fridge to set properly, so making it the night before is ideal. It will keep in the fridge for up to 4 days, well covered. The crust will stay crisp for the first day or two, then starts to soften slightly — still delicious, but best eaten sooner rather than later. I don’t recommend freezing this one as the texture changes too much.
Common Mistakes & Easy Fixes
- Crust is too soft or crumbly: You may not have pressed it firmly enough, or the butter was not evenly distributed. Press hard and make sure every crumb is coated.
- Filling is too soft to slice: It has not set long enough. Give it another 30-60 minutes in the fridge. The filling should be firm but still yield to a clean knife.
- Chocolate seized when adding cream: The cream was too hot, or there was steam/water in the bowl. Start over — add a splash more warm cream and stir vigorously.
- Ganache is grainy: This usually means the chocolate was not fully melted before you started. Make sure all pieces are melted before whisking.
- Tart sticks to the pan: Run the knife around the edge while the tart is still cold. If it still sticks, warm the outside of the pan briefly with a warm wet towel.
Your Chocolate Hazelnut Tart Questions, Answered
Can I use a regular tart pan instead of a springform? Yes — just line it with parchment and leave the edges unlined so you can lift it out after setting.
What if I cannot find chocolate-hazelnut spread? You can substitute with additional melted chocolate and a teaspoon of hazelnut extract, or use almond butter as a substitute.
Do I need to toast the hazelnuts first? Yes! Toasting brings out the flavor dramatically. Spread them on a baking sheet and toast at 350°F for 8-10 minutes until fragrant and lightly browned.
Can I use milk chocolate instead of bittersweet? You can, but the tart will be much sweeter. I recommend bittersweet for the best flavor balance.
My tart filling cracked when I sliced it. What happened? It was over-chilled or over-set. Let it sit at room temperature for 10 minutes before slicing for cleaner cuts.
A Little Goodbye from My Kitchen
This chocolate hazelnut tart is the kind of dessert that makes people ask for the recipe immediately. The good news: it’s easier than it looks. The crust takes five minutes, the filling takes ten, and then the fridge does the rest of the work. I make it every time I want to impress someone without spending all day in the kitchen. Which is always, honestly. —Marina Caldwell