Have you ever had one of those summer evenings where the thought of turning on the oven feels like a personal insult? That is exactly the night this chocolate icebox cake was born in my kitchen. My friend Gina and I had been canning peaches all afternoon, and our back porch was so hot the chairs felt like they were sticking to us. She looked at the chocolate wafer cookies I’d just bought and said, “What if we stacked these with cream and let the fridge do the work?” An hour later we were slipping a little loaf pan into the cold shelf, hoping the magic was real.
It was. By morning, those crisp cookies had softened into tender, chocolatey layers and the whole thing sliced like a proper cake. My dad tried a forkful, closed his eyes, and said, “Marina, you have to share this one.” The no-bake dessert that saved our hot summer nights, and the one I make on repeat when I want something that tastes like I fussed for hours but actually took about fifteen minutes of real effort. Ready to make one with me?
Why an Icebox Cake Works Every Single Time
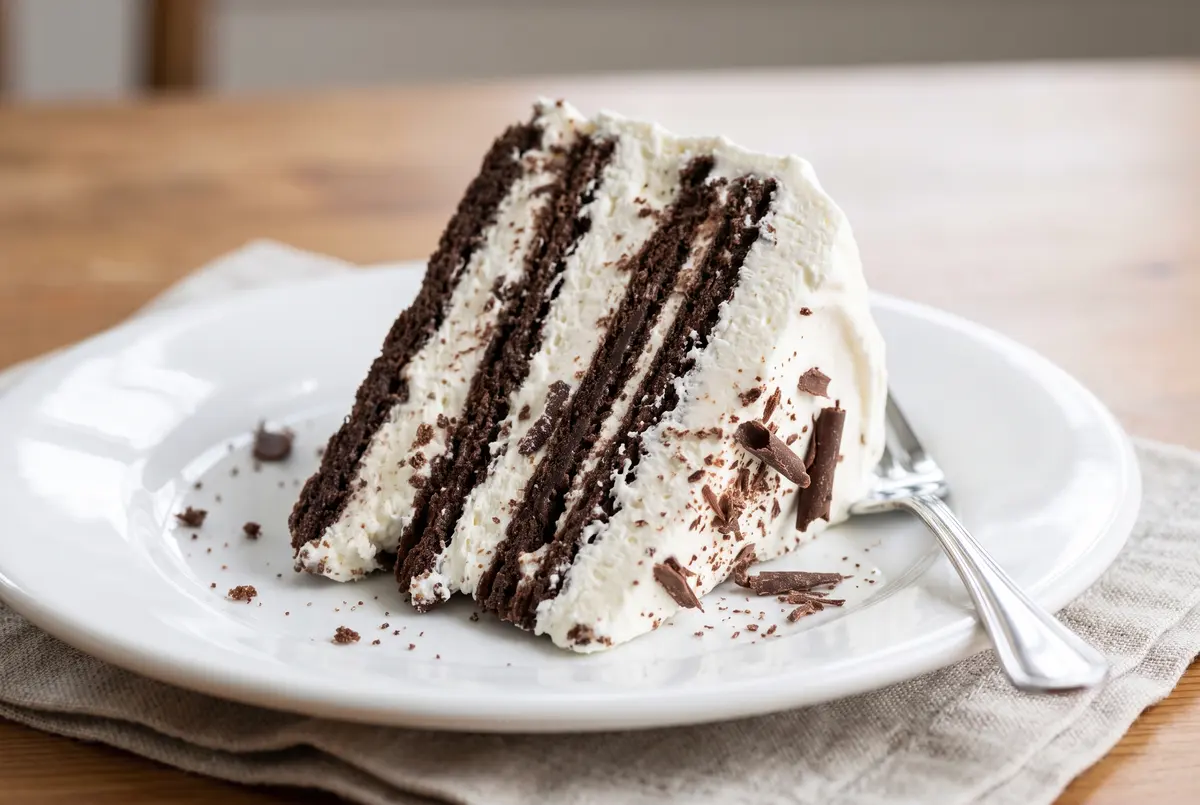
The trick is right there in the name — the icebox, meaning the refrigerator. The magic is osmosis. When you layer thin, crisp cookies with cold whipped cream and let them sit overnight, the moisture from the cream slowly migrates into the cookies. They soften but don’t dissolve, becoming tender, sliceable, and almost fudgy. By morning, what started as a stack of crackers and fluff has transformed into a cake with real layers.
A few details make or break this transformation. Your cream needs stiff peaks — soft cream will weep and your cake will collapse. Your cookies need to be thin and crisp, with no nuts or chunks to get in the way. And you have to give it time: four hours is the minimum, overnight is the sweet spot. The cake gets better on day two, which is one of the things that makes this recipe so reliable.
Chocolate Icebox Cake
This is the recipe I come back to every summer, every potluck, every time someone tells me they have a fridge and a sweet tooth. It’s forgiving, beautiful, and the kind of dessert that makes people think you worked harder than you did. That’s our little secret.
Ingredients
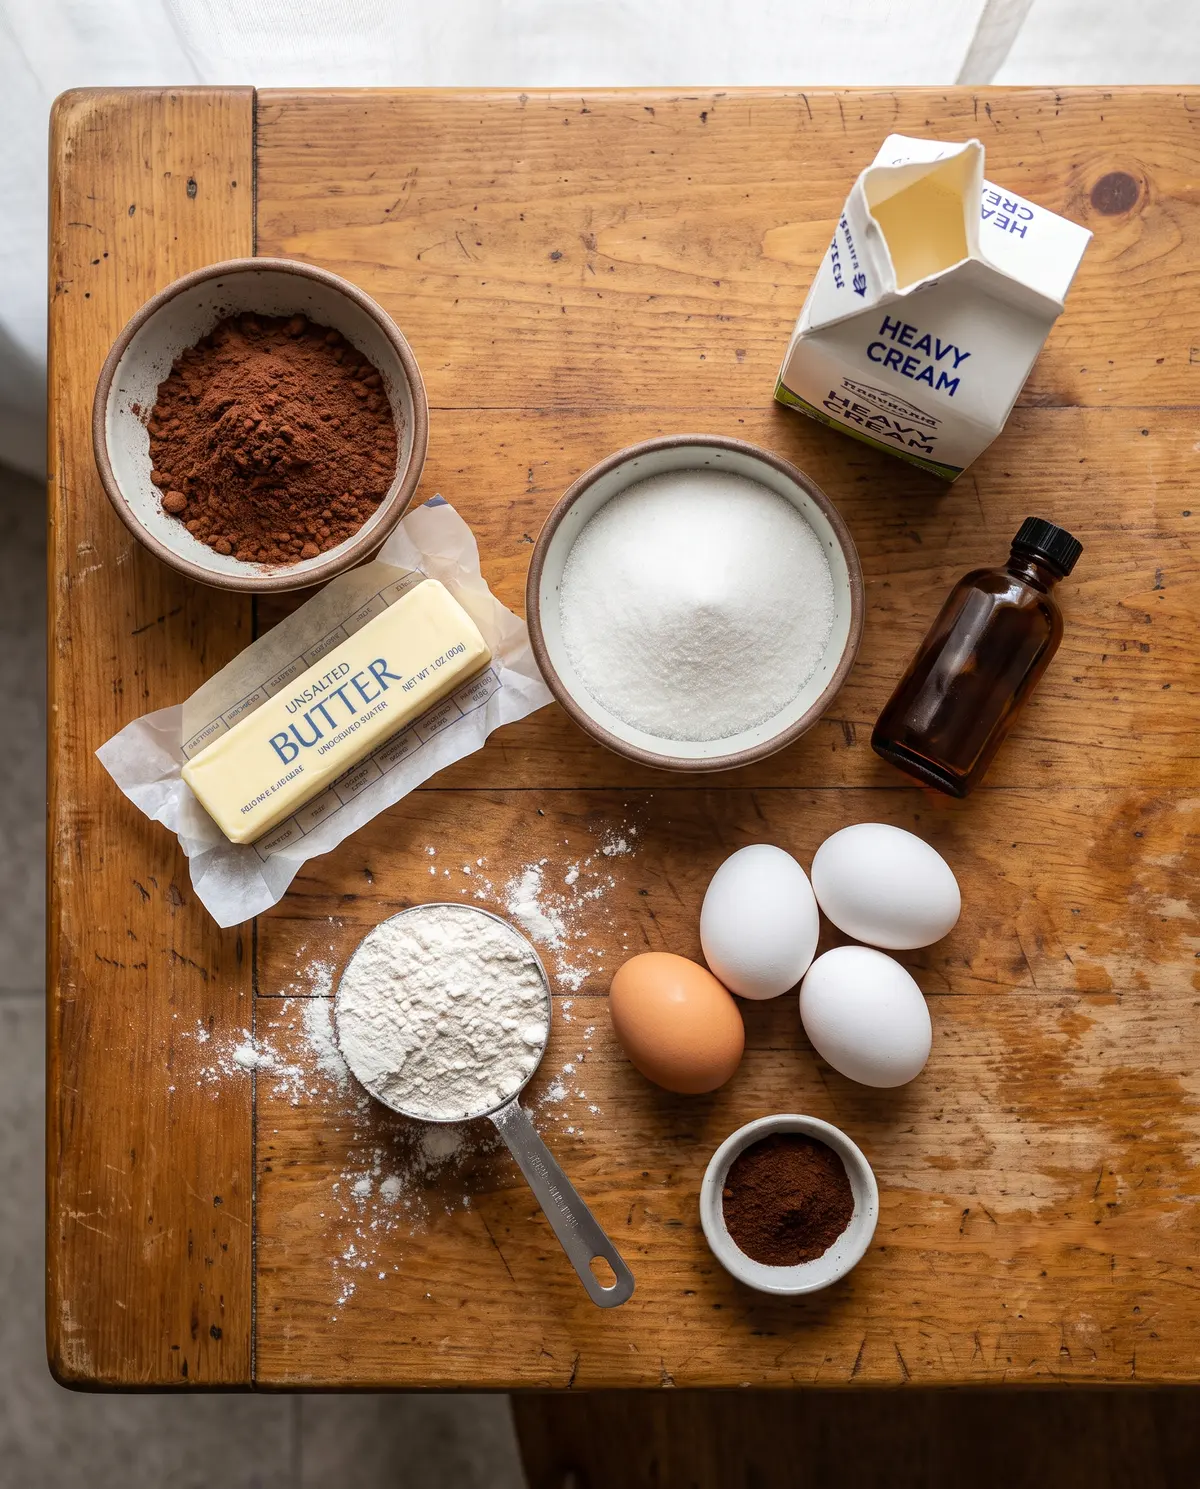
- 1 cup (198g) granulated sugar
- 8 tablespoons (113g) unsalted butter, room temperature
- 3/4 teaspoon table salt
- 1/2 teaspoon baking powder
- 1 teaspoon espresso powder
- 1 large egg
- 1 teaspoon pure vanilla extract
- 1 1/2 cups (180g) all-purpose flour
- 1/4 cup (21g) black cocoa powder
- 1/4 cup (21g) Dutch-process cocoa powder
- 2 cups (454g) heavy cream, very cold
- 1/4 cup (25g) confectioners’ sugar
- 1 1/2 teaspoons pure vanilla extract
- Cocoa powder and chocolate shavings, for dusting
From Cookie Sheet to Cake Stand
Step 1: Make the cookie dough. Cream the butter and sugar until light and fluffy, about two minutes. Beat in the salt, baking powder, espresso powder, egg, and vanilla. Add the flour and cocoas and mix until the dough comes together. Divide in half, pat into discs, wrap, and chill for 30 minutes.
Step 2: Roll, cut, and bake. Preheat the oven to 350°F. Roll one disc of dough between two pieces of parchment until about 1/8-inch thick. Cut out 2 1/2-inch rounds. Slide onto a baking sheet and bake for 9 to 10 minutes — they will look underdone; they firm up as they cool.
Step 3: Whip the cream. In a large chilled bowl, beat the heavy cream, confectioners’ sugar, and vanilla until stiff peaks. This is not the moment to be timid — under-whipped cream is the most common reason an icebox cake turns into a puddle. Stop when the peaks stand up straight.
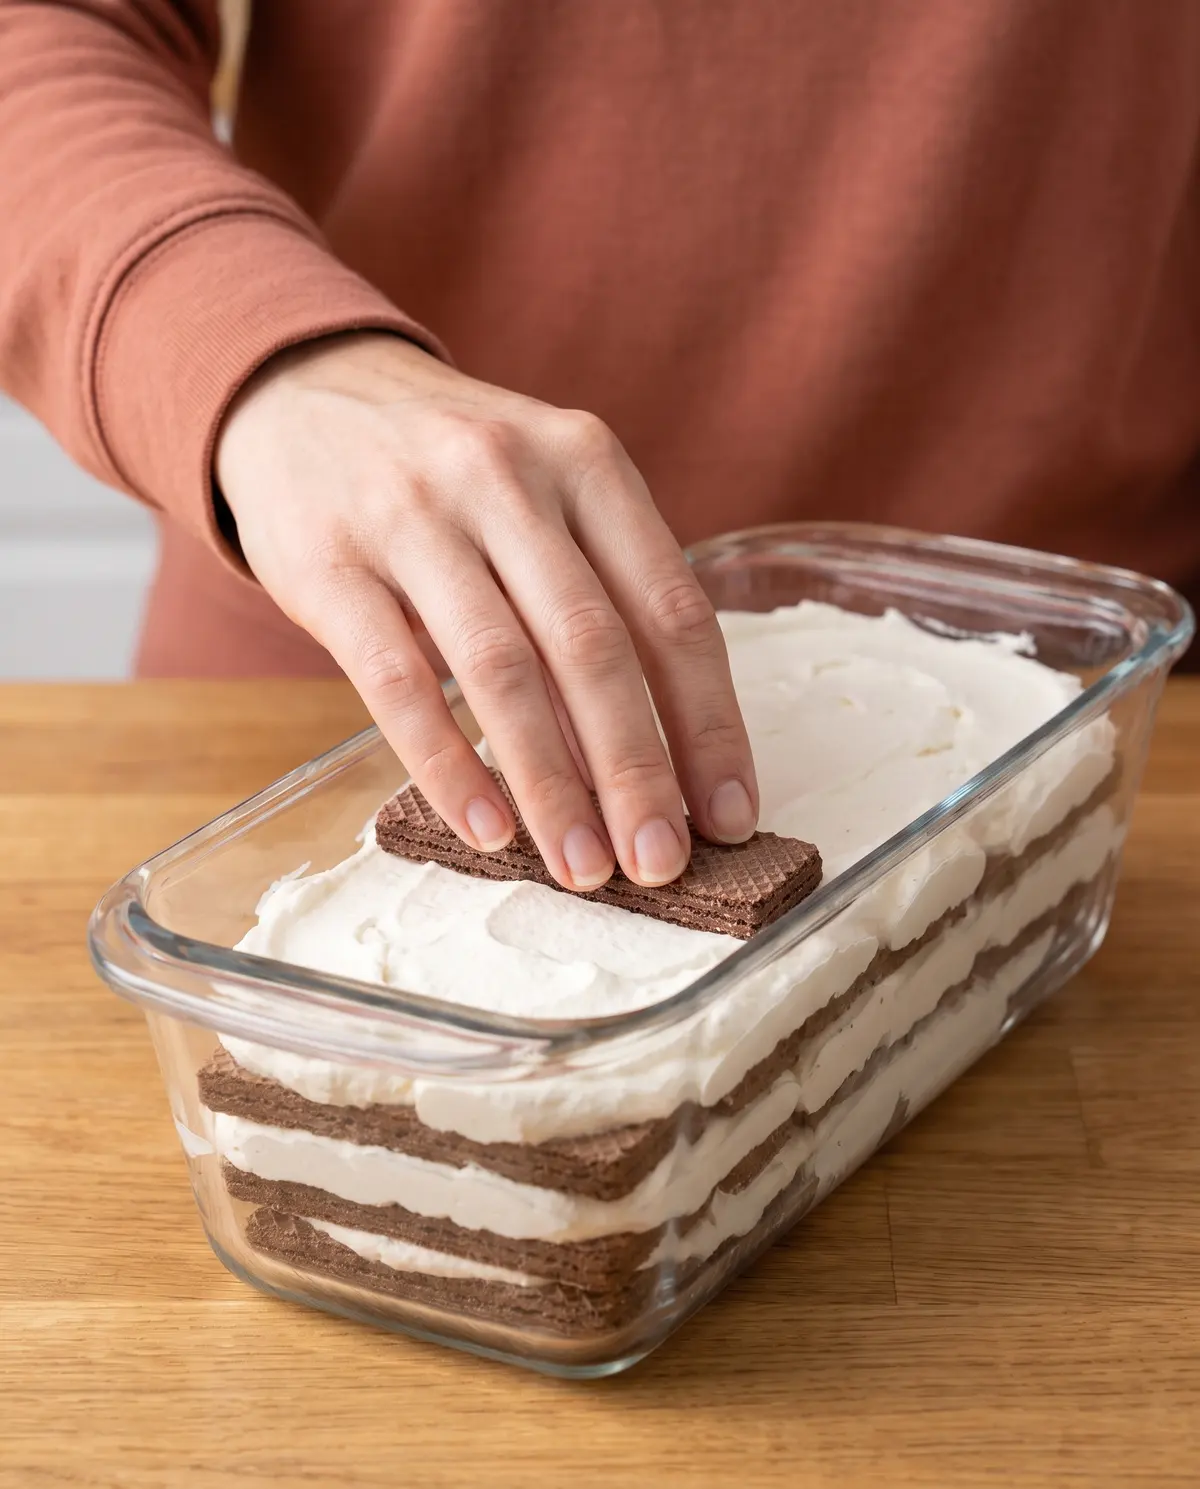
Step 4: Layer it up. Line a 9″ x 5″ loaf pan with plastic wrap, leaving overhang. Spread a 1/2-inch layer of cream across the bottom, then eight cookies, overlapping slightly. Add a thin layer of cream, then more cookies, finishing with a generous layer of cream on top.
Step 5: Chill overnight. Cover and refrigerate for at least 4 hours, ideally overnight. The cookies will soften, the cream will set, and the flavors will meld into something greater than the sum of their parts.
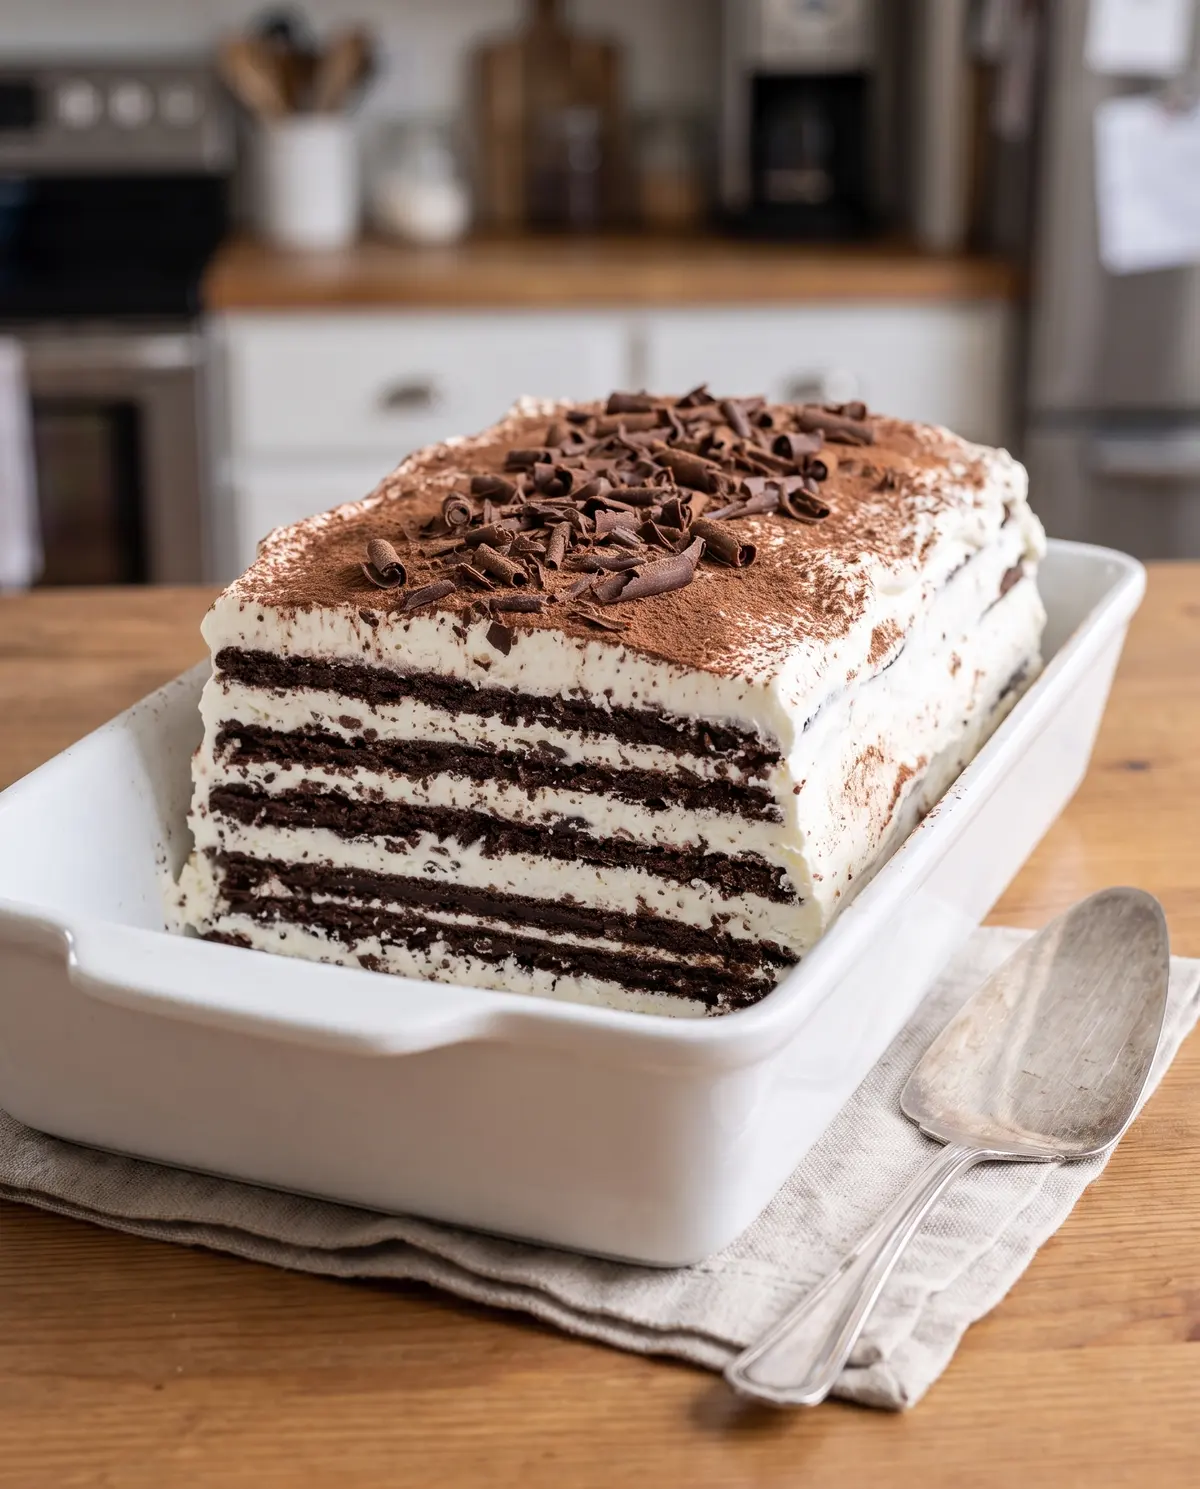
Step 6: Unmold and finish. Use the plastic wrap to lift the cake onto a serving plate. Spread any leftover cream over the top and sides, then dust generously with cocoa powder and chocolate shavings. Slice with a sharp knife dipped in hot water and wiped dry between cuts.
Creative Twists to Try
- Espresso kick: Brush each cookie layer with a tablespoon of cooled espresso before adding the cream. It deepens the chocolate flavor in a way that feels almost grown-up.
- Berry layer: Tuck a thin layer of fresh raspberries or sliced strawberries between two of the cream layers. The berries add brightness and cut the richness.
- Salted caramel drizzle: Just before serving, drizzle the top with a few tablespoons of warm salted caramel. A little goes a long way.
- Cookies-and-cream: Use chocolate sandwich cookies (with the filling) instead of plain wafers. It tastes like childhood.
Serving & Pairing Ideas
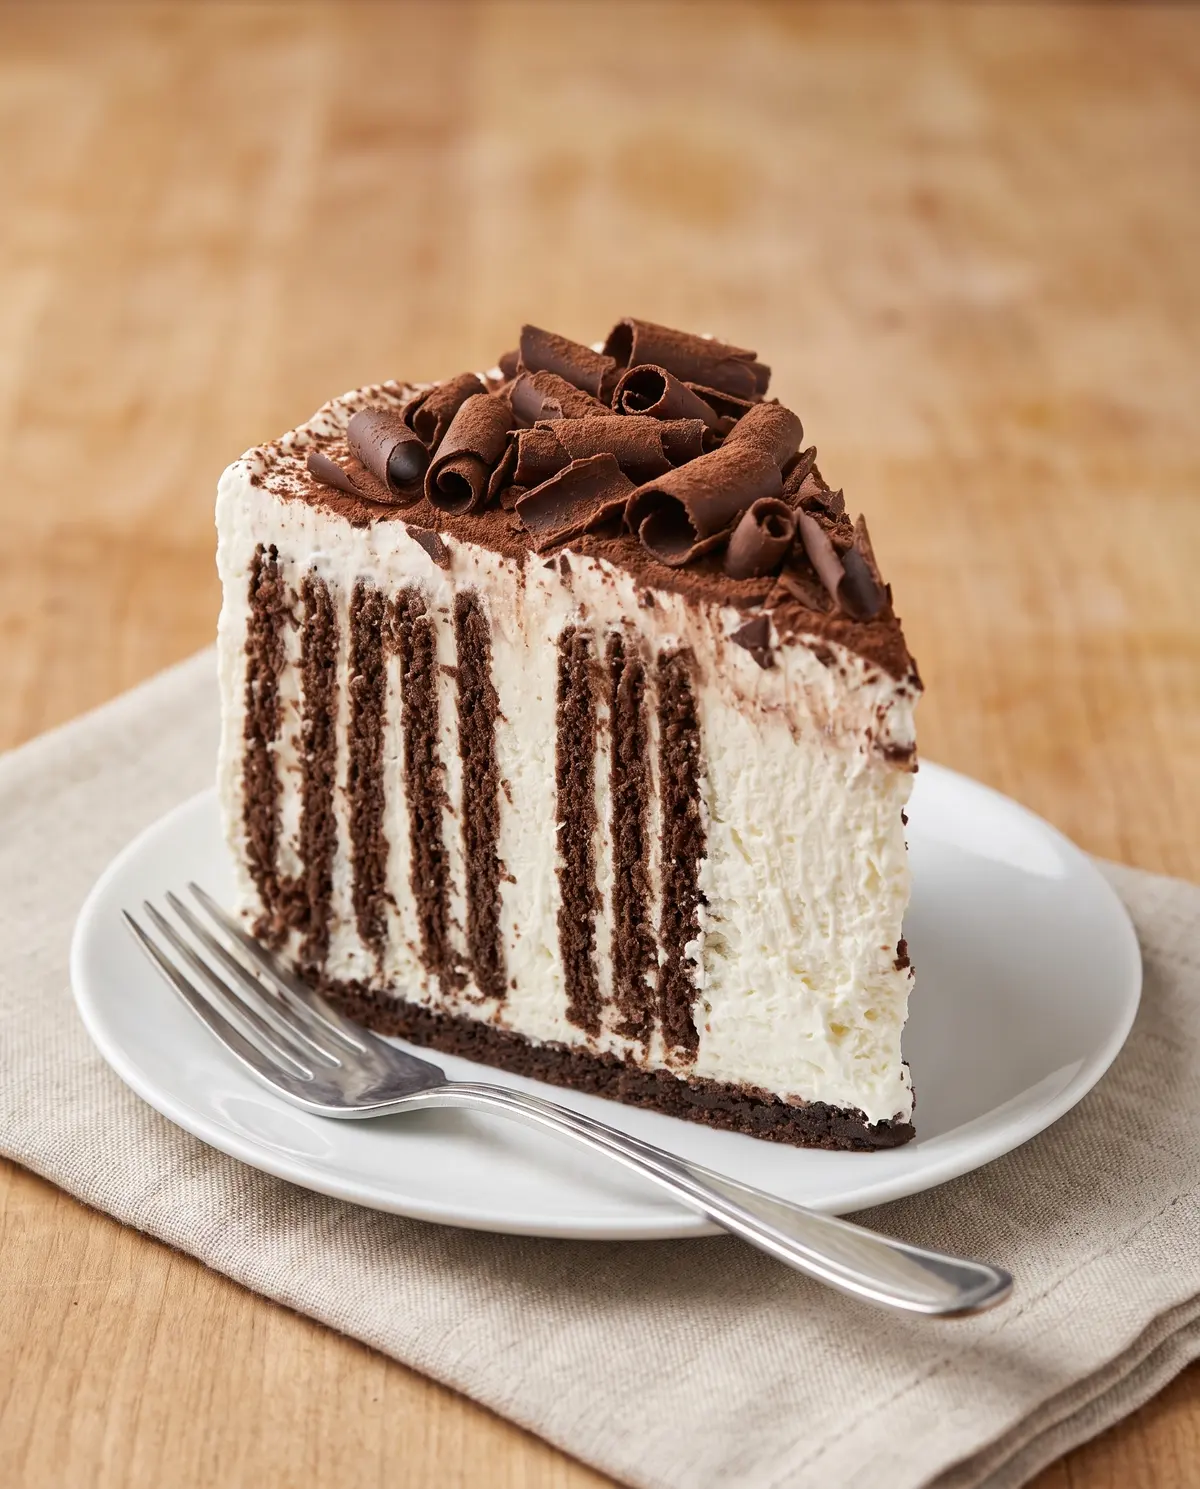
Slice the cake thick — at least an inch — so each piece shows off those beautiful dark layers. Serve it very cold, straight from the fridge. A forkful with a small cup of espresso or a glass of cold milk is the simplest way to enjoy it. For a dinner party, I love pairing it with a glass of tawny port — the slight bitterness plays so nicely against the sweet cream. A dusting of cocoa powder is classic on top, and a few fresh raspberries add color and a little tartness.
Why I Love This Cake
There is something deeply comforting about a dessert that requires almost no skill and no oven. The best recipes aren’t always the most impressive ones — they’re the ones that bring people back to the table. This cake asks for fifteen minutes of your hands and the rest of the night from your fridge, and in return gives you a beautiful, sliceable cake. Have you ever made something that became a tradition in someone else’s house?
Storage and Make-Ahead Tips
Store leftover slices in an airtight container in the refrigerator for up to four days. The cake actually gets better on day two and three as the layers continue to meld, so don’t be afraid to make it ahead. You can also freeze the whole cake (without the cocoa dust on top) for up to one month. Wrap tightly in plastic, then foil, and freeze.
Troubleshooting Your Icebox Cake
My cake is too soft and won’t slice. It probably needs more chill time. Pop it back in the fridge for another 2 to 4 hours. If it’s still too soft on day two, your cream may have been under-whipped, or your cookies may have been too thick.
My cookies stayed crunchy. Either they were too thick, or you didn’t give the cake long enough. Thin, crisp cookies will soften in 8 to 12 hours. Thicker cookies may need 24 hours and will never quite turn cake-like.
The cream looks grainy or curdled. You over-whipped it. Start over with cold cream and a cold bowl, and stop the moment you see stiff peaks — not a second later.
Your Quick Questions, Answered
Can I use store-bought cookies? Absolutely. Two 9-ounce boxes of chocolate wafer cookies (like Nabisco Famous) will give you the perfect amount for a 9×5 loaf pan. The recipe was originally written for store-bought, and it works like a dream.
Do I have to chill it overnight? At least 4 hours is the minimum for the cookies to soften enough to slice cleanly. The texture is best with the long, slow chill, so plan ahead when you can.
Can I make this in a different pan? Yes. A 9-inch round cake pan, a 9×9 square pan, or even a trifle bowl all work. A trifle bowl is especially pretty because you can see the layers from the side.
Is it safe to leave at room temperature for a party? The cream is dairy, so the cake should not sit out for more than 2 hours. Keep it in the fridge and bring it out in batches if your party runs long.
A Little Goodbye from My Kitchen
Thank you for baking with me today. I hope this chocolate icebox cake makes its way into your summer, your potlucks, and the slow weekend afternoons when you need a little sweetness. If you make it, I’d love to hear how it turned out — what cookies you used, what twists you tried, who you shared it with. The comments on marina.savorydiscovery.com are always open, and I read every single one. If you love this kind of effortless chocolate dessert, you might also enjoy my no-bake chocolate tart and my grandmother’s classic chocolate layer cake. Let me know which one you’d try first?
Happy baking!
—Marina Caldwell
Chocolate Icebox Cake
Ingredients
- 1 cup (198g) granulated sugar
- 8 tablespoons (113g) unsalted butter, room temperature
- 3/4 teaspoon table salt
- 1/2 teaspoon baking powder
- 1 teaspoon espresso powder
- 1 large egg
- 1 teaspoon pure vanilla extract
- 1 1/2 cups (180g) all-purpose flour
- 1/4 cup (21g) black cocoa
- 1/4 cup (21g) Dutch-process cocoa
- 2 cups (454g) heavy cream
- 1/4 cup (25g) confectioners’ sugar
- 1 1/2 teaspoons pure vanilla extract
Instructions
- Lightly grease (or line with parchment) two baking sheets.
- To make the cookies: beat together the sugar, butter, salt, baking powder, and espresso powder until creamy.
- Beat in the egg and vanilla, then the flour and cocoas. Cover the dough and chill for 30 minutes. Preheat the oven to 350°F.
- Roll the dough about 1/8″ thick; use cocoa instead of flour to dust your rolling board and the dough.
- Cut into 2 1/2″-round cookies. Bake for 9 to 10 minutes and let cool completely.
- To make the cream filling: combine the heavy cream, sugar, and vanilla. Whip until stiff peaks form.
- Line a 9″ x 5″ loaf pan with plastic wrap, leaving overhang on the long sides.
- Spread a 1/2″ layer of whipped cream across the bottom of the pan.
- Place eight wafers atop the cream, overlapping as necessary. Spread with a thin layer of cream, then place another eight cookies on top. Continue layering until all cookies are used.
- Cover the tops of the cookies with whipped cream, cover the pan, and chill for at least 4 hours, preferably overnight.
- Turn the cake out of the pan to serve, spreading any remaining whipped cream on top. Dust with cocoa and chocolate shavings.