A Little Story From My Kitchen
Have you ever reached for a thumbprint cookie and felt a little wave of holiday calm wash over you? That is the feeling I chase every time I make these chocolate thumbprint cookies, and let me tell you, it never gets old.
My friend Gina showed up to book club one December with a Tupperware container of these tucked under her arm like a secret weapon. She set them on the coffee table, lifted the lid, and the room went quiet. Three women, four batches of cookies, and these vanished first. I begged her for the recipe, and now they are a Caldwell family must-make every single year.
My dad, who is the toughest cookie critic you will ever meet, called them “the only chocolate cookie that actually tastes like a cookie and not a piece of fudge in disguise.” Coming from him, that is a standing ovation.
Why This Dough Works Every Time
The trick is in how few ingredients there are. With only butter, powdered sugar, flour, cocoa, salt, and vanilla, every single one has a job. There is nowhere for a mediocre ingredient to hide. That is why I always reach for Dutch-processed cocoa — it gives the dough a deeper, almost brownie-like flavor without making it bitter.
Powdered sugar instead of granulated is the other unsung hero here. It keeps the crumb tender and almost melt-in-your-mouth, the way a shortbread should be. Granulated sugar would make these snappy, and that is not the texture we are going for. Trust me on this one.
And the ganache? Hot cream poured over good chocolate, two minutes of patience, one slow whisk. That is the whole thing. Have you ever tried to rush a ganache with a whisk going a hundred miles an hour? You will end up with a bowl of chocolate soup. Slow and steady, my friend.
Chocolate Thumbprint Cookies
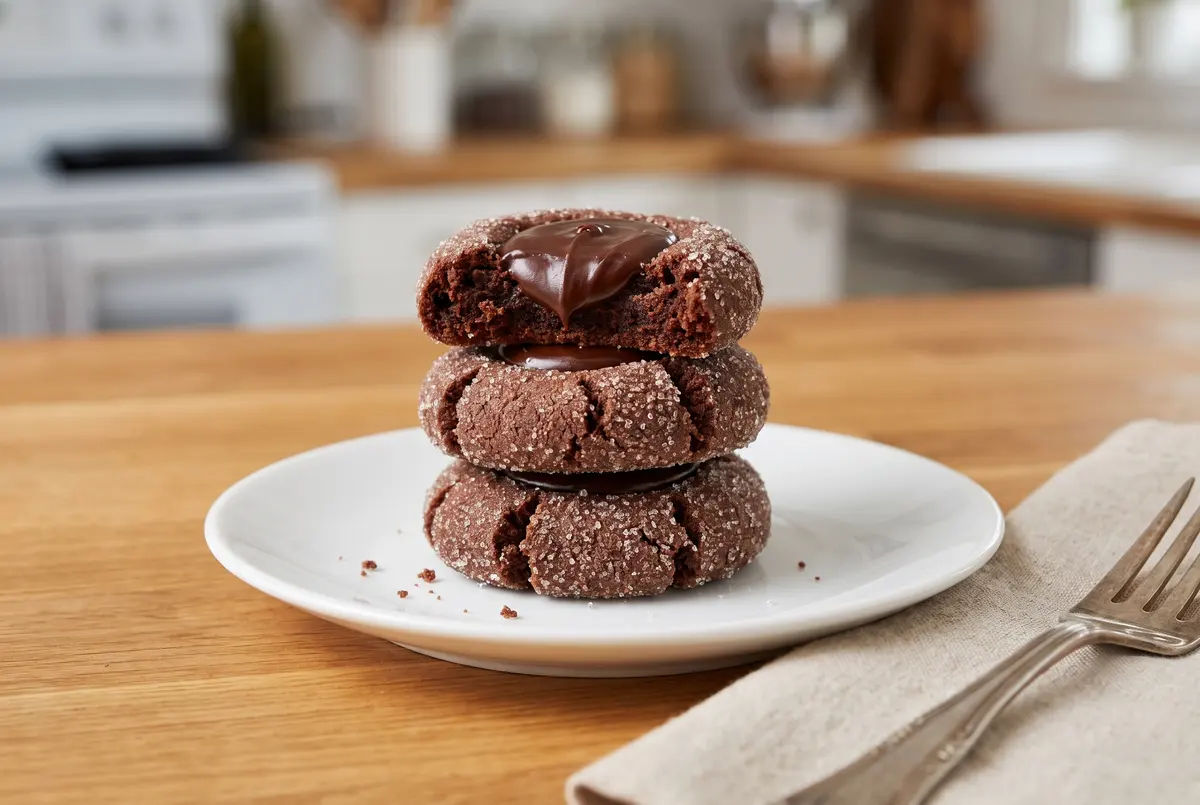
If you have been searching for that one perfect chocolate cookie that delivers big chocolate flavor but still feels like a cookie, you are about to meet your match. These are tender, rich, and just the right amount of fancy for a holiday tray, a Tuesday night, or a midnight snack you will absolutely not share with anyone.
Ingredients You Will Need
Everything below is pantry-staple friendly. No specialty store runs, I promise.
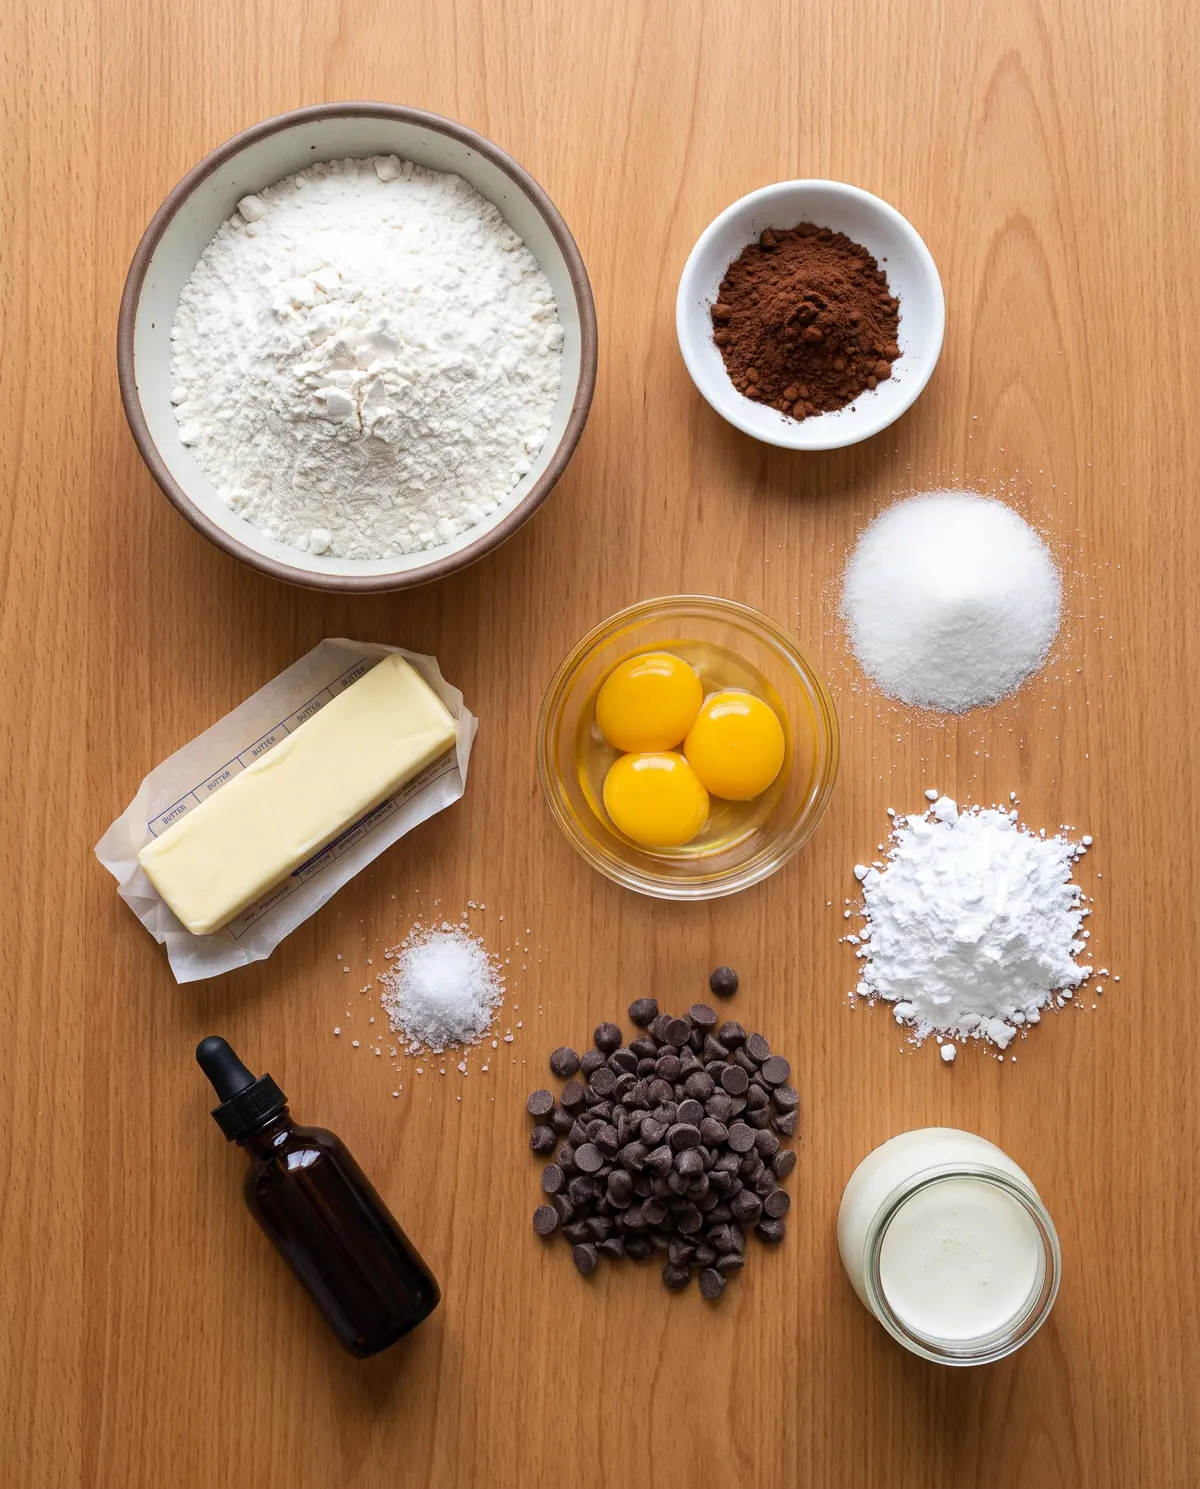
- 1/2 cup unsalted butter, softened
- 1/3 cup powdered sugar
- 1 cup all-purpose flour
- 1/3 cup Dutch-processed cocoa powder
- 1/2 teaspoon kosher salt
- 1 teaspoon vanilla extract
- 1/4 cup granulated sugar, for rolling
- 1/3 cup jam, optional (raspberry is my favorite)
- 1/2 cup bittersweet chocolate, chopped or morsels
- 1/2 cup heavy cream
From Bowl to Plate, Step by Step
Take a deep breath, tie your apron, and let us bake together.
Step 1: Cream the butter and powdered sugar. In the bowl of a stand mixer fitted with the paddle attachment, beat the softened butter and powdered sugar on medium for about 2 minutes, until it looks pale and fluffy. Scrape the bowl down at least once. This is the only chance you have to build air into a dough this simple, so do not skip it.
Step 2: Add the dry ingredients and vanilla. With the mixer on low, add the flour, cocoa powder, salt, and vanilla. Mix just until the dough comes together. The moment you no longer see streaks of flour, stop. Overmixing is the fastest way to a tough cookie.
Step 3: Roll, sugar, indent. Pinch off pieces of dough about an inch across. Roll them into balls, then roll each one in granulated sugar. Place on a parchment-lined baking sheet about an inch apart. Press your thumb (or the back of a 1/4 teaspoon measure, if you want them to all look the same) into the center of each ball to make a well about halfway deep.
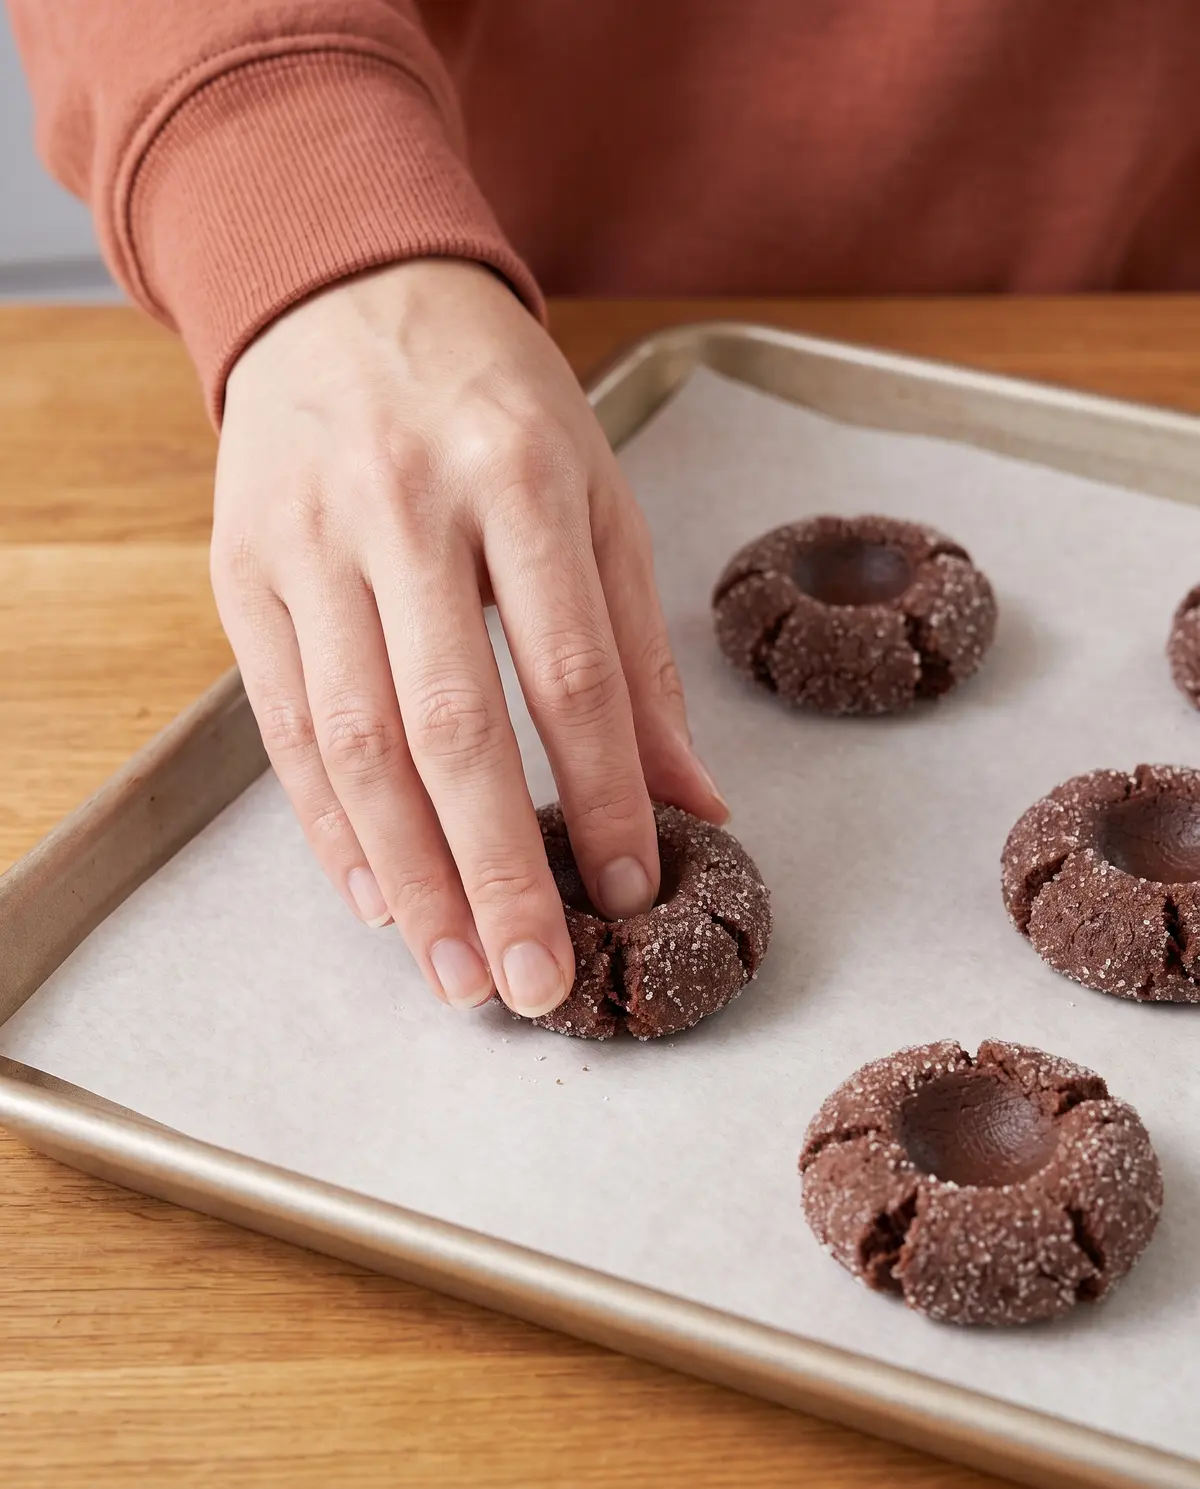
Step 4: Bake low and slow. Slide the tray into a 325°F oven and bake for 12 to 15 minutes. Rotate the tray at the 6-minute mark. The cookies are ready when the surface looks matte and the edges are just set. Pull them out and, if you are filling with ganache, press the centers down one more time while they are hot.
Step 5: Make the ganache. While the cookies cool, place the chopped chocolate in a heatproof bowl. Heat the cream just until it simmers, then pour it over the chocolate. Walk away for 2 full minutes — this is not optional. After 2 minutes, start whisking slowly from the center outward. The ganache will come together in glossy, swoon-worthy ribbons.
Step 6: Fill the thumbprints. Let the cookies cool completely, then pipe or spoon ganache into each well. If you have a piping bag, use it. If not, a small spoon and a little patience works just fine. Let the ganache set for about 30 minutes before stacking them, if you can resist that long.
Creative Twists Worth Trying
Once you have the base down, you can riff on these all year long. Here are a few of my favorite spins.
- Salted caramel thumbprints — fill the wells with a soft caramel and finish with flaky Maldon sea salt.
- Raspberry jam thumbprints — skip the ganache and use 1/3 cup of warm seedless raspberry jam for a holiday classic.
- Espresso lovers — whisk 1 teaspoon of instant espresso into the cocoa powder for a mocha-style cookie.
- Peppermint bark style — sprinkle crushed candy canes over the ganache before it sets.
- Nutella thumbprints — swap the ganache for a generous dollop of Nutella. My dad demanded this version and I am not mad about it.
Serving and Pairing Ideas
These cookies are showstoppers on a holiday tray, but they earn their keep year-round too. Here is how I love to serve them.
- A cold glass of milk and a quiet evening with a good book.
- A scoop of vanilla bean ice cream sandwiched between two cookies for an over-the-top dessert.
- Paired with a bold espresso or a small glass of port after dinner.
- Piled on a tiered cake stand with sprigs of fresh rosemary tucked between layers for a Christmas table.
- Wrapped in parchment paper, tied with twine, and gifted to the neighbor who always lends you sugar.
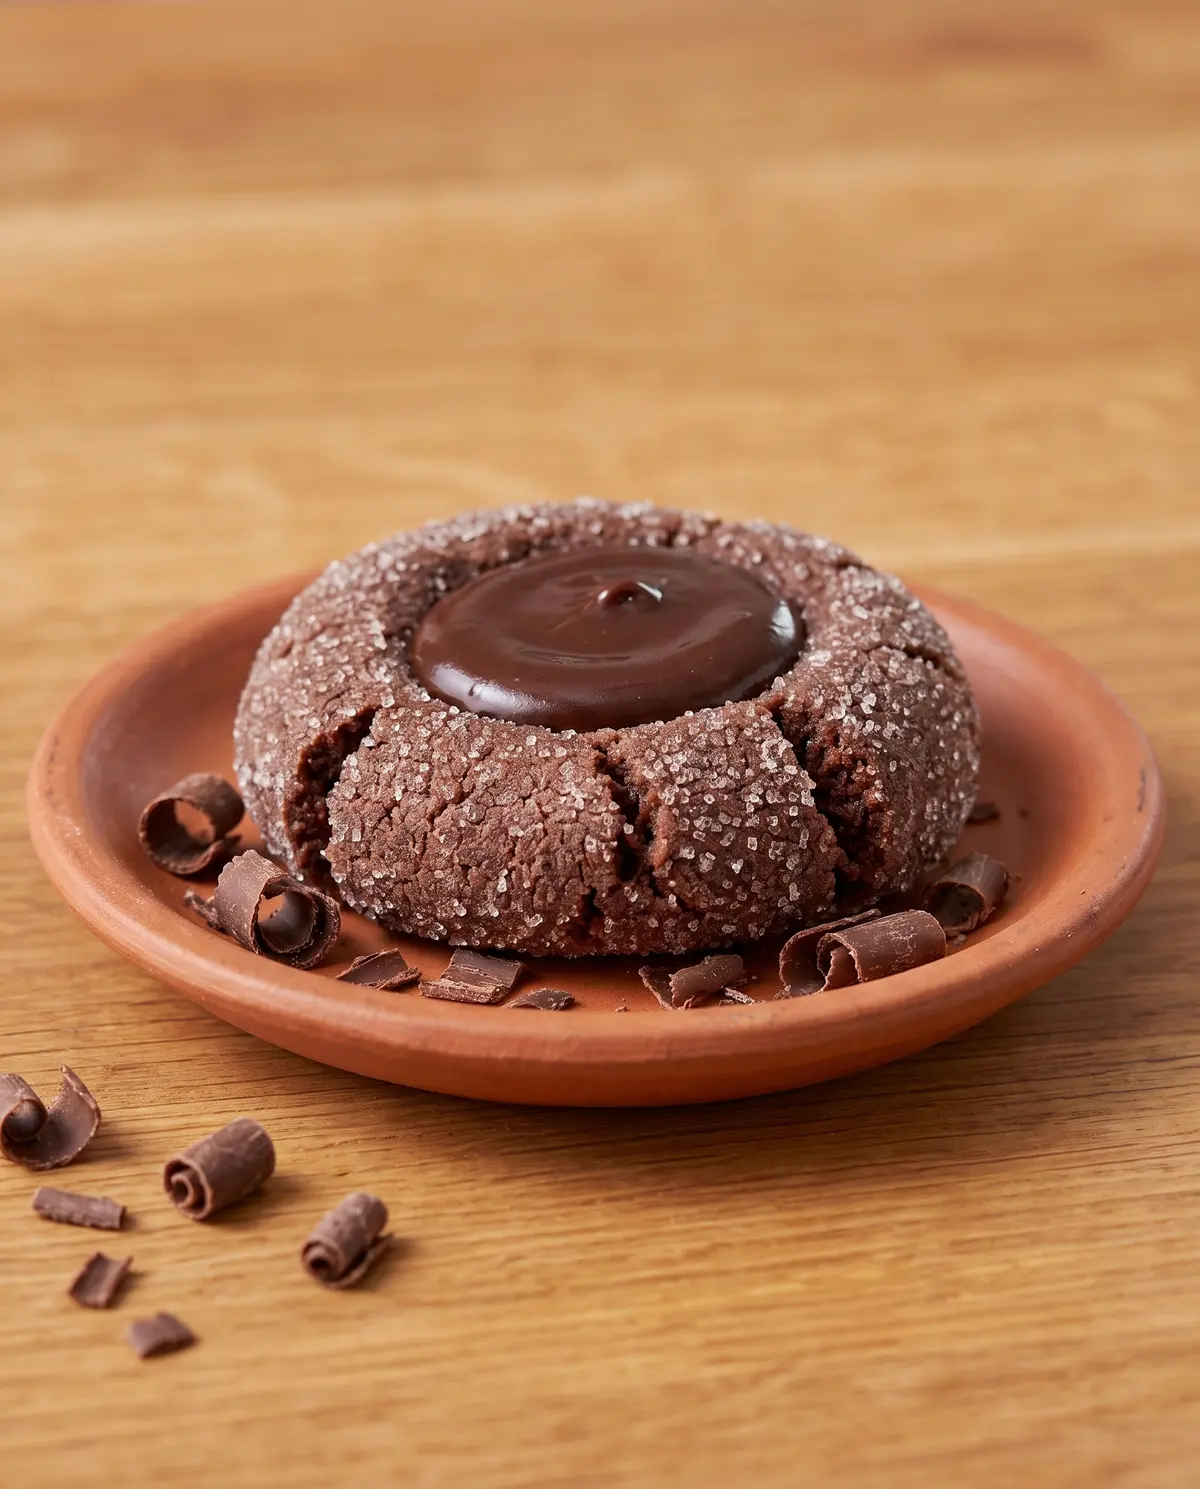
Why I Love These Cookies So Much
I love a recipe that is forgiving. I love a recipe that tastes like it took all afternoon but actually only took twenty minutes. I love a cookie that holds its own next to gingerbread, snickerdoodles, and peppermint bark without getting lost in the crowd.
More than that, I love that these chocolate thumbprint cookies taste like the holidays I grew up with, when my mom would let me press the dough with my thumb even though her perfectly round ones were “better.” Hers were not better, by the way. Mine were better. Hers were just rounder.
Storage and Make-Ahead Tips
These cookies keep beautifully, which makes them a gift-giving dream.
- Room temperature: store in an airtight container for up to 3 days. The ganache will stay soft and glossy.
- Refrigerator: keeps well for up to a week. Bring back to room temperature before serving for the best flavor and texture.
- Freezer: freeze unfilled cookies for up to 2 months. Thaw, then fill with fresh ganache before serving.
- Make-ahead dough: the dough can be made up to 3 days ahead and kept in the fridge. Let it soften on the counter for 10 minutes before rolling.
- Freeze the baked cookies flat on a sheet pan, then transfer to a zip-top bag. They will not stick together.
Troubleshooting Your Cookies
A few small bumps and easy fixes in case things go sideways.
- Cookies spread too much — your butter was too soft. Next time, leave the dough in the fridge for 20 minutes before baking.
- Cookies are dry or crumbly — you probably added a touch too much flour. Spoon and level, do not scoop.
- Ganache looks grainy — the cream was not hot enough, or you whisked too fast. Add a tablespoon of warm cream and whisk gently from the center.
- Thumbprints disappeared in the oven — press them down again the moment the cookies come out. Hot cookies are cooperative cookies.
- Cookies taste bitter — switch to Dutch-processed cocoa if you have not already, and double-check your salt measurement.
Your Quick Questions, Answered
Can I make the dough ahead of time? Absolutely. The dough keeps in the fridge for up to 3 days, and it actually rolls more easily when it is cold.
Can I use regular cocoa instead of Dutch-processed? You can, but the cookies will taste a little more sharp and less rounded. If you only have natural cocoa, add an extra tiny pinch of salt to round things out.
Do I have to fill them with ganache? No, and they are lovely with a teaspoon of raspberry jam tucked into the well. My mom is a jam loyalist, and she is never wrong about cookies.
How do I get perfectly round thumbprints? Use the back of a 1/4 teaspoon measuring spoon instead of your thumb. It is faster, more uniform, and your thumbs will thank you.
Can I make these gluten-free? Yes. A 1-to-1 gluten-free flour blend works beautifully here. Let the dough rest for 10 minutes before rolling if it seems a little dry.
A Little Goodbye From My Kitchen
I hope these cookies make their way into your kitchen, your holiday tray, and maybe even your book club. There is something about a thumbprint cookie that feels like a small, perfect moment — the indent in the middle just waiting to be filled with something good.
If you make them, I would love to hear how they turn out. Which filling did you choose? Did your dad approve? Did Gina get the first one? Tell me everything, I am always rooting for you from my little corner of the internet.
Until the next recipe, happy baking!
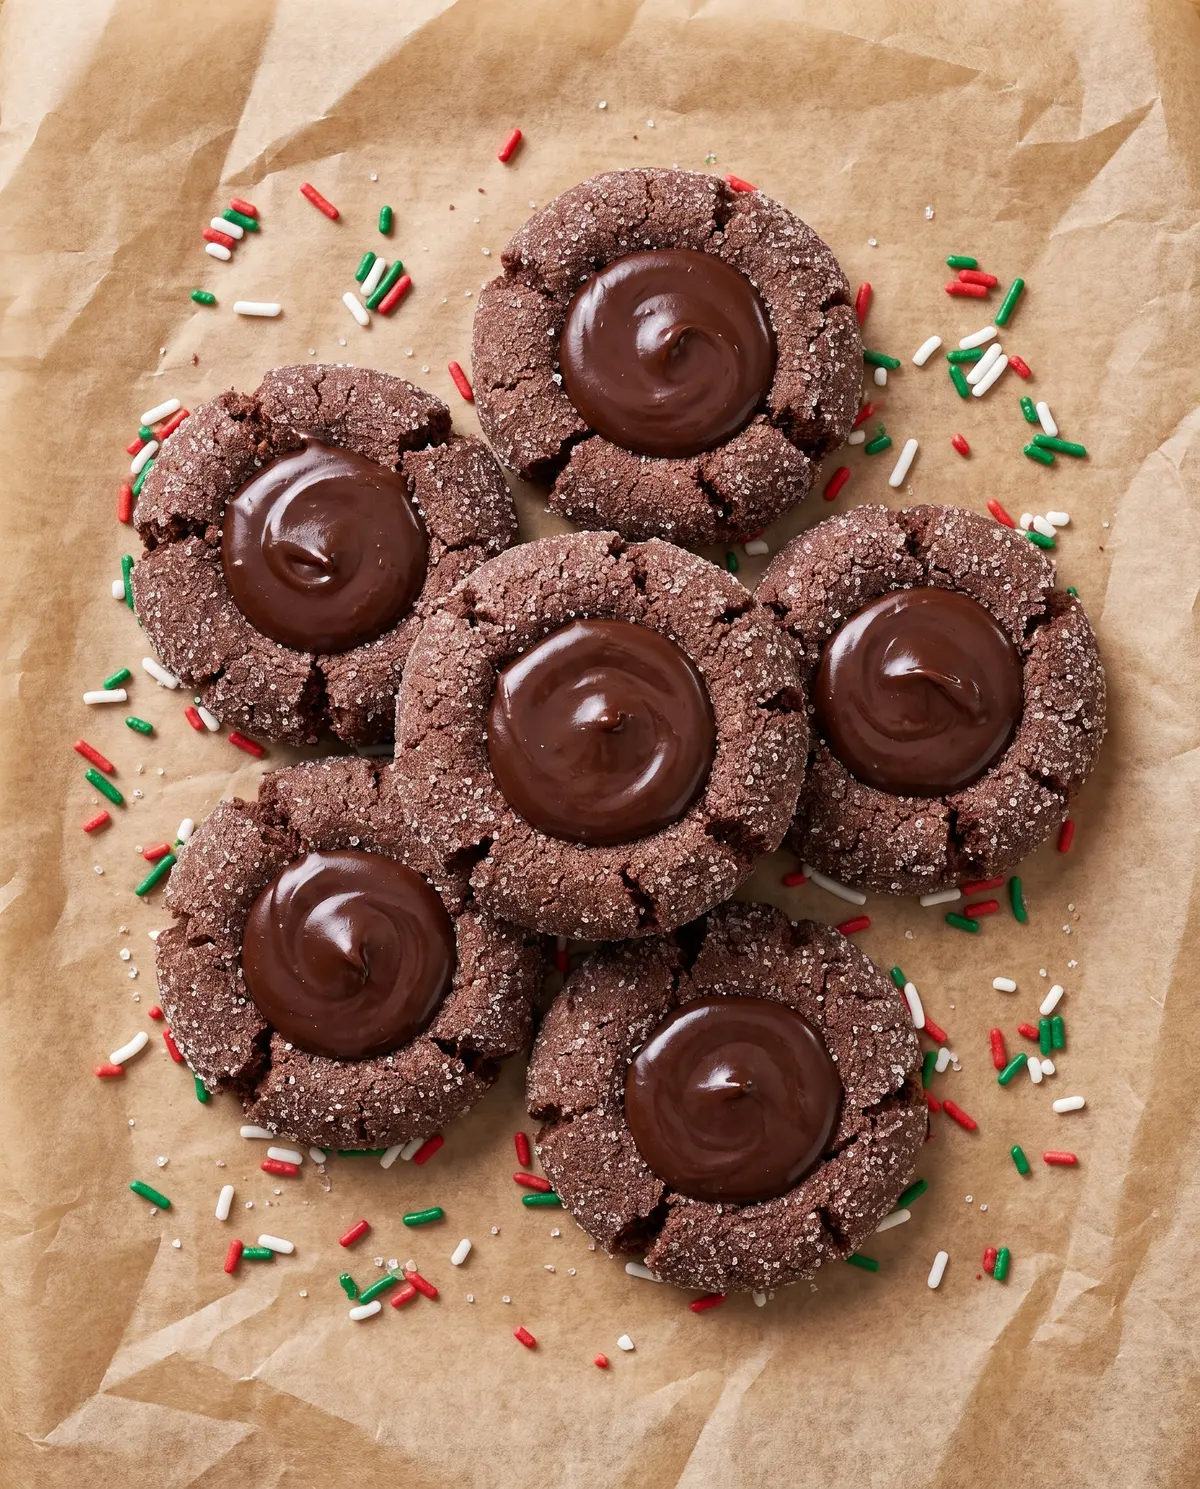
Chocolate Thumbprint Cookies with Ganache
Ingredients
- 1/2 cup unsalted butter, softened
- 1/3 cup powdered sugar
- 1 cup all-purpose flour
- 1/3 cup Dutch-processed cocoa powder
- 1/2 tsp kosher salt
- 1 tsp vanilla extract
- 1/4 cup granulated sugar, for rolling
- 1/3 cup jam, optional
- 1/2 cup bittersweet chocolate, chopped or morsels
- 1/2 cup heavy cream
Instructions
- Prep the oven. Preheat the oven to 325°F conventional (no fan) and line one baking sheet with parchment paper. I do not recommend using the convection setting for these cookies.
- Mix the dough. In the bowl of a stand mixer fitted with the paddle attachment, add all the ingredients (butter, powdered sugar, flour, cocoa powder, salt, and vanilla). Mix on medium-low until a soft, uniform dough comes together.
- Shape and sugar. Pinch off pieces of dough about an inch across, roll into balls, then roll in granulated sugar. You will have approximately 15 cookies.
- Make the thumbprints. Place on the parchment-lined baking sheet about an inch apart, slightly offset. Press your thumb or forefinger gently into the center of each cookie to make an indentation about halfway into the dough.
- Bake. Bake for 12 to 15 minutes, or until the surface looks matte and no longer glossy. Rotate the tray after 6 minutes. If filling with ganache, press the centers down slightly right out of the oven to make room for the filling.
- Make the ganache. While the cookies bake, place the chocolate in a bowl set on a folded tea towel. Heat the cream just until it comes to a boil, then pour it over the chocolate. Let it sit undisturbed for 2 minutes, then whisk slowly from the center outward until a smooth ganache forms. Transfer to a piping bag or cover the surface with plastic wrap and let cool.
- Fill and set. Once the cookies are completely cool, pipe or spoon ganache into each thumbprint. Let the thumbprints set, or do not — they are delicious even if you cannot wait.
Chocolate Thumbprint Cookies
Happy baking!
—Marina Caldwell