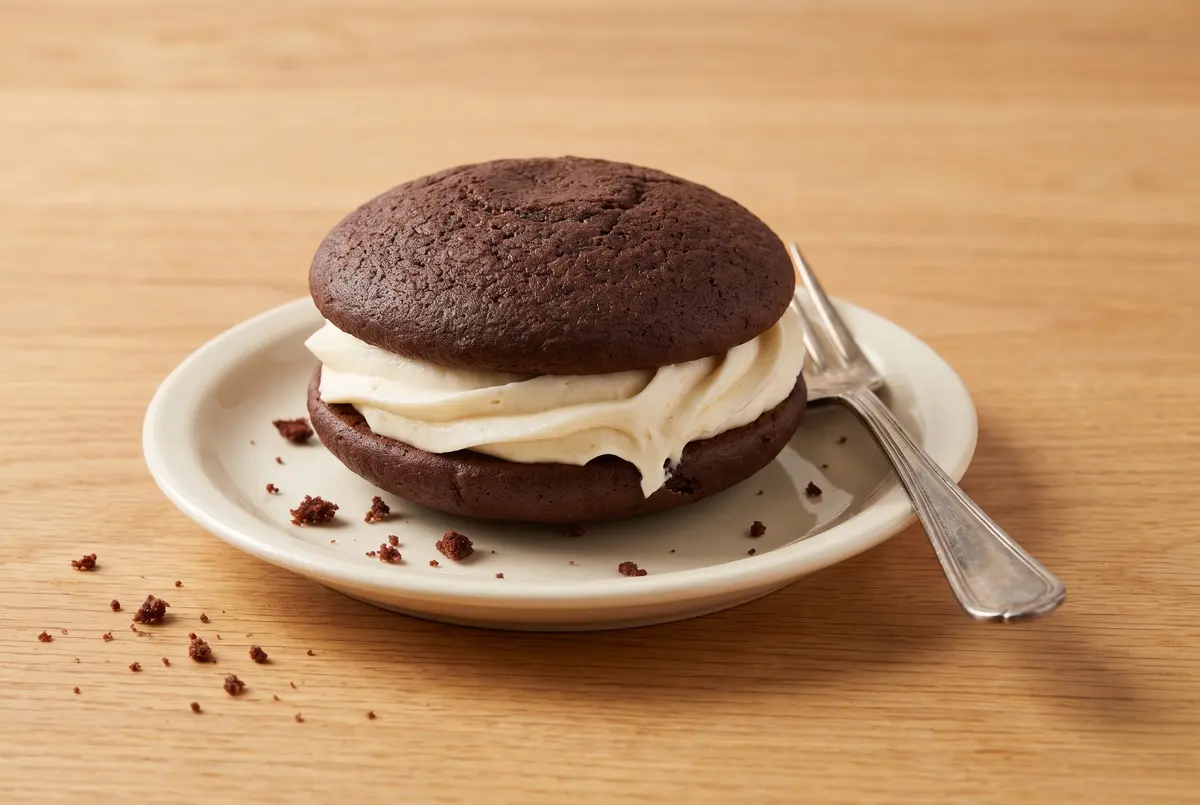
Have you ever bitten into a whoopie pie and just stopped talking for a second? That little pause, the soft cake giving way to sweet, pillowy buttercream — that is the whole point of this dessert, and I am absolutely here for it. My grandmother Gina used to call whoopie pies “the cake that thinks it’s a cookie,” and honestly, she was right. Two tender, cocoa-rich rounds hugging a cloud of vanilla buttercream is the kind of treat that turns an ordinary Tuesday into something worth remembering.
I started baking whoopie pies in college, on a tiny apartment oven that ran about twenty degrees too hot no matter what I did. I burned the first batch, underbaked the second, and on the third try, I finally figured out the trick: room temperature everything, gentle mixing once the flour goes in, and a soft touch when you are sandwiching the filling. That is it. No fancy equipment, no weird ingredients, just a little patience and a good appetite. If you have ever made my fudgy chocolate brownies, this is going to feel familiar territory.
Today I am sharing the chocolate whoopie pie recipe I have tweaked over a hundred batches. It uses real buttermilk for that subtle tang that keeps the cake rounds from being cloying, and just a whisper of espresso powder to make the chocolate taste more like chocolate. The buttercream is the same one my dad always asked for on his birthday — soft, fluffy, and unapologetically sweet. Ready to bake? Tie your apron, grab a mixing bowl, and let’s go.
Why Buttermilk Makes All the Difference
If you have ever wondered why some chocolate cakes feel light and tender while others turn out dry and heavy, the answer is almost always the liquid. Buttermilk is gently acidic, and that acidity does two important things in a whoopie pie. First, it reacts with the baking soda to give the cakes a beautiful, even rise. Second, it tenderizes the gluten in the flour just enough to keep the rounds soft for days. With buttermilk, day two is actually better than day one.
The other quiet hero here is instant espresso powder. Do not panic — there is no coffee flavor in the final pie. Espresso just amplifies the cocoa, kind of like turning up the saturation on a photograph. If you do not have any, the recipe still works beautifully without it. My friend Gina keeps hers next to the vanilla and uses it in everything from hot cocoa to my chocolate Guinness cake.
One last thing before we get our hands floury: measure the flour by weight if you can. Two cups is supposed to be 250 grams, but a heavy-handed scoop can push that to 280 or more, and that is the difference between tender whoopie pies and hockey pucks.
Chocolate Whoopie Pies
Yield: 12 whoopie pies · Prep: 40 minutes · Bake: 11–13 minutes · Total: about 53 minutes
Two fluffy chocolate cake rounds hugging a creamy vanilla buttercream frosting, made with buttermilk to keep them moist and a hint of espresso powder to deepen the chocolate flavor. This is the version I bake for birthdays, bake sales, and every random Sunday when my family needs a little something sweet.
Ingredients
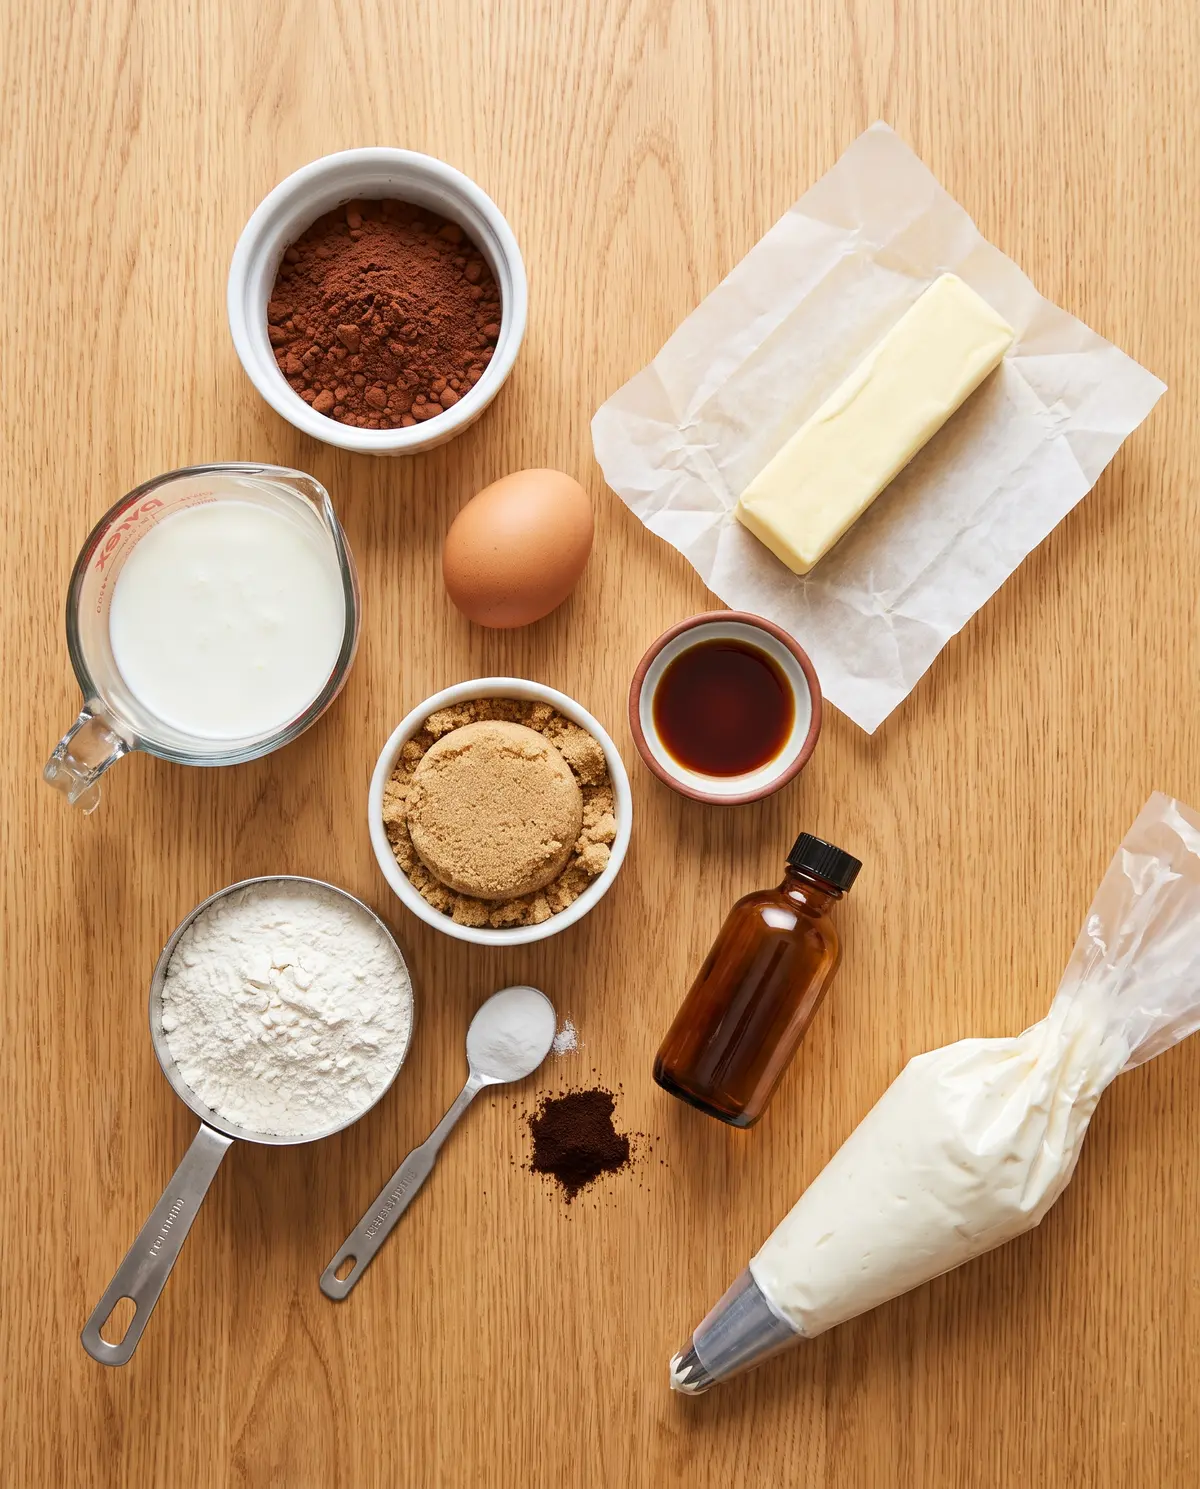
For the chocolate cake rounds
- 2 cups (250 g) all-purpose flour
- 1/2 cup (45 g) natural unsweetened cocoa powder
- 1 teaspoon baking soda
- 1/2 teaspoon instant espresso powder (optional, but lovely)
- 1/2 teaspoon salt
- 1/2 cup (1 stick, 113 g) unsalted butter, softened to room temperature
- 1 cup (200 g) packed light brown sugar
- 1 large egg, at room temperature
- 1 1/2 teaspoons pure vanilla extract
- 1 cup (240 ml) buttermilk, at room temperature
For the vanilla buttercream filling
- 3/4 cup (1 1/2 sticks, 170 g) unsalted butter, softened
- 1 1/2 cups (170 g) powdered sugar
- 1 1/2 tablespoons heavy cream
- 1 1/2 teaspoons pure vanilla extract
From Bowl to Plate: Putting These Whoopie Pies Together
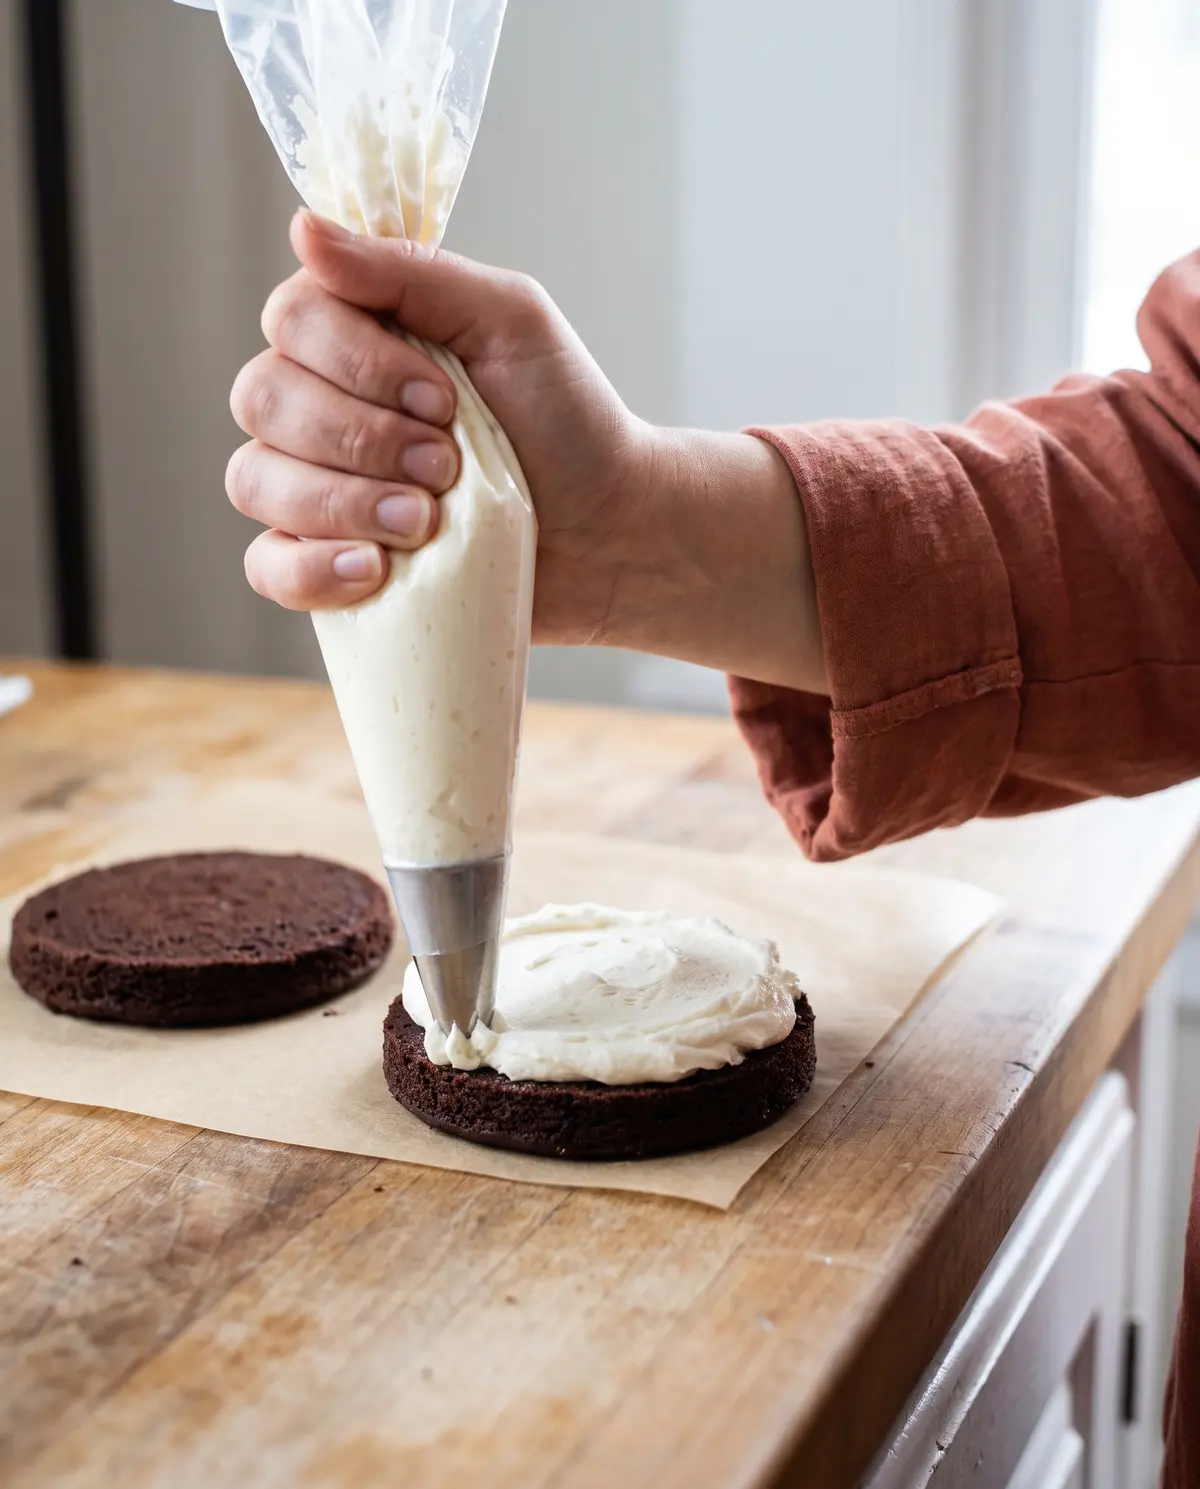
Step 1: Prep oven and pans. Preheat the oven to 350°F (180°C). Line two large baking sheets with parchment paper or silicone baking mats and set aside.
Step 2: Whisk the dry ingredients. In a large mixing bowl, sift together the flour and cocoa powder, then whisk in the baking soda, salt, and espresso powder. Set aside. Sifting the cocoa is the only fussy step, and it is worth it — it breaks up the little clumps that would otherwise leave bitter streaks in your cake.
Step 3: Cream the butter and brown sugar. In a separate large bowl, beat the softened butter with an electric mixer for about a minute until smooth, then add the packed light brown sugar and beat for another minute or two until combined.
Step 4: Add the egg and vanilla. Mix in the egg and vanilla until fully combined, scraping down the sides of the bowl as needed. The mixture may look a tiny bit curdled at this point, and that is completely normal.
Step 5: Alternate the dry ingredients and buttermilk. On low speed, add the flour mixture in three additions, alternating with the buttermilk in two additions, beginning and ending with the flour. Mix just until you no longer see streaks of flour. Overmixing is what makes whoopie pies tough, so stop the second everything comes together.
Step 6: Scoop the batter. Using a 1 1/2 tablespoon cookie scoop, drop mounds of batter onto the prepared baking sheets, leaving about 2 inches between each one. Use the back of a spoon (dipped in water to keep it from sticking) to smooth out the tops so they bake into nice round discs.
Step 7: Bake. Bake for 11 to 13 minutes, until the tops of the cakes spring back when you lightly touch them. Cool the cakes on the baking sheet for 10 minutes, then transfer to a wire rack to finish cooling completely. Do not try to frost them warm — the buttercream will slide right off.
Step 8: Make the buttercream. While the cakes cool, beat the softened butter on medium-high speed for 1 to 2 minutes until it is pale and fluffy. Add the powdered sugar about 1/2 cup at a time, mixing on low speed until incorporated before adding the next batch.
Step 9: Finish the buttercream. Add the heavy cream and vanilla, then turn the mixer up to medium-high and beat for 4 to 5 minutes, until the frosting is light, fluffy, and almost cloud-like. This is the same buttercream I use on my chocolate cupcakes, and it never fails me.
Step 10: Assemble the whoopie pies. Pair up the cake rounds by size. Pipe or spoon a generous dollop of buttercream onto the flat side of one round, leaving a small border. Top with the second round and gently press until the buttercream reaches the edges. Try very hard not to eat three before you get them all assembled.
Creative Twists Worth Trying
Once you have the base recipe down, whoopie pies are a wonderful canvas for whatever flavor you are craving:
- Mint chocolate whoopie pies: Add 1/2 teaspoon peppermint extract to the buttercream and a few drops of green food coloring. Roll the edges in mini chocolate chips.
- Salted caramel stuffed: Swap half the vanilla buttercream for a thick layer of salted caramel sauce, then dust the outside with flaky sea salt.
- Red velvet version: Replace 2 tablespoons of the flour with extra cocoa, add 1 tablespoon of red food coloring, and use a cream cheese buttercream in the middle.
- Espresso mocha: Double the espresso powder in the cake and add 1 teaspoon to the buttercream along with a tablespoon of cocoa powder.
- Cookies and cream: Fold 1/2 cup of crushed chocolate sandwich cookies into the buttercream.
Serving & Pairing Ideas
For an afternoon treat, I love pairing one with a cold glass of milk or a small cup of strong coffee. The bitterness of the coffee plays so nicely against the sweet buttercream. For dessert plates, I serve them slightly chilled with a few fresh raspberries and a small scoop of vanilla bean ice cream. The cold, creamy ice cream against the soft, room-temp cake is a texture combination I genuinely think about at least once a week.
If you are baking for a party, build a whoopie pie board alongside my fudgy chocolate brownies and a stack of my brown butter espresso cookies. Tuck in some fresh strawberries, a few sprigs of mint, and a small pitcher of cold milk.
Why I Love This Recipe
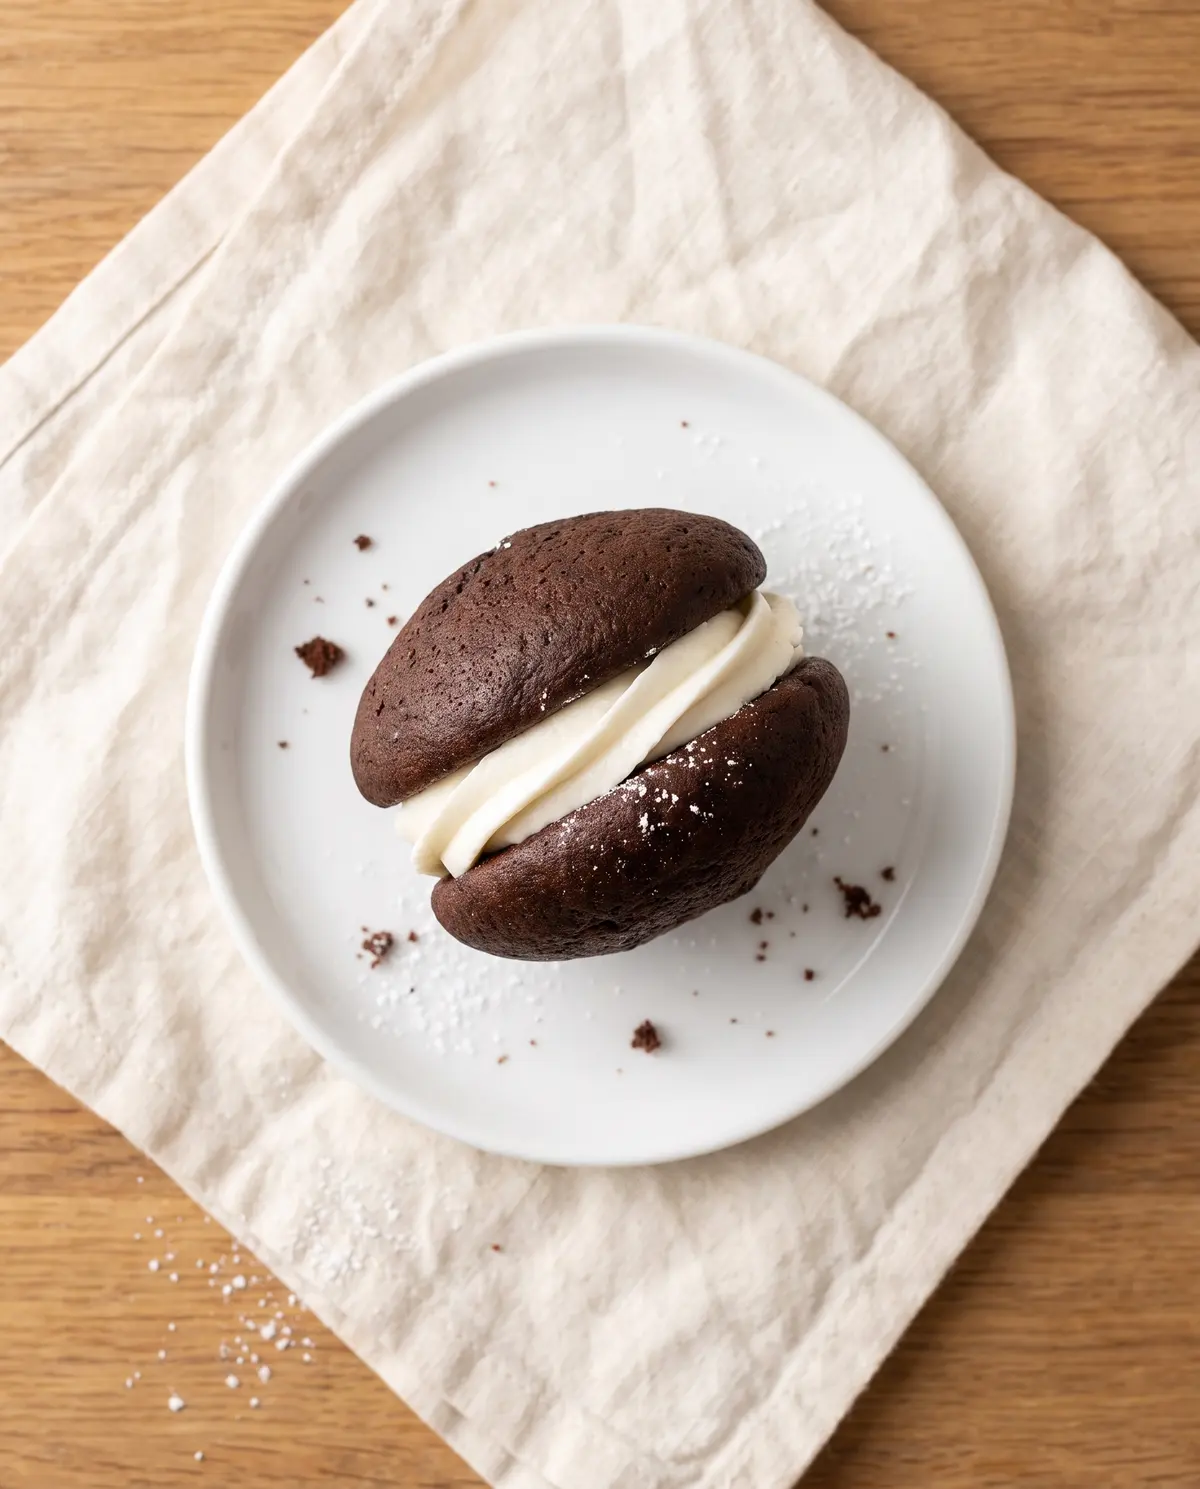
I have been baking chocolate whoopie pies for almost twenty years, and they are still the dessert I crave most when I am feeling a little blue. There is something about the ratio of cake to frosting that just hits the right spot — enough chocolate to be decadent, enough buttercream to feel like a treat, and none of that cloying sweetness. My dad always said whoopie pies were the perfect size, “big enough to feel like a real dessert, small enough that you do not feel guilty reaching for a second one.” I think about that every time I bake a batch.
I also love that this is a recipe you can teach a kid. The mixing is forgiving, the steps are clear, and the result is so obviously delicious that you cannot fail. My niece made her first whoopie pie at age seven, and she still talks about it.
Storage and Make-Ahead Tips
Once assembled, whoopie pies keep beautifully in an airtight container at room temperature for up to 2 days. For longer storage, refrigerate them for up to a week — just bring them back to room temperature for 20 minutes before serving so the cake is soft again. You can also freeze them: wrap each assembled whoopie pie individually in plastic wrap, then store in a freezer-safe bag for up to 3 months. I do this every December when I am baking for the holidays.
If you want to break the work up, bake the cake rounds a day ahead and store them unfrosted at room temperature. Make the buttercream the morning of, and assemble right before serving.
Troubleshooting Your Whoopie Pies
My cakes spread out flat instead of rising into rounds. Your butter was probably too soft, or your oven was not quite hot enough. Make sure the butter is just barely softened — it should give when you press it, but not feel greasy. And double-check your oven temp with a separate thermometer if you have one.
The cakes are dry and tough. Almost always, this is overmixing. Once the flour goes in, mix only until the streaks disappear. Another culprit: too much flour. Measure by weight if you can.
The buttercream is too soft and slides off the cakes. Pop it in the fridge for 10 to 15 minutes to firm up, then give it a quick whip before using.
The bottoms are browning too fast. Slide an empty baking sheet onto the rack below to act as a shield, or double up your pans.
Your Quick Questions, Answered
Can I make whoopie pies without buttermilk? Yes! Stir 1 tablespoon of lemon juice or white vinegar into 1 cup of whole milk, let it sit for 5 minutes, and you have a perfect substitute.
Can I use Dutch-process cocoa instead of natural? You can, but the rise will be a bit different. If you swap, use 1 1/2 teaspoons of baking powder instead of the baking soda.
How far in advance can I make these? Up to 3 months ahead if you freeze them. In the fridge, they are best within 5 to 7 days. At room temperature, eat them within 2 days.
Can I use a stand mixer? Absolutely. Use the paddle attachment for the cake batter and the whisk attachment for the buttercream.
Why are mine coming out puffy on top instead of flat? A little dome is fine and actually expected. If you want perfectly flat tops, gently press a clean spatula onto each cake the moment they come out of the oven.
A Little Goodbye from My Kitchen
And that, my friends, is the chocolate whoopie pie recipe I come back to again and again. Soft, tender cake rounds, real vanilla buttercream, and just the right amount of chocolate to satisfy without going overboard. I hope you bake a batch soon, and I hope you share them with someone you love. Baking is at its best when it is shared — that is something my grandmother Gina taught me.
If you make these whoopie pies, I would love to hear how they turn out. And if you are craving another chocolate bake to round out your weekend, my chocolate caramel tart is dangerously good, and these chocolate sugar cookies are a reader favorite for good reason.
Happy baking!
—Marina Caldwell
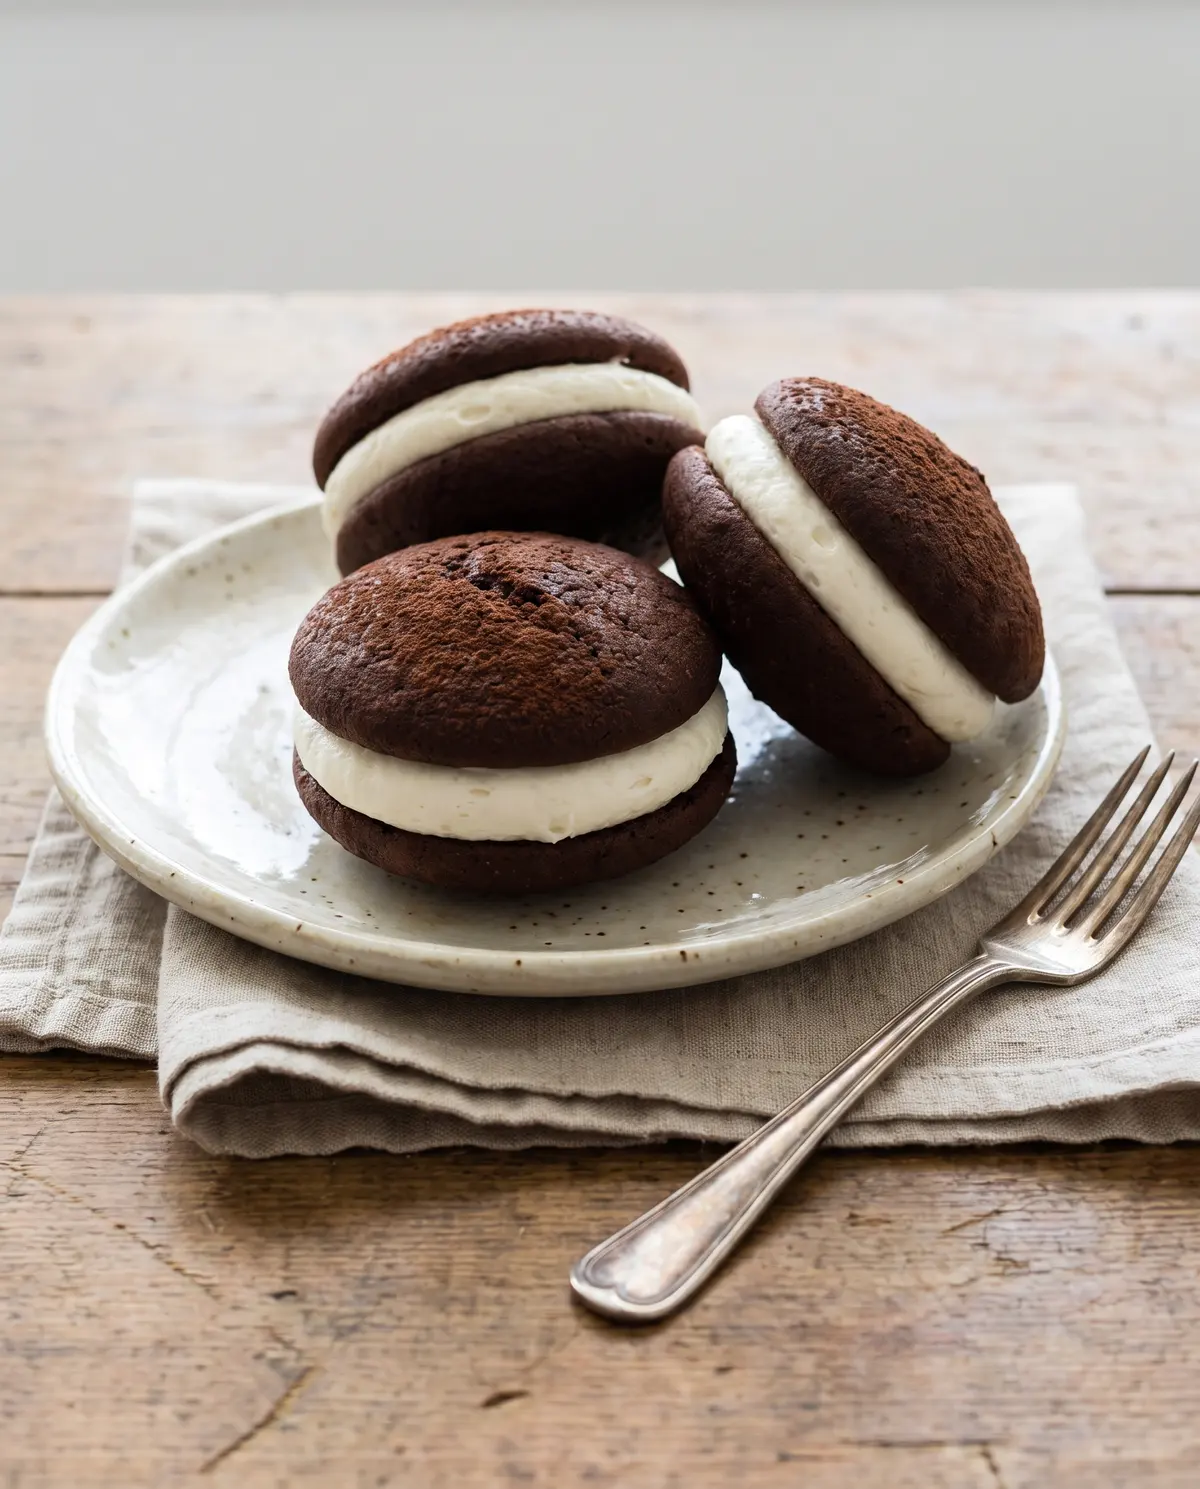
Chocolate Whoopie Pies
Chocolate Whoopie Pies
Chocolate Cake Rounds
- 2 cups (250 g) all-purpose flour
- 1/2 cup (45 g) natural unsweetened cocoa powder
- 1 teaspoon baking soda
- 1/2 teaspoon instant espresso powder (optional)
- 1/2 teaspoon salt
- 1/2 cup (113 g) unsalted butter, softened
- 1 cup (200 g) packed light brown sugar
- 1 large egg, room temperature
- 1 1/2 teaspoons pure vanilla extract
- 1 cup (240 ml) buttermilk, room temperature
Vanilla Buttercream
- 3/4 cup (170 g) unsalted butter, softened
- 1 1/2 cups (170 g) powdered sugar
- 1 1/2 tablespoons heavy cream
- 1 1/2 teaspoons pure vanilla extract
Instructions
- Preheat oven to 350°F (180°C). Line two baking sheets with parchment.
- Sift flour and cocoa. Whisk in baking soda, salt, and espresso powder. Set aside.
- Cream butter and brown sugar 1–2 minutes until combined.
- Beat in egg and vanilla until smooth.
- Alternate adding flour mixture (3 additions) and buttermilk (2 additions), starting and ending with flour. Mix just until combined.
- Scoop 1 1/2-tablespoon mounds onto baking sheets, 2 inches apart. Smooth tops.
- Bake 11–13 minutes until tops spring back. Cool 10 minutes on sheet, then transfer to wire rack.
- Beat butter for frosting 1–2 minutes. Add powdered sugar gradually.
- Add heavy cream and vanilla. Beat 4–5 minutes until light and fluffy.
- Pair cakes by size. Pipe buttercream onto flat side of one round; top with second round. Press gently to spread filling to edges.
Store airtight at room temperature 2 days, or refrigerate up to 1 week. Freeze up to 3 months.