The brownie layer is the boss
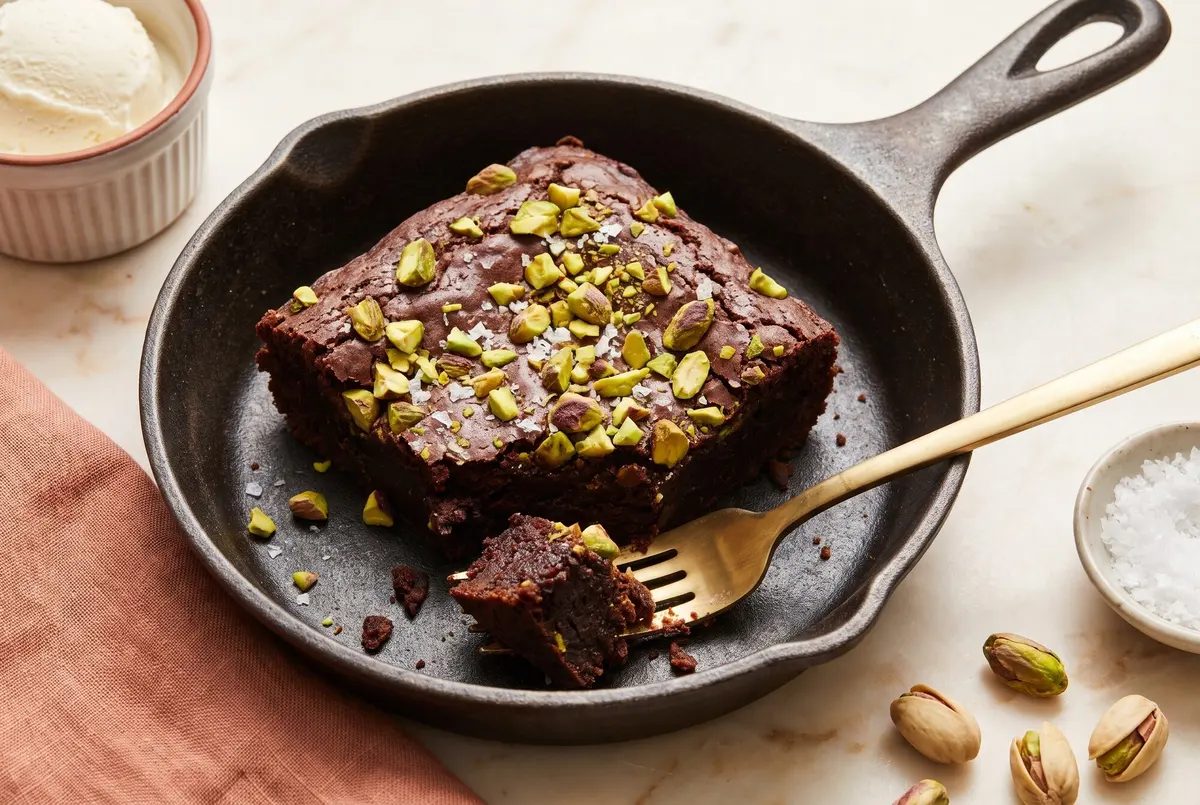
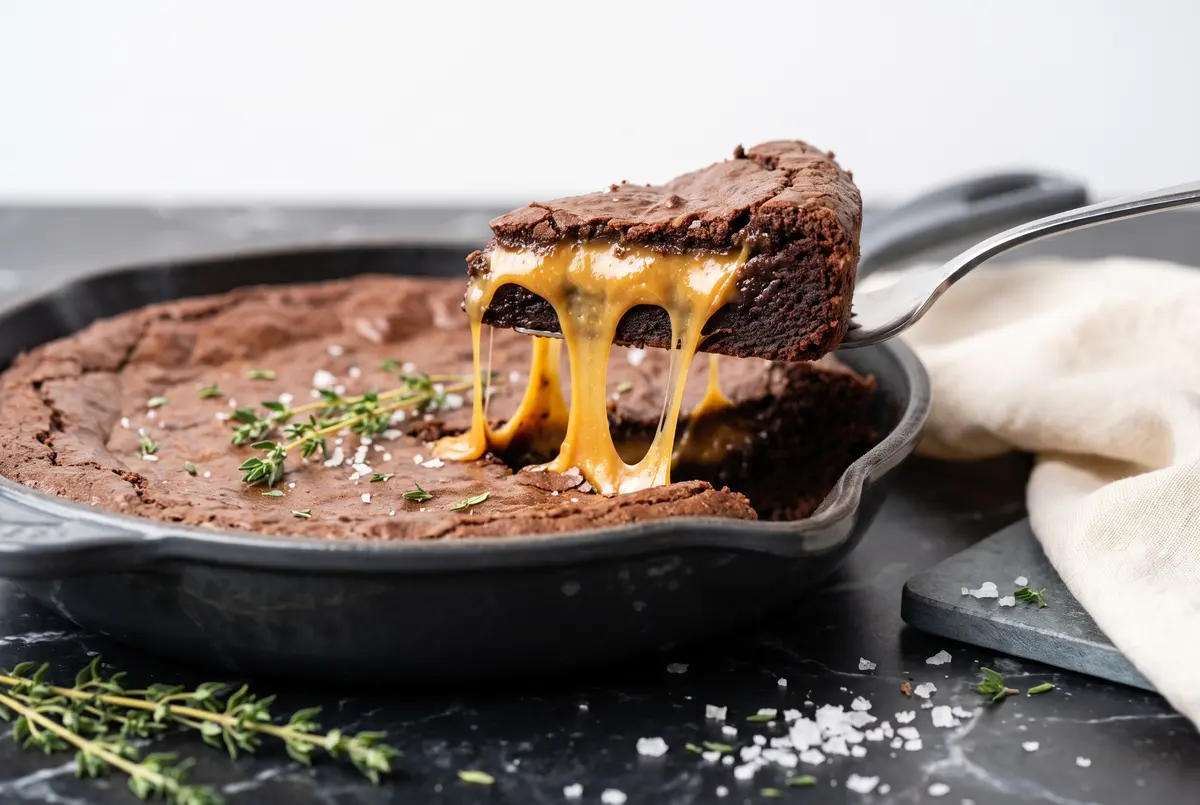
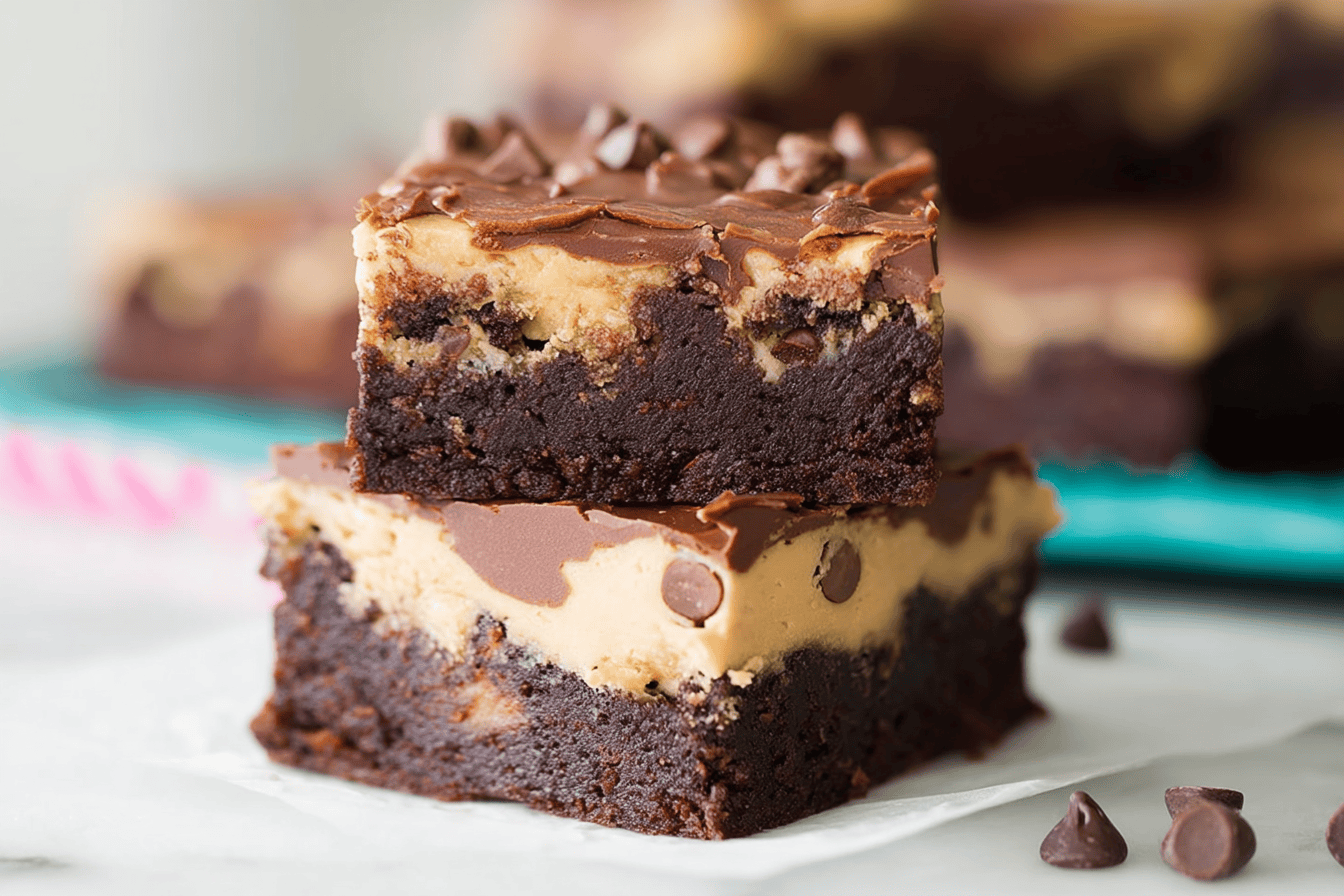
I have a thing about brownies. They have to be fudgy, not cakey. You know what I mean? That dense, almost sticky texture that melts on your tongue.
This recipe gets that right. It starts with melted butter, which is the secret to that chewy bite. Are you team fudge or team cake? I hope you’re on my side.
That cookie dough though
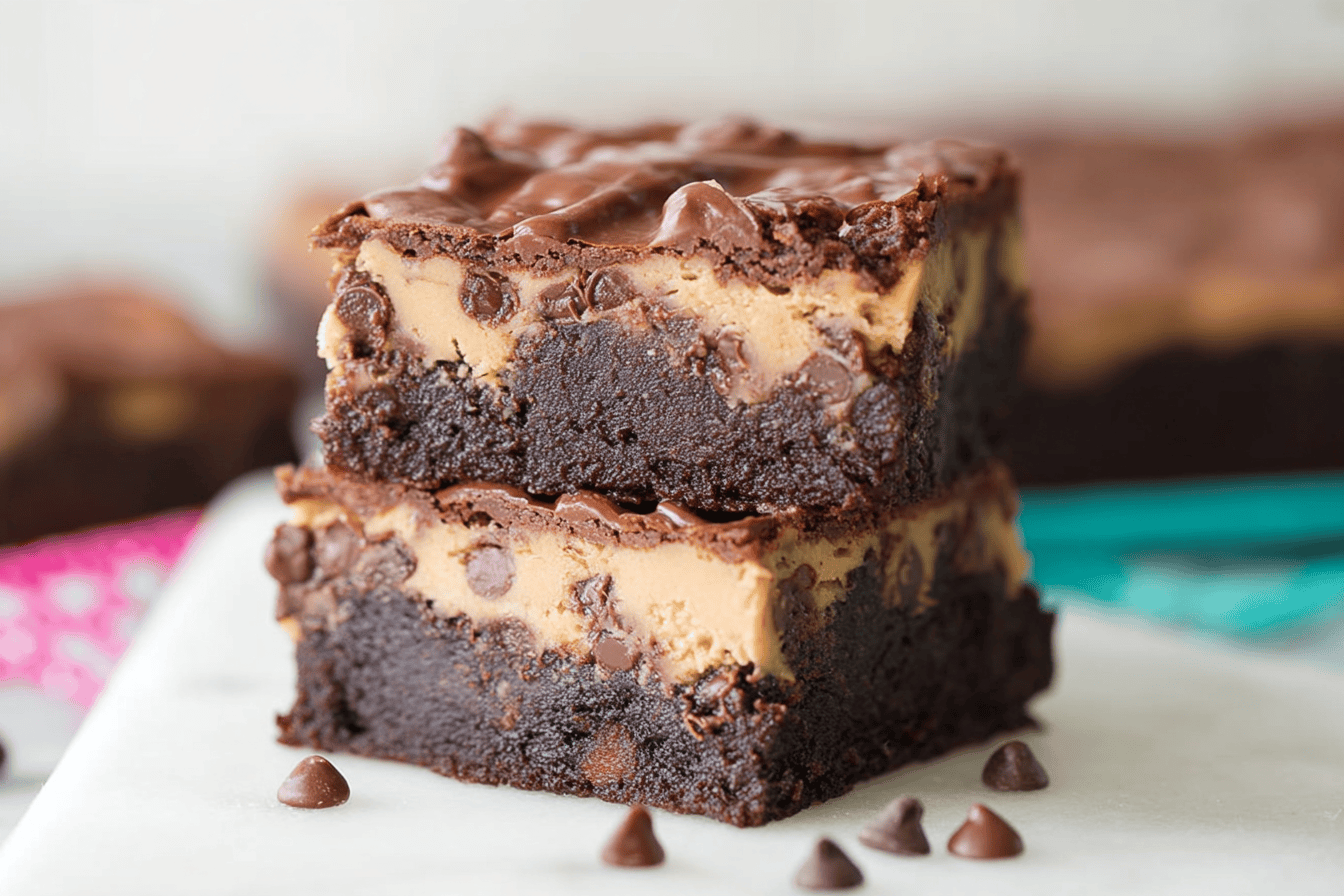
The top layer is where things get fun. It’s basically my favorite chocolate chip cookie dough, but without the egg. So you can sneak a spoonful without worrying.
But here’s the thing. You have to heat-treat the flour. Just spread it on a baking sheet and bake at 350 for five minutes. Quick tip: Let the flour cool completely before mixing it in, or your dough will get greasy. It’s a small step, but it keeps you safe.
Why we chill
I know, I know. Waiting is the worst. You just want to cut into that pan and eat the whole thing.
But trust me on this one. Chilling the whole pan for at least an hour changes everything. The cookie dough sets up firm, and the brownie layer gets even more fudgy. I once tried to skip this step and ended up with a crumbly mess. Not cute.
The flavor magic
Here’s what I love about this combo. The brownie is deep and dark, almost bitter from the cocoa. Then the cookie dough brings that buttery, brown sugar sweetness.
It’s like they were made for each other. The salty edge from the butter cuts through the sweetness. Have you ever tried a brownie with a cold glass of milk? That’s the experience we’re going for.
Serving them up
When you’re ready to cut, use a sharp knife. Run it under hot water first, then wipe it dry between slices. That little trick gives you clean edges instead of smudgy ones.
I keep these in the fridge and eat them straight from the pan. Cold, they’re almost like fudge. Room temp, they’re softer and richer. How do you like your brownies? Tell me I’m not the only one who eats them for breakfast.
Instructions
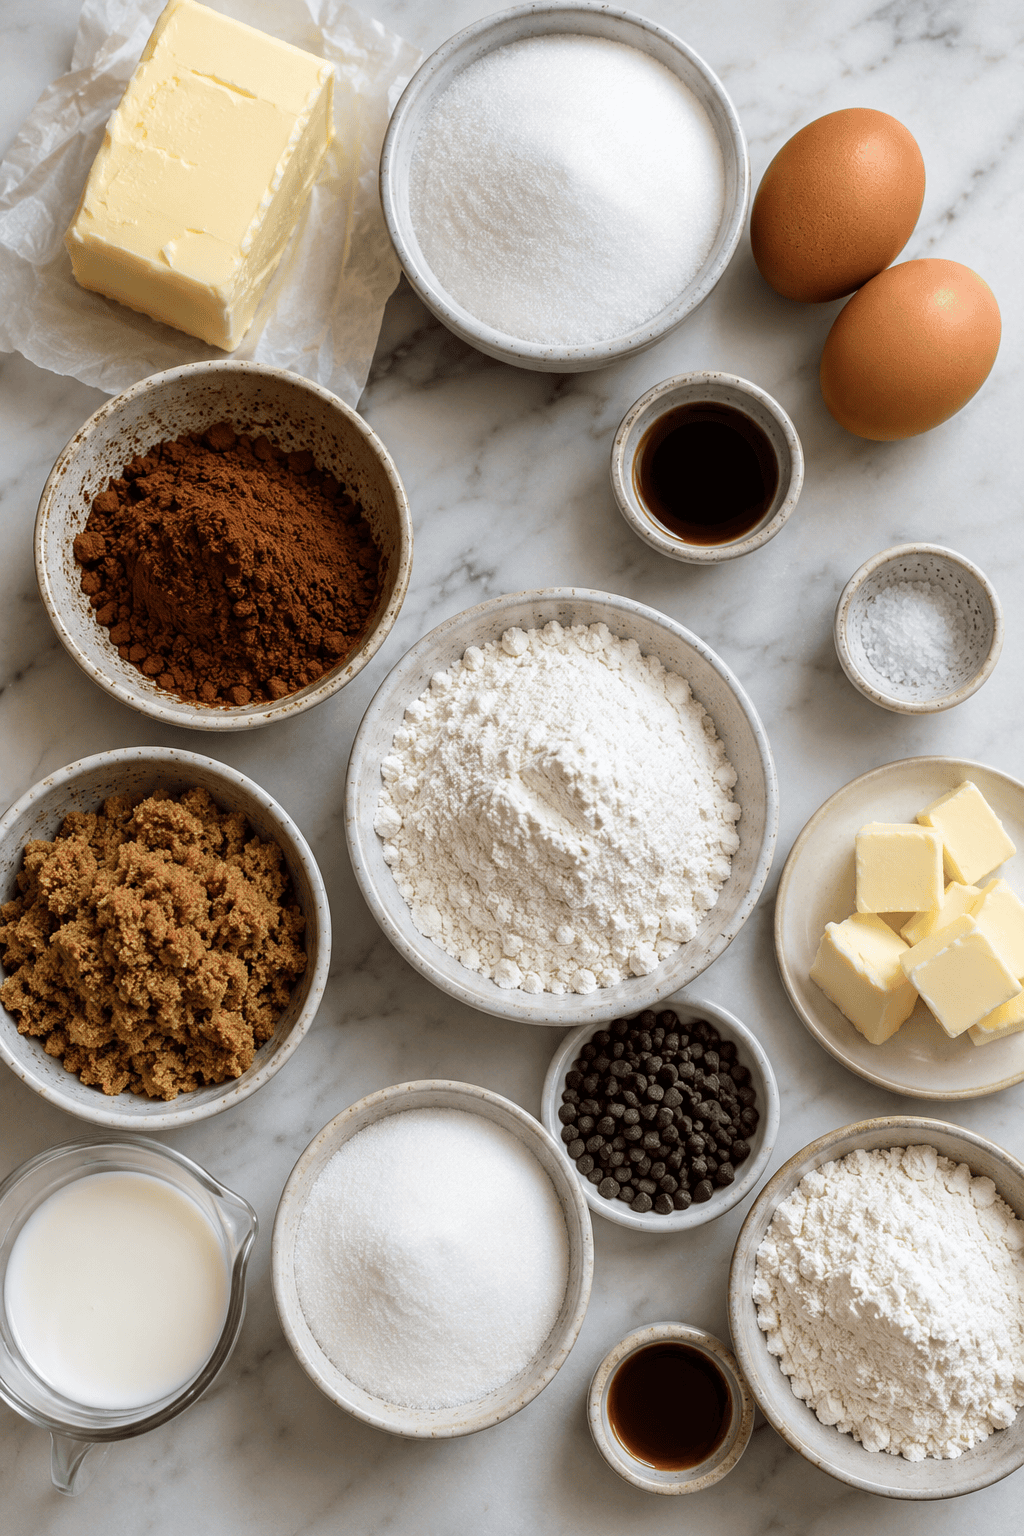
Step 1: Preheat your oven to 350°F and line an 8×8-inch pan with parchment. I always forget to line mine, don’t be like me. (Make sure the parchment hangs over the edges so you can lift the whole thing out later.) What’s your go-to pan size for brownies? Share below!
Step 2: Whisk the melted butter and sugar together until it looks smooth. Then whisk in the eggs and vanilla. Fold in the cocoa, flour, and salt gently—this batter is so glossy, I love it. (Don’t overmix after adding the flour or the brownies will get tough.) Do you prefer whisking or mixing by hand? Share below!
Step 3: Spread the brownie batter into the pan and bake for 22 to 25 minutes. The hardest part is waiting for them to cool completely, but don’t skip it. (Test with a toothpick at 22 minutes—slight crumbs on it are perfect.) How do you test your brownies? Share below!
Step 4: For the cookie dough, cream the softened butter with both sugars until it’s fluffy. Mix in the milk and vanilla, then stir in the heat-treated flour and mini chocolate chips. This dough is dangerously tasty—I always eat a spoonful. (Heat-treat flour by baking it at 350°F for 5 minutes to kill bacteria.) Have you ever heat-treated flour before? Share below!
Step 5: Spread the cookie dough evenly over the cooled brownie layer. Be gentle—you don’t want to mix the layers together. (Use a spatula and press lightly, don’t push hard.) Do you like a thick cookie topping? Share below!
Step 6: Chill the whole pan for at least 1 hour before slicing into bars. I know, waiting again—but it’s worth it for clean edges. (Use a sharp knife and wipe it between cuts for the best look.) How long can you wait before diving in? Share below!
Creative Twists
… Swap half the mini chocolate chips for white chocolate chips—they make the fudge layer pop. … Add a teaspoon of instant espresso powder to the brownie batter. It doesn’t taste like coffee, just makes the chocolate deeper. I didn’t expect that. … Sprinkle flaky sea salt on top of the cookie dough before chilling. That salty crunch next to the sweet? Yeah, that always works for me. Which one would you try first? Comment below!Serving & Pairing Ideas
Serve these bars straight from the fridge—they’re dense and fudgy that way, almost like a candy. Or warm them up for 10 seconds in the microwave if you want melty chocolate chips. Pair a bar with a tall glass of cold milk, or a scoop of vanilla ice cream if you’re feeling fancy. Which would you choose tonight?
Storage & Make-Ahead Tips
These brownies are great for making ahead. For the fridge, just wrap them tight in plastic wrap. They’ll stay good for about a week. I once left a batch on the counter overnight and they got a little dry on top. Lesson learned. For the freezer, wrap each bar in plastic, then toss them in a zip-top bag. They keep for three months easy. When you want one, just let it sit out for ten minutes. Or pop it in the microwave for fifteen seconds. That surprised me — they taste almost fresh.
Batch cooking is a lifesaver here. Double the brownie layer and freeze half. Then you can thaw it and add the cookie dough later. That way you always have a head start. It saves time and keeps you from wasting ingredients you already prepped. Have you ever saved leftovers like this? Tell me below! This matters because when life gets busy, having a homemade treat ready keeps you from grabbing junk. You put in the work once and get rewards for weeks.
Common Mistakes & Easy Fixes
First mistake: overbaking the brownie layer. It should be just set in the middle with a few moist crumbs. I pulled mine out at 23 minutes and it was perfect. Second mistake: not cooling the brownie completely before adding the cookie dough. I once forgot to let it cool, and the cookie dough melted right into a puddle. Let it sit for an hour. Third mistake: slicing too soon after chilling. If you cut right out of the fridge, the cookie layer crumbles. Let it sit on the counter for five minutes first.
Did this ever happen to you? The first fix matters because it gives you a fudgy, not dry, brownie. That’s the whole point. The second fix saves your texture. When I ruined that first batch, I learned patience. The third fix keeps your bars looking clean. Confidence comes from knowing you can fix these small things. You don’t have to be perfect. You just have to pay attention a little.
Your Brownie Questions, Answered
Can I skip the heat-treating step for the flour? No, please don’t skip it. Raw flour can carry bacteria. You spread the flour on a baking sheet and bake it at 350°F for about 5 minutes. Let it cool completely before using. It takes almost no time and keeps everyone safe. I know it seems like an extra chore, but it’s a small step for some peace of mind.
Can I use regular chocolate chips instead of mini? Sure you can. Regular chips work fine. But mini chips spread out more evenly in the cookie dough layer. You get a little chocolate in every bite instead of big chunks in some spots. I prefer mini chips for this reason. If you only have regular, just chop them up a bit before mixing.
Why do I need to chill the whole thing for an hour? The chill time firms up the cookie dough layer. If you slice right away, it’s soft and messy. Think of it like setting a cheesecake. That wait gives the butter in the dough a chance to harden back up. Then your knife cuts clean through. I know it’s hard to wait, but it makes a huge difference. Trust me on this one.
Can I use a different pan size? Yes, but adjust the baking time. A 9×9 pan will make thinner bars. Bake the brownie layer for maybe 18 to 20 minutes instead. A 13×9 pan will give you very thin layers. I wouldn’t go bigger than that or the ratio of cookie to brownie gets off. I stick with 8×8 because that’s the perfect balance.
Can I make this gluten-free? You can swap the all-purpose flour for a good 1-to-1 gluten-free flour blend. The texture will be a little more crumbly, but it still tastes great. Heat-treat the gluten-free flour just like regular flour. I tried this with a friend who has celiac disease, and she ate three bars. That’s a win in my book.
My brownie layer is too thin. What happened? You might have used a wider pan or not enough batter. Make sure you spread the brownie layer evenly into the corners. If you have a smaller amount of space to cover, the layer will be thicker. I’ve had this happen with a slightly warped pan. Which answer helped you most?
Final Thoughts
There’s something really nice about mixing two favorite desserts into one pan. You get that chewy brownie bottom and that soft cookie top. It feels like a special treat without a ton of extra work. I like how the recipe doesn’t rush you. You bake, you cool, you chill. Each step has a reason. That makes me feel like I’m actually in control of the baking, not just following orders.
Will you make this soon? I hope you give it a try. Start with the brownie layer early in the day. Then add the cookie dough after dinner. By the time you’re ready for dessert, it’s ready. That kind of slow baking is good for the soul. Fun fact: The first brownie recipe ever printed in a cookbook was in 1896, but it didn’t include chocolate — it used molasses. We’ve come a long way. Let me know how yours turn out. Happy cooking!
—Marina Caldwell
Double Fudge Chocolate Chip Cookie Brownies
Brownie Layer
- 1/2 cup unsalted butter, melted
- 1 cup granulated sugar
- 2 large eggs
- 1 tsp vanilla extract
- 1/3 cup cocoa powder
- 1/2 cup all-purpose flour
- 1/4 tsp salt
Cookie Dough Layer
- 1/2 cup unsalted butter, softened
- 1/2 cup brown sugar
- 1/4 cup granulated sugar
- 2 tbsp milk
- 1 tsp vanilla extract
- 1 1/4 cups all-purpose flour (heat-treated for safety)
- 1/2 cup mini chocolate chips
Instructions
- 1Preheat oven to 350°F and line an 8×8-inch pan with parchment.
- 2Whisk melted butter and sugar, then whisk in eggs and vanilla. Fold in cocoa powder, flour, and salt.
- 3Spread into the pan and bake 22-25 minutes. Cool completely.
- 4For the cookie dough, cream butter and sugars, then mix in milk and vanilla. Stir in heat-treated flour and chocolate chips.
- 5Spread cookie dough evenly over the cooled brownie layer.
- 6Chill at least 1 hour before slicing into bars.