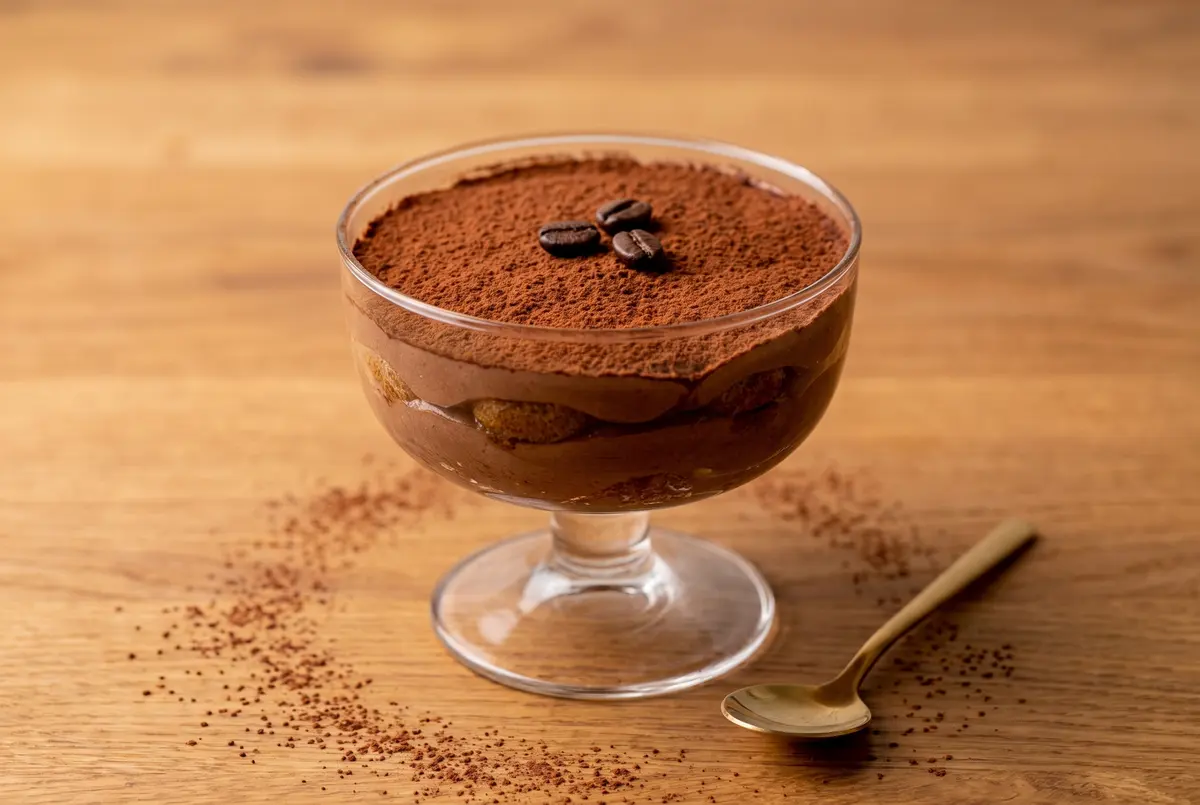
I have a confession: I used to think tiramisu was something only Italian nonnas could pull off. Then one year, the day before a dinner party, I ran out of time to make the tray version, so I improvised with little glasses and a piping bag. That was the moment I realized individual tiramisu cups aren’t just easier — they’re actually better, because every single bite has the perfect ratio of cream to coffee-soaked ladyfinger.
This chocolate espresso version is what I make now when I want to wow people without breaking a sweat. The dark chocolate ganache folded into the mascarpone cream is the move — it deepens the whole dessert and makes the cocoa dust on top feel like a deliberate flourish, not just a garnish.
Do you have a favorite no-bake dessert for summer? Tiramisu cups have become mine because the oven never has to turn on, which in my kitchen in July is a genuine miracle.
Why Individual Cups Beat the Tray Every Time
The biggest reason is structural. When tiramisu sits in a tray, the ladyfingers on the bottom inevitably get waterlogged from the weight of everything above them, while the ones on top stay a little dry. In individual cups, every ladyfinger sits in its own little espresso bath, with cream above and below it in equal measure. You get that perfect cake-like bite in every spoonful.
The other reason is portion control. Tiramisu in a tray tempts everyone to cut themselves a giant slab. In a cup, you serve a known portion, the dessert looks elegant without any slicing, and there’s zero risk of the whole thing collapsing when you try to plate it.
Ingredients
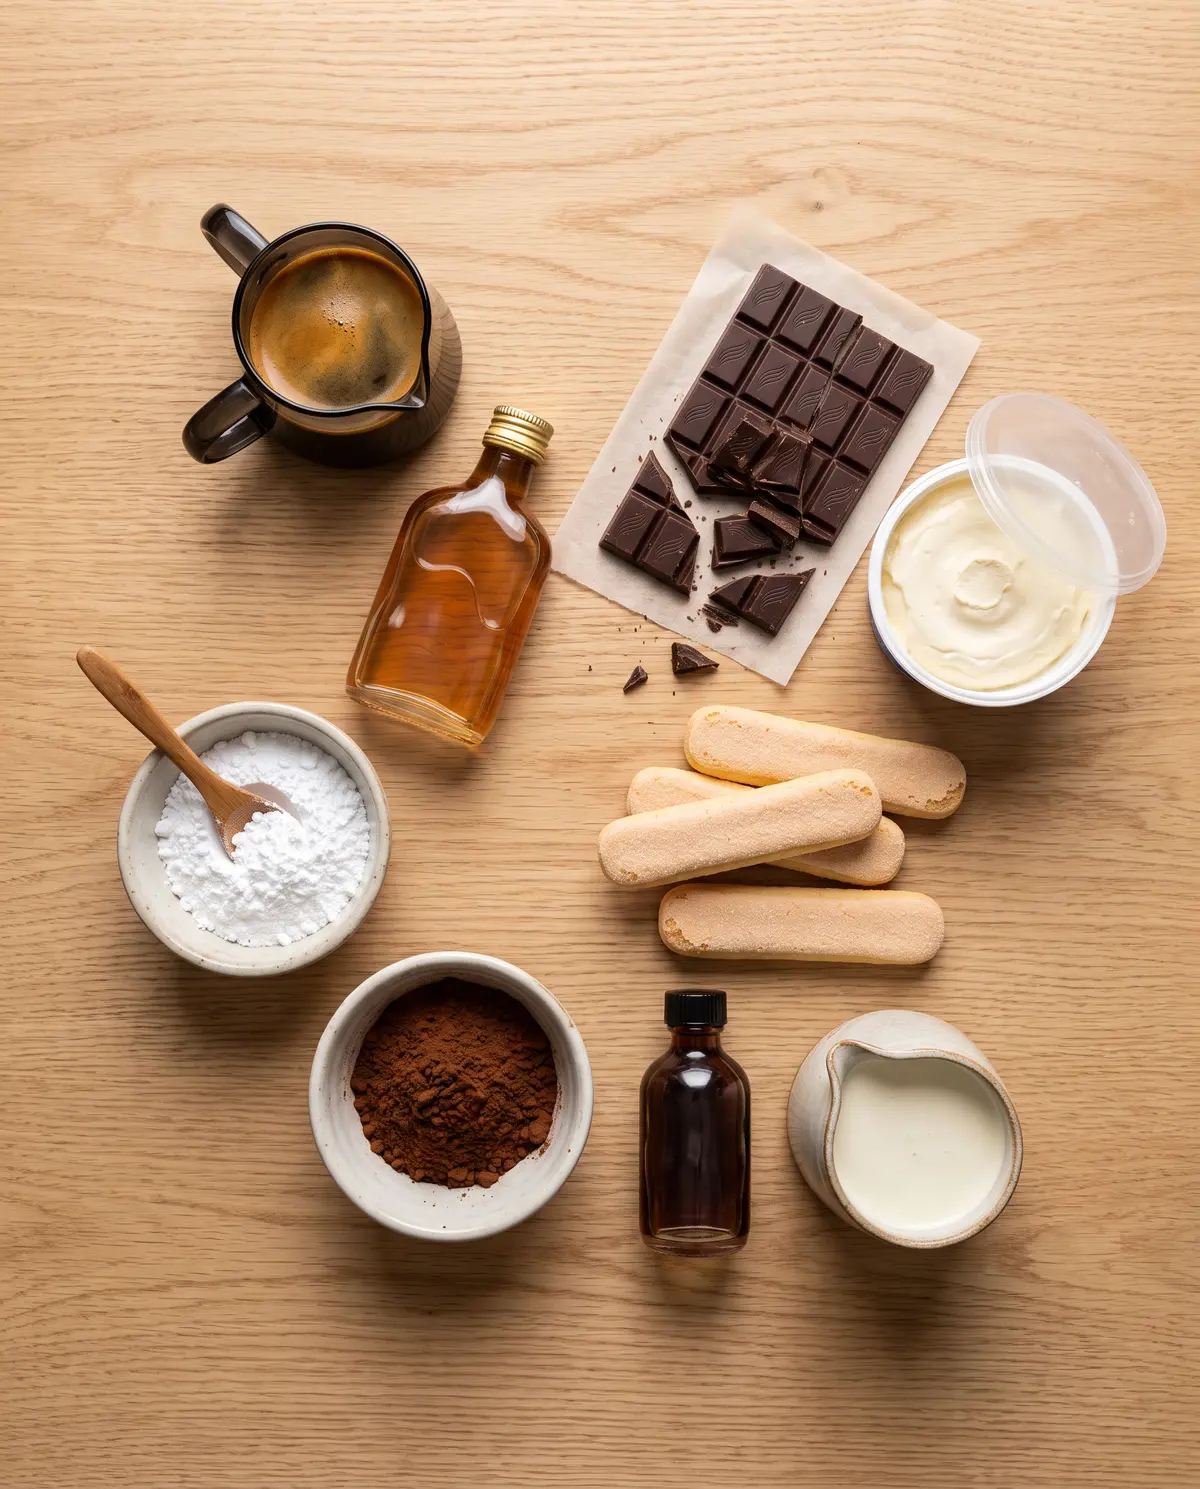
The ingredient list looks long but breaks into three small jobs: brew the espresso, melt the chocolate into a ganache, and whip the mascarpone cream. None of them take more than 5 minutes. The rest is just assembly and waiting.
My Method for Getting the Layers Just Right
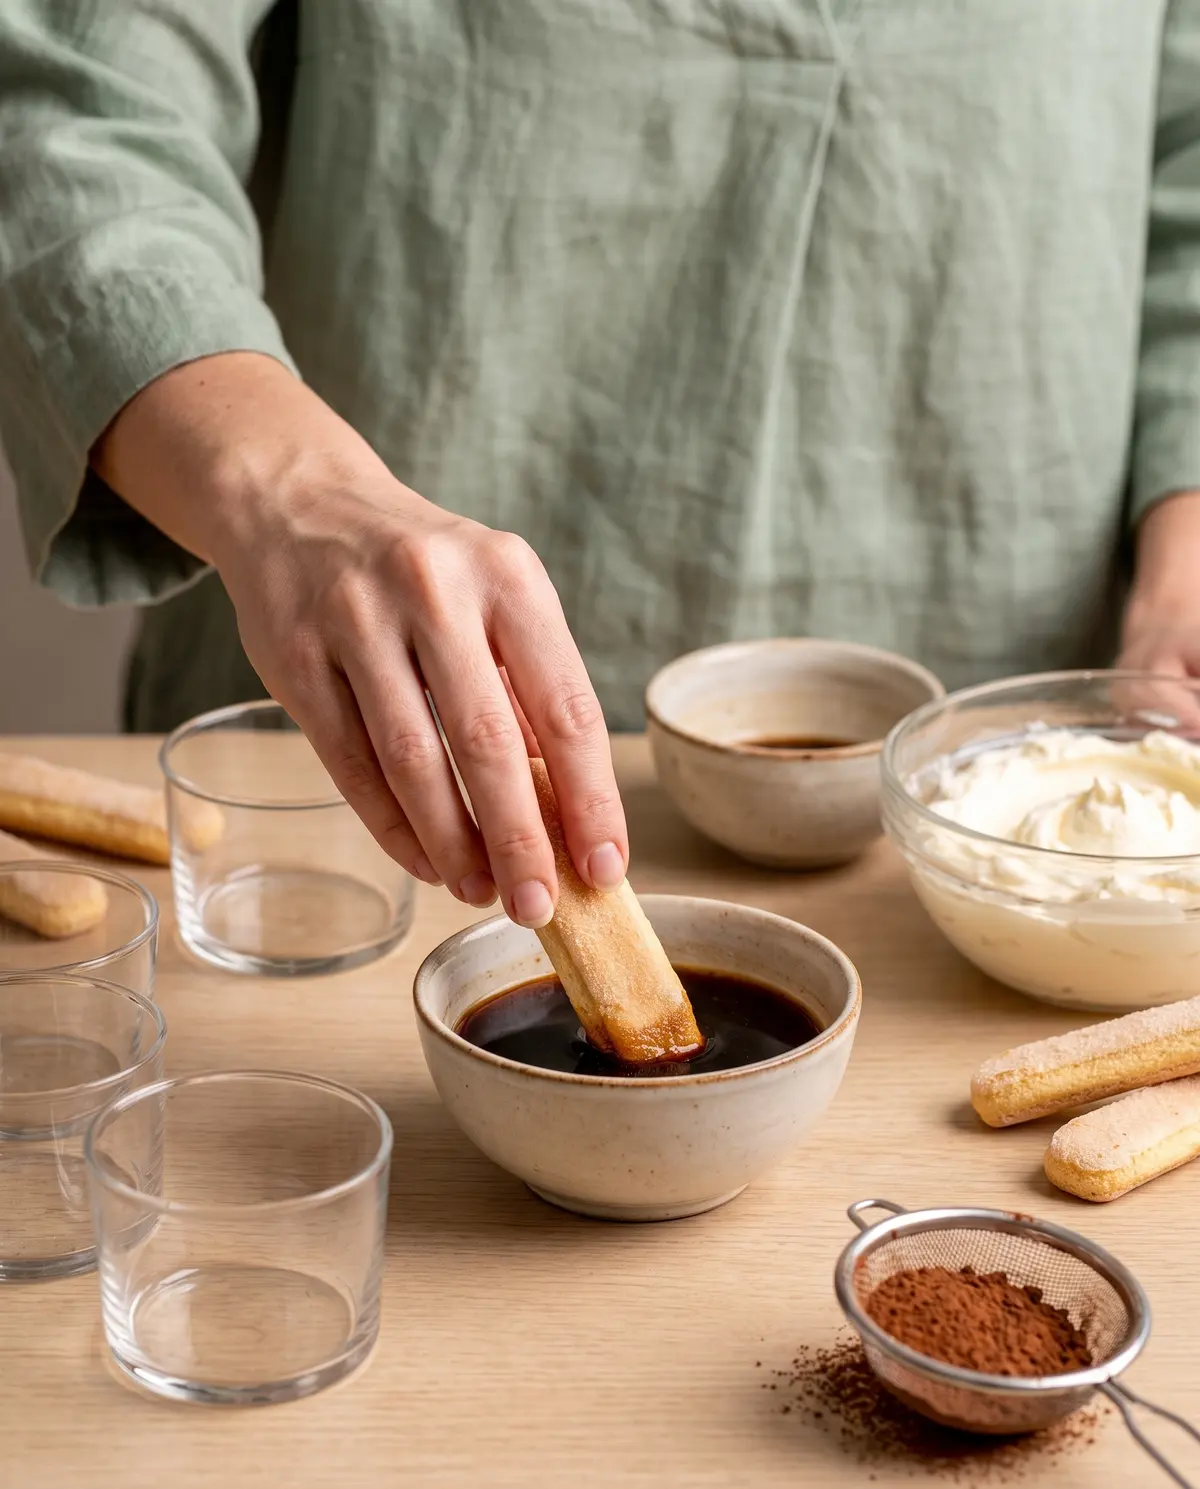
Step 1: Brew and cool the espresso. Pull a fresh shot or brew a strong 120 ml cup of espresso. Pour it into a shallow bowl — wider is better, so the ladyfingers can be flipped without bending. Stir in a tablespoon of Amaretto if you want that classic Italian depth. Let it cool completely to room temperature before dipping anything.
Step 2: Make the ganache. Melt 50 g of dark chocolate gently, then whisk in 30 ml of cold heavy cream until you have a glossy, smooth ganache. Don’t use hot cream — you’ll shock the chocolate and make it seize. Set the ganache aside to cool for a few minutes.
Step 3: Whip the mascarpone base. In a large bowl, beat 250 g of room-temperature mascarpone with 35 g of powdered sugar, 2 tablespoons of cocoa powder, a tablespoon of agave, and half a teaspoon of vanilla. Use a hand mixer on low and stop the moment it’s smooth. Over-mixing is the enemy here — mascarpone goes from silky to grainy fast.
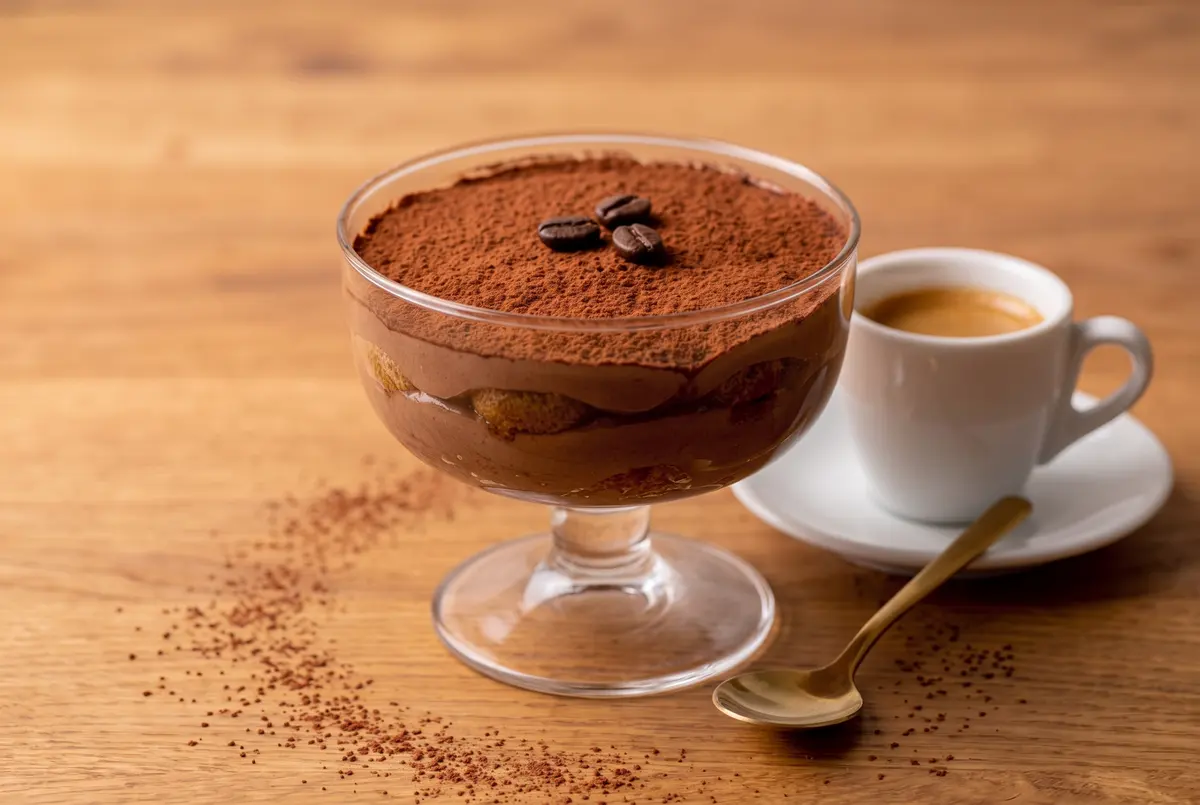
Step 4: Fold in the ganache. Add the cooled ganache to the mascarpone mixture and beat on low for about 15 seconds until the color is uniform. Scrape down the sides and give it a final gentle stir. You want a uniform chocolate cream with no streaks.
Step 5: Whip and fold the cream. In a separate bowl, whip 220 ml of cold heavy cream to medium-stiff peaks. Stop the moment the peaks hold their shape. Fold the whipped cream into the chocolate mascarpone in three additions, slowly, with a spatula. The final cream should look like thick, fluffy chocolate mousse.
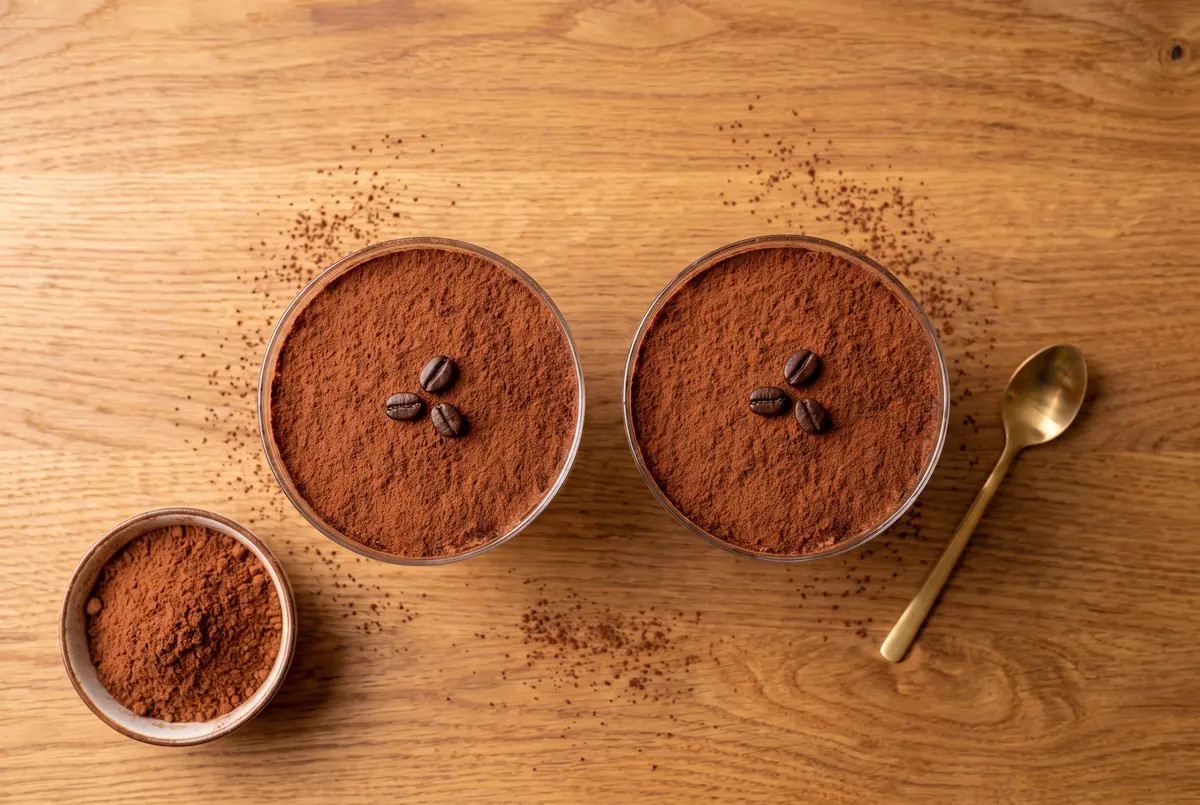
Step 6: Assemble the cups. Pipe a thin layer of cream into the bottom of 4 small glasses or coupes. Break 8 ladyfingers in half. Dip each half into the espresso, flipping once on each side for a count of 2. Lay two halves in each cup. Pipe another layer of cream, repeat with the dipped ladyfingers, then finish with a final layer of cream. Smooth the tops with an offset spatula.
Step 7: Chill and serve. Cover each cup with plastic wrap and refrigerate for at least 8 hours, or overnight. Right before serving, dust generously with cocoa powder through a fine-mesh sieve. The longer chill isn’t optional — the cream needs that time to set, and the flavors need to meld.
Creative Twists to Try Next Time
- Hazelnut praline crunch: sprinkle a layer of crushed hazelnut praline between the cream layers for a Nutella-adjacent vibe.
- Salted caramel drizzle: after the cocoa dust, drizzle a thin stream of salted caramel sauce over the top of each cup.
- Espresso martini cups: add a tablespoon of vodka and Kahlúa to the mascarpone cream for a real adult-party version.
- Berry layer: tuck a few fresh raspberries between the cream and ladyfingers for a bright, fruity contrast.
- Peppermint mocha: swap half the cocoa for peppermint hot chocolate mix and add a few crushed candy canes on top.
Serving & Pairing Ideas
These tiramisu cups are best served slightly chilled but not ice-cold — pull them out of the fridge 10 minutes before serving so the cream softens just enough to feel airy on the tongue. I love pairing them with a small shot of espresso on the side, or a glass of Vin Santo if I’m being fancy.
For a dinner party, line the cups up on a small wooden tray with a few espresso beans scattered around, a small sprig of fresh mint tucked beside each one, and a tiny silver spoon. The whole presentation takes about 90 seconds and looks like a restaurant dessert.
Storage & Make-Ahead Tips
Tiramisu cups actually get better with time — the cocoa powder blooms into the cream, the espresso soaks deeper into the ladyfingers, and the whole thing becomes more cohesive. They’re perfect to make 24 hours ahead, and they hold up beautifully in the fridge for up to 3 days if covered well with plastic wrap.
I don’t recommend freezing the assembled cups — the cream can weep and separate on thawing. But you can freeze the chocolate mascarpone cream (without the whipped cream folded in) for up to a month. Thaw in the fridge overnight, give it a quick whisk, fold in freshly whipped cream, and assemble as usual.
Common Mistakes & Easy Fixes
- Grainy cream: you over-mixed the mascarpone, or it was too cold. Always start with room-temperature mascarpone and beat on low, just until smooth.
- Soggy ladyfingers: you left them in the espresso too long. A quick flip on each side — count to 2 — is all they need.
- Cream won’t hold peaks: your heavy cream wasn’t cold enough, or there was even a trace of fat from the mascarpone in the bowl. Chill everything for 10 minutes and try again.
- Cocoa powder clumps on top: you’re not sifting it. Always push it through a fine-mesh sieve for that perfect snow-dusted finish.
- Tiramisu tastes like coffee water: your espresso was too weak. Use a proper shot or 1 tablespoon of instant espresso dissolved in 120 ml of hot water.
Your Tiramisu Questions, Answered
Can I make this without raw eggs? The traditional tiramisu uses raw egg yolks, but this version doesn’t. The whipped cream + mascarpone combination gives you all the silkiness without any food safety concerns. If you want extra reassurance, use pasteurized mascarpone.
Can I use regular coffee instead of espresso? Yes — just make sure it’s strong. Brew a double-strength cup of drip coffee or use 1 tablespoon of instant espresso dissolved in 120 ml of hot water. Weak coffee will make the whole dessert taste watery.
What can I substitute for Amaretto? Dark rum, brandy, Kahlúa, or Marsala all work beautifully. For a non-alcoholic version, just skip it — the espresso has plenty of flavor on its own.
Can I make this dairy-free? Yes — substitute the mascarpone with a vegan mascarpone alternative (Belgioioso makes one), the heavy cream with full-fat coconut cream, and use dairy-free dark chocolate. The result is slightly less rich but still very good.
Why are my ladyfingers floating? You’re piping too thick a layer of cream at the bottom, or your espresso soaked the ladyfingers too much. Both can be fixed by making sure the first cream layer is just a thin coating, and a true quick dip in the espresso, not a long soak.
How long do they keep in the fridge? Up to 3 days, covered. The cocoa dust will start to dissolve into the cream after about 24 hours, so I always dust right before serving, even if I made the cups the day before.
A Little Goodbye from My Kitchen
Chocolate espresso tiramisu cups are now my most-requested dinner party dessert. They look like you spent hours on them, but the active work is maybe 20 minutes — the rest is just the fridge doing its thing. The dark chocolate ganache folded into the cream is what makes this version different from every other tiramisu I’ve tried, and once you taste it, you’ll never go back to plain mascarpone.
If you try these, I’d love to hear what you think. Did you go classic with Amaretto, or try one of the twists? Drop a comment and let me know which one becomes your new favorite.
—Marina Caldwell
Easy Chocolate Espresso Tiramisu Cups (No-Bake & Make-Ahead)
Ingredients
- 120 ml (½ cup) strong black espresso, cooled
- 1 tablespoon Amaretto (optional)
- 50 g (1.75 oz) semi-sweet dark chocolate, finely chopped
- 250 g (1 cup) mascarpone cheese, room temperature
- 35 g (⅓ cup) powdered sugar
- 2 tablespoons Dutch-processed cocoa powder, plus extra for dusting
- 1 tablespoon agave or honey
- ½ teaspoon vanilla extract
- 250 ml (1 cup) heavy cream, cold
- 8 Italian ladyfinger biscuits (Savoiardi)
Instructions
- 1Brew the espresso and pour it into a shallow bowl. If you want that classic Italian depth, stir in a tablespoon of Amaretto. Let it cool to room temperature while you make the cream — warm espresso will melt the mascarpone and you’ll lose that fluffy texture.
- 2Make the chocolate ganache: melt the dark chocolate in the microwave in 20-second bursts, or over a double boiler. Once smooth, pour in 30 ml of the heavy cream and stir until glossy and combined. Set aside to cool for a few minutes.
- 3In a separate large bowl, combine the mascarpone, powdered sugar, cocoa powder, agave, and vanilla extract. Use an electric hand mixer on low speed and beat just until smooth — don’t go too long or the mascarpone will break and go grainy. Scrape down the sides of the bowl.
- 4Add the cooled chocolate ganache to the mascarpone mixture and beat again on low just until combined, about 15 seconds. The cream should be a beautiful uniform chocolate color. If you see any streaks, give it one more gentle stir with a spatula.
- 5Pour the remaining 220 ml of cold heavy cream into another bowl. Whisk by hand or with a mixer until it holds medium-stiff peaks. The trick here is to stop the moment you see the peaks hold their shape — over-whipped cream will make your tiramisu dense instead of airy.
- 6Gently fold the whipped cream into the chocolate mascarpone mixture in three additions, using a spatula and a slow motion from the bottom of the bowl up. Take your time here. The final cream should look like thick, fluffy chocolate mousse.
- 7Spoon the cream into a large piping bag (or a zip-top bag with the corner snipped off) and cut a wide opening. Pipe a thin layer of cream into the bottom of 4 small glasses or coupes — about 2 tablespoons per cup.
- 8Break each ladyfinger in half. Dip each half into the cooled espresso and flip once on each side — count to 2, no longer. Ladyfingers go from perfectly soaked to soggy in about 3 seconds, so a quick dip is the key. Lay two halves in each cup on top of the cream layer.
- 9Pipe another layer of cream over the ladyfingers, then repeat with a second layer of dipped ladyfingers, and finish with a final layer of cream. Use an offset spatula to smooth the top. Cover each cup with plastic wrap.
- 10Refrigerate for at least 8 hours, preferably overnight. This is non-negotiable — the cream needs that time to set, and the flavors need that long to meld. Right before serving, dust generously with cocoa powder through a fine-mesh sieve.
Notes
For a kid-friendly version, swap the espresso for strong decaf or hot chocolate. For a boozy adult version, add 1 tablespoon of Kahlúa to the cream.