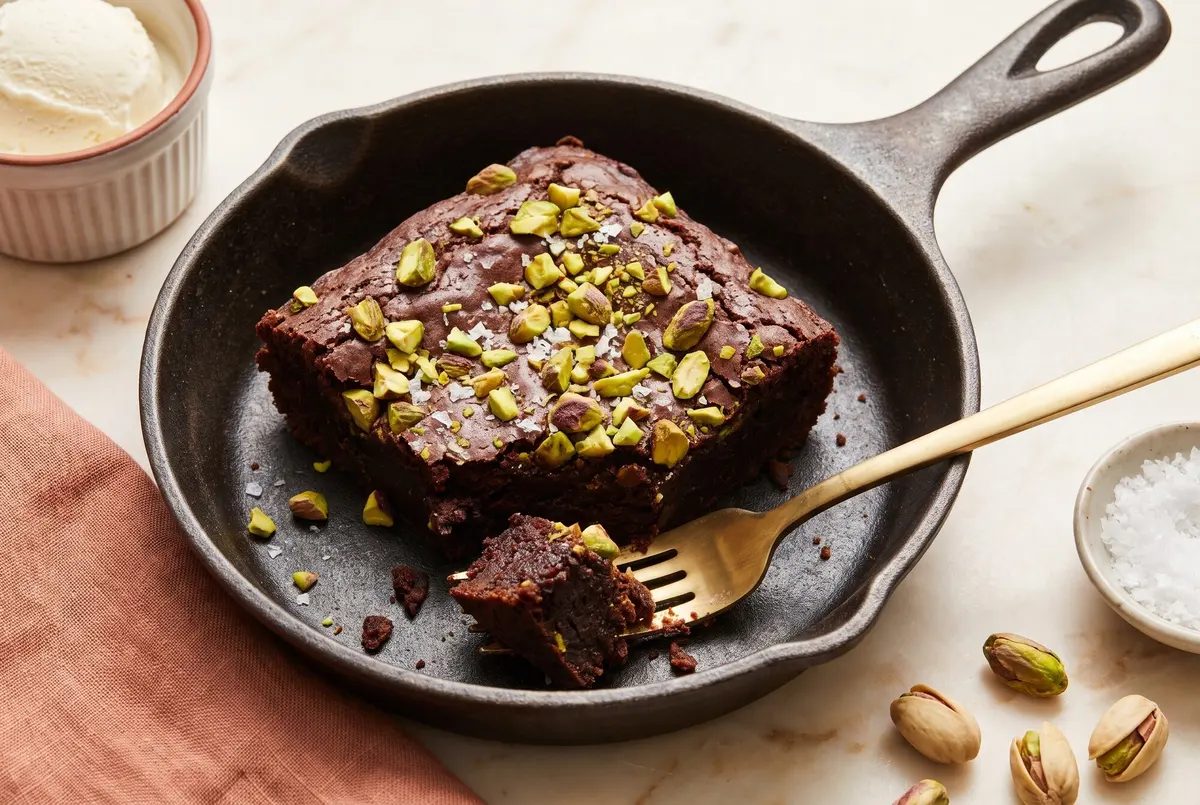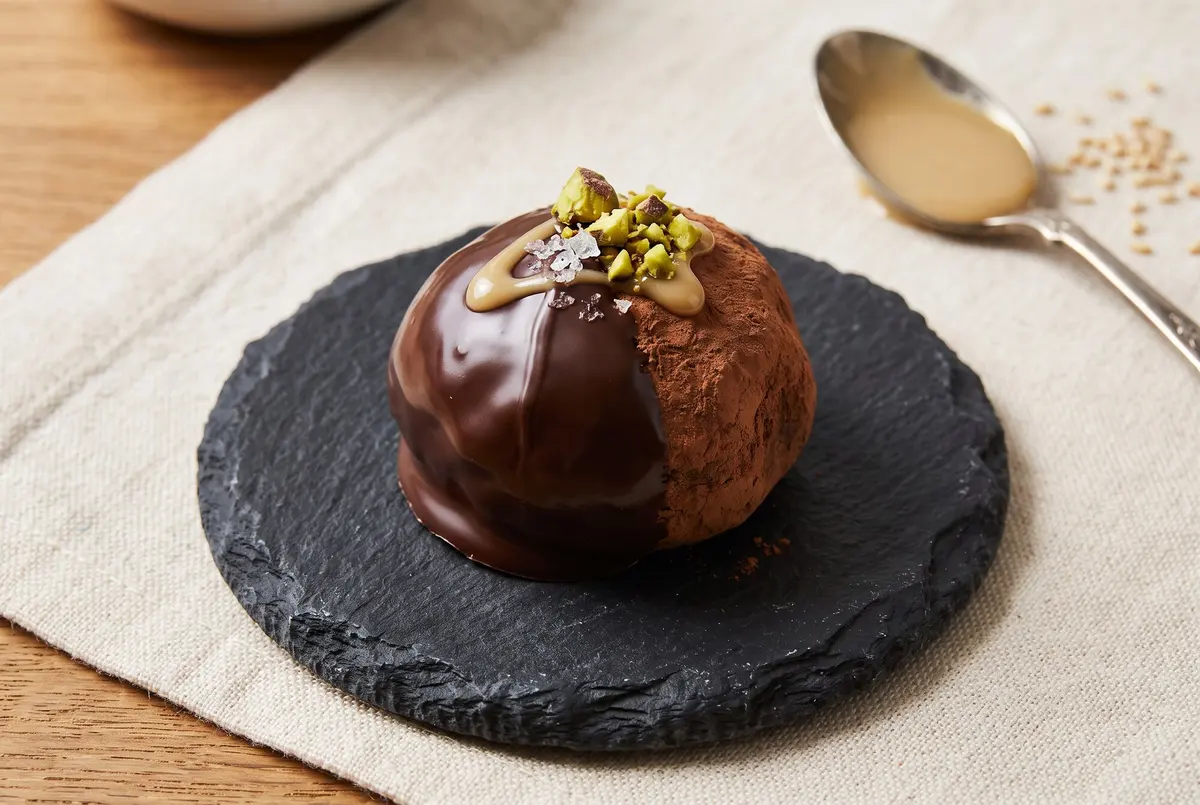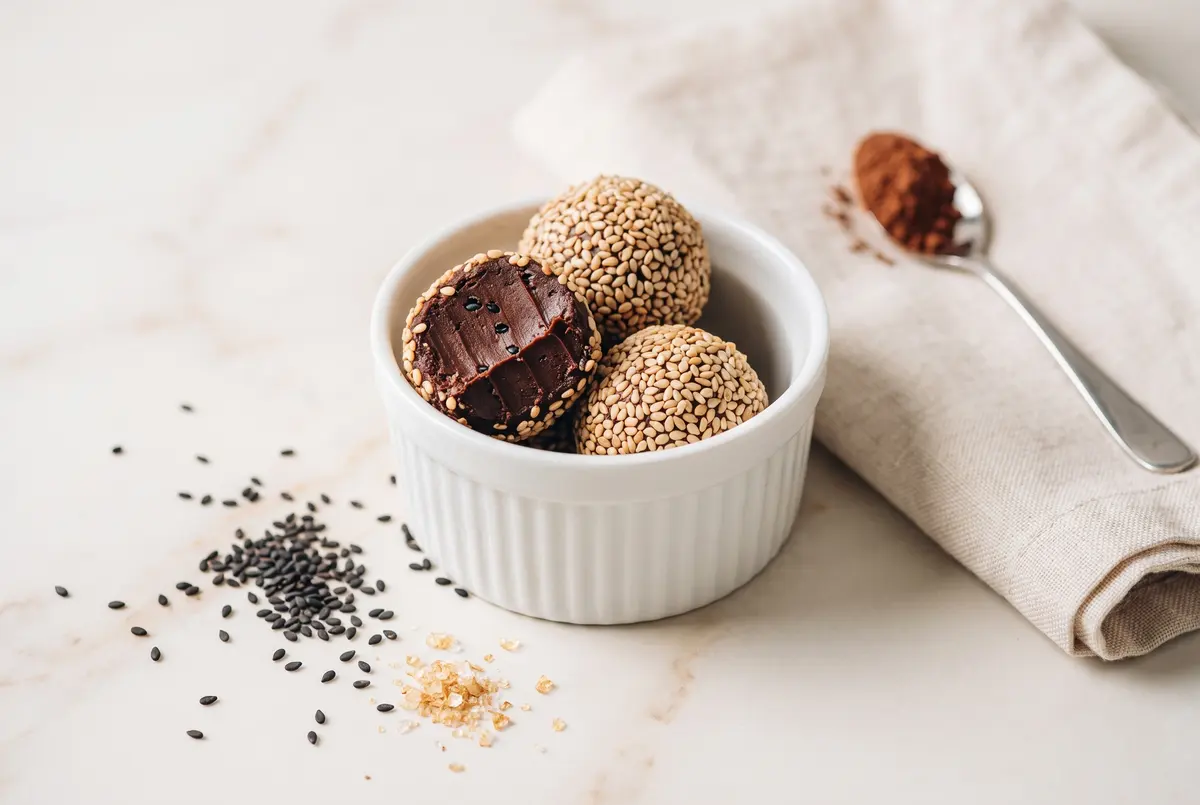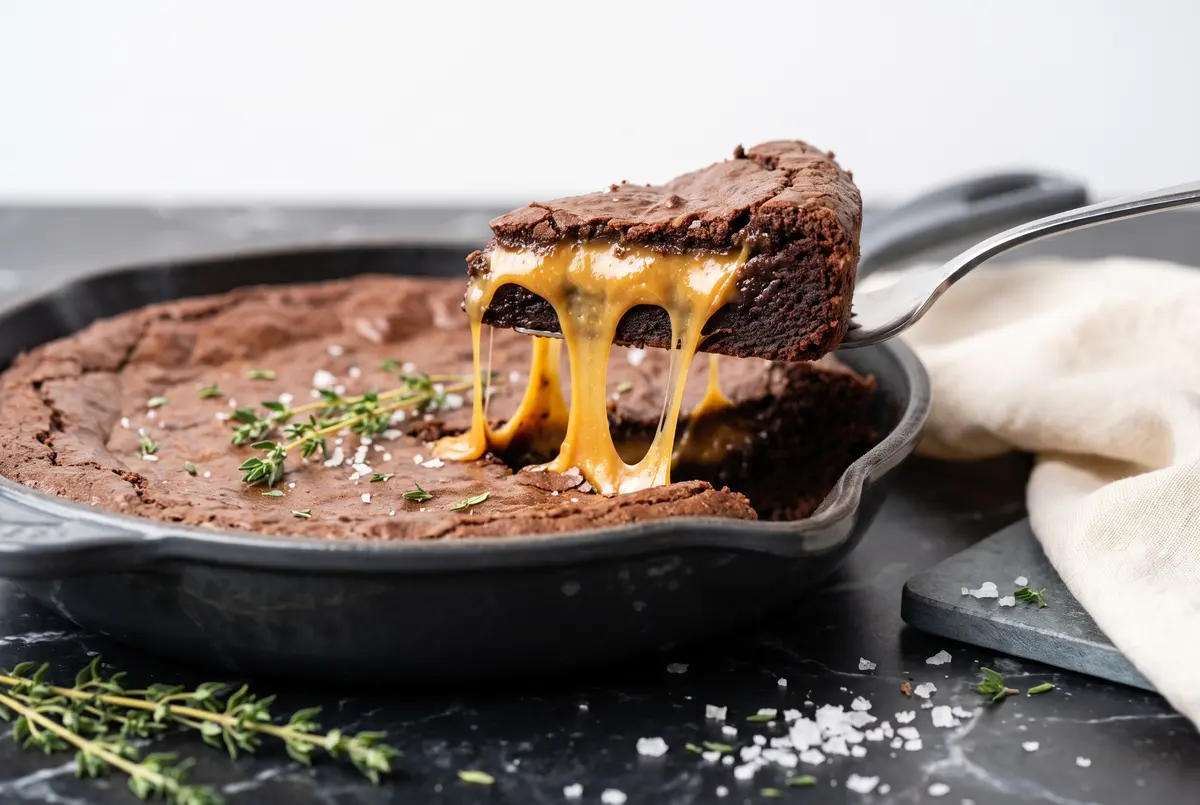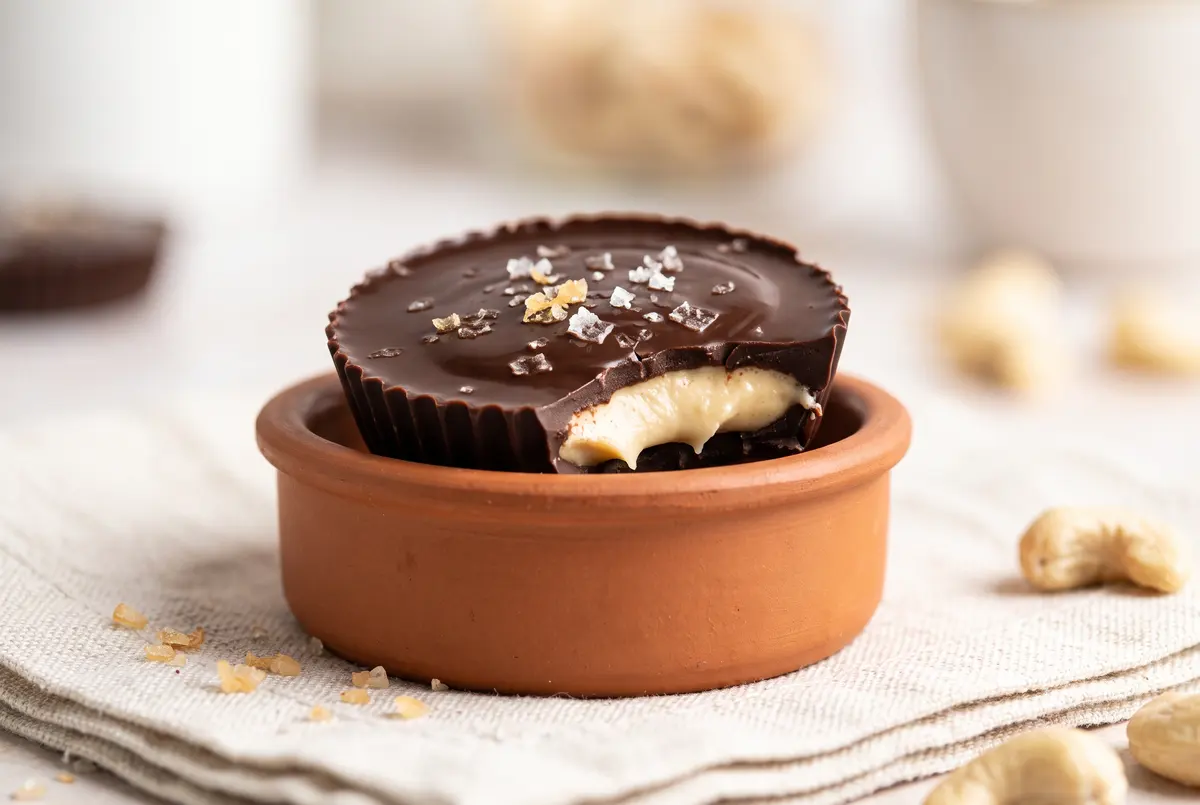
Have you ever bitten into a homemade chocolate cup and thought — wait, this is better than the one in the shiny orange wrapper? That’s exactly what happened to me the first time I made these chocolate cashew butter cups, and I have been quietly making them every weekend since.
I grew up on store-bought peanut butter cups, and I loved them the way a kid loves anything wrapped in foil. But cashews? They were always reserved for the trail mix tin in the pantry — never the star of dessert. Then I saw a chef on a tiny cooking channel whisk cashew butter with a touch of maple and sea salt, and my whole chocolate-cup worldview shifted. The filling is softer, the flavor is more buttery, and there’s a quiet sweetness that lets the dark chocolate sing instead of fighting for attention.
Now, I’m not going to lie — there is a small learning curve. Chocolate hates water, hates rushing, and absolutely hates a warm kitchen. But once you’ve made one good batch, the rest feel like muscle memory. Pull up a chair, tie back your hair, and let’s make a batch of the silkiest little cups you’ve ever tasted.
Why Cashew Butter Makes Everything Better
The trick to truly luxurious chocolate cups isn’t the chocolate at all — it’s the filling. Cashew butter is naturally sweeter and creamier than peanut or almond butter, with almost no bitter edge. When you whisk in just a little maple syrup, a hint of vanilla, and a pinch of flaky salt, it transforms into something that tastes like the inside of a fancy truffle.
I’ll be honest with you: I tried this recipe with three different nut butters before I landed on cashews. Peanut butter was fine but too assertive. Almond butter was too dry. Cashew butter, though? It folded like satin and set up like a dream. If you’ve only ever used cashews for stir-fry, this is their moment to shine.
And here’s a small but important note: use a good quality cashew butter. The kind that’s just cashews (and maybe a touch of oil), with no added sugar or salt. You control the sweetness in this recipe, so start with a clean canvas.
Ingredients
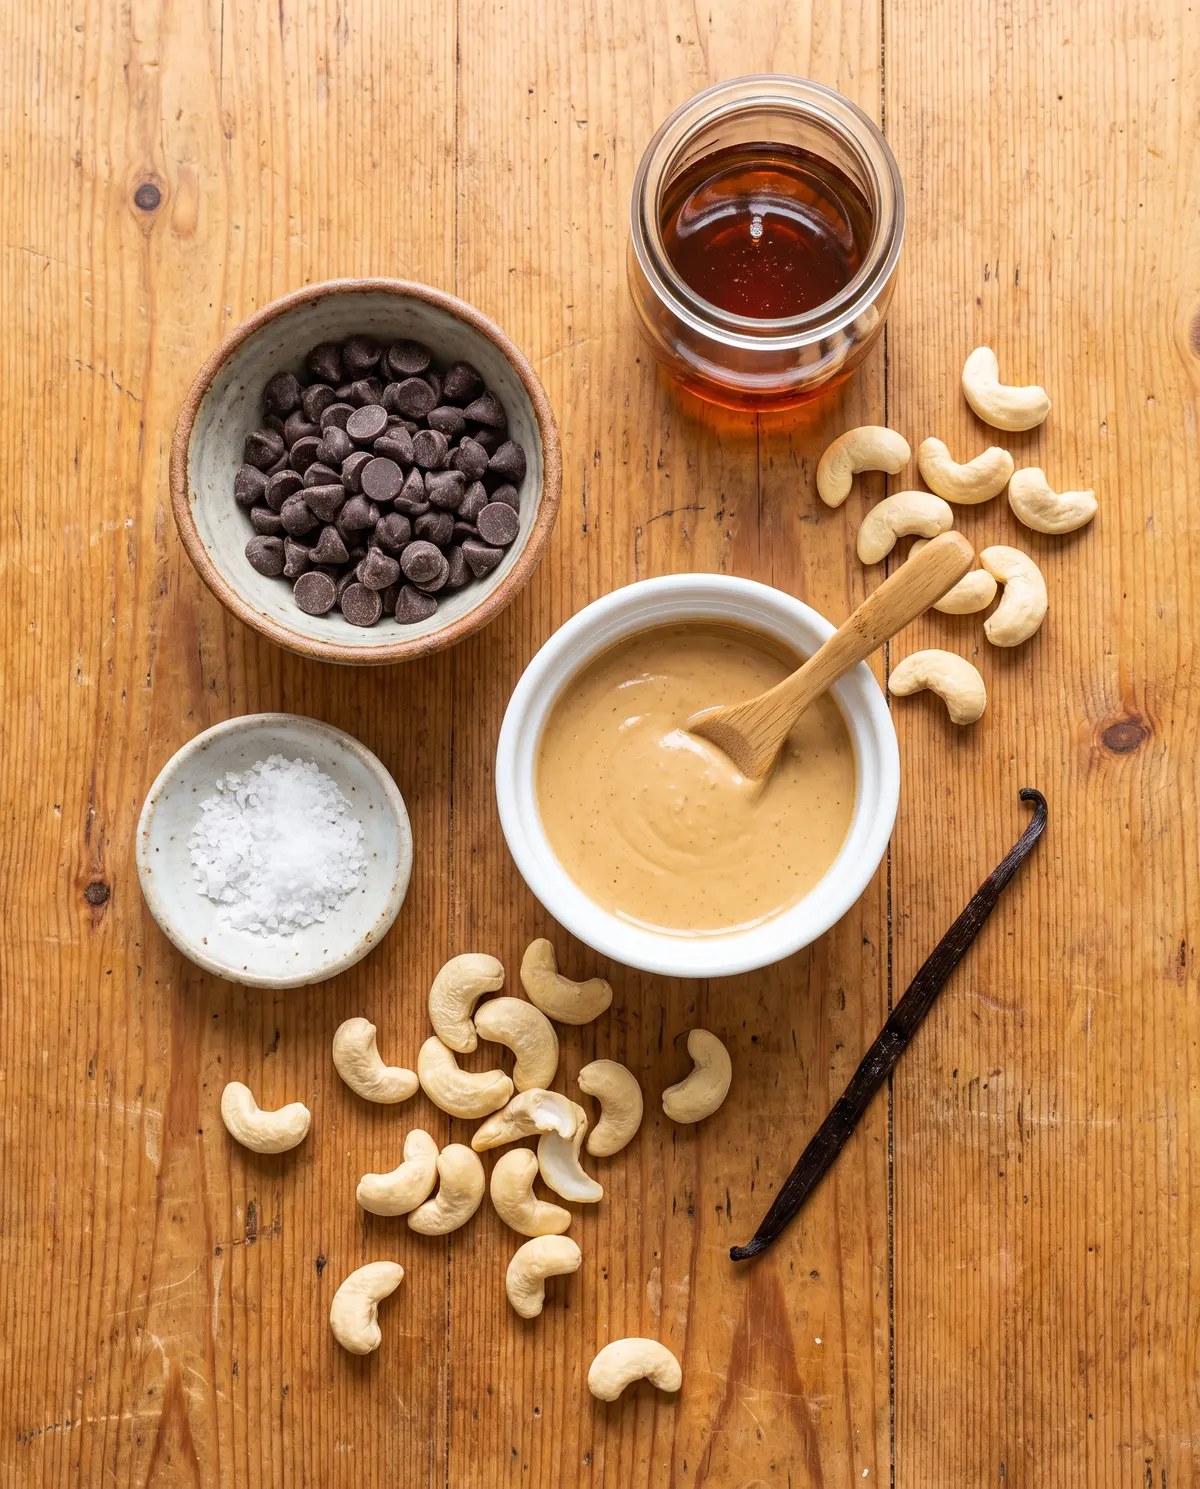
- 14 oz (400g) dark chocolate, 60-70% cacao, chopped
- 1 tablespoon coconut oil (helps the chocolate set with a beautiful snap)
- 1 cup (250g) smooth, unsweetened cashew butter
- 2 tablespoons pure maple syrup
- 1 teaspoon pure vanilla extract
- ¼ teaspoon fine sea salt
- Flaky Maldon sea salt, for finishing
Putting It All Together
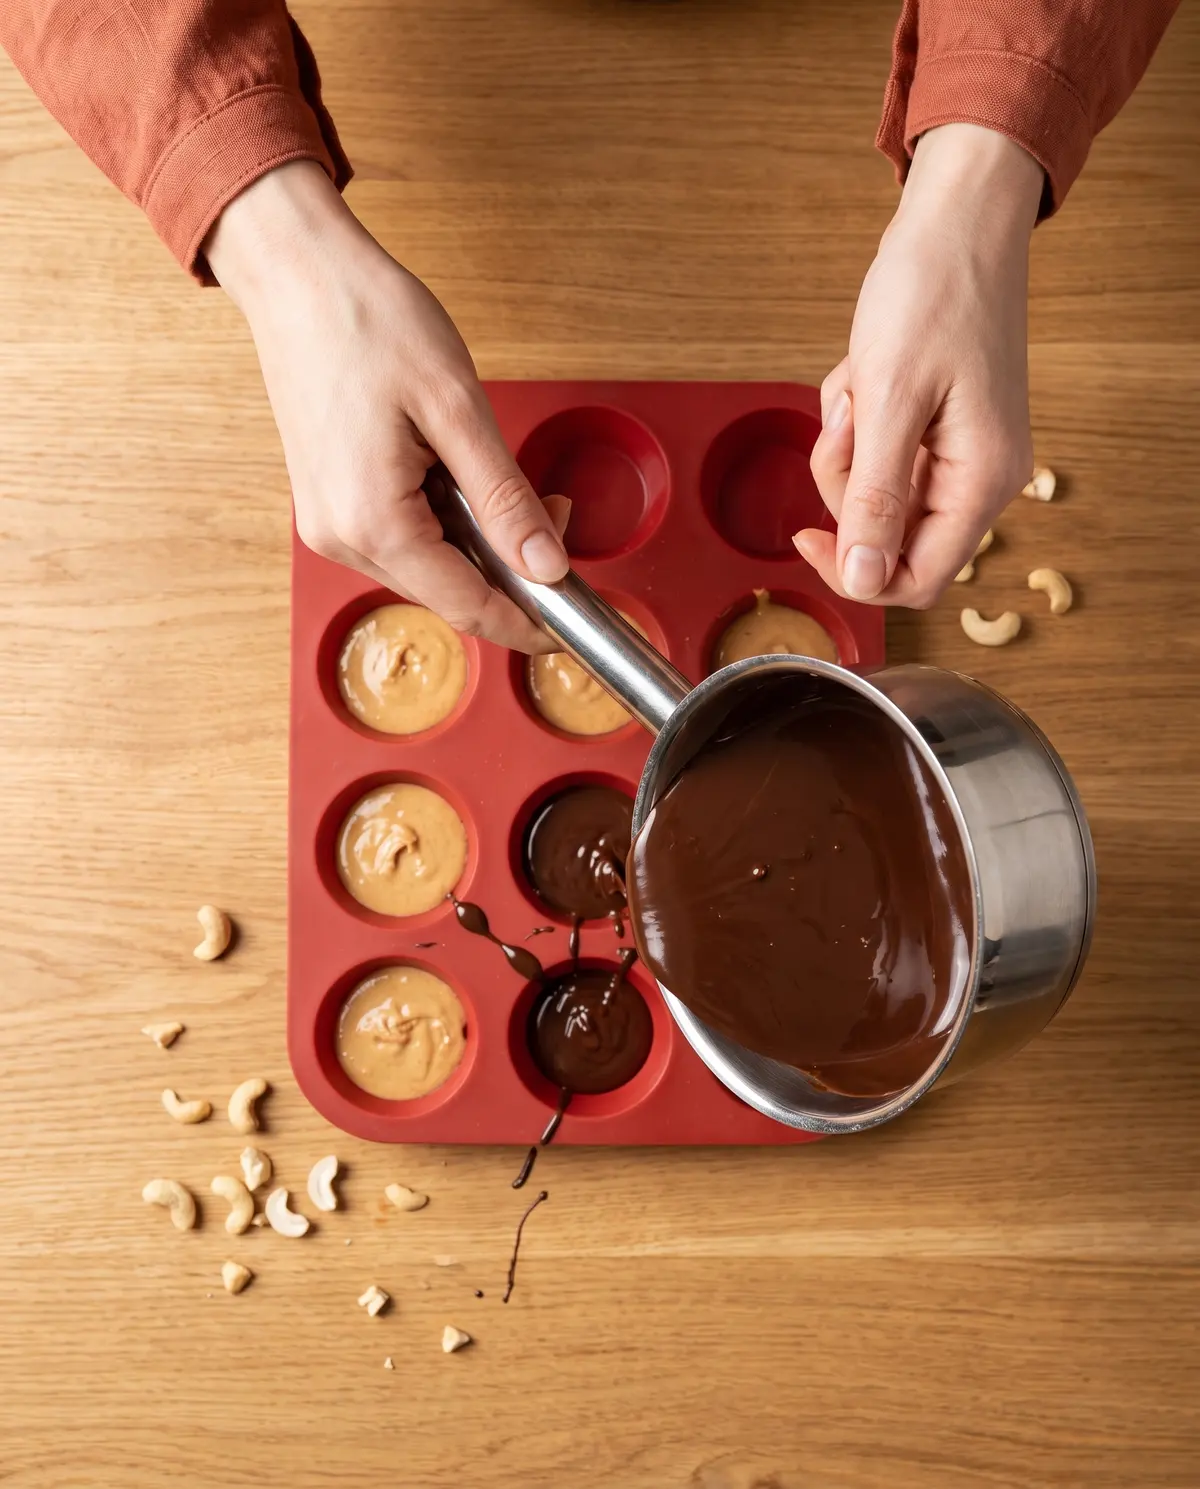
Step 1: Line a 12-cup muffin tin with paper liners. I prefer the fluted brown parchment cups for a bakery-style look, but any standard muffin liner works. Set the tin aside and let your freezer know it’s about to earn its keep.
Step 2: Melt the chocolate gently. Place the chopped chocolate and coconut oil in a heatproof bowl set over a saucepan of barely-simmering water. The bowl should not touch the water. Stir slowly with a silicone spatula until the chocolate is silky and smooth, then remove from the heat. Don’t rush this — chocolate seizes at the first sign of steam or water droplet, and there’s no coming back.
Step 3: Build the cashew filling. In a separate small bowl, stir together the cashew butter, maple syrup, vanilla, and fine sea salt until it looks like soft cookie dough. If it feels stiff, add another half teaspoon of maple syrup. Roll the mixture into 12 equal balls, then flatten each into a small disc about the size of a quarter.
Step 4: Paint the chocolate base. Spoon about 1½ teaspoons of melted chocolate into the bottom of each liner. Use the back of the spoon to spread the chocolate up the sides, creating a small chocolate well. This is the part that makes the cups look professional — take your time.
Step 5: First chill. Slide the tin into the freezer for 8-10 minutes, until the chocolate shell is firm to the touch. The filling won’t set in the freezer, but that’s fine — you’re just locking in the cup shape.
Step 6: Add the filling. Place one cashew disc into each cup, pressing gently so it sits flat against the chocolate base. If your disc is slightly bigger than the cup, just trim the edges with a paring knife — no one will mind.
Step 7: Seal with chocolate. Spoon another 1½ to 2 teaspoons of melted chocolate over each cashew disc, covering it completely. Gently tap the tin on the counter two or three times — this releases any trapped air bubbles and gives you a glossy, professional-looking top.
Step 8: Finish with flair. While the chocolate is still wet, sprinkle a few flakes of Maldon sea salt on top of each cup. If you want to be fancy, you can melt an extra tablespoon of cashew butter with a touch of neutral oil and drizzle it across the tops in a pretty swirl. I usually skip this step because the cups are already gorgeous, but it’s a lovely touch for company.
Step 9: Final set. Return the tin to the freezer for 15-20 minutes, or to the fridge for 30-40 minutes, until the cups are completely firm. Peel off the liners (or keep them on — your call) and try not to eat all 12 in one sitting.
Creative Twists to Try Next Time
- Espresso buzz: Stir ½ teaspoon of instant espresso into the melted chocolate. The coffee deepens the chocolate flavor without making the cups taste like coffee.
- Toasted coconut crunch: Sprinkle toasted coconut flakes on top before the chocolate sets. It adds a chewy, tropical contrast.
- Raspberry ripple: Drop a tiny dollop of seedless raspberry jam on top of the cashew disc before sealing. Tart, sweet, gorgeous.
- Salted pretzel crunch: Mix crushed pretzels into the cashew filling. Salty, crunchy, and deeply addictive.
- Coconut cream dream: Swap the cashew butter for coconut butter and the maple for honey. A completely different cup, but every bit as lovely.
- Boozy grown-up version: Add a teaspoon of bourbon or dark rum to the cashew filling. Perfect for after-dinner trays.
Serving & Pairing Ideas
These little cups feel celebratory on their own, but they really shine when paired with something simple. I love serving one (or two, let’s be honest) alongside a small espresso or a cold glass of milk. For dessert plates, set a cup next to a scoop of vanilla bean ice cream and a few fresh berries — the cold cream against the cold chocolate is a quiet, beautiful thing.
They’re also lovely on a cookie board, perched between shortbread and dried apricots. And if you’re hosting a dinner party, try a chocolate and wine pairing — a late-harvest Riesling or a fruity port is magic with the dark chocolate shell.
Storage & Make-Ahead Tips
These cups keep beautifully in an airtight container in the fridge for up to 3 weeks. For longer storage, freeze them in a single layer on a parchment-lined tray, then transfer to a zip-top bag — they’ll last 3 months in the freezer and honestly taste even better straight from the cold.
One small note: because the filling has no stabilizers, the cups will soften slightly at room temperature. If you’re taking them to a party, keep them in the fridge until the last possible moment. The contrast of a cold cup against a warm room is honestly part of the charm.
You can also make the cashew filling up to 5 days ahead and keep it in a sealed container in the fridge. When you’re ready to assemble, let it sit at room temperature for 10 minutes to soften before rolling.
Common Mistakes & Easy Fixes
My chocolate seized and went clumpy. A drop of water probably sneaked in, or your bowl touched the simmering water. To rescue, stir in a teaspoon of warm coconut oil at a time until it loosens up. If it stays stubbornly thick, it’s time to start over — the texture will be grainy in the final cup.
The cups won’t release from the liners. They probably need more freezer time. Pop them back in for another 10 minutes, then try again. Paper liners should peel away cleanly when the chocolate is fully set.
The filling is too soft and bulges out the top. You used too much filling, or the chocolate layer on top was too thin. Next time, make the cashew discs a little smaller and add an extra teaspoon of chocolate to the top seal.
The tops look dull instead of glossy. That’s usually a sign the chocolate got a little too cold before you tapped the tin. To fix, very briefly warm the tops with a hair dryer on low — just 2-3 seconds brings back the shine.
Your Cashew Butter Cup Questions, Answered
Can I use milk chocolate instead of dark? Absolutely! Milk chocolate makes a sweeter, more kid-friendly cup. Use the same weight (14 oz) and proceed as written. The filling is plenty rich, so the milder chocolate balances it out beautifully.
What if I don’t have coconut oil? You can skip it entirely — the cups will just be a touch more brittle. Or substitute an equal amount of butter for a slightly softer, melt-in-your-mouth texture.
Can I make these nut-free? Yes! Use sunflower seed butter (the kind made from just seeds and salt) in place of cashew butter. The flavor is different — slightly more earthy — but the texture is remarkably similar.
How far ahead can I make these? Two weeks in the fridge, three months in the freezer. I usually make a batch on Sunday and grab one every evening with a cup of tea. They’re better the second day once the flavors have settled.
Can I use chunky cashew butter? You can, but the filling will have a slightly bumpy texture. For the silkiest cups, blend the chunky butter in a food processor for 30 seconds until smooth.
Why did my chocolate develop white streaks on top? That’s called “bloom” — it’s the cocoa butter separating when the chocolate gets too warm or too cold. The cups are still perfectly fine to eat, just not as pretty. To prevent it, keep the chocolate at a steady cool room temperature and avoid big temperature swings.
A Little Goodbye from My Kitchen
I think the best recipes are the ones you make once and then quietly claim as your own. These cashew butter cups have become that for me — a small, dependable joy at the end of a long week. They’re the kind of thing you bring to a friend who just had a baby, or set out on a Tuesday because you deserve a treat. There’s no occasion required.
If you make them, I’d love to hear how they turn out. Did you go classic with the flaky salt on top, or did you try one of the twists? Drop a comment and tell me which version you’re dreaming up first.
Until next time, keep your chocolate cool and your salt flaky.
—Marina Caldwell
Easy Dark Chocolate Cashew Butter Cups (Creamy & Homemade)
Ingredients
- 14 oz (400g) dark chocolate, 60-70% cacao, chopped
- 1 tablespoon coconut oil
- 1 cup (250g) smooth, unsweetened cashew butter
- 2 tablespoons pure maple syrup
- 1 teaspoon pure vanilla extract
- ¼ teaspoon fine sea salt
- Flaky Maldon sea salt, for finishing
Instructions
- 1Line a 12-cup muffin tin with paper liners and set aside.
- 2Melt the chopped chocolate and coconut oil in a heatproof bowl set over barely-simmering water, stirring until silky. Remove from heat.
- 3In a small bowl, stir together the cashew butter, maple syrup, vanilla, and fine sea salt until soft and dough-like. Roll into 12 discs.
- 4Spoon about 1½ teaspoons of melted chocolate into each liner and spread up the sides to form a small well.
- 5Freeze the tin for 8-10 minutes, until the chocolate shell is firm.
- 6Place one cashew disc into each cup, pressing gently so it sits flat.
- 7Spoon 1½-2 teaspoons of melted chocolate over each disc to seal. Tap the tin gently to release air bubbles.
- 8Sprinkle flaky Maldon sea salt on top while the chocolate is still wet. Optional: drizzle melted cashew butter in a swirl.
- 9Freeze for 15-20 minutes (or refrigerate 30-40 minutes) until completely firm. Peel off liners and enjoy.
Notes
For the silkiest filling, use a smooth unsweetened cashew butter (just cashews, maybe a touch of oil).
Chocolate seizes at the first sign of water or steam — keep your bowl dry and your heat gentle.
Store in an airtight container in the fridge for up to 3 weeks, or freeze for 3 months.
For a glossy finish, briefly warm the tops with a hair dryer on low (2-3 seconds).