I Made These on a Rainy Tuesday
It was one of those afternoons where I wanted something sweet. But turning on the oven felt like too much. That’s when I remembered these no bake oat bars my friend’s mom used to make.
She’d pull them out of the fridge on summer days. They were always perfectly chewy, slightly messy, and gone in minutes. I knew I had to try making them myself.
Don’t Skip the Oat Toast
You’ll notice the recipe says to cook the butter and oats together for a few minutes. Please don’t rush that step. It changes everything.
That short time on the stove brings out this nutty, warm flavor. You get a deeper taste without any extra work. Have you ever smelled oats toasting in butter? It’s pure comfort.
Here’s a Little Trick
Press the oat layer firmly with the bottom of a glass. Your fingers just can’t get it dense enough.
I learned this the hard way. My first batch crumbled everywhere. I called them “oaty bits” and we ate them with spoons. Still delicious, but not bar material.
The Chocolate Peanut Butter Situation
Melt the chocolate chips and peanut butter together slowly. Low heat, constant stirring. It feels like making a thick, dreamy sauce.
Pour it over that first oat layer and just watch it spread. I always lick the spatula after. No shame there. What’s your favorite chocolate and nut butter combo?
Why Waiting Matters
Two hours in the fridge feels like forever. But that’s when the magic happens. The layers set and become one solid, sliceable bar.
Let them sit at room temp for five minutes before cutting. This simple insight saves you from cracked edges and frustrated knife work. It’s worth the wait, I promise.
Make Them Your Own
You could swap crunchy peanut butter for extra texture. Or toss in some shredded coconut with the oats. These bars are forgiving like that.
My favorite memory is making a double batch for a road trip. We ate them cold from the cooler and everyone was quiet for five whole minutes. That’s the highest compliment. So go ahead, make a mess in the kitchen. You’ll thank yourself later.
Instructions
Step 1: Line a 9×9-inch pan with parchment paper. Make sure the paper hangs over the edges a bit – you’ll thank me later. Melt the butter in a saucepan, then stir in the brown sugar and vanilla. Add the quick-cooking oats and cook over low heat for 2-3 minutes. I always worry I’ll burn it, but low heat is the trick. (Pro tip: use a heavy-bottomed pan so the butter doesn’t scorch.) Step 2: Press half of that oat mixture firmly into the bottom of the pan. Use the bottom of a measuring cup or just your hands if you don’t mind getting sticky. Set the rest of the oat mixture aside for now. That layer needs to be really compact so the bars hold together later – I didn’t press hard enough my first time and they crumbled everywhere. Step 3: In a separate pot, melt the chocolate chips and peanut butter together over low heat. Stir constantly until it’s all smooth and glossy – this takes maybe a minute. Pour that chocolate-peanut butter goo over the oat layer. It smells incredible, doesn’t it? Here’s a mini-quiz: What’s your go-to chocolate for melting – chips, chopped bars, or something else? Share below! Step 4: Crumble the remaining oat mixture over the chocolate layer. Don’t dump it all in one pile – scatter it evenly. Gently press it down so it sticks, but not too hard or you’ll push the chocolate up through the oats. I usually use a spatula and just pat it gently. It looks messy at this point, but trust the process. Step 5: Melt a little extra chocolate for the drizzle. I just pop a handful of chips in the microwave for 20 seconds, stir, then another 10 if needed. Drizzle it back and forth over the top with a fork. Don’t worry about perfection – the uneven drizzles make it look homemade and real. My kids love watching this part. Step 6: Cover the pan with plastic wrap or foil and refrigerate for at least 2 hours. I usually leave it overnight because I’m impatient and forget – but 2 hours works fine. The bars need to be fully firm before you cut them. Here’s something I learned the hard way: (let them sit at room temperature for about 5 minutes before slicing, otherwise the chocolate layer can crack.) Step 7: Once firm, lift the bars out using the parchment paper and place on a cutting board. Use a sharp knife and cut into squares – I aim for 16 small bars, but you do you. If the knife sticks, wipe it clean between cuts. That always works for me. These keep in the fridge for about a week, but honestly they never last that long around here.Creative Twists
… Swap the peanut butter for almond butter or sunflower seed butter if you want a different nutty flavor. Just be ready for a slightly softer texture.… Stir in a handful of mini marshmallows or shredded coconut into the oat mixture before pressing – makes it chewy and sweet.
… Use dark chocolate chips instead of semi-sweet and add a pinch of sea salt on top of the drizzle. That salty-sweet thing gets me every time.
Which one would you try first? Comment below!
Serving & Pairing Ideas
Serve these bars straight from the fridge on a hot afternoon – they’re almost like a frozen fudge treat. I like to stack a couple on a plate with a glass of cold milk, no fuss. Or crumble one over a bowl of vanilla ice cream for a quick dessert that feels fancy but takes zero effort. If you’re feeling extra, warm one up in the microwave for 10 seconds and eat it with a spoon. Which would you choose tonight?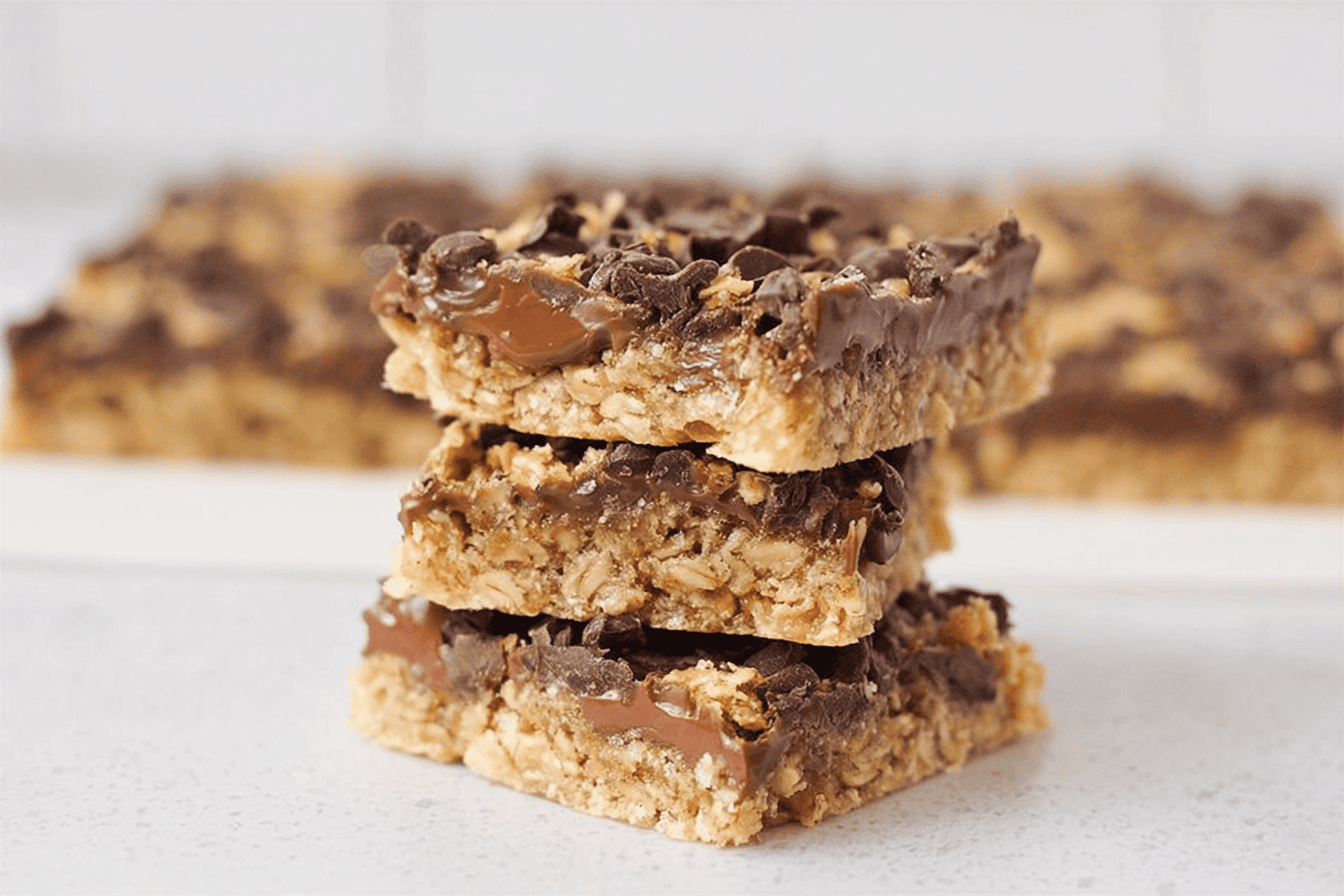
Storage & Make-Ahead Tips
These bars keep in the fridge for up to a week. Just pop them in an airtight container with a piece of parchment between layers so they don’t stick. I once left a batch uncovered overnight and the tops got a little leathery—still good, just not as nice. You can also freeze them for up to three months. Wrap each bar in plastic wrap, then toss them in a freezer bag. When you want one, let it sit on the counter for about ten minutes. It’ll soften up just right.
Batch cooking? This recipe doubles easily. Make a double batch on a Sunday and you’ve got snacks for the whole week. That saves you time and cuts down on those impulse store-bought treats. Plus, it uses up oats and chocolate you probably already have. No waste feels pretty good.
Have you ever saved leftovers like this? Tell me below!
Why this matters: a little planning means less stress and less food tossed. That’s a win for your wallet and the planet.
Common Mistakes & Easy Fixes
Mistake one: the oat layer crumbles apart. If you press it too lightly, the bottom won’t hold. Fix it by really smashing that first layer into the pan. Use the bottom of a glass or your knuckles. Press hard. I almost skipped this step once—huge mistake. The whole thing fell apart when I sliced it.
Mistake two: the chocolate layer is grainy. That happens when you overheat the chocolate and peanut butter. Melt them on low, stirring often. Pull the pot off the heat the second it looks smooth. A little patience goes a long way.
Mistake three: bars are too hard to slice. You’re cutting straight from the fridge. Let them sit at room temp for about 10 minutes. A sharp knife helps too. I once forgot that step and ended up with jagged chunks that looked more like rubble than bars.
Did this ever happen to you?
Why these fixes matter: getting the texture right makes the bar taste better and gives you confidence to try more no-bake recipes. Small tweaks, big payoff.
Your Questions, Answered
Can I use old-fashioned rolled oats instead of quick-cooking? Yes, but the texture will be chewier. Quick oats soak up the butter and sugar faster, so they hold together nicer. If you use rolled oats, cook the mixture a minute or two longer. I tried it once—still tasty, just a little more rustic.
Is there a substitute for peanut butter? Sure. Use any nut or seed butter—almond, cashew, sunflower seed. Sunflower butter can turn a little green after sitting, but that’s just a chemical thing, not a problem. Taste stays fine. Just make sure it’s creamy, not chunky, for a smooth chocolate layer.
Can I use milk chocolate instead of semi-sweet? You can, but it’ll be sweeter. Semi-sweet balances the brown sugar and peanut butter nicely. If you swap, reduce the brown sugar a bit. Maybe a third cup instead of half. I’ve done it and regretted the extra sweetness.
How long do they need to chill? At least two hours in the fridge. Overnight is even better. If you’re in a rush, pop them in the freezer for about 45 minutes. Just don’t leave them in there too long or they’ll get rock hard. A fun fact: these bars were originally a camping snack because they don’t require baking—perfect for trips.
Can I add extras like coconut or nuts? Absolutely. Fold in half a cup of shredded coconut or chopped walnuts with the oats. Press them in gently. I love adding a pinch of sea salt on top before chilling. It makes the chocolate pop.
Why did my chocolate layer crack when I sliced it? Probably because it was too cold. Let the bars rest at room temp for 10 minutes. Also, use a long, sharp knife and wipe it clean between cuts. A dull blade drags and cracks the chocolate. I learned that one the hard way.
Which answer helped you most?
Final Thoughts
These no-bake bars are the kind of recipe you’ll come back to again and again. They’re simple, forgiving, and they make your kitchen smell like butter and chocolate without ever turning on the oven. I love that. When I press that last crumbly layer on top, I feel like I’ve made something honest—something you can share after school, on a hike, or just with your afternoon coffee.
Give them a try. Don’t stress if the layers aren’t perfect. Mine never are. But they always disappear fast. I’d love to hear how yours turn out.
Will you make this soon?
Happy cooking!
—Marina Caldwell
Easy No Bake Chocolate Oat Bar Recipe
Ingredients
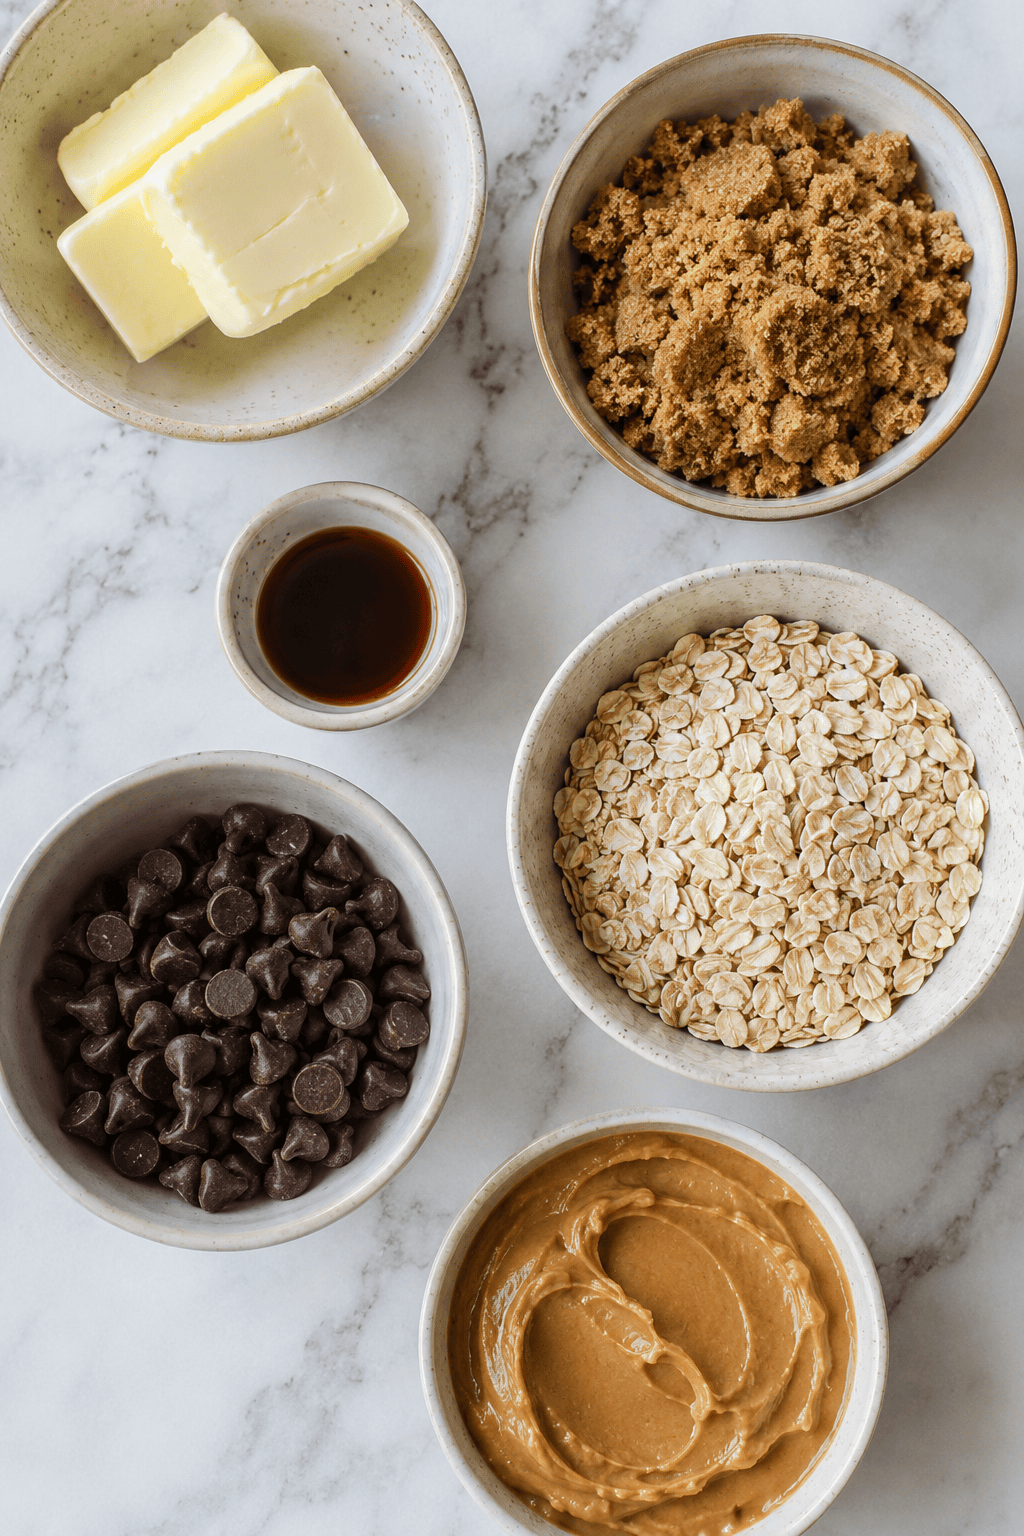
- 1 cup butter
- 1/2 cup packed brown sugar
- 1 tsp vanilla extract
- 3 cups quick-cooking oats
- 1 cup semi-sweet chocolate chips, plus extra for drizzling
- 1/2 cup creamy peanut butter
Instructions
- 1Line a 9×9-inch pan with parchment paper.
- 2Melt the butter in a saucepan, then stir in brown sugar and vanilla. Add the oats and cook over low heat for 2-3 minutes.
- 3Press half the oat mixture firmly into the prepared pan. Set the rest aside.
- 4In a separate pot, melt the chocolate chips and peanut butter together over low heat until smooth, then pour over the oat layer.
- 5Crumble the remaining oat mixture over the chocolate layer and press gently to adhere.
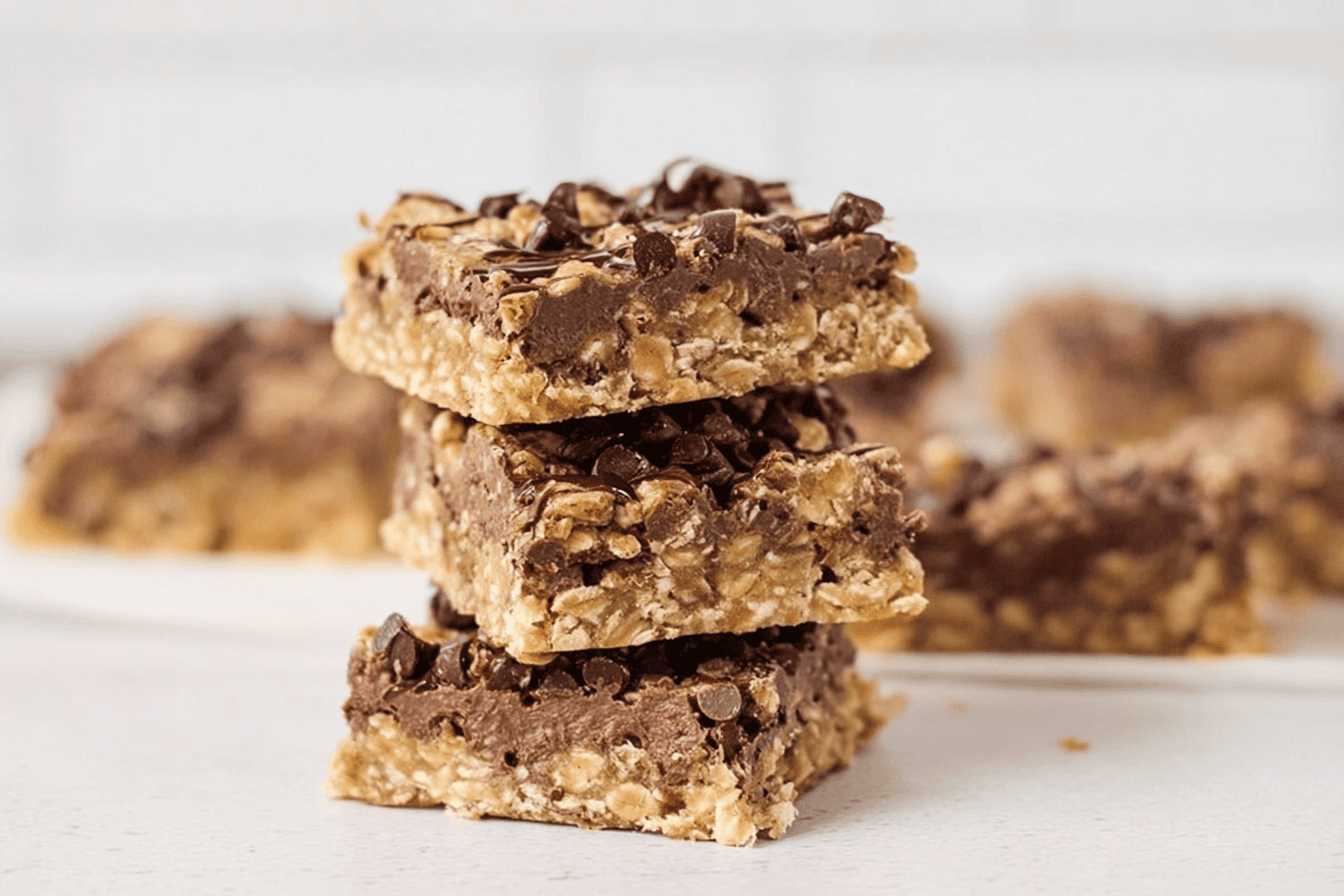
- 6Melt a little extra chocolate and drizzle over the top.
- 7Cover and refrigerate at least 2 hours until firm. Let sit briefly at room temperature before slicing.