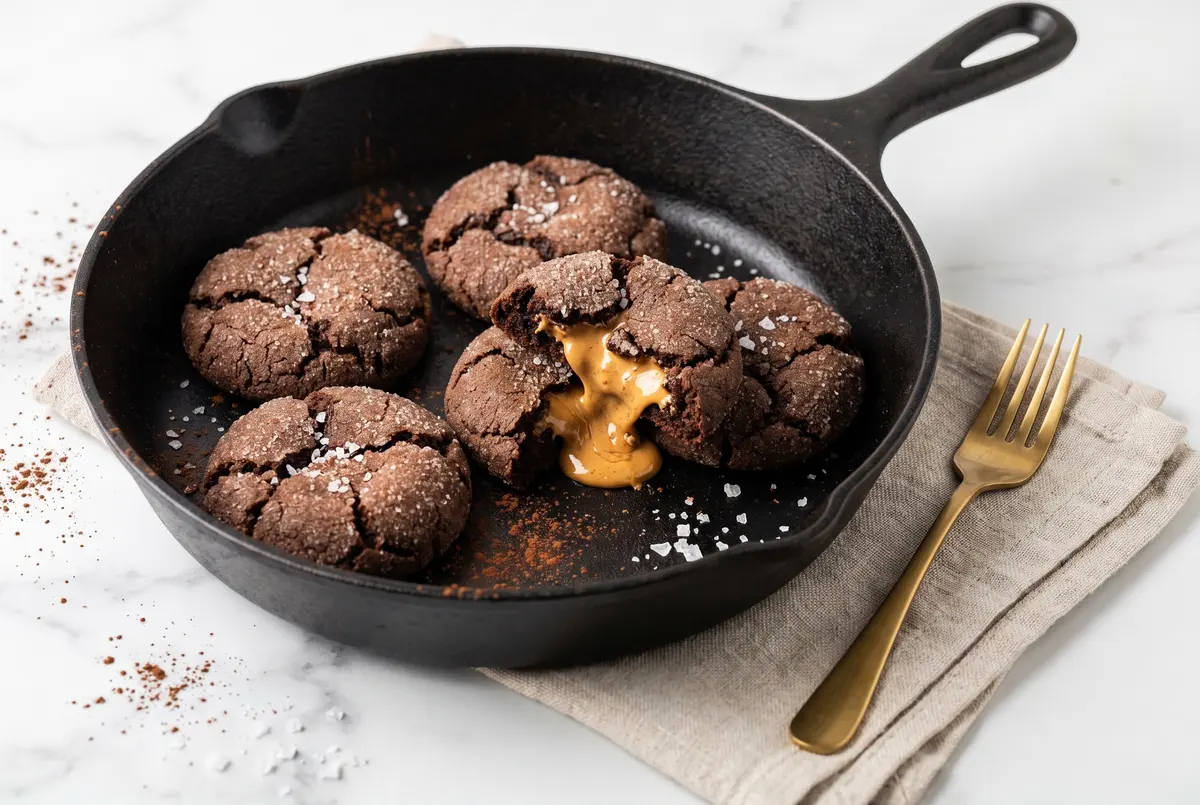
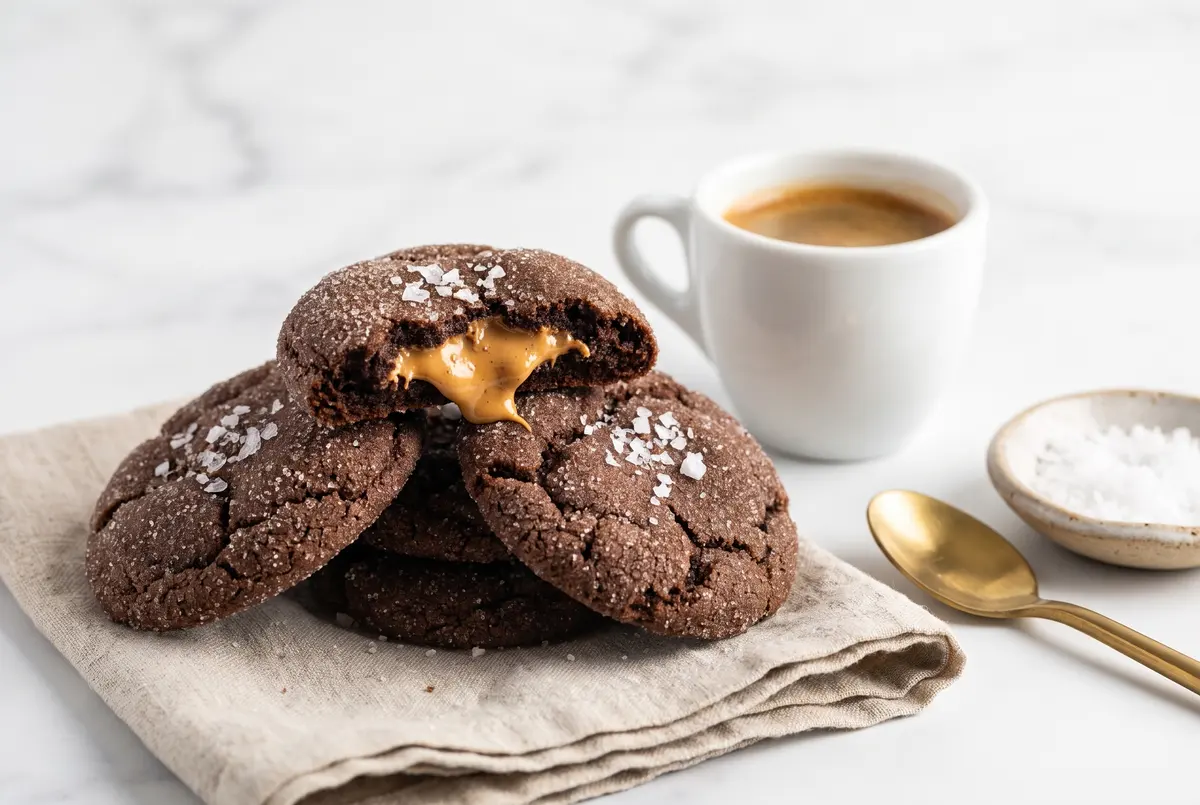
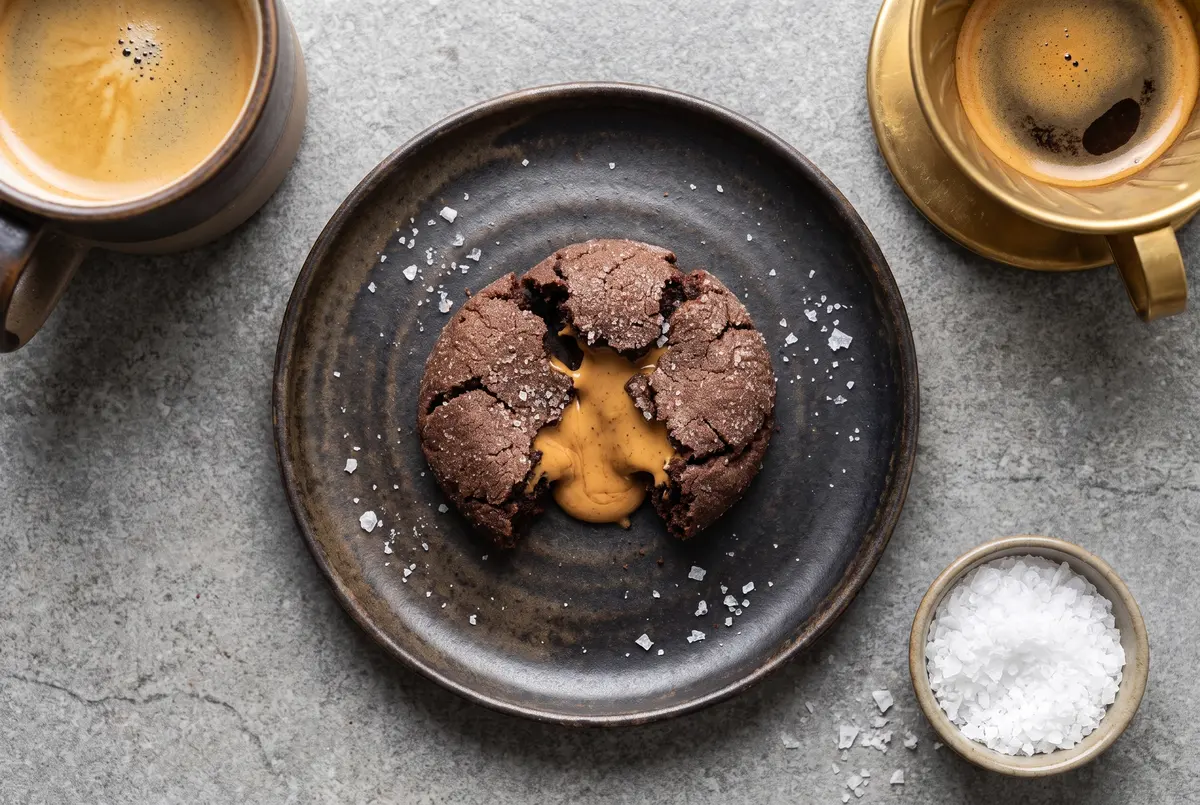
Have you ever bitten into a cookie and just stopped talking mid-bite? That’s what happened the first time I made these chocolate peanut butter cup cookies, and I haven’t been the same since. Soft, fudgy, almost brownie-like on the outside, with this oozy pocket of salty-sweet peanut butter hidden in the middle — they’re the kind of cookie that makes you guard the plate with your elbows.
I’d been circling the idea of a chocolate cookie wrapped around a peanut butter filling for years, but the original recipes I tried always felt a little flat — pale, sweet, and somehow both too much and not enough. So I went a little darker (Dutched cocoa, generous cocoa, the works), added a pinch of flaky salt to the filling, and started freezing the filling balls before wrapping. That last move changed everything: it makes wrapping the dough around the filling so much easier, and the cookies come out with a perfect striation of cookie-filling-cookie in every single bite.
The Trick Behind the Gooey Center
The little secret here is that the filling isn’t baked — only the thin outer shell of chocolate cookie is. So those centers stay soft, almost fudgy, with that just-melted peanut butter vibe. The trick is to freeze the filling balls while you make the dough, then wrap the cold filling in the dough, roll in sugar, and bake for a short 8 to 10 minutes. The cookies will look wildly underdone when you pull them out. Trust them. They set up beautifully on the sheet pan as they cool.
The other move is the cocoa. Skip the natural stuff and reach for Dutched (Droste, Valrhona — even the Trader Joe’s brand works). It’s darker, nuttier, and far more chocolate-forward, which is exactly what these cookies need. If you only have natural cocoa, just swap the baking powder for 1/2 teaspoon baking soda and the cookies will still be lovely — just a touch lighter in color.
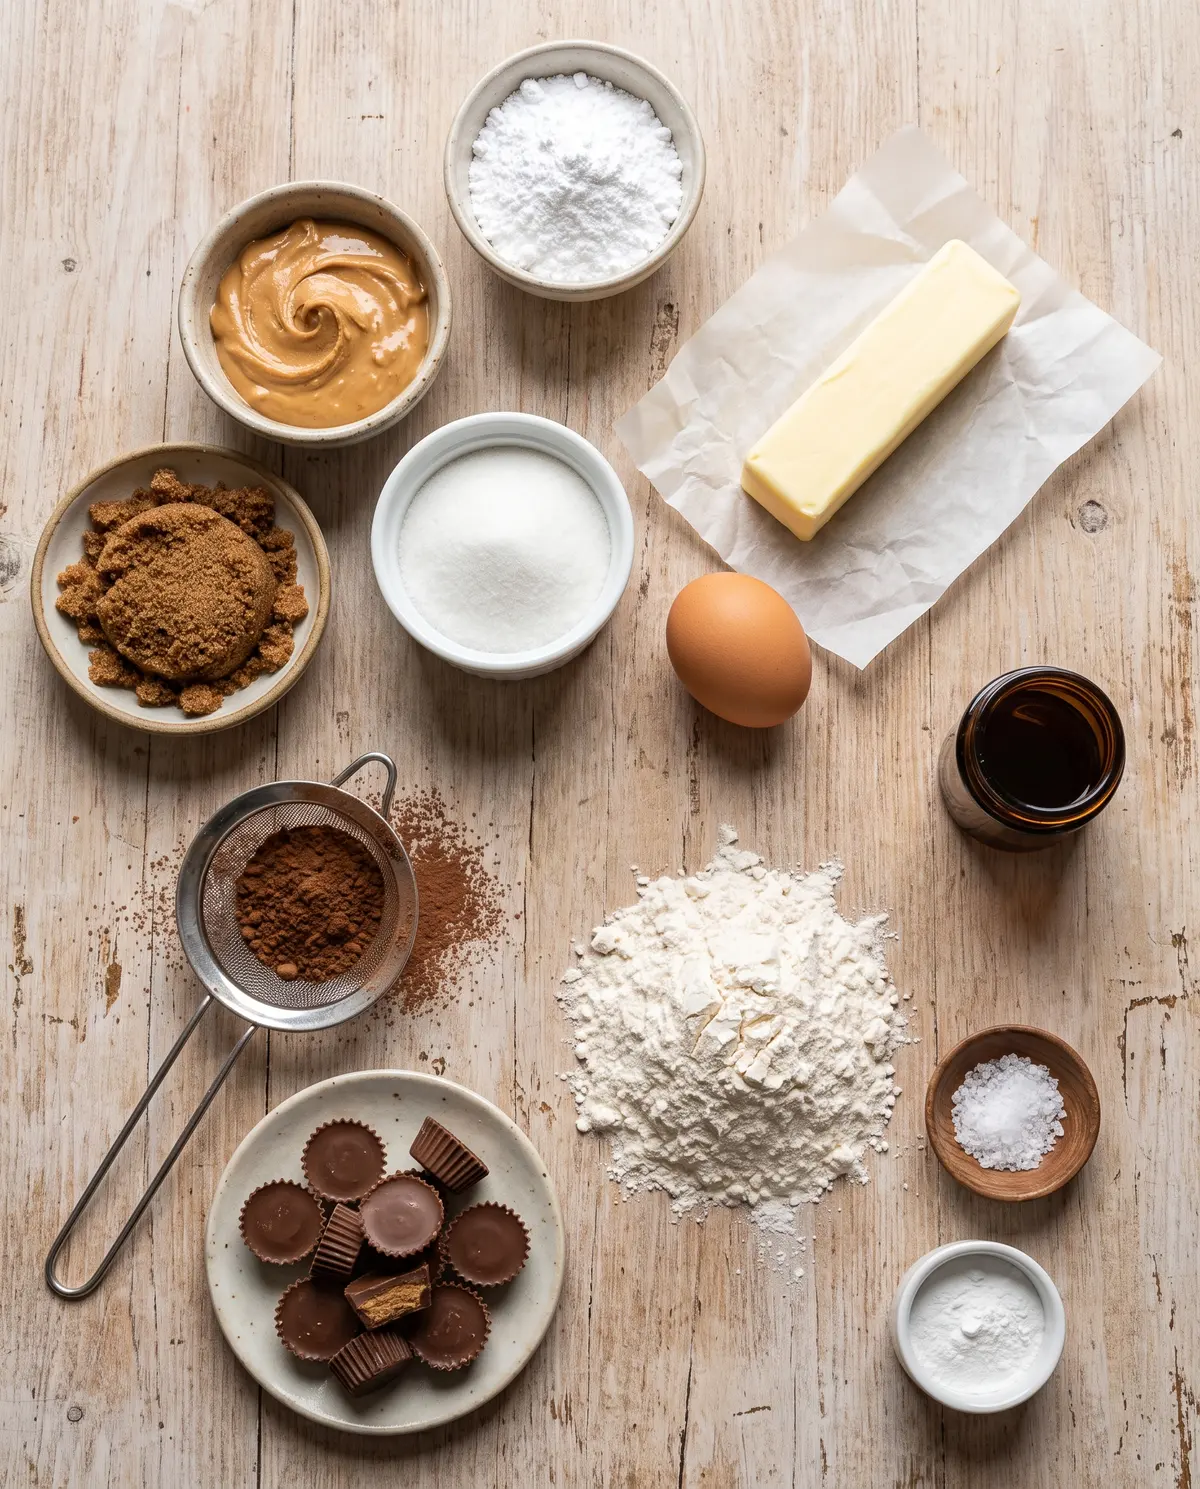
Ingredients
From Dough to Dough Ball to Oven
Step 1 — Make the filling first. Stir together 2/3 cup creamy peanut butter, 2/3 cup powdered sugar, and two pinches of flaky sea salt in a small bowl until it comes together (it’ll be a little messy, that’s fine). Scoop heaped teaspoons onto a parchment-lined tray and freeze while you make the cookie dough — about 20 minutes.
Step 2 — Cream the butter and sugars. Beat 1/2 cup softened butter with 1/2 cup granulated sugar, 1/2 cup dark brown sugar, and 1/4 cup peanut butter until light and fluffy. Add 1 large egg and 1 teaspoon vanilla, then beat until smooth. Sift in 2 teaspoons baking powder and 2/3 cup Dutched cocoa, then add 1 1/3 cups flour and mix just until the flour disappears. Don’t overmix.
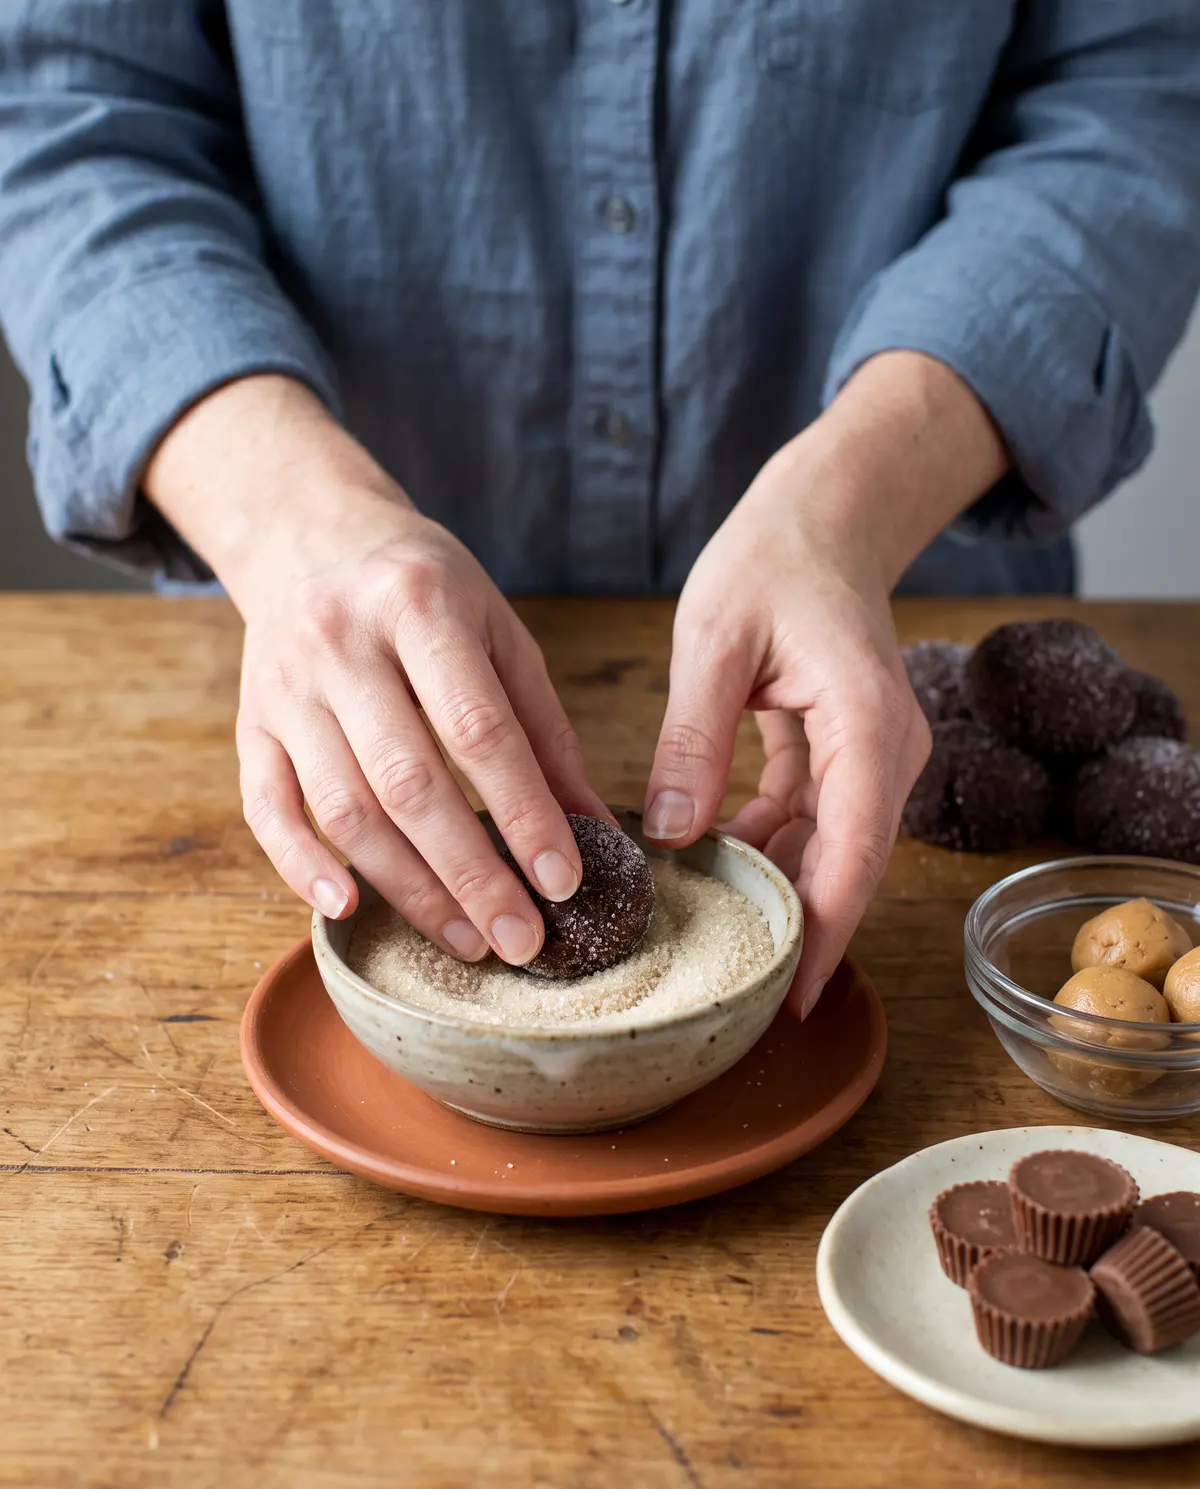
Step 3 — Wrap the filling. Take a heaped tablespoon of dough, flatten it in your palm, place a frozen peanut butter ball in the center, and wrap the dough around it. Roll it smooth between your palms, then roll in a small bowl of granulated sugar to coat. Place on a parchment-lined baking sheet and gently flatten with your fingertips — just slightly.
Step 4 — Bake. 375°F for 8 to 10 minutes. Yes, really. They’ll look underdone. Let them rest on the sheet for 5 minutes before transferring to a wire rack — that’s when they set up.
Fun Twists Worth Trying
- Swap creamy peanut butter for crunchy if you want a bit of texture in the filling — totally worth it.
- Use Reese’s minis instead of the filling I list here: press one unwrapped mini into each cookie right when they come out of the oven.
- Add 1/2 teaspoon espresso powder to the cocoa for an even more grown-up, mocha-like cookie.
- Roll the dough balls in raw or coarse sugar before baking for an even more sparkly, crackly top.
- Sprinkle the tops with flaky Maldon salt right after baking for that sweet-salty finish.
- For a gluten-free version, swap the all-purpose for a 1-to-1 gluten-free flour blend; the cookies still hold together beautifully.
How I Love to Serve These
Honestly, these are best a little warm, when the peanut butter center is still just barely gooey. A glass of cold milk is non-negotiable in my house. For grown-up dessert plates, I’ll add a small scoop of vanilla bean ice cream on the side and a drizzle of warm chocolate sauce — instant restaurant moment. They also make the most ridiculous ice-cream-sandwich filling if you press one between two scoops of coffee or vanilla ice cream.
Storage and Make-Ahead Notes
The baked cookies keep in an airtight container at room temperature for 3 to 4 days — though the centers firm up over time, so warming one in the microwave for 8 seconds brings back that just-baked gooey vibe. The dough balls (without the filling) freeze beautifully for up to 3 months: roll them in sugar, freeze on the sheet pan, then transfer to a freezer bag. When you want cookies, pull out as many as you need, stuff a frozen filling ball in each, and bake straight from frozen — just add 1 to 2 minutes to the bake time.
Mistakes I Made So You Don’t Have To
- Skipping the freeze on the filling. Without that, the filling melts into the dough as you try to wrap it and the cookies bake flat with no defined center.
- Overbaking. 8 to 10 minutes is the sweet spot. Past 11, the cookies go from fudgy to cakey and lose that melty middle.
- Using natural cocoa when you want the deep, dark look. The Dutched version is what gives the cookies their almost-black color and brownie-like flavor.
- Forgetting the salt in the filling. Just two pinches of flaky salt keeps the filling from being one-dimensionally sweet.
- Wrapping the dough too thin around the filling. You want a generous layer so the cookie doesn’t crack open while baking.
Your Questions, Answered
Can I use natural peanut butter? You can, but stir it very well first and expect a slightly softer, more oily filling. The classic processed creamy peanut butter (Skippy, Jif) gives the most consistent results.
Do I have to use Dutched cocoa? Nope. Use whatever you have. If you use natural cocoa, just swap the 2 teaspoons baking powder for 1/2 teaspoon baking soda — the cookies will be a little lighter in color but still delicious.
Can I make the dough in advance? Yes! The dough keeps in the fridge for up to 3 days. Let it sit at room temperature for 10 minutes before you try to scoop and wrap.
How do I know they’re done? The edges will look set and just slightly cracked; the centers will look glossy and underdone. They firm up on the sheet pan in about 5 minutes. If you wait for them to look “done” in the oven, you’ll overbake them.
Can I freeze the baked cookies? Absolutely. Freeze in a single layer, then transfer to a freezer bag. They keep for 2 months. Thaw at room temperature and warm briefly in the microwave for that just-baked feel.
What if I don’t have a stand mixer? A hand mixer works perfectly, or you can do the whole thing in a food processor. Just pulse the dry ingredients, add the cold butter, then the wet, and let the machine do the work.
A Little Goodbye from My Kitchen
These cookies have a way of making any afternoon feel like a small celebration. Whether you’re baking them with a friend on a Saturday, packing a few into a lunchbox, or sneaking one cold from the fridge at midnight (no judgment), they’re the kind of recipe that earns a permanent spot in your baking rotation. I’d love to hear how yours turn out — drop me a note and tell me whether you went classic, or got brave with the espresso powder. Until next time, happy baking.
—Marina Caldwell
Fudgy Chocolate Peanut Butter Cup Cookies (Soft & Gooey)
Ingredients
- 2/3 cup (170 g) creamy peanut butter (filling)
- 2/3 cup (80 g) powdered sugar (filling)
- Two pinches of flaky sea salt (filling)
- 1/2 cup (115 g) unsalted butter, softened (cookie)
- 1/2 cup (100 g) granulated sugar, plus more for coating (cookie)
- 1/2 cup (95 g) dark brown sugar (cookie)
- 1/4 cup (65 g) creamy peanut butter (cookie)
- 1 large egg (cookie)
- 1 teaspoon (5 ml) vanilla extract (cookie)
- 1 1/3 cups (175 g) all-purpose flour (cookie)
- 2/3 cup (55 g) Dutched cocoa powder (cookie)
- 2 teaspoons baking powder (cookie)
- 1/4 teaspoon fine sea or table salt (cookie)
Instructions
- 1Heat oven to 375°F (190°C). Line a small tray or plate with parchment for the filling.
- 2Make the filling: mix 2/3 cup peanut butter, 2/3 cup powdered sugar, and two pinches of flaky salt in a small bowl. Scoop heaped teaspoons into little balls, set on the parchment, and freeze 20 minutes.
- 3Make the cookie dough: beat softened butter with both sugars and 1/4 cup peanut butter until creamy. Add the egg and vanilla and beat smooth. Sift in baking powder and cocoa, add the flour and salt, and mix just until combined.
- 4Assemble: flatten a heaped tablespoon of dough in your palm, place a frozen filling ball in the center, and wrap the dough around it. Roll smooth, then coat in granulated sugar. Set on a parchment-lined baking sheet and gently flatten with your fingers.
- 5Bake 8 to 10 minutes. The cookies will look underdone — that’s correct. Let them rest on the sheet 5 minutes to set up, then transfer to a wire rack to cool.
- 6Store in an airtight container at room temperature up to 4 days. Freeze baked cookies up to 2 months; warm briefly in the microwave to bring back the gooey center.
Notes
Use Dutched cocoa (Droste, Valrhona) for the darkest, most chocolate-forward cookie. If you only have natural cocoa, swap the 2 teaspoons baking powder for 1/2 teaspoon baking soda — the cookies will be lighter but still lovely.
Freezing the filling balls is non-negotiable — it makes wrapping the dough around them much easier and gives the cookies their signature gooey center.
Dough balls (without the filling) freeze beautifully for up to 3 months. Stuff with a frozen filling ball and bake straight from the freezer, adding 1–2 minutes to the bake time.