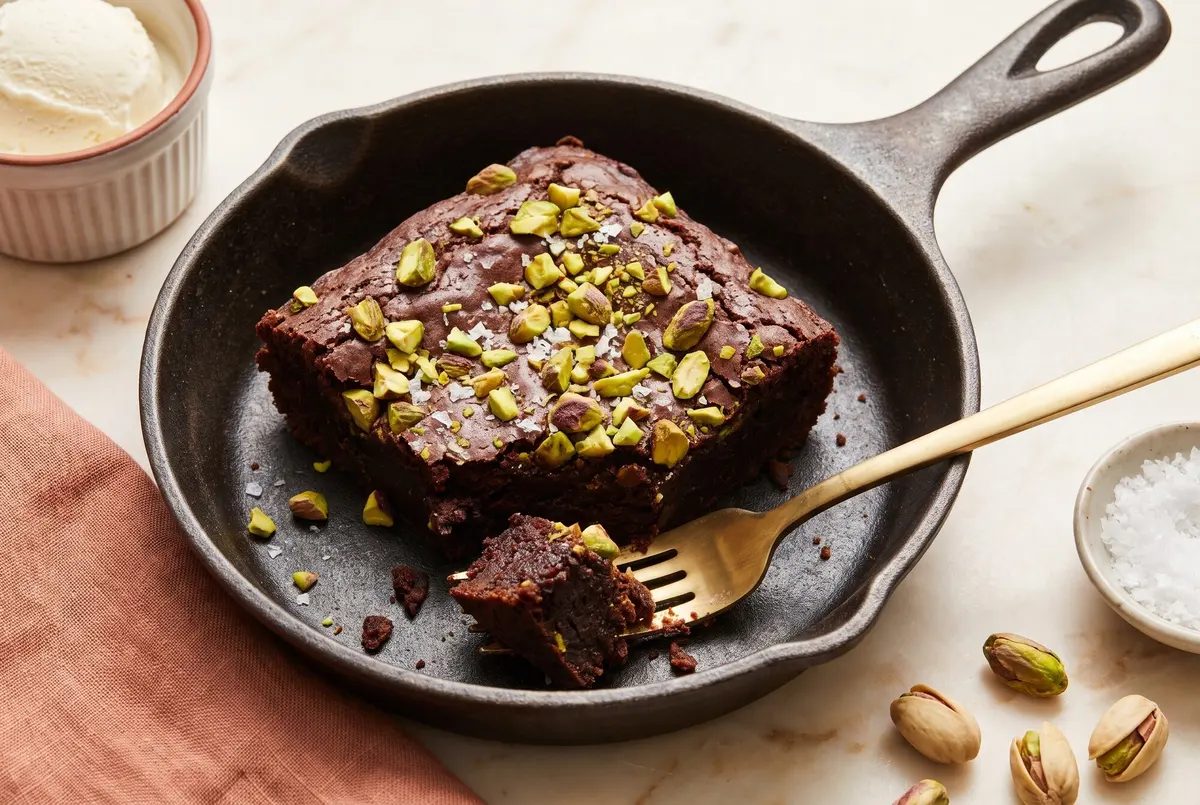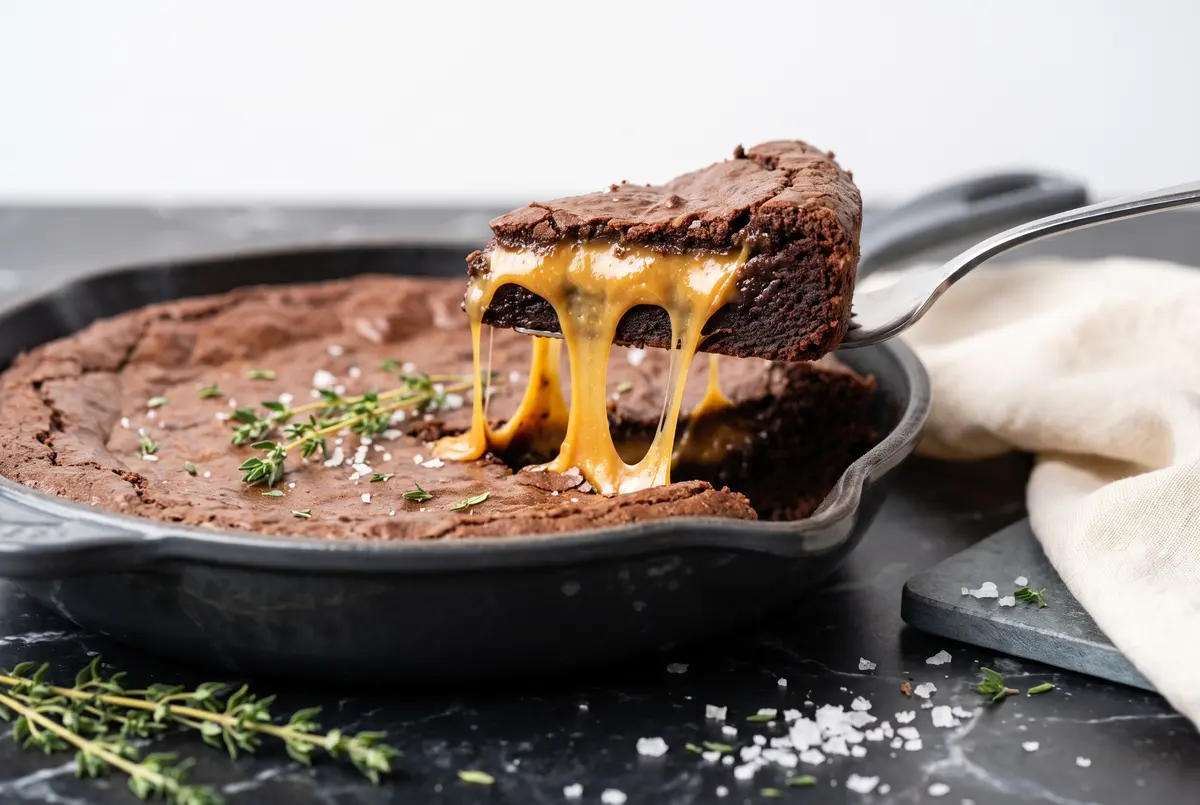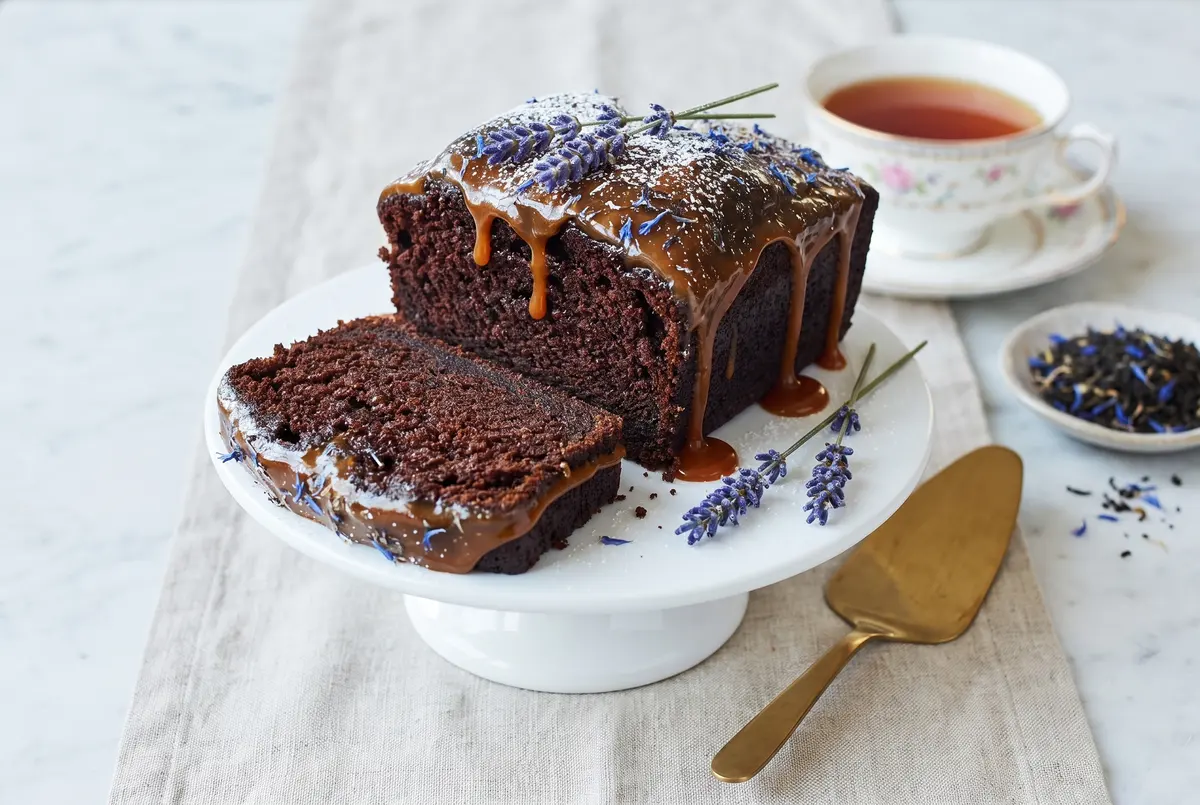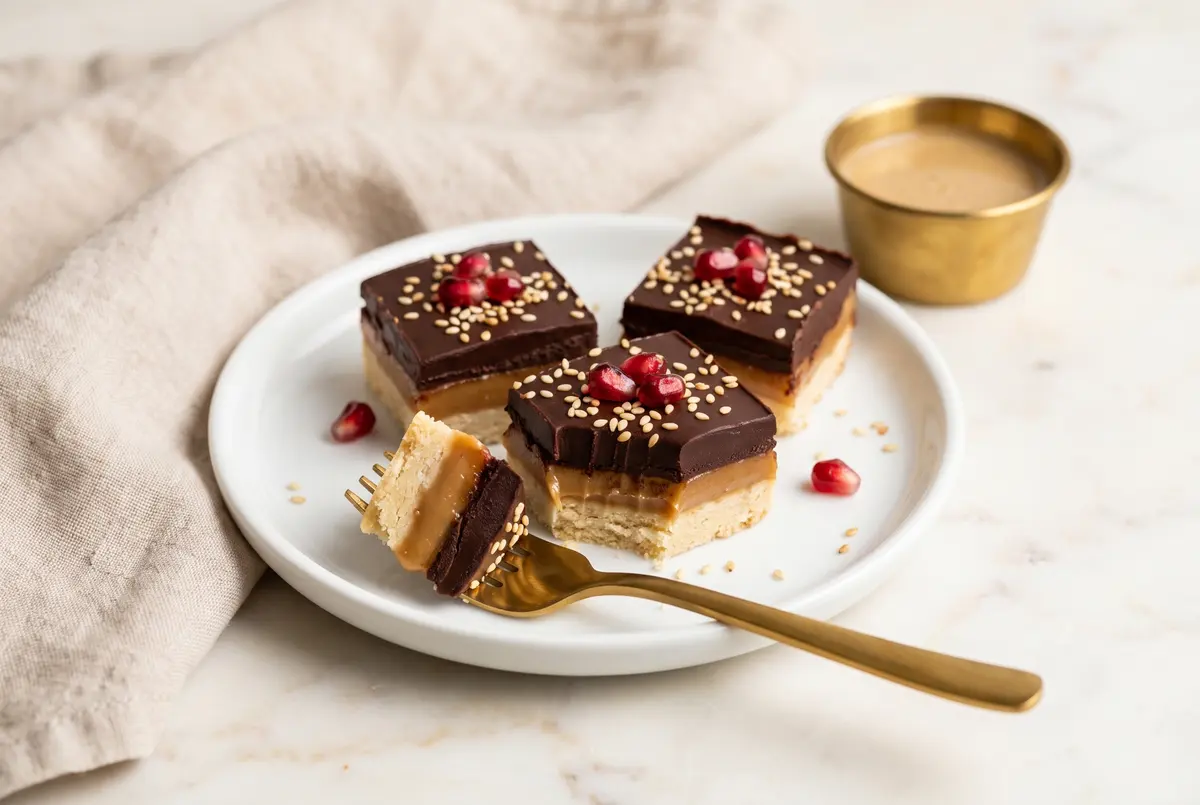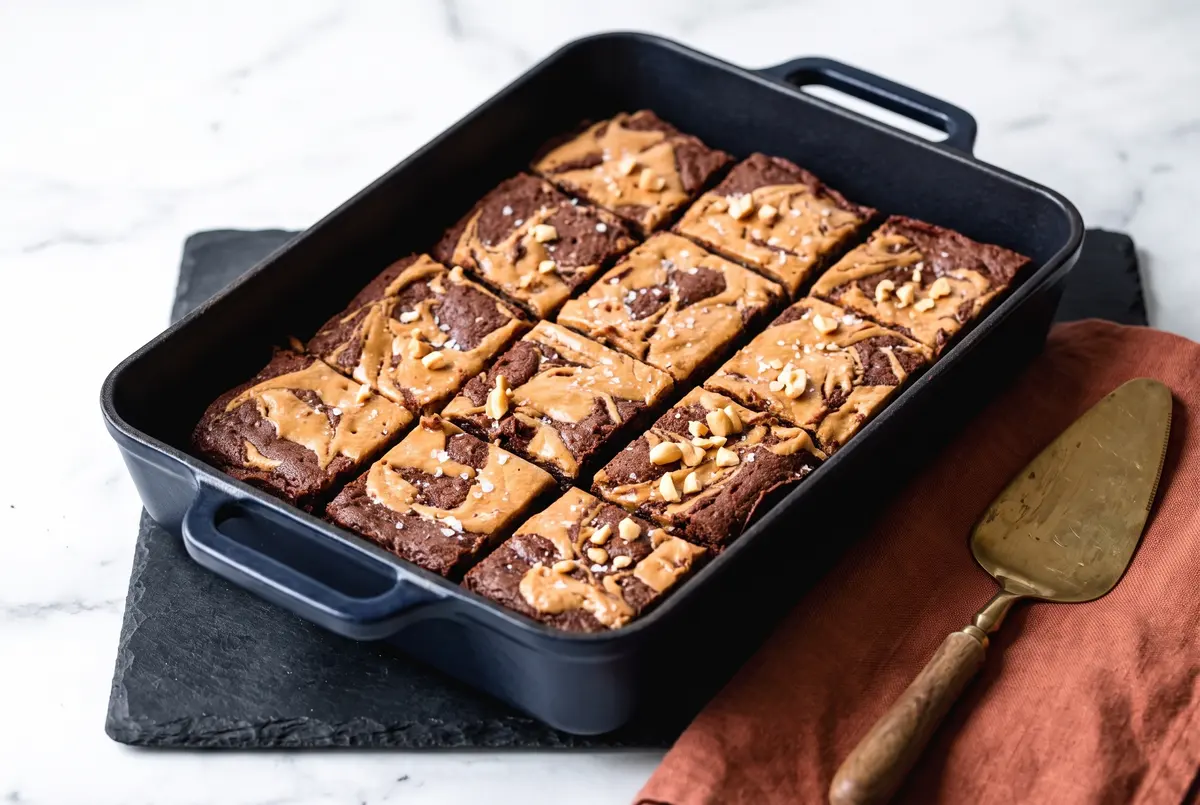
Some flavor pairings are just inevitable. Salt and caramel. Apple and cinnamon. And chocolate and peanut butter, the couple that shows up to every dinner party holding hands. I have been baking some version of these brownies for as long as I have had an oven, and I have not yet found a version that people do not lose their minds over. This one — thick, fudgy, with a deep swirl of warm peanut butter running through the top — is the one I come back to most often. It is the brownie I make when I want a quiet weeknight to feel like an event.
What I love about this recipe is the timing. Twenty minutes to pull the ingredients together, thirty-five in the oven, and then the hardest part: leaving them alone on the counter long enough to cool and set. The wait is the price. The reward is a fudgy interior with a crinkly top, swirls of golden peanut butter baked right in, and the kind of deep chocolate flavor that only comes from melted dark chocolate plus a little espresso powder. Have you ever had a brownie that made you slow down mid-bite? These are those brownies.
Why This Brownie Works
Most brownie recipes split into two camps: cakey and fudgy. The cakey camp uses more flour and a touch of baking powder. The fudgy camp uses less flour, more chocolate, and no leavening at all. This recipe lives firmly in the fudgy camp — and the fudginess comes from three deliberate choices.
First, the chocolate is melted into the butter. That single step turns the batter into something closer to a ganache than a cake, and it is what gives the interior that dense, almost-truffle texture. Second, there is no chemical leavening. None. The brownies rise from the air beaten into the eggs, and that is enough. Third, the batter is stiffer than you expect — thicker than typical brownie batter — which sounds like a problem but is actually the secret. A stiffer batter holds the peanut butter swirl on the surface instead of sinking it into the middle. You get ribbons of golden peanut butter baked right into the top, where you can see them and taste them in every bite.
The espresso powder is optional but I would not skip it. You will not taste coffee. What you will taste is a deeper, rounder chocolate — the espresso just turns up the volume on the cocoa the way a small amount of salt turns up the volume on caramel.
Ingredients
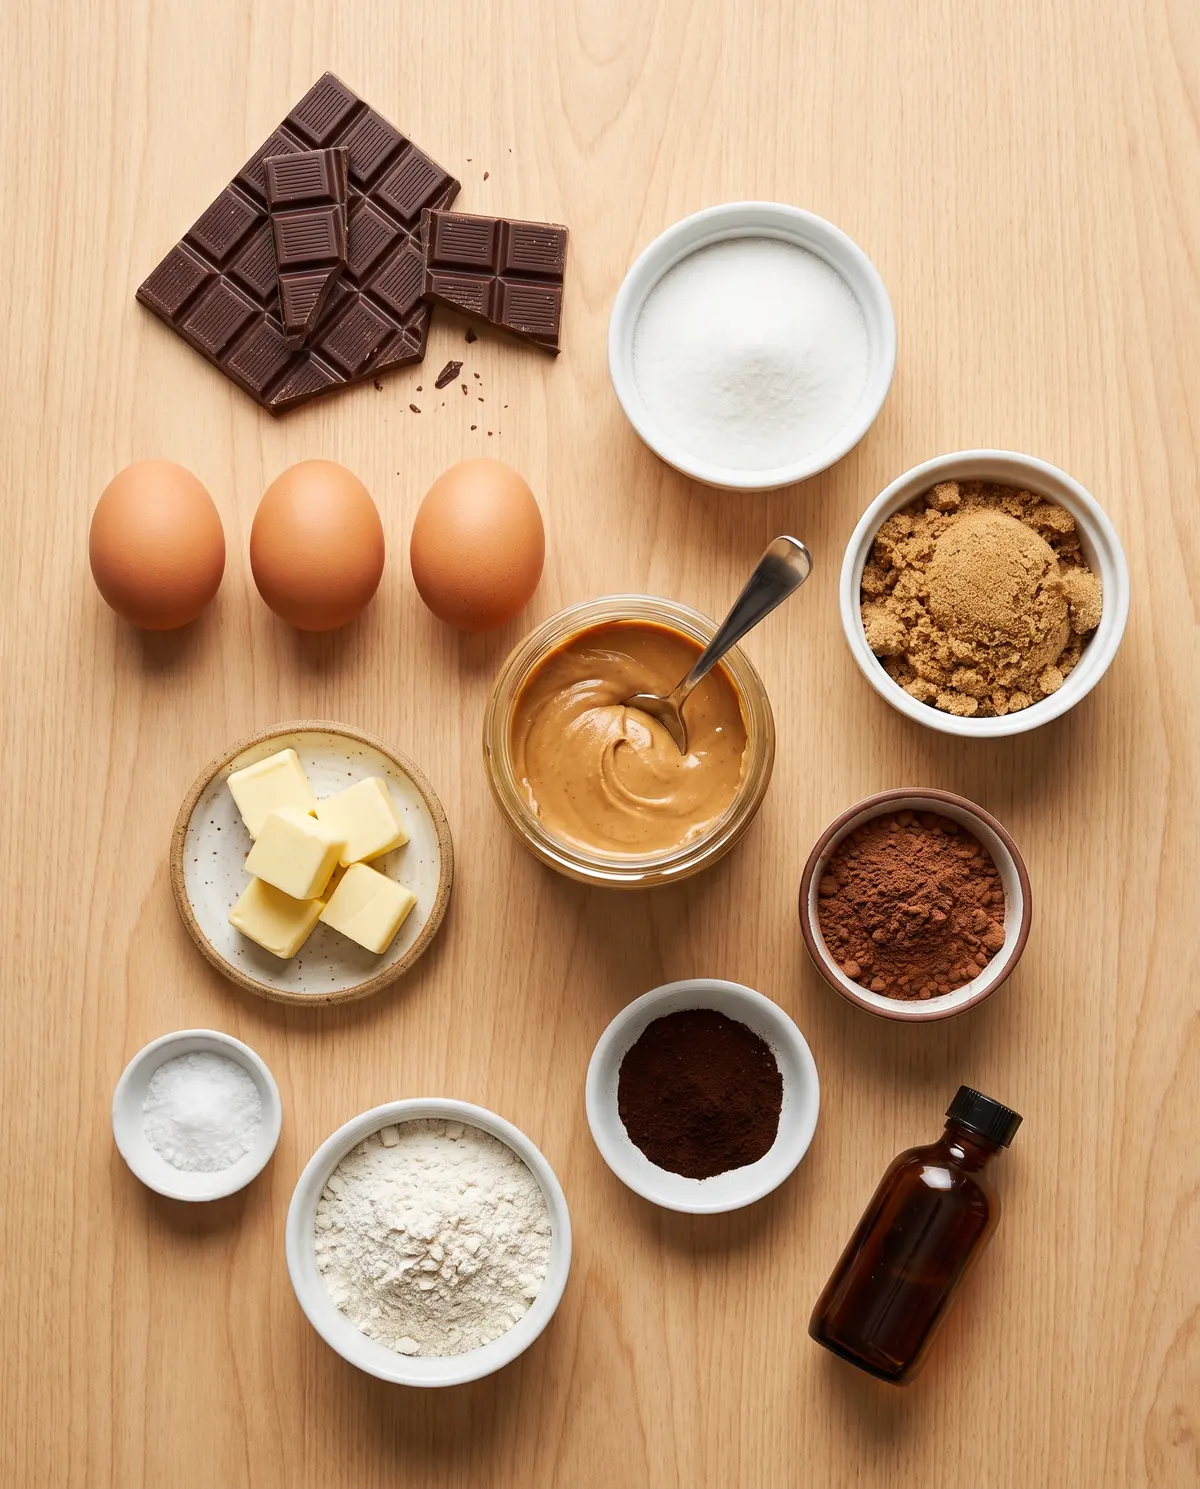
- 4 oz dark chocolate, chopped (about ¾ cup)
- ½ cup unsalted butter (113g)
- ½ cup granulated sugar (100g)
- ½ cup brown sugar, packed (100g)
- 2 large eggs
- 1 teaspoon pure vanilla extract
- ⅔ cup all-purpose flour (80g)
- ¼ cup cocoa powder (21g)
- 1 teaspoon salt
- ½ teaspoon espresso powder
- ¼ cup natural salted creamy peanut butter, warmed until pourable
Putting It All Together
Which part of baking a brownie do you look forward to most? For me it is the swirl — that moment when the knife goes in and the two batters fold into each other, and you can already tell what the top is going to look like. Every brownie ends up with its own pattern. No two are exactly alike. That, more than anything, is what makes this recipe feel like yours the moment you make it.
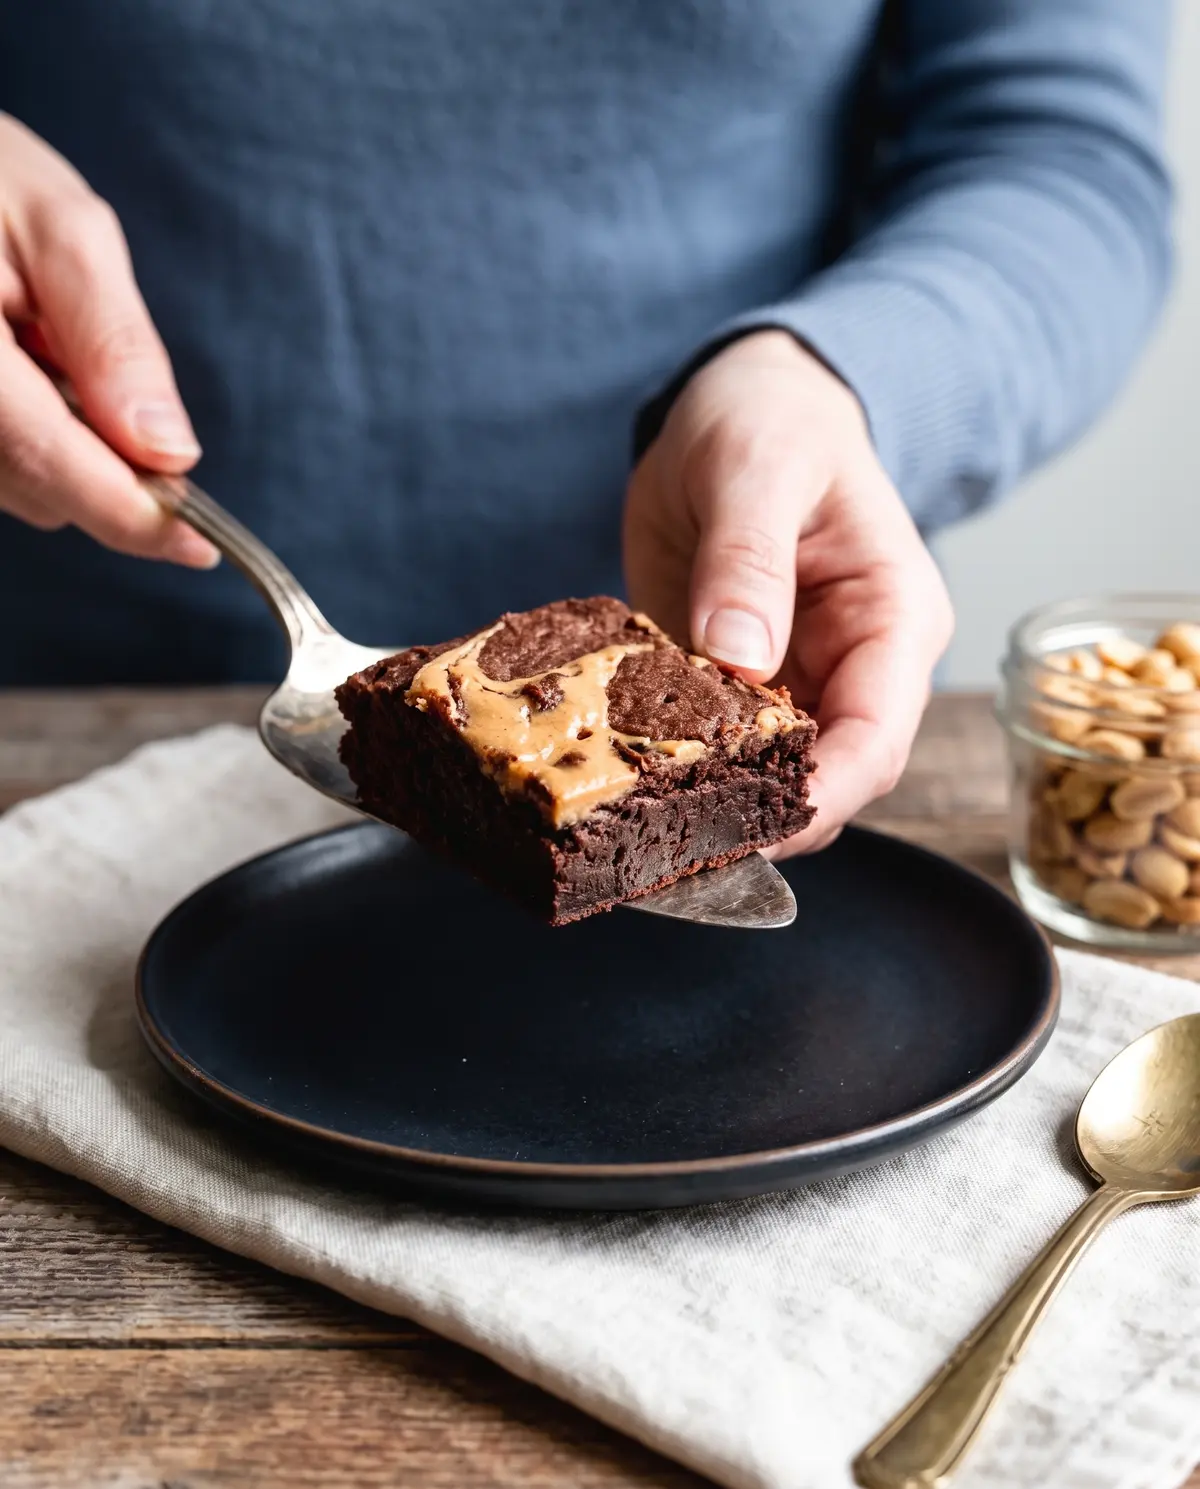
Step 1: Prep the oven and pan. Preheat your oven to 325°F (165°C). Grease an 8×8 square pan with butter, then line it with parchment paper leaving overhang on two sides — those will be your handles for lifting the brownies out later. Set aside.
Step 2: Melt the chocolate and butter together. In a large heatproof bowl set over a pot of simmering water (or in a microwave in 30-second bursts, stirring between each), melt the dark chocolate and butter together until the mixture is smooth, glossy, and completely homogeneous. Take it off the heat. Whisk in both sugars — they will not fully dissolve yet, but that is fine. Let the mixture cool for about five minutes.
Step 3: Whisk in the eggs and vanilla. Add the eggs one at a time, whisking well after each addition until the batter is thick and glossy. Whisk in the vanilla. The mixture should look almost like a thick pudding.
Step 4: Combine the dry ingredients. In a separate bowl, whisk together the flour, cocoa powder, salt, and espresso powder. This step takes thirty seconds and makes sure you do not get a pocket of plain flour in the finished brownies.
Step 5: Fold the dry into the wet. Add the dry mixture to the chocolate mixture and stir with a spatula just until you no longer see streaks of flour. The batter will be much thicker than typical brownie batter — almost like a soft cookie dough. That is what you want.
Step 6: Swirl in the peanut butter. Scrape the batter into the prepared pan and smooth it into an even layer with an offset spatula. Warm the peanut butter in the microwave for 15 to 20 seconds until it is pourable but not hot. Drop small spoonfuls of the peanut butter over the surface of the batter — maybe 8 to 10 dollops. Take a butter knife or a toothpick and drag it through the batter in long, S-shaped curves, going both horizontally and vertically. Do not over-swirl. Two or three passes per direction is plenty. The swirls should be visible but not muddy.
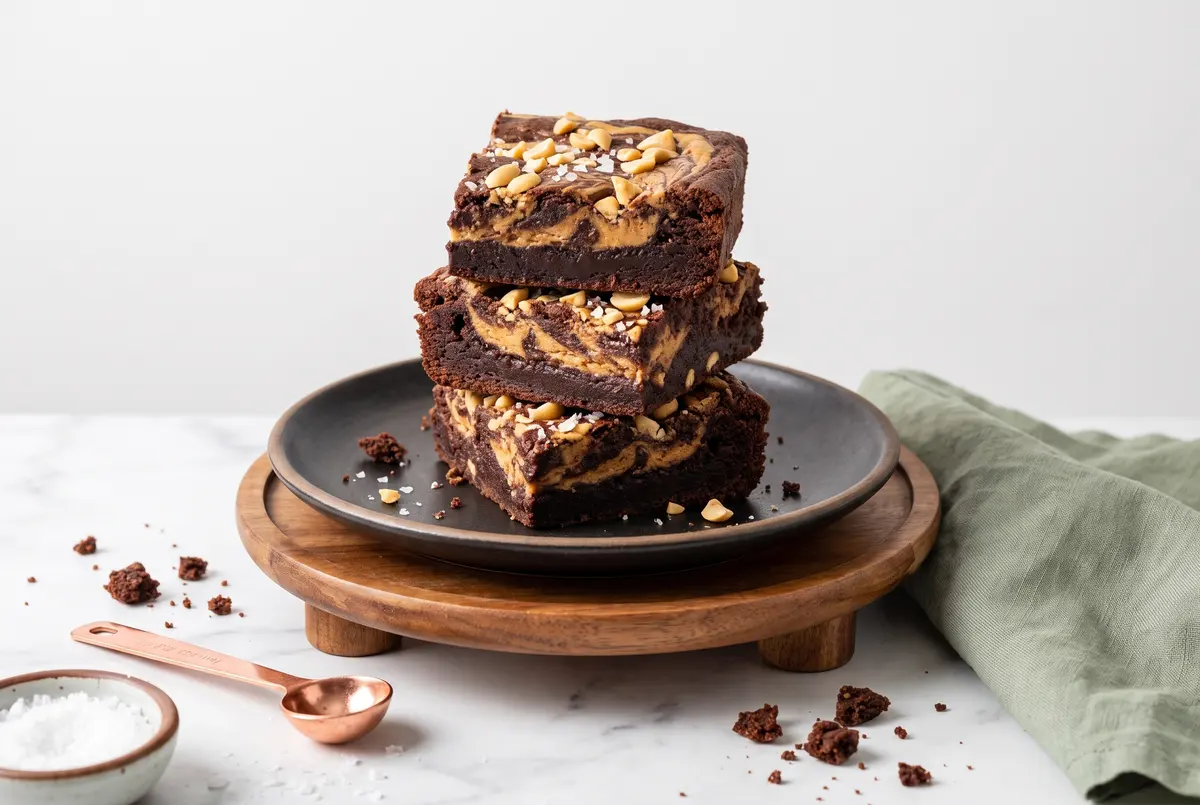
Step 7: Bake low and slow. Slide the pan into the center of the oven and bake for 35 to 40 minutes. The brownies are done when the edges are set and pulling away from the pan slightly, and a toothpick inserted into the center comes out with just a few moist crumbs attached. The center will look slightly underbaked — that is the fudgy promise. It will set as the brownies cool.
Step 8: Cool completely before slicing. Let the brownies cool in the pan on a wire rack for at least 20 minutes, then transfer to the fridge (still in the pan) for another 30 minutes to firm up. The fridge step is non-negotiable if you want clean squares. Lift the brownies out using the parchment handles, place on a cutting board, and slice with a sharp knife wiped clean between cuts. You will get 16 generous squares.
Creative Twists Worth Trying
- Salted pretzel crunch: Sprinkle ½ cup of chopped salted pretzels over the top right after swirling. They toast gently in the oven and add a salty, crunchy contrast.
- Peanut butter cup chunks: Fold 1 cup of chopped peanut butter cups into the batter before pouring into the pan. Pocket-level indulgence.
- Dark chocolate drizzle: Melt 2 oz of dark chocolate and drizzle it over the cooled brownies in a zig-zag. Make them look like they came from a bakery.
- Espresso kick: Increase the espresso powder to 1 full teaspoon. Brownies that taste like they have a secret.
- Salted honey finish: After baking, sprinkle the top with flaky salt and a thin drizzle of warm honey. Sweet, salty, unforgettable.
Serving & Pairing Ideas
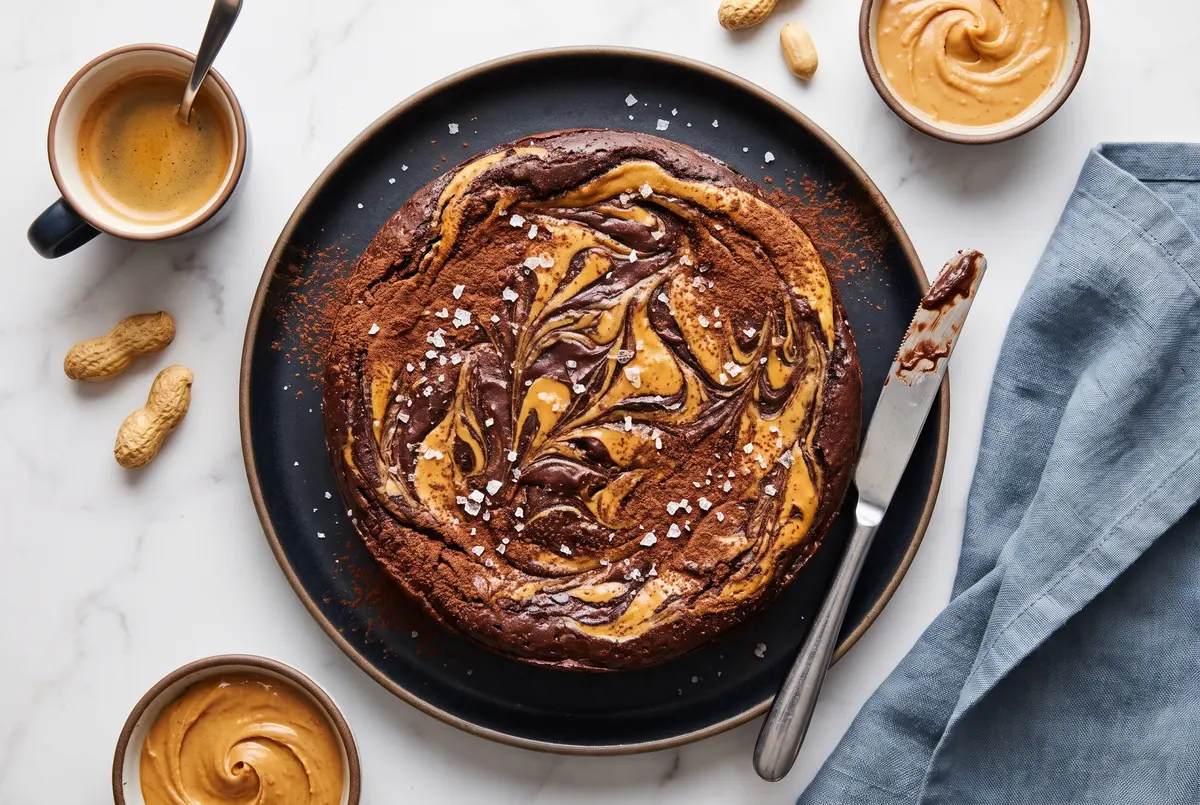
These brownies are at their very best slightly chilled — straight from the fridge, the fudgy interior gets almost candy-like. Bring them to room temperature for 15 minutes if you want them softer. A small glass of cold milk is the only accompaniment I ever really need, but if you are putting on a show, a scoop of vanilla ice cream and a spoonful of warm peanut butter drizzled over the top turns one brownie into a plated dessert. For an after-dinner bite, pair a square with a small glass of tawny port or a cup of black coffee.
Storage & Make-Ahead Tips
Store the brownies in an airtight container at room temperature for up to 4 days — they will stay fudgy. If you prefer a denser, almost fudge-like texture, keep them in the fridge for up to a week. For longer storage, wrap individual squares in plastic wrap, then foil, and freeze for up to 3 months. Thaw at room temperature for an hour, or microwave for 10 seconds if you want one warm. The batter can also be made a day ahead and stored, covered, in the fridge — let it come to room temperature for 20 minutes before swirling and baking.
Common Mistakes & Easy Fixes
- Over-swirling the peanut butter. Two or three passes per direction is plenty. More than that and the two batters mix into a muddy brown instead of staying in defined ribbons.
- Overbaking. A toothpick should come out with a few moist crumbs, not clean. Brownies continue to set as they cool, so what looks underbaked will be perfect at room temperature.
- Skipping the parchment. The fudgy interior will glue itself to the pan. Always use parchment with overhang so you can lift the whole slab out cleanly.
- Cutting while warm. The brownies need to cool completely to slice into clean squares. Even 20 minutes at room temperature then 30 in the fridge makes a huge difference.
- Using natural-style peanut butter. The drippy, oil-separated kind is hard to swirl. Use a regular creamy peanut butter (Jif, Skippy, or similar) for the cleanest pattern.
Your Brownie Questions, Answered
Can I use milk chocolate instead of dark?
You can, but the brownies will be much sweeter and less complex. If you do, drop the granulated sugar to ⅓ cup. The dark chocolate is doing real work here — balancing the sweet, giving the brownies backbone, and letting the peanut butter shine.
Can I make these without the espresso powder?
Yes, just leave it out. You will not taste coffee in the final brownies either way, but the espresso does deepen the chocolate flavor. If you do not have any, a teaspoon of instant coffee granules works the same way. Or skip it entirely — they will still be excellent.
Can I use a 9×9 pan instead of 8×8?
You can. The brownies will be thinner and will bake faster — start checking at 28 minutes. You will get 9 larger squares instead of 16 smaller ones. A 9×13 works too if you double the recipe; otherwise the batter spreads too thin.
Can I make these gluten-free?
Yes. A 1:1 gluten-free flour blend (with xanthan gum already in it) swaps in cleanly at the same measurement. The crumb will be slightly more delicate, so let them cool fully before slicing — the fridge step becomes even more important.
Why is my batter so thick?
That is exactly what you want. The thick batter is what holds the peanut butter swirl on the surface during baking. If your batter seems thin, your eggs were probably too warm or you added a touch too much melted butter. Chilling the batter for 10 minutes before swirling will help.
How do I get clean squares?
Cool the brownies completely — 20 minutes at room temperature, then 30 in the fridge. Use a sharp, thin-bladed knife and wipe it clean with a damp paper towel between each cut. A little patience here is the difference between rustic chunks and bakery-perfect squares.
A Little Goodbye from My Kitchen
If you make one batch of brownies this summer, make it this one. The recipe is forgiving, the swirl is forgiving, and the results are the kind of thing that makes people text you the next day to ask for the recipe. Which I will gladly share — the secret is in the stiff batter, the espresso, and the courage to pull them from the oven when they still look a little underdone. Let me know how yours turn out, what twist you tried, and whether you ate the first one standing at the counter before the pan was even cool. I will not judge. I have done it myself more times than I can count.
Until the next recipe,
—Marina Caldwell
Fudgy Chocolate Peanut Butter Swirl Brownies (One-Bowl)
Ingredients
- 4 oz dark chocolate, chopped (about ¾ cup)
- ½ cup unsalted butter (113g)
- ½ cup granulated sugar (100g)
- ½ cup brown sugar, packed (100g)
- 2 large eggs
- 1 teaspoon pure vanilla extract
- ⅔ cup all-purpose flour (80g)
- ¼ cup cocoa powder (21g)
- 1 teaspoon salt
- ½ teaspoon espresso powder
- ¼ cup natural salted creamy peanut butter, warmed until pourable
Instructions
- 1Preheat the oven to 325°F (165°C). Grease an 8×8 square pan with butter and line with parchment paper, leaving overhang on two sides for easy lifting.
- 2In a large heatproof bowl set over a pot of simmering water, melt the dark chocolate and butter together until smooth and glossy. Remove from heat, whisk in both sugars, and let cool for 5 minutes.
- 3Whisk in the eggs one at a time until fully combined, then whisk in the vanilla. The batter should look thick and glossy.
- 4In a separate bowl, whisk together the flour, cocoa powder, salt, and espresso powder.
- 5Fold the dry mixture into the chocolate mixture with a spatula just until no streaks of flour remain. The batter will be thick, almost like a soft cookie dough.
- 6Scrape the batter into the prepared pan and smooth into an even layer. Warm the peanut butter until pourable, drop small spoonfuls over the surface, then swirl with a butter knife in S-shaped curves. Do not over-swirl.
- 7Bake for 35 to 40 minutes, until the edges are set and a toothpick inserted in the center comes out with a few moist crumbs. The center will still look slightly underbaked.
- 8Cool in the pan for 20 minutes, then transfer to the fridge for 30 minutes to firm up. Lift out using the parchment handles and slice into 16 squares with a sharp knife wiped clean between cuts.
Notes
Use a regular creamy peanut butter (not the natural oil-separated kind) for the cleanest swirl pattern.
For thinner brownies, bake in a 9×9 pan and start checking at 28 minutes.
The brownies keep in an airtight container at room temperature for 4 days, in the fridge for a week, and frozen for up to 3 months.
For a deeper chocolate flavor, increase the espresso powder to a full teaspoon — you will not taste coffee, only richer cocoa.