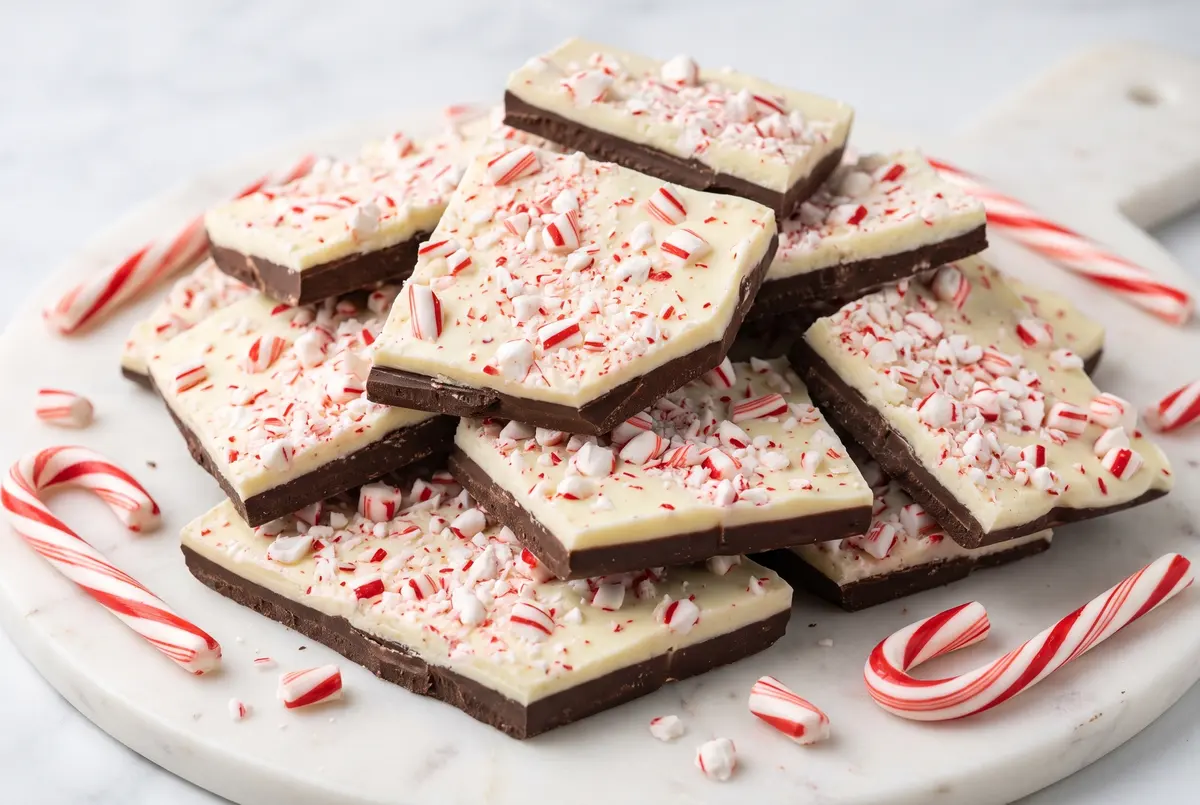
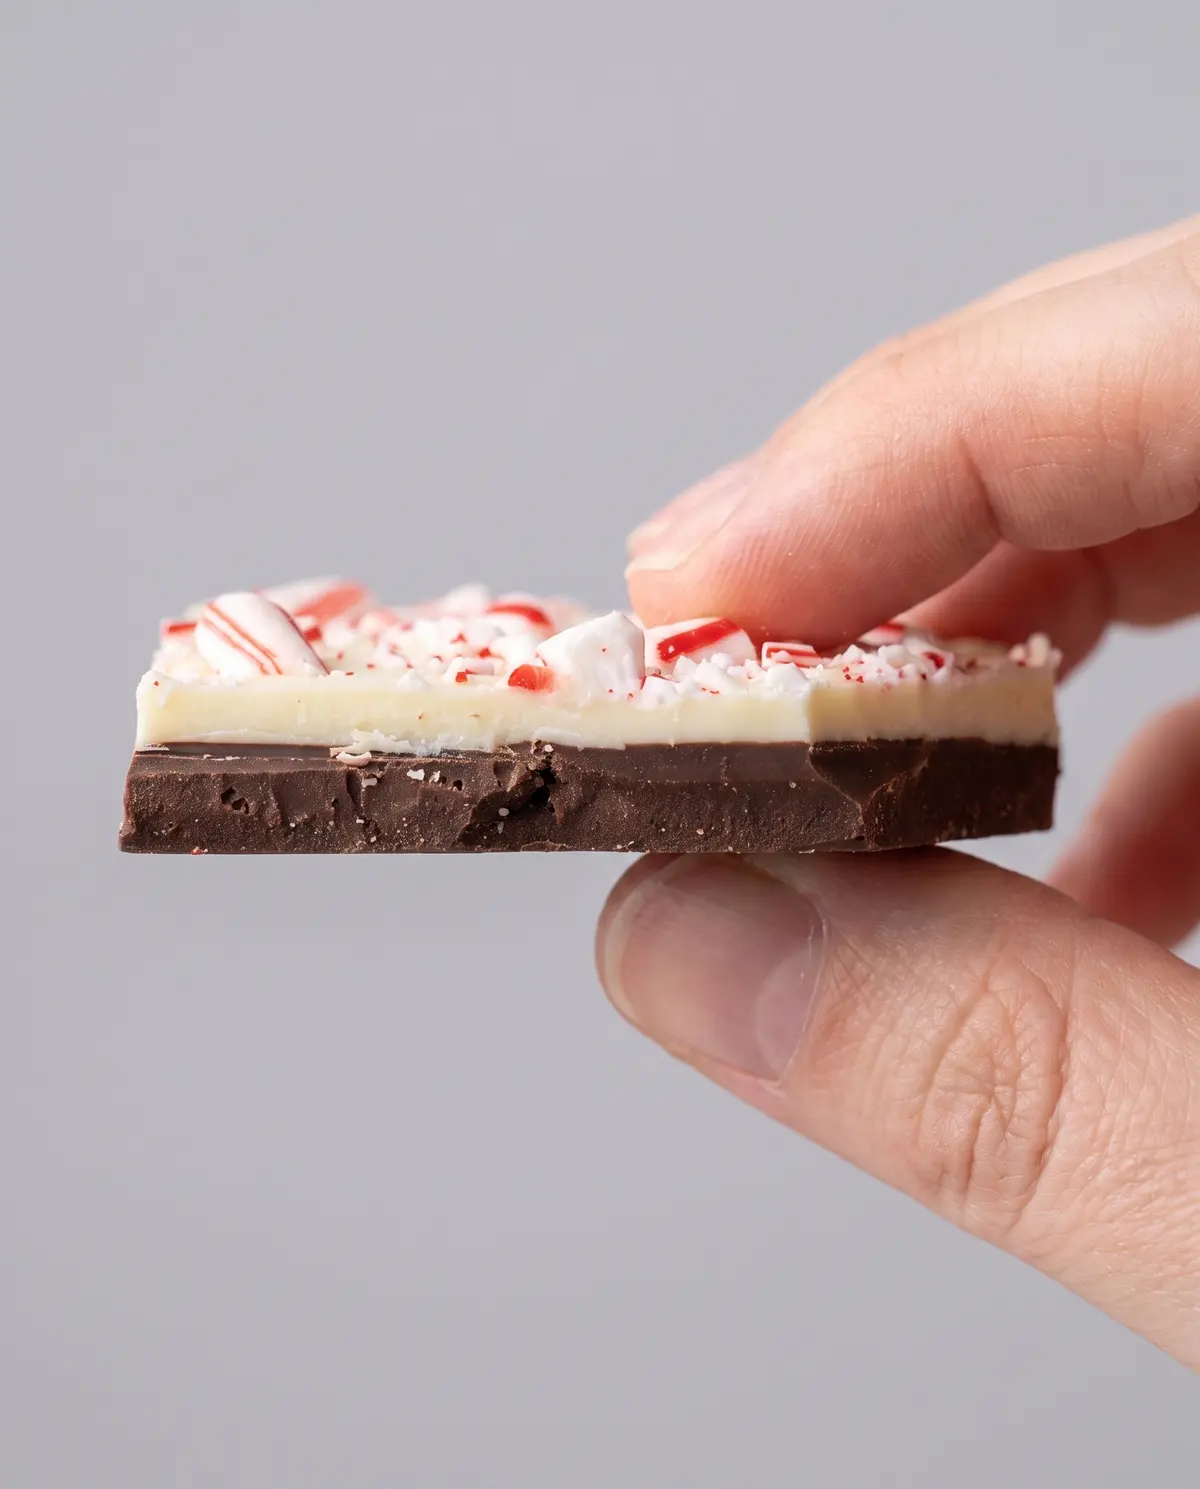
I have a confession: I make peppermint bark every single December like it’s a religious tradition. It started as a lazy afternoon experiment years ago, and now my kitchen practically smells like Christmas the moment I unwrap those candy canes. There’s something so deeply satisfying about snapping a piece of this — the clean break, the two-tone layers, the crunch of candy cane. It’s the kind of treat that looks like you spent hours but takes about twenty minutes of actual work.
If you’ve ever bought the fancy stuff and thought, “I could do this myself” — you absolutely can. And honestly? Home-made is better because you control the chocolate quality and you get those chunky, uneven shards that look so much more appetizing than the uniformly cut store-bought bars.
Why Two Layers (and Why Quality Matters)
The magic of peppermint bark is contrast — dark chocolate’s depth against white chocolate’s sweetness, with the peppermint providing that cool, sharp crunch everywhere. Don’t use chocolate chips here; they don’t melt smoothly and have stabilizers that mess with the texture. Use real melting chocolate or couverture. For the white layer, vanilla candy coating works better than white chocolate chips, which tend to seize up. And please — use real peppermint extract, not imitation. Your bark will taste like the holidays should.
Ingredients
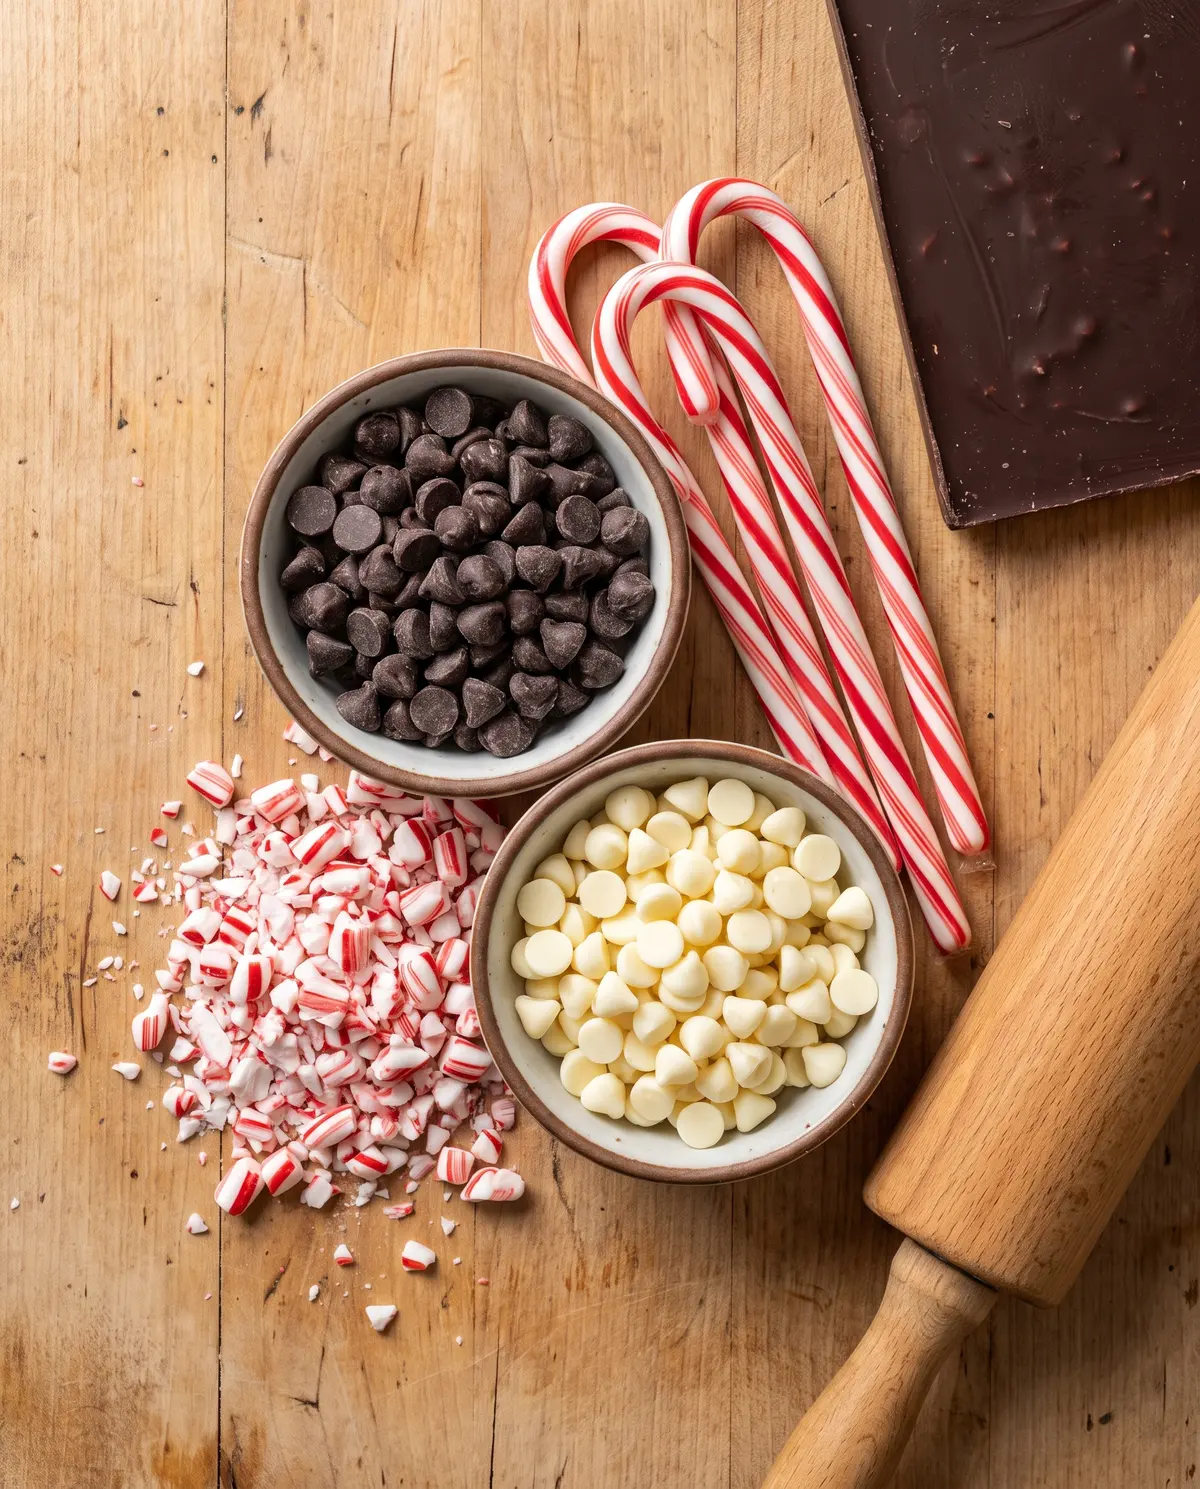
- 12 oz high-quality dark chocolate, finely chopped
- 12 oz white chocolate or vanilla candy coating, finely chopped
- ¾ cup crushed peppermint candies (about 8–10 candy canes)
- ½ tsp peppermint extract
- Pinch of sea salt
Putting It All Together
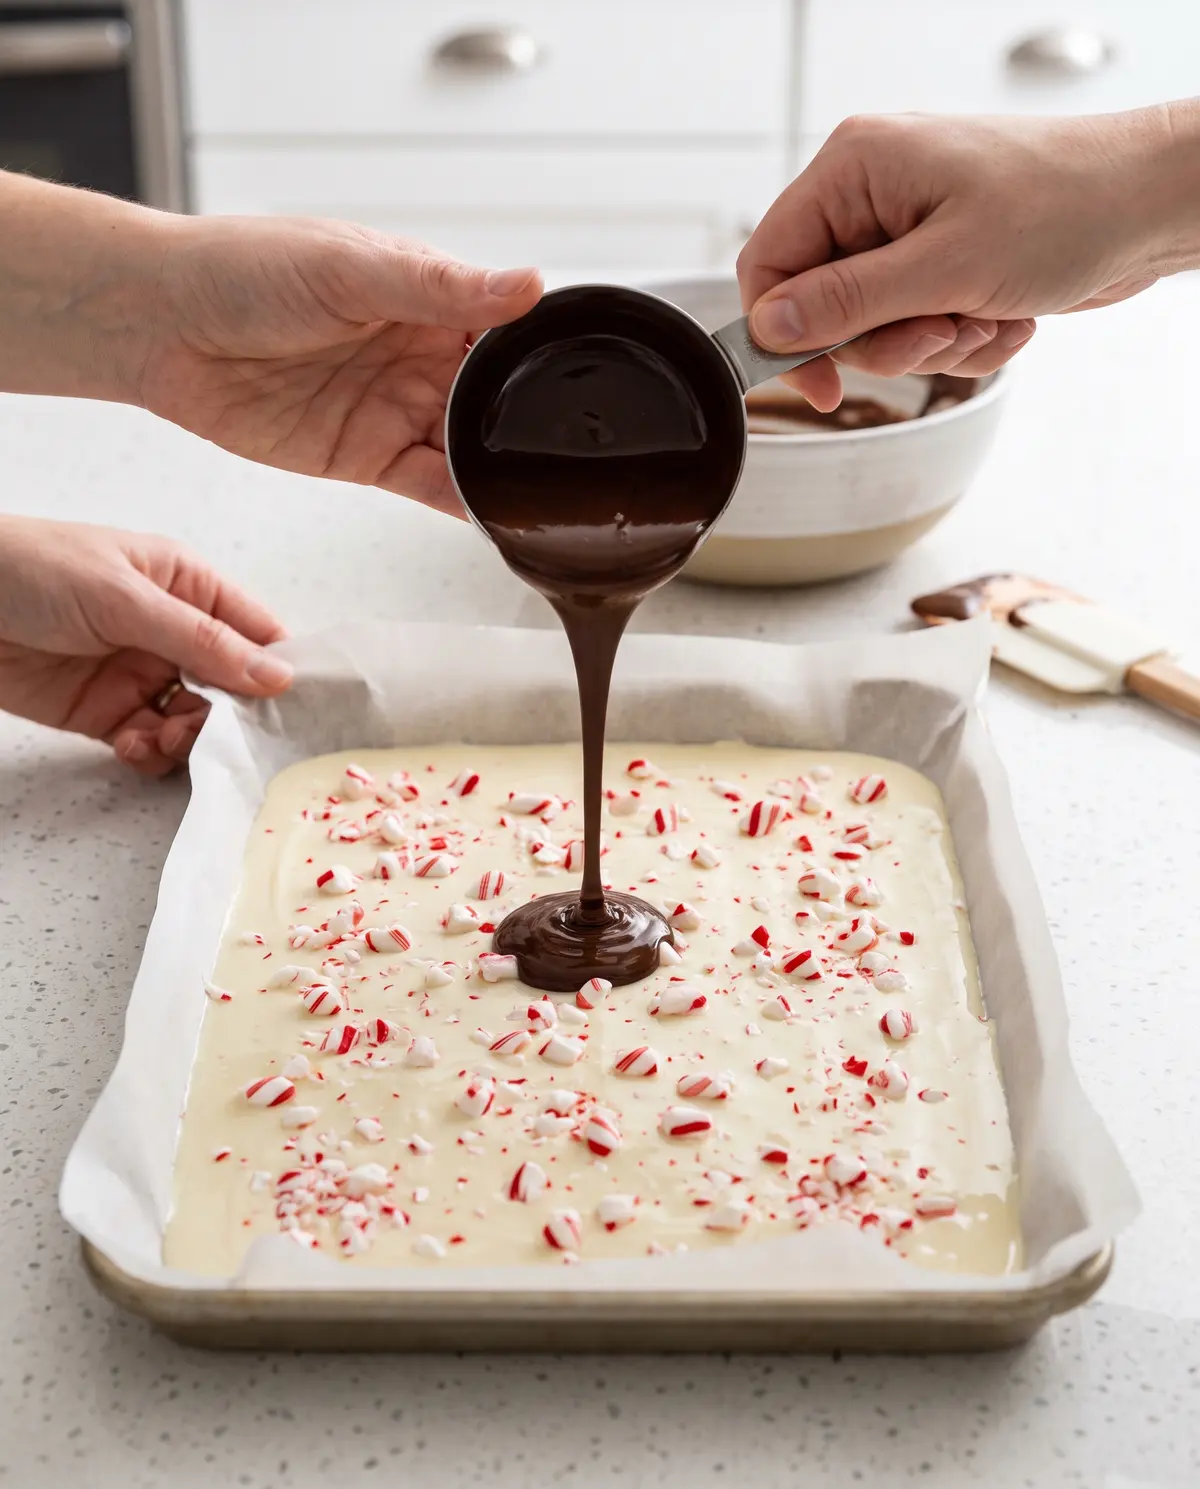
Step 1: Line a large rimmed baking sheet with parchment paper. Make sure your workspace is completely dry — water is the enemy of melted chocolate.
Step 2: Melt the dark chocolate in a microwave-safe bowl in 30-second bursts, stirring between each, until smooth and glossy. Alternatively, use a double boiler. Stir in the peppermint extract and a tiny pinch of sea salt. Pour onto the parchment and spread to about ¼-inch thickness with an offset spatula.
Step 3: Place the baking sheet in the refrigerator for 15–20 minutes until the dark chocolate is fully set and firm.
Step 4: While waiting, melt the white chocolate the same way. Let it cool slightly (not hot!) before pouring over the set dark chocolate layer.
Step 5: Working quickly, sprinkle the crushed peppermint candies evenly over the white chocolate while it’s still soft. Gently press them in so they embed slightly. Return to the refrigerator for at least 30 minutes until fully set.
Step 6: Remove from the fridge and snap into irregular pieces by hand — don’t cut this with a knife, the whole point is those rustic shards. Break, don’t cut. Which is honestly a philosophy I try to apply to more things in life.
Creative Twists to Try
- Swap peppermint for crushed pretzels and a pinch of flaky sea salt for sweet-salty bark
- Use crushed candy canes over semi-sweet chocolate, no white layer — more minimal approach
- Add a handful of toasted chopped hazelnuts under the white chocolate layer
- Drizzle dark chocolate over the white layer instead of spreading it — creates a marbled look
- Try crushed strawberry hard candies instead of peppermint for a different flavor profile
Serving & Gifting Ideas
Peppermint bark is almost too easy to gift. Pack it in cellophane bags with a ribbon, tuck it into tins, or just pile it on a plate and hand it to people as they walk through your door. During the holidays, I set out a bowl of broken shards next to the cookie plates and watch it disappear faster than the actual cookies. Which tells you something.
Storage & Make-Ahead Tips
Peppermint bark keeps beautifully at room temperature (in an airtight container) for up to 2 weeks — the chocolate stays snap-friendly and the peppermint doesn’t get soft. You can also refrigerate it, but bring it to room temperature before serving for the best texture and flavor. Make it now and stash it; it actually mellows and improves after a day or two as the flavors meld together.
Common Mistakes & Easy Fixes
The white chocolate seized up. This happens when it gets too hot or encounters any moisture. Melt it slowly in short bursts and make sure your bowl and spatula are bone dry. If it seizes, there’s unfortunately no saving it — start fresh with a new batch of white chocolate.
The layers won’t stick together. Make sure the dark chocolate is fully set but not over-chilled (too cold makes the white layer not adhere). Room-tempered set chocolate bonds best.
The peppermint melts into the white chocolate. Work quickly and keep the bark cold so the candies stay intact. Also, let the white chocolate cool until it’s just barely still liquid before adding the candy.
Your Peppermint Bark Questions, Answered
Can I use white chocolate chips instead of candy coating? You can, but the result may be grainy. Candy coating (like Merckens or Guittard) is formulated to melt smoothly and is the better choice.
Is this gluten-free? Yes! Peppermint bark made with standard chocolates and candy canes contains no gluten, making it a great holiday gift for celiac friends.
How thin should I spread the chocolate layers? About ¼ inch for each layer. Too thin and you lose the satisfying snap; too thick and it feels heavy.
Can I use candy canes or should I use peppermint rounds? Either works! Candy canes are traditional and widely available. Crush them by placing them in a zip-lock bag and hitting with a rolling pin — therapeutic, honestly.
How do I package it for gifts? Cellophane bags with a twist tie, small tins, or mason jars all work beautifully. Layer the pieces so they show off the two-tone color — that’s the selling point.
A Little Goodbye from My Kitchen
This peppermint bark is the recipe I make when I want to feel like I’ve accomplished something festive without spending an entire day in the kitchen. Twenty minutes of work, a couple hours of waiting, and you’ve got something that looks and tastes like a million bucks. Tell me in the comments — are you a traditional candy cane bark person, or are you going to try one of those twists? I’d love to hear what you land on.
Happy baking, happy snapping, and happy holidays from my kitchen to yours.
— Marina Caldwell