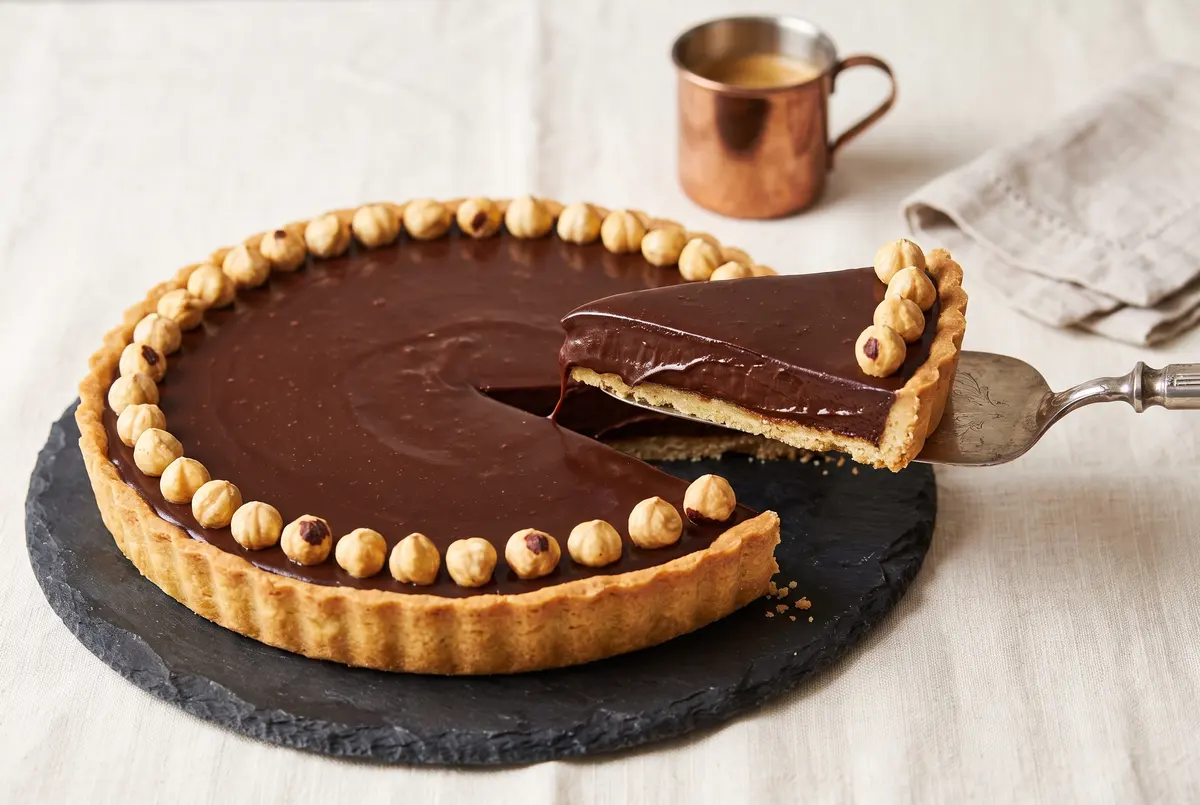
Every baker needs a no-fail showstopper, and for me, this chocolate hazelnut truffle tart has filled that role for almost a decade. It is the dessert I bring when I want the room to go quiet for a second after the first bite. It looks like something out of a pastry chef’s case — glossy, jewel-like, impossibly smooth — but I promise you it is the kind of project a home cook can absolutely pull off on a weeknight. The crust takes ten minutes. The filling takes five. The fridge does the rest of the work while you go live your life.
The first time I made a tart like this, I was living in a tiny apartment with a kitchen that barely fit two people, let alone a stand mixer. I was convinced that “truffle tart” meant hours of work and ingredients I couldn’t pronounce. I was wrong on both counts. This version is built on pantry staples: good dark chocolate, a splash of cream, real butter, and a humble graham cracker crust that somehow tastes more elegant than it has any right to. Let me show you exactly how it comes together.
The Secret to a Silky, Sliceable Ganache
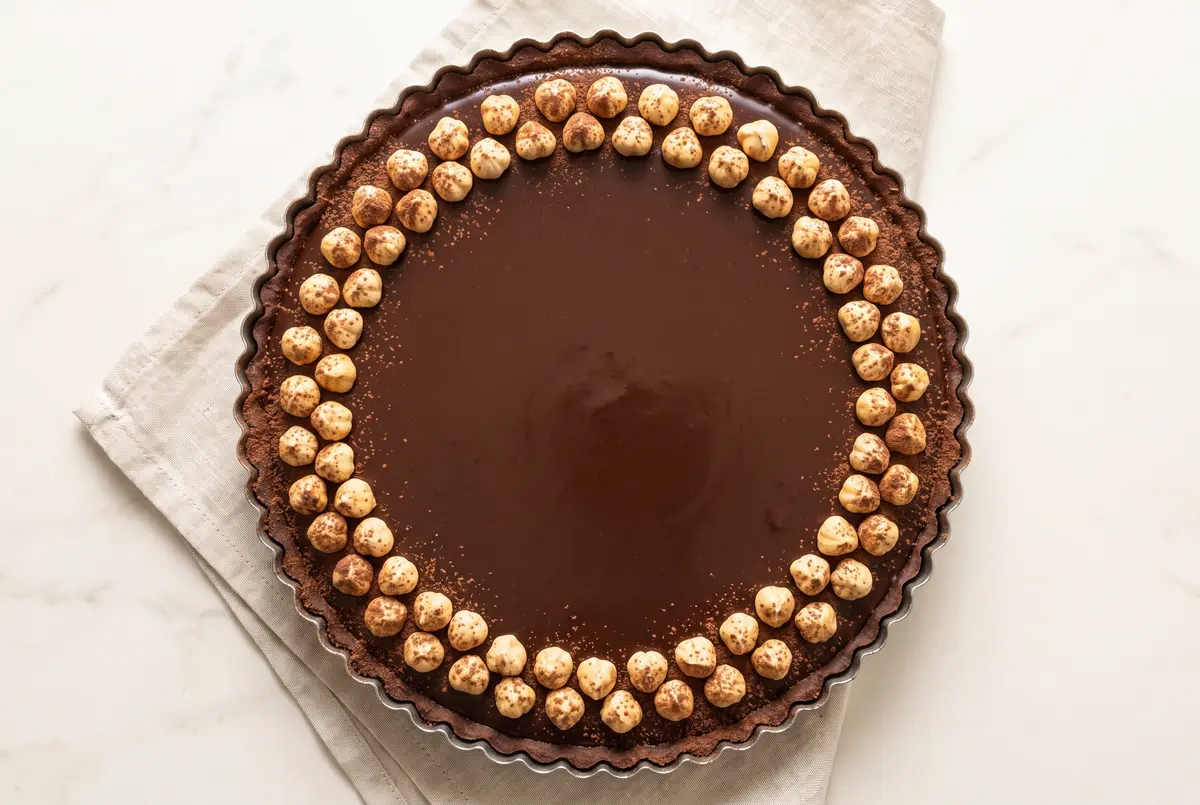
The difference between a good chocolate tart and a great one is the ratio of chocolate to cream to butter, and the patience you bring to letting the ganache set. Too much cream and the filling slumps and never sets cleanly. Too little, and it cracks when you slice. The sweet spot is roughly 1:1 chocolate to cream by weight, with a small amount of butter stirred in at the end for that glossy, almost lacquered finish you see in the photo. The corn syrup is optional but I always include it — it gives the ganache a slight flex so it cuts like a dream instead of shattering.
The other trick is temperature. The cream should be just barely simmering, not boiling. The chocolate should be finely chopped, not in big chunks. And the butter should be at cool room temperature, not cold from the fridge. If you respect those three details, the ganache will come together in under a minute of stirring and look like glass. Pour it into the pre-chilled crust, walk away, and let the fridge do the work overnight if you can. The longer it sets, the cleaner your slices will be.
Ingredients
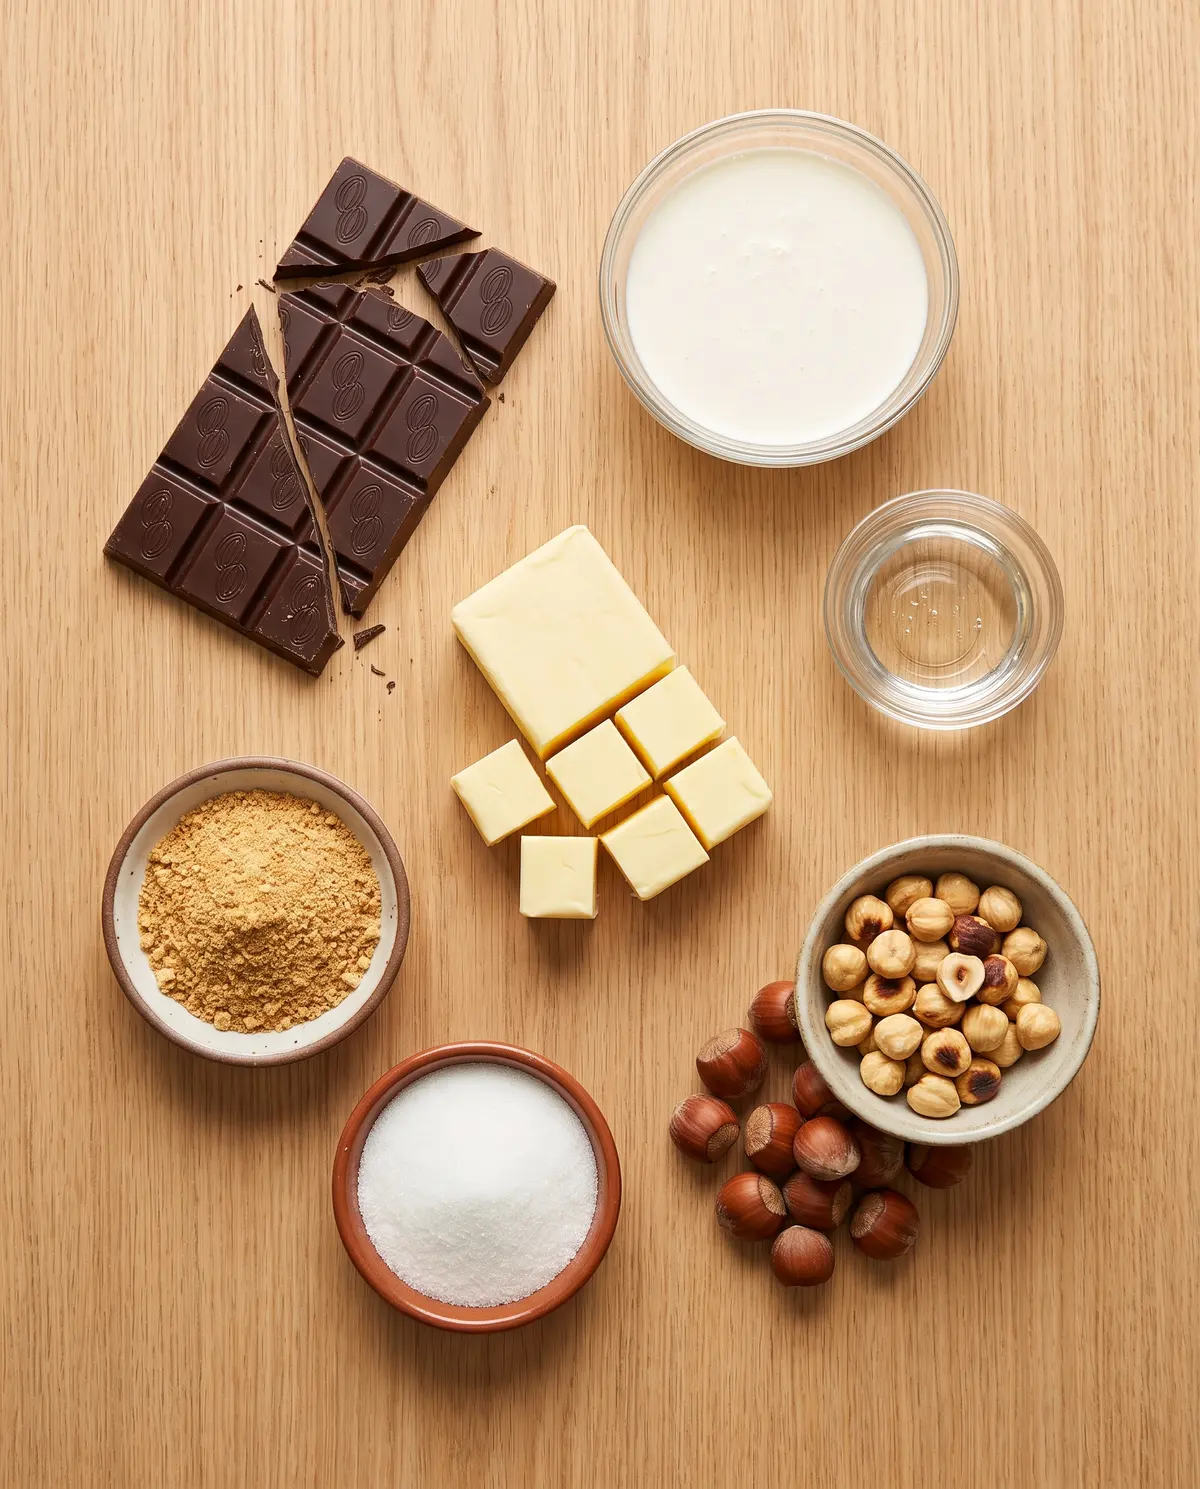
Have you ever looked at a “fancy” dessert recipe and realized the ingredient list is shorter than your weeknight dinner? That’s this tart. Twelve things, most of which are probably already in your kitchen. Splurge where it matters — the chocolate, especially — and the rest of the recipe is forgiving.
- 1 1/2 cups graham cracker crumbs (about 12 full crackers)
- 1/4 cup granulated sugar
- 1/2 cup unsalted butter, melted (for the crust)
- 1 cup heavy cream
- 7 oz (200g) dark chocolate (70%), finely chopped
- 2 tablespoons corn syrup or glucose
- 1/4 cup unsalted butter, cut into small pieces (for the filling)
- 1/2 cup whole toasted hazelnuts, plus more for garnish
- 1/4 teaspoon flaky sea salt
- 1 teaspoon pure vanilla extract (optional)
Putting It All Together: My Method
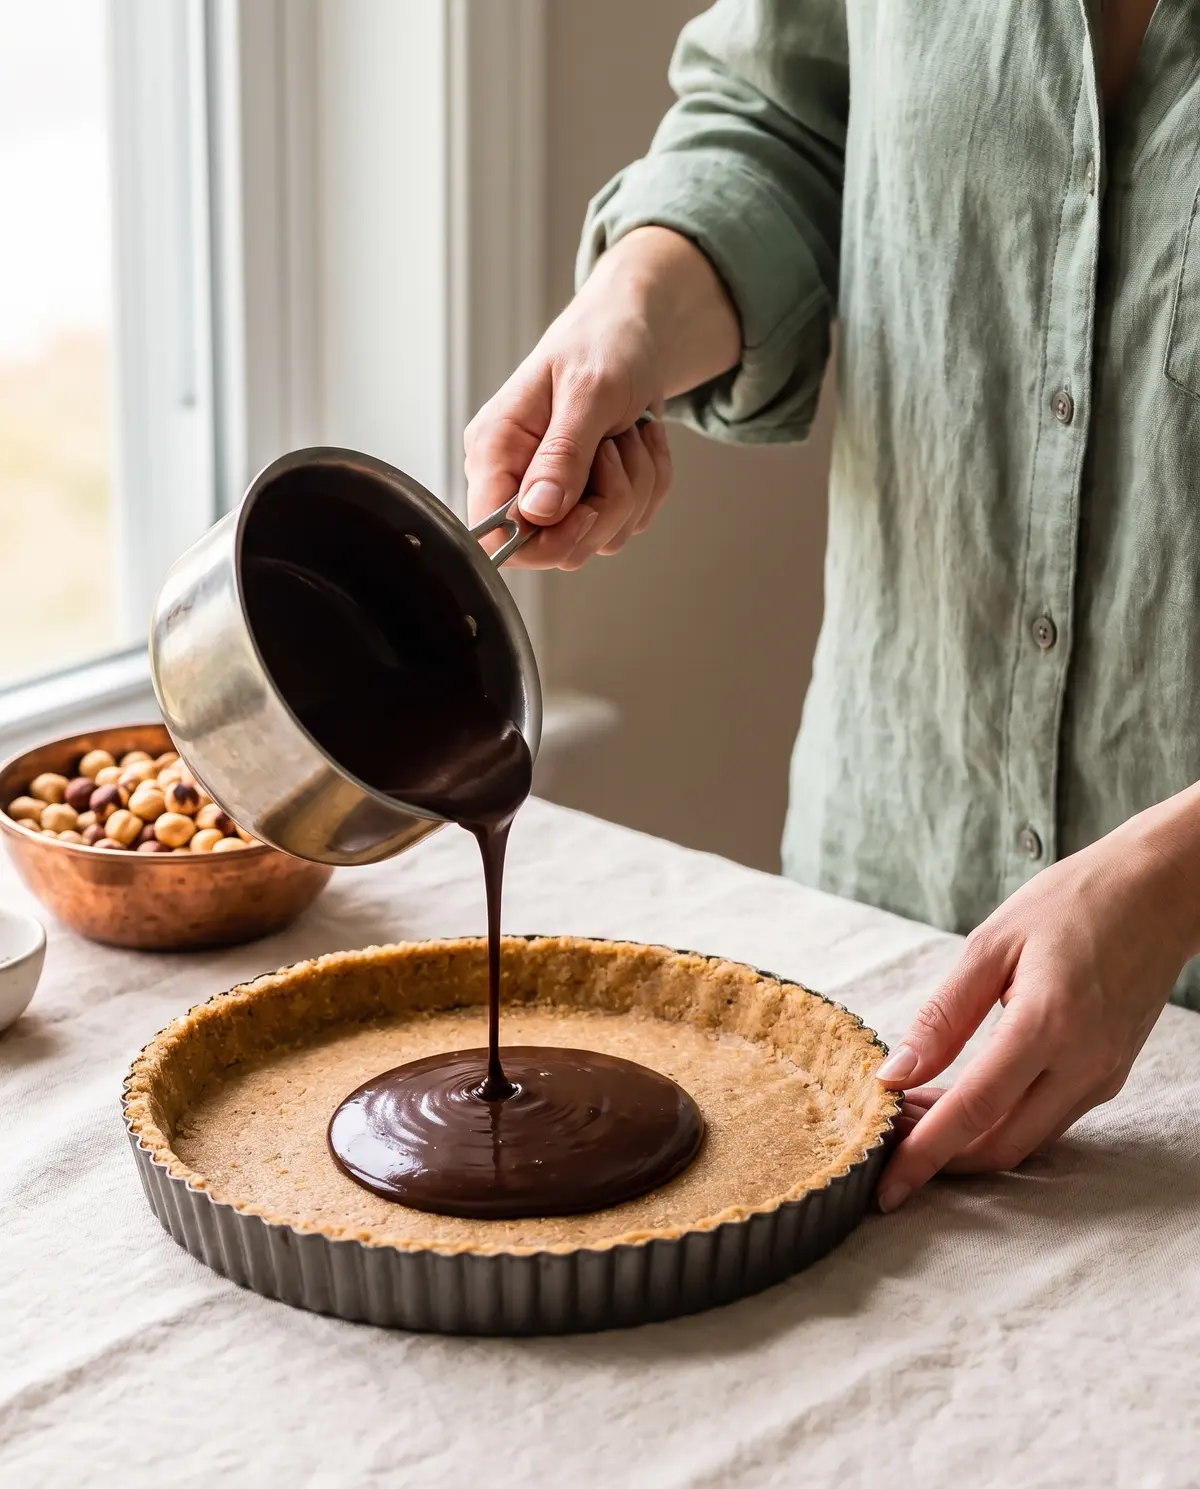
Step 1: Make the crust. In a medium bowl, mix the graham cracker crumbs and sugar. Pour the melted butter over the top and stir until the mixture resembles wet sand and holds together when you press a handful between your fingers. Tip the crumbs into an 8-inch (20cm) fluted tart pan with a removable bottom. Use the bottom of a measuring cup to press the crumbs firmly and evenly across the bottom and up the sides — really pack them in, or the crust will crumble when you slice. Pop the crust in the fridge while you make the filling.
Step 2: Heat the cream. Pour the heavy cream into a small heavy-bottomed saucepan and warm it over medium heat. You want it just barely simmering — small bubbles at the edges, the surface shimmering, steam rising. Don’t let it boil. If you have an instant-read thermometer, pull it off at 180°F (82°C). Take the pan off the heat.
Step 3: Melt the chocolate into the cream. Add the finely chopped dark chocolate and the corn syrup to the hot cream. Let it sit undisturbed for two full minutes — this is important. The chocolate needs time to soften before you stir. After two minutes, stir gently with a whisk in slow circles from the center outward. It will look broken and streaky at first, then suddenly come together into a glossy, smooth ganache. Keep stirring until you cannot see any streaks of chocolate.
Step 4: Whisk in the butter. Add the small pieces of cool room-temperature butter one at a time, whisking gently after each addition until it melts into the ganache. This is what gives the filling that beautiful, almost mirror-like sheen. If you want to add the vanilla, do it now. Once the butter is fully incorporated and the ganache is glossy, you’re ready to pour.
Step 5: Pour and chill. Pull the chilled crust out of the fridge. Pour the warm ganache directly into the center — don’t scrape the sides, just let it flow. Give the pan a gentle shake side to side to level the surface. If you want a perfectly smooth top, you can run a warm offset spatula across the surface once. Now place the tart in the fridge and let it set for at least 6 hours, ideally overnight. Don’t skip this. The texture depends on it.
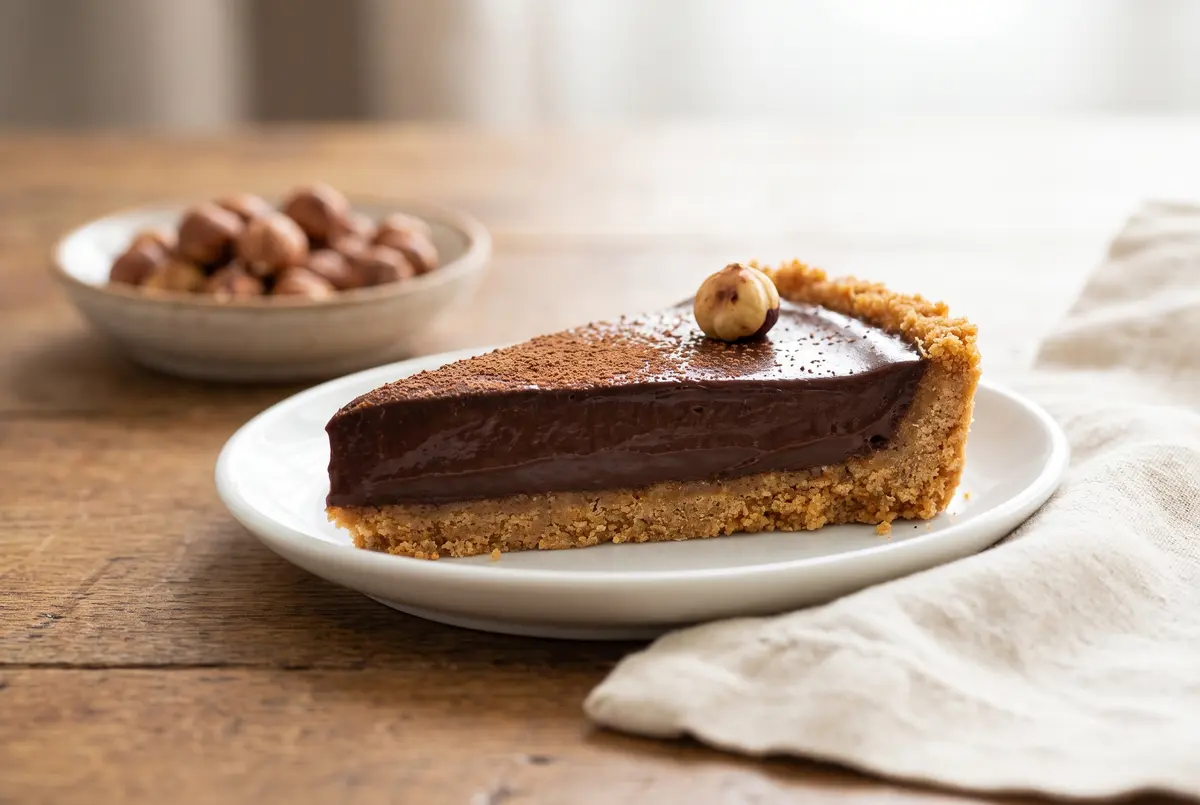
Step 6: Decorate and serve. Just before serving, arrange whole toasted hazelnuts in a circle around the outer edge of the tart, lightly dust the center with cocoa powder, and finish with a tiny pinch of flaky sea salt. To slice cleanly, run a sharp knife under hot water, wipe it dry, and slice. Repeat the hot-water dip between each cut. Lift each slice out with a small offset spatula and serve on chilled plates.
Creative Twists Worth Trying
- Swap the graham crackers for chocolate cookie crumbs (like chocolate wafer cookies) for a “double chocolate” version.
- Add 1 tablespoon of espresso powder to the cream for a deeper, almost mocha undertone.
- Stir 1/4 cup of Nutella into the ganache at the end for an even more pronounced hazelnut flavor.
- Top with a thin layer of raspberry preserves before pouring in the ganache for a chocolate-hazelnut-raspberry trinity.
- Add a teaspoon of orange zest to the crust for a chocolate-orange twist.
- Make it boozy with a tablespoon of Frangelico or hazelnut liqueur stirred into the ganache.
Serving & Pairing Ideas
This tart is rich, so I always cut smaller slices than I think people will want — six slices for a dinner party of four works beautifully, with seconds available. It pairs wonderfully with a small dollop of barely sweetened whipped cream, a few fresh raspberries, or a thin drizzle of crème de cassis. For drinks: a small espresso, a glass of cold milk, a ruby port, or a late-harvest riesling. If you’re feeling decadent, serve it slightly under-set in the center (about 4 hours of chilling) with the whipped cream — it becomes almost a molten chocolate situation, which is never a bad thing.
Storage & Make-Ahead Tips
This tart actually tastes better on day two, once the flavors have had time to meld. Cover loosely with plastic wrap (not touching the surface) and store in the fridge for up to five days. For longer storage, the undecorated tart freezes beautifully for up to two months — wrap tightly in two layers of plastic wrap and one layer of foil. Thaw overnight in the fridge, then decorate just before serving. The crust can be made up to three days ahead and stored covered at room temperature. The ganache can be made a day ahead and gently rewarmed over a double boiler before pouring.
Common Mistakes & Easy Fixes
- My crust is falling apart when I slice. You didn’t pack the crumbs in tightly enough. Use the bottom of a measuring cup and press hard. Also, make sure the butter was melted (not softened) so it actually coats the crumbs.
- My ganache is grainy or split. The cream was too hot, or you stirred before the chocolate had time to melt. Start over with a clean bowl: finely chop fresh chocolate, heat fresh cream to just simmering, let it sit 2 minutes, then stir gently.
- The filling is too soft to slice. It needs more time in the fridge. Overnight is best — give it at least 6 hours. If you’re in a rush, 30 minutes in the freezer can help firm it up.
- The top is not glossy. The butter wasn’t fully incorporated. Whisk in another tablespoon of soft butter and let it set again — that should restore the shine.
- The hazelnuts taste bitter or raw. Toast them! Spread on a baking sheet at 350°F for 10-12 minutes, until fragrant and lightly golden. Rub them in a clean kitchen towel to remove the skins.
Your Tart Questions, Answered
Can I use milk chocolate instead of dark? You can, but the tart will be much sweeter and less intensely chocolatey. If you do, skip the corn syrup and use only 1 tablespoon of butter in the filling.
What if I don’t have a tart pan? A springform pan works beautifully, or a pie dish in a pinch. The slices will just be a bit less elegant on the edges — but no one will care once they taste it.
Can I skip the corn syrup? Yes, you can. The tart will be slightly less glossy and the slices a bit more prone to cracking, but it will still be delicious. Honey is a fine substitute.
How do I get really clean slices for photos? Run a sharp chef’s knife under very hot water, wipe completely dry with a clean towel, and slice in one smooth motion. Wipe the blade between each cut. For ultra-clean slices, chill the tart in the freezer for 10 minutes before cutting.
Can I make this gluten-free? Absolutely. Use gluten-free graham crackers or chocolate cookies for the crust, and the filling is naturally gluten-free.
Do I have to use hazelnuts? No. Toasted almonds, pecans, or pistachios all work beautifully. The recipe is forgiving — use whatever nut you love most.
A Little Goodbye from My Kitchen
This chocolate hazelnut truffle tart is, in many ways, the recipe I come back to most in this book. It is forgiving when I am tired, impressive when I need it to be, and deeply satisfying to share. It has celebrated engagements and softened heartbreaks. It has appeared at birthday dinners for people I love and at ordinary Tuesday nights when only chocolate would do. I hope it becomes that kind of recipe in your kitchen, too — the one you reach for when you want to feel like the kind of person who has it all together, even when you don’t. Don’t forget the flaky salt on top. And let me know how yours turns out.
—Marina Caldwell
No-Bake Chocolate Hazelnut Truffle Tart (Silky & Make-Ahead)
Ingredients
- 1 1/2 cups graham cracker crumbs (about 12 full crackers)
- 1/4 cup granulated sugar
- 1/2 cup unsalted butter, melted (for the crust)
- 1 cup heavy cream
- 7 oz (200g) dark chocolate (70%), finely chopped
- 2 tablespoons corn syrup or glucose
- 1/4 cup unsalted butter, cut into small pieces (for the filling)
- 1/2 cup whole toasted hazelnuts, plus more for garnish
- 1/4 teaspoon flaky sea salt
- 1 teaspoon pure vanilla extract (optional)
Instructions
- 1Make the crust: mix graham cracker crumbs and sugar in a medium bowl. Stir in melted butter until the mixture resembles wet sand and holds when pressed.
- 2Press the crumb mixture firmly and evenly into the bottom and up the sides of an 8-inch (20cm) fluted tart pan with a removable bottom. Use the bottom of a measuring cup to pack it in. Chill in the fridge while you make the filling.
- 3Heat the cream: pour the heavy cream into a small saucepan and warm over medium heat until just barely simmering (small bubbles at the edges). Do not let it boil. Remove from heat.
- 4Melt the chocolate: add the finely chopped dark chocolate and corn syrup to the hot cream. Let it sit undisturbed for 2 minutes, then stir gently with a whisk in slow circles until smooth and glossy.
- 5Whisk in the butter one piece at a time, stirring gently after each addition until fully melted. Add the vanilla (if using) and stir to combine.
- 6Pour the warm ganache into the chilled tart crust. Give the pan a gentle shake to level the surface. Refrigerate for at least 6 hours, preferably overnight, until fully set.
- 7Before serving, arrange whole toasted hazelnuts in a ring around the outer edge of the tart, lightly dust the center with cocoa powder, and finish with a pinch of flaky sea salt. Slice with a hot, dry knife for clean cuts.
Notes
Toast the hazelnuts at 350°F (175°C) for 10-12 minutes until fragrant and lightly golden. Rub them in a clean kitchen towel to remove the skins.
Corn syrup gives the ganache a slight flex for cleaner slices; you can substitute honey or skip it entirely.
The tart keeps covered in the fridge for up to 5 days. The undecorated tart freezes well for up to 2 months — wrap tightly in plastic and foil, thaw overnight in the fridge.
For ultra-clean slices, chill the tart in the freezer for 10 minutes before cutting, and run your knife under hot water, wiping dry between each cut.