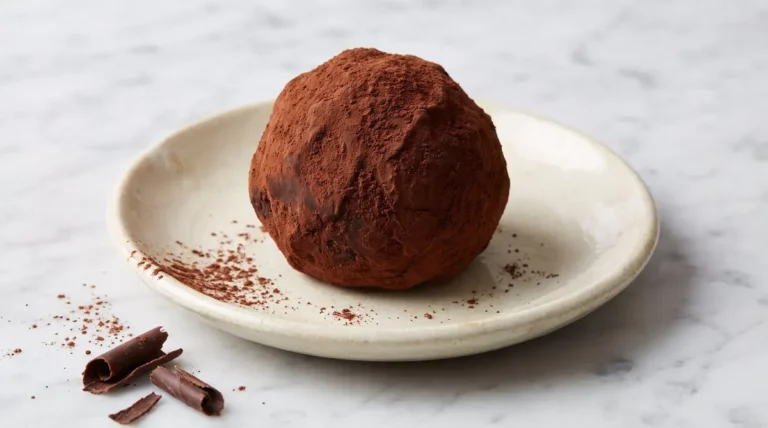
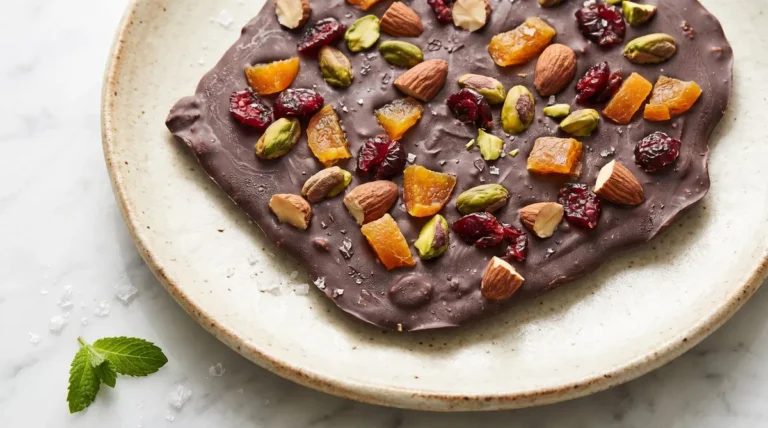
Have you ever made a dessert that feels more like a tiny ritual than a recipe? That’s exactly what chocolate coconut panna cotta has become in my kitchen. It’s the kind of thing I pull together on a quiet Sunday afternoon, the kind that sits quietly in the fridge while life happens around it, and then shows up that evening looking far more impressive than the effort I put in. Silky, rich, gently coconutty, and impossibly smooth — it tastes like a chocolate truffle that learned to chill out.
I first fell in love with panna cotta years ago at a tiny Italian restaurant, where the chef served it barely sweet, almost custard-like, with a thread of olive oil on top. I’ve been chasing that texture at home ever since. Adding dark chocolate and a generous pour of full-fat coconut milk is my little twist: the coconut brings body and a warm, almost nutty sweetness, while the chocolate gives the whole thing that deep cocoa glow. No baking required, no special equipment, and barely twenty minutes of hands-on time.
The Trick That Makes This Recipe Sing
The secret to perfect panna cotta is gentleness. You want the gelatin to bloom in cold water, then dissolve into warm cream — never boiling cream. If the cream gets too hot, the gelatin loses its setting power and you end up with chocolate soup (delicious, but not the silky set you’re after). I keep the heat at medium-low, swirl the cream until it just barely shimmers, and pull it off the moment the chocolate melts. Patience, not speed, is what gives you that gorgeous wobble.
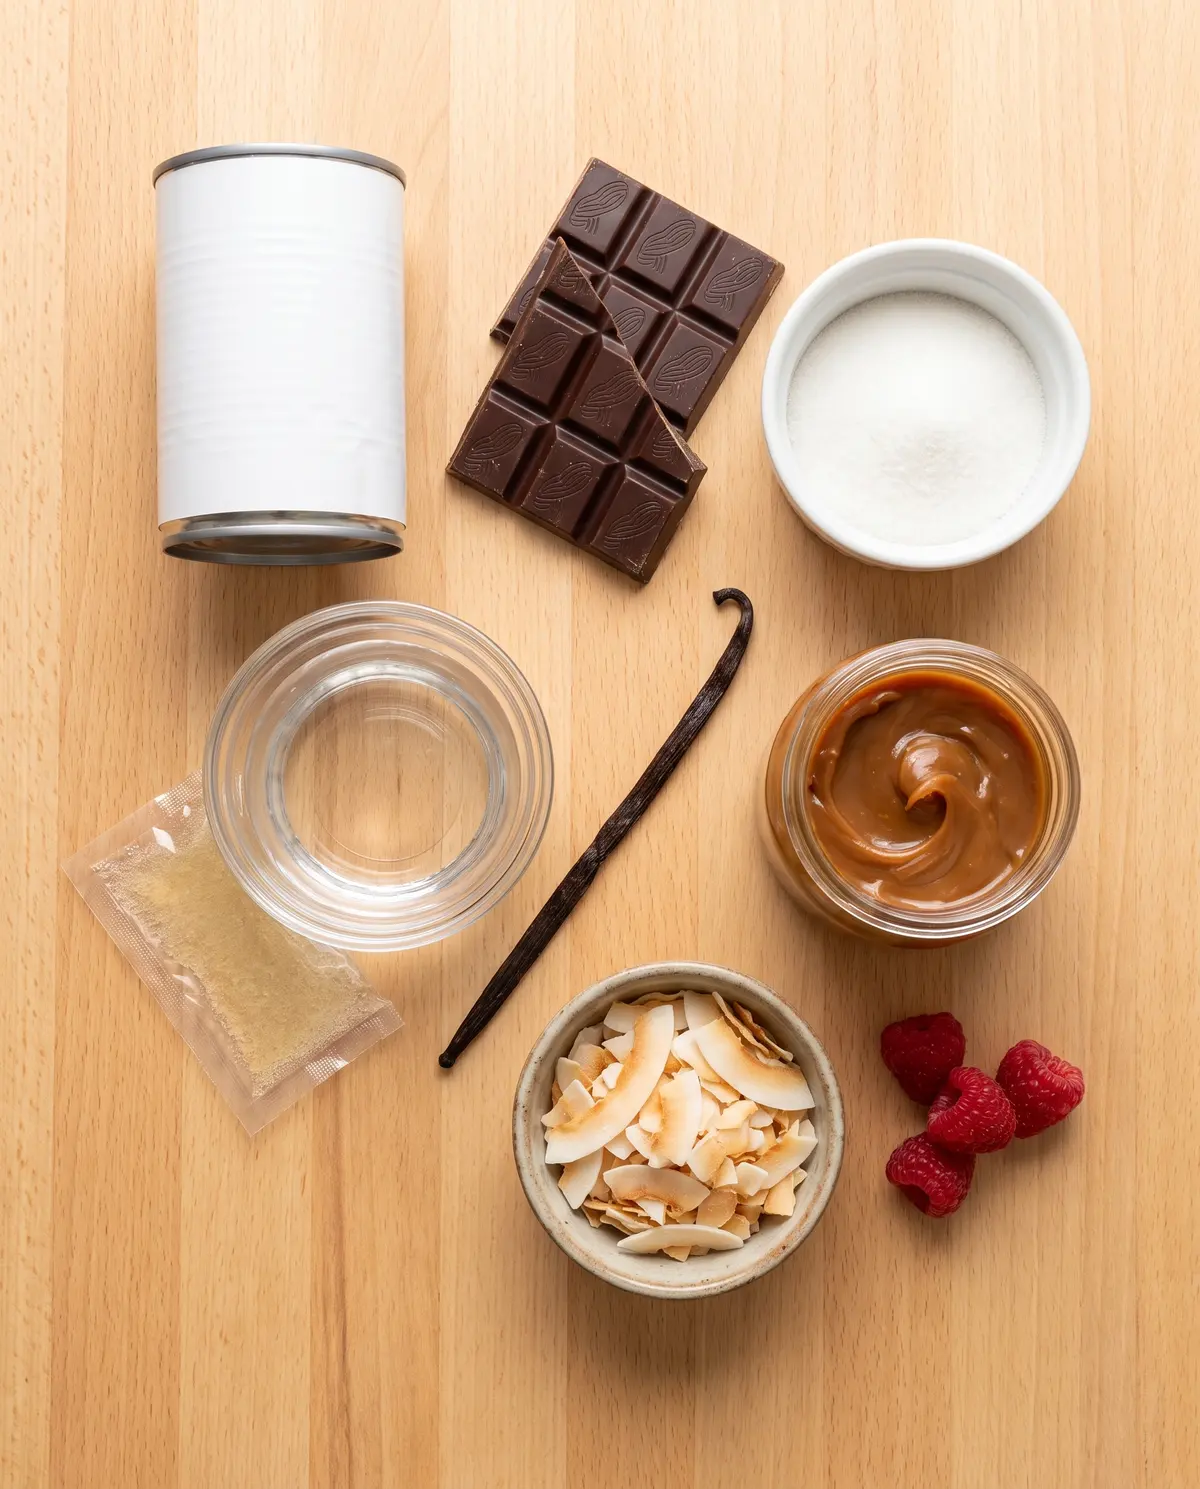
Here’s How I Make It
Step 1: Bloom the gelatin. In a small bowl, whisk the powdered gelatin with the cold water and the vanilla extract. Let it sit for about five minutes while you do everything else — it will look clumpy and weird at first, but trust the process. Meanwhile, in a heatproof bowl, combine the chopped dark chocolate with two tablespoons of the heavy cream and microwave in short 15-second bursts, stirring between each, until the chocolate is smooth and glossy.
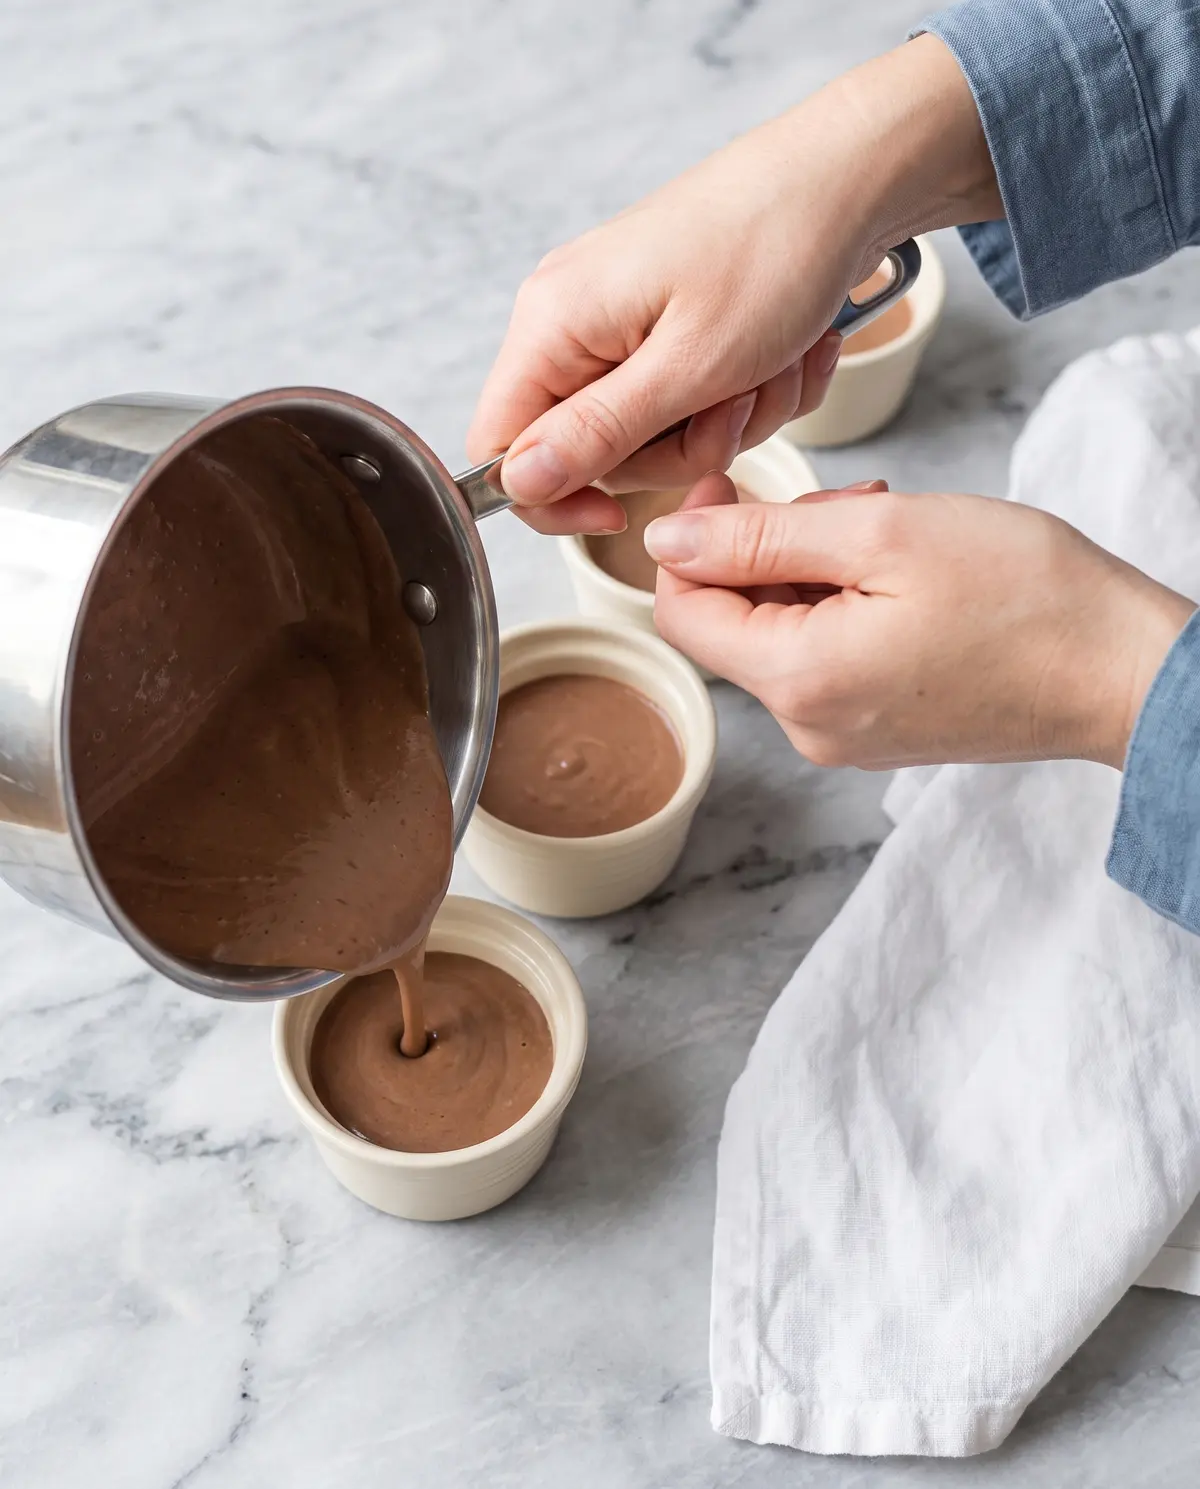
Step 2: Warm the cream and coconut milk. In a medium saucepan, combine the rest of the heavy cream, the coconut milk (give the can a really good shake first), and the sugar. Bring it just to a gentle simmer over medium-low heat, stirring every now and then until the sugar dissolves. You want little bubbles around the edge, not a rolling boil.
Step 3: Whisk it all together. Take the cream off the heat and whisk the bloomed gelatin into the warm mixture until it’s completely dissolved. Then pour the warm cream over the melted chocolate and whisk gently until everything is smooth and uniform. If you see any little flecks of undissolved gelatin, just pour the whole thing through a fine-mesh strainer. (This step is forgiving — if you don’t strain, it’s still going to be delicious.)
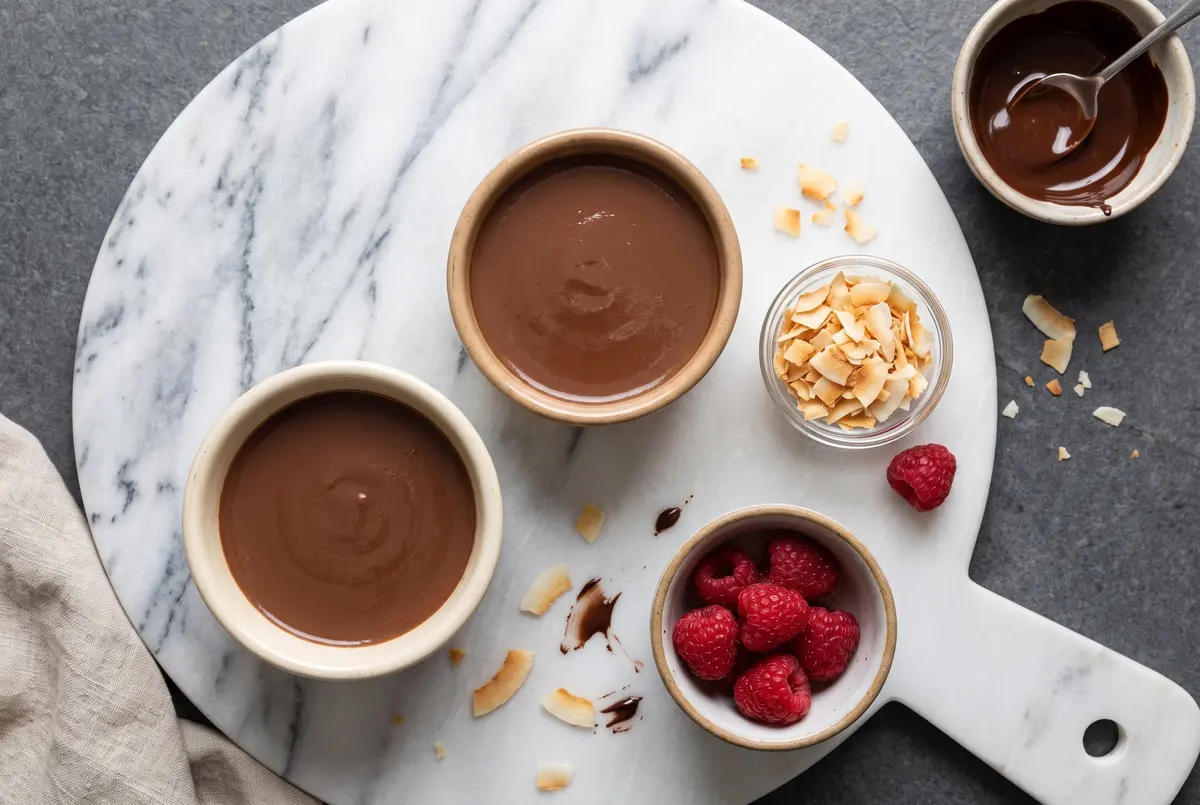
Step 4: Pour and chill. Divide the mixture between three or four small ramekins, glasses, or little ceramic bowls. Cover each one with a small piece of plastic wrap (I press it right onto the surface so a skin doesn’t form) and pop them into the fridge for at least 6 hours, or overnight if you can wait. The longer they rest, the more the coconut flavor deepens — I usually make them the night before I want to serve them.
Creative Twists Worth Trying
- … Espresso panna cotta — stir a tablespoon of instant espresso into the warm cream for a tiramisu-adjacent flavor.
- … Spiced chocolate panna cotta — add a pinch of cayenne, cinnamon, and cardamom to the cream for a warm, almost Mexican-hot-chocolate vibe.
- … Layered coconut panna cotta — pour half the plain coconut-cream version first, let it set, then top with the chocolate version for a beautiful two-tone effect.
- … White chocolate panna cotta — swap the dark chocolate for good white chocolate and finish with passion fruit pulp on top.
- … Boozy panna cotta — a tablespoon of dark rum, Frangelico, or a splash of Kahlúa stirred into the cream at the end adds a grown-up depth.
Serving and Pairing Ideas
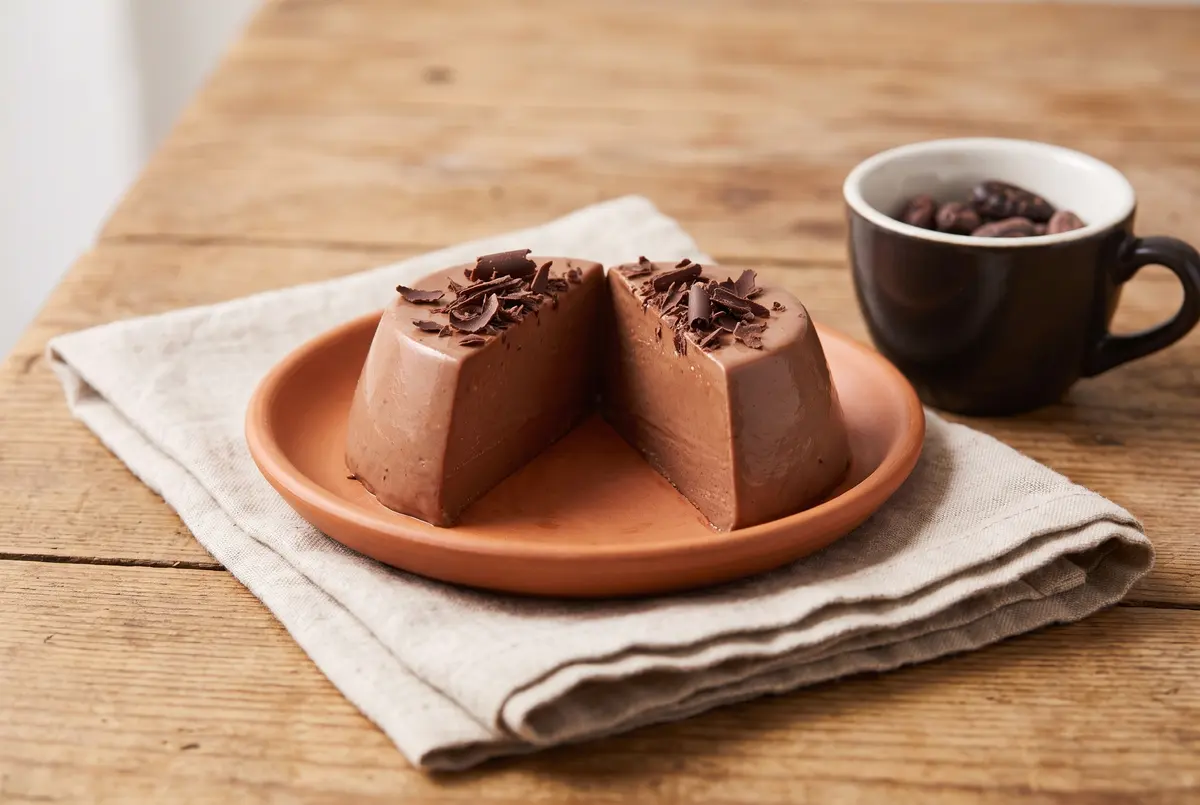
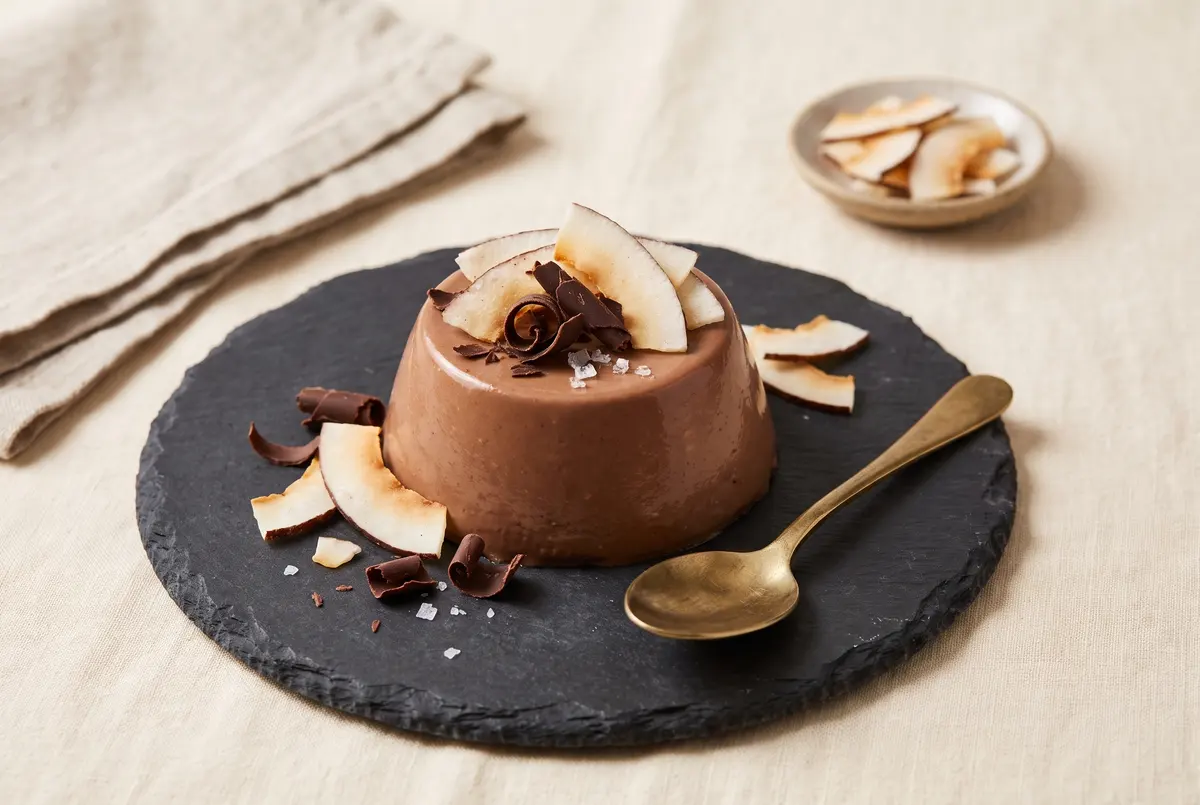
For a clean, elegant dessert, unmold the panna cotta onto a small plate and garnish with toasted coconut chips, a few dark chocolate curls, and a tiny pinch of flaky sea salt. The salt makes the chocolate sing. If you’d rather skip the unmolding, just serve them in the ramekins with a generous swoosh of softly whipped cream and a few fresh berries on top.
These pair beautifully with a small glass of something cold and slightly sweet — vin santo, tawny port, or even a chilled espresso on the side. For a dinner party, set three or four of these out with tiny spoons and let people dig in; they always disappear faster than I expect.
Storage and Make-Ahead Tips
Panna cotta is the ultimate make-ahead dessert. Once set, it keeps in the fridge, covered, for up to five days — the texture actually improves on day two and three as the coconut and chocolate flavors meld. If you’re planning a dinner party, these are the perfect thing to make on Monday for a Friday gathering. Just cover each ramekin with plastic wrap, stack them in a container, and forget about them until dessert.
I don’t recommend freezing panna cotta — the gelatin can weep when it thaws and you’ll lose that glassy-smooth finish. But honestly, leftovers rarely last long enough in my house for that to be a concern.
Common Mistakes and Easy Fixes
- … The mixture didn’t set. Either the gelatin didn’t fully dissolve (strain it next time), or the cream was too hot and the gelatin lost its strength. Fix: a quick re-warm with another half-teaspoon of bloomed gelatin, then chill again.
- … The texture is rubbery. Too much gelatin. Reduce the amount by a quarter teaspoon next time, and make sure to bloom it in cold water before adding it to warm cream.
- … The panna cotta is lumpy. You probably added the chocolate to cream that was too hot, or didn’t strain. A fine-mesh strainer fixes this every time — pour the finished mixture through one before chilling.
- … It tastes flat. A pinch of salt and a tiny splash of vanilla extract will round out the flavor. Don’t skip them.
- … The top formed a skin. Press plastic wrap directly onto the surface before chilling. This keeps that glossy finish intact.
Your Panna Cotta Questions, Answered
Can I use milk chocolate instead of dark chocolate?
Absolutely. The panna cotta will be sweeter and a little less intense, but still delicious. I’d use a 55% to 65% chocolate if you want to keep some depth.
What if I don’t have ramekins?
Any small cup, glass, or even a coffee mug will work. The unmolding gets a little trickier with non-ramekin shapes, so I’d recommend just serving them in whatever you pour them into.
Can I make this dairy-free?
Yes — swap the heavy cream for full-fat coconut cream and you’ve got a completely dairy-free version. It will set a touch softer but the flavor is wonderful.
How do I unmold without breaking the panna cotta?
Run a thin knife around the edge of each ramekin, dip the bottom in hot water for about 10 seconds, then invert it onto a plate. Give it a gentle shake and it should slide right out.
Why is mine so soft / not holding its shape?
Either the gelatin ratio is off, or the cream got too hot. Try chilling a full 8 hours and see if it firms up. If not, whisk another half-teaspoon of bloomed gelatin into the warm mixture, then chill again.
Can I use agar agar instead of gelatin?
You can, but the ratio is different. Use about 1 teaspoon of agar agar for this recipe, simmer it in the cream for 2 minutes to activate it, then proceed. The texture will be slightly less silky — more of a delicate set.
A Little Goodbye from My Kitchen
If you’ve never made panna cotta at home, I hope this recipe nudges you to try. There’s something quietly satisfying about stirring a few simple things together in a saucepan and ending up with a dessert that looks and tastes like it came from a very good restaurant. And the way the dark chocolate plays with the coconut — warm, rich, almost tropical — keeps me coming back to this one again and again.
Let me know how yours turn out. Did you try a twist? Did you unmold it perfectly on the first try? I’d love to hear. Drop a note in the comments, and if you make it for someone you love, take a photo and tag me — nothing makes my day more than seeing your versions.
Wishing you a calm kitchen and a beautiful wobble.
—Marina Caldwell
Silky Chocolate Coconut Panna Cotta (5-Ingredient Make-Ahead Dessert)
Ingredients
- 2 teaspoons (7g) powdered gelatin
- 3 tablespoons cold water
- 1 teaspoon pure vanilla extract
- 6 oz (170g) dark chocolate (60-70%), finely chopped
- 1 ½ cups (360ml) heavy cream
- 1 cup (240ml) full-fat canned coconut milk, well shaken
- ⅓ cup (65g) granulated sugar
- Pinch of fine sea salt
- To serve: toasted coconut chips, dark chocolate curls, flaky sea salt, fresh berries (optional)
Instructions
- 1In a small bowl, whisk together the gelatin, cold water, and vanilla extract. Let it sit for about 5 minutes to bloom — it will look clumpy and strange, but that’s exactly right.
- 2In a heatproof bowl, place the chopped dark chocolate with 2 tablespoons of the heavy cream. Microwave in 15-second bursts, stirring between each, until smooth and glossy. Set aside.
- 3In a medium saucepan over medium-low heat, combine the remaining heavy cream, the coconut milk, the sugar, and the salt. Bring it just to a gentle simmer, stirring occasionally until the sugar dissolves. Don’t let it boil.
- 4Remove the cream from the heat and whisk the bloomed gelatin into the warm mixture until completely dissolved. Pour the warm cream over the melted chocolate and whisk gently until smooth and uniform. If you see any flecks, strain through a fine-mesh sieve.
- 5Divide the mixture evenly between 4 small ramekins (about ¾ cup / 180ml each). Cover each with plastic wrap pressed directly onto the surface.
- 6Chill in the refrigerator for at least 6 hours, or overnight for the best texture and deepest flavor. Serve cold, garnished with toasted coconut chips, chocolate curls, a tiny pinch of flaky salt, and fresh berries if you like.
Notes
Storage: keeps covered in the refrigerator for up to 5 days; the flavor deepens beautifully on day 2 and 3.
Make-ahead: ideal for dinner parties — make the night before, garnish just before serving.
Dairy-free option: swap the heavy cream for full-fat coconut cream; the set will be slightly softer.
Agar-agar option: use 1 teaspoon agar agar, simmered in the cream for 2 minutes; texture will be a touch less silky but still lovely.