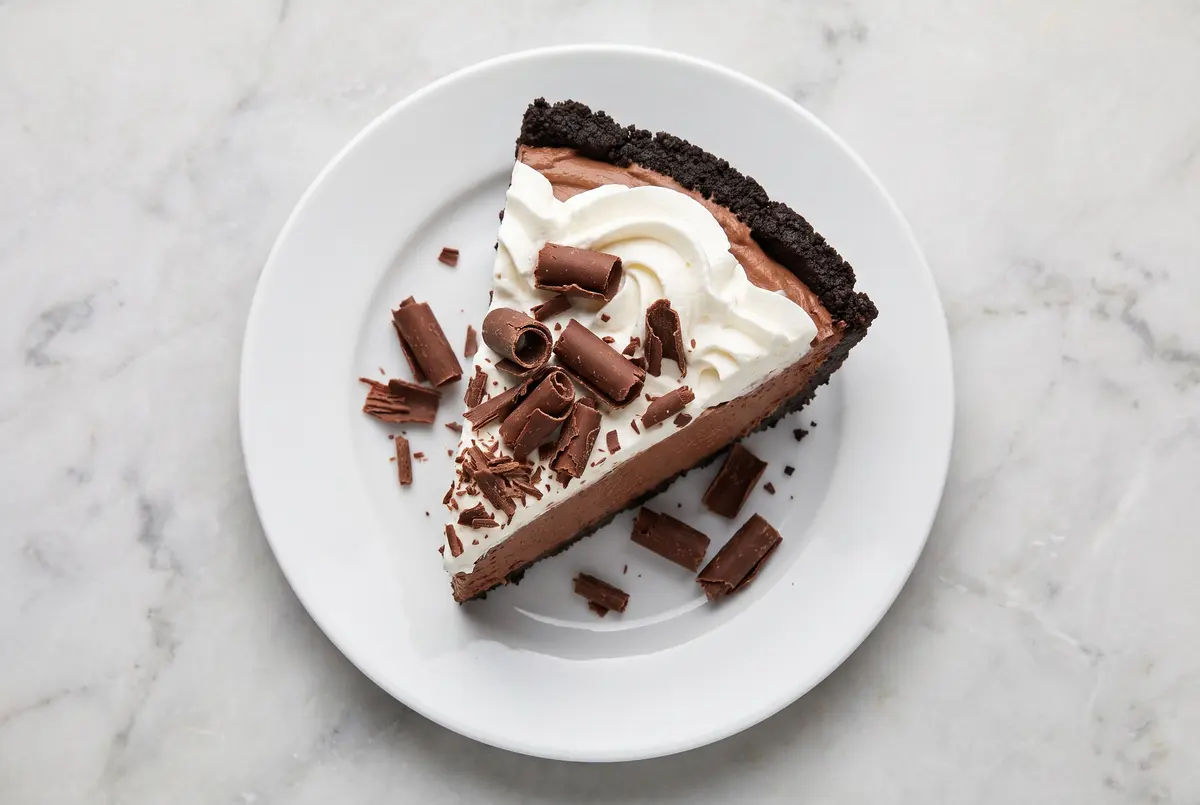
Let me tell you something about this chocolate cream pie: it took me years to share the recipe because every time I made it, it disappeared within an hour. Friends would come over and eat the entire thing standing at my kitchen counter with spoons. No plates, no ceremony — just pure, unfiltered joy. I finally realized that keeping it to myself wasn’t doing anyone any favors, least of all the people who deserved to know that a pie this extraordinary could be made without turning on an oven.
That’s the thing about this pie that still blows me away. There’s no baking involved. No water bath, no担心 about whether the center is set. You just make the filling, pour it into the crust, chill it, and let it do its thing. The result is a pie with a silky, intensely chocolatey cream filling that shimmers when you cut into it, topped with clouds of homemade whipped cream and draped with curls of dark chocolate. —Marina Caldwell
The Filling That Makes Everyone Lose Their Minds
The filling is essentially a打电话 with chocolate. Rich cream cheese gives it body and a subtle tang that keeps it from being cloying. Cocoa powder — the good Dutch-process kind, the stuff that smells like a chocolate dream — gives it that deep, dark color and intense flavor. Powdered sugar sweetens it just enough, and the whipped cream folded in at the end is what makes it impossibly light and silky.
The key is to use room-temperature cream cheese. If you try to beat cold, hard cream cheese, you’ll end up with lumps in your filling that no amount of whisking will fix. I usually take mine out of the fridge about an hour before I start cooking. And while we’re on the subject of cream cheese: use full-fat. Low-fat cream cheese will give you a filling that’s, well, low-fat tasting. This pie deserves full-fat.
Ingredients
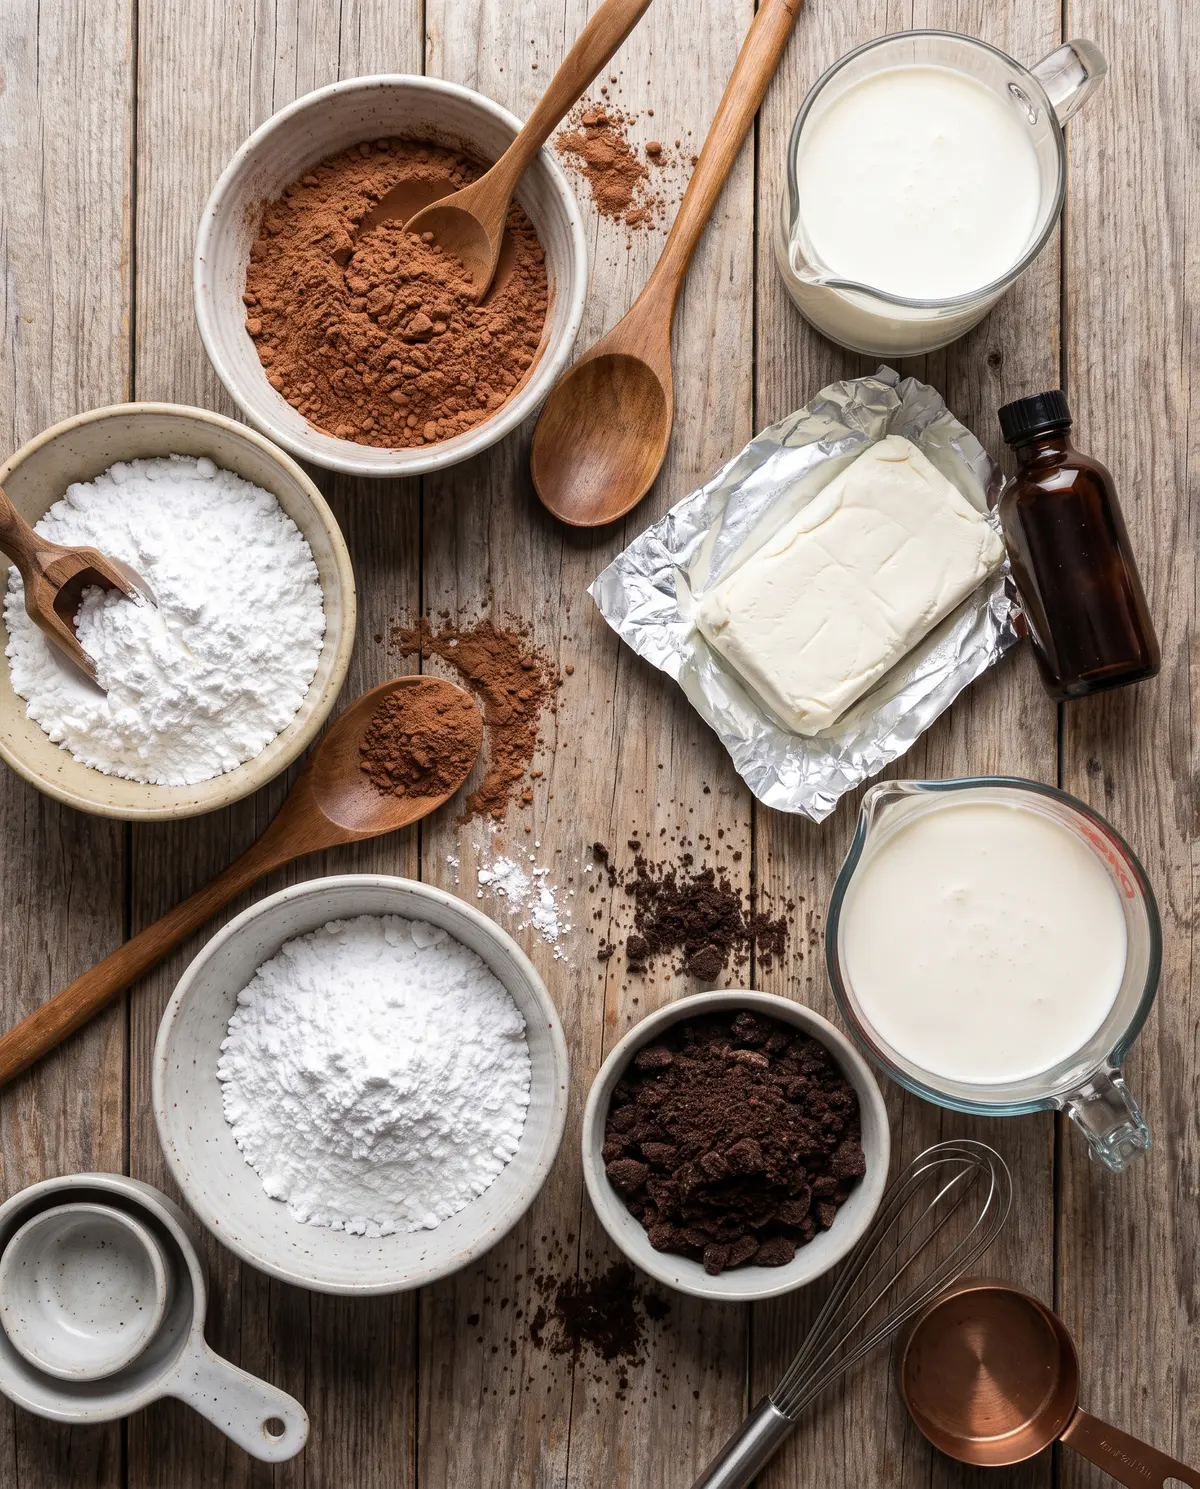
- Crust: 2 cups chocolate cookie crumbs (Oreos work perfectly), 6 tbsp melted butter
- Filling: 8 oz cream cheese (room temperature), 1 cup powdered sugar, ½ cup Dutch-process cocoa powder, 1 cup heavy cream, 1 tsp vanilla extract, ½ cup additional whipped cream for folding
- Topping: 1 cup heavy cream (whipped with 2 tbsp powdered sugar), ½ cup chocolate curls
Here’s My Method
Step 1: Make the crust. Crush your chocolate cookies to fine crumbs — a food processor makes this effortless. Mix with the melted butter until every crumb is coated and the mixture holds together when you squeeze it. Press firmly into the bottom and up the sides of a 9-inch pie dish. I like to use the bottom of a measuring cup to get it as even as possible. Pop it in the freezer while you make the filling — the cold crust makes the next step easier.
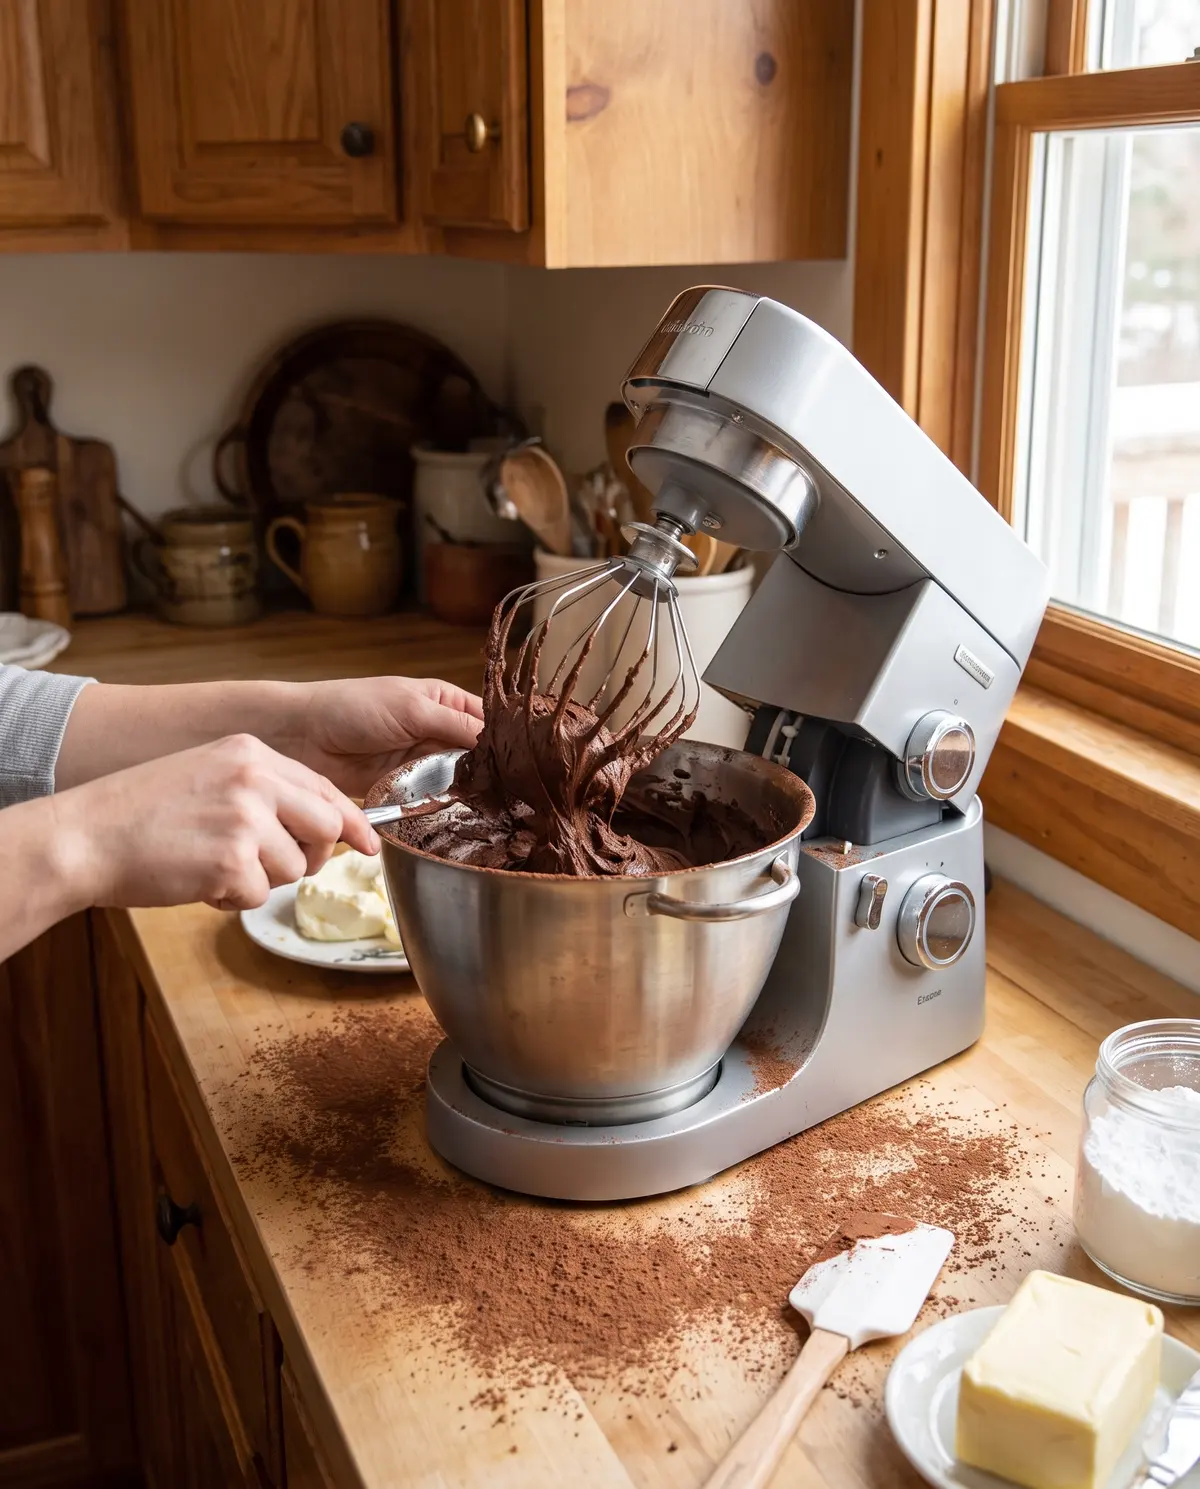
Step 2: Beat the room-temperature cream cheese until completely smooth. Add the powdered sugar and cocoa powder and beat on medium until fluffy and well combined — about 3 minutes. Scrape down the sides of the bowl twice during this process to make sure nothing is hiding.
Step 3: In a separate clean bowl, whip the heavy cream and vanilla to stiff peaks. This is the most important structural element of the filling — the air in the whipped cream is what makes the final filling light rather than dense.
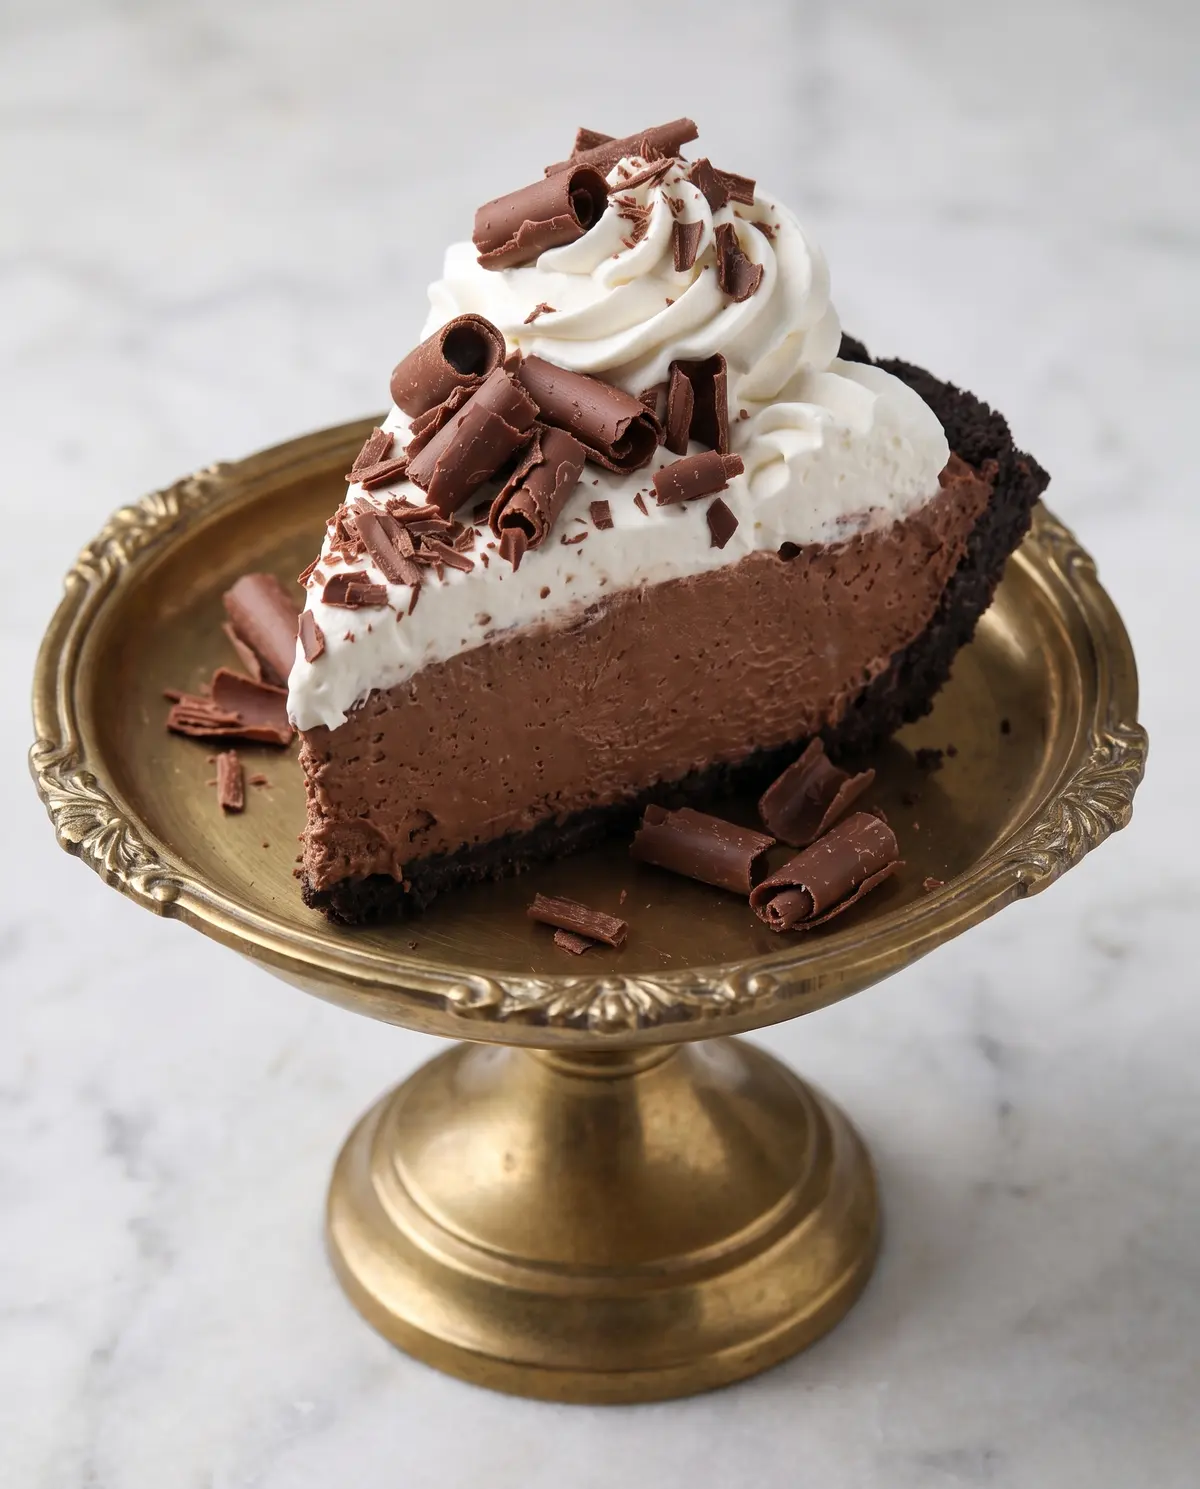
Step 4: Fold the whipped cream into the chocolate cream cheese mixture in three additions. Be gentle — you want to preserve as much air as possible. This is not the time for vigorous stirring. Use a rubber spatula and fold from the bottom up, rotating the bowl as you go. When everything is combined and there are no streaks, pour it into the chilled crust.
Step 5: Smooth the top with an offset spatula and refrigerate for at least 4 hours, or overnight. The longer it chills, the more firmly it sets. Don’t rush this part.
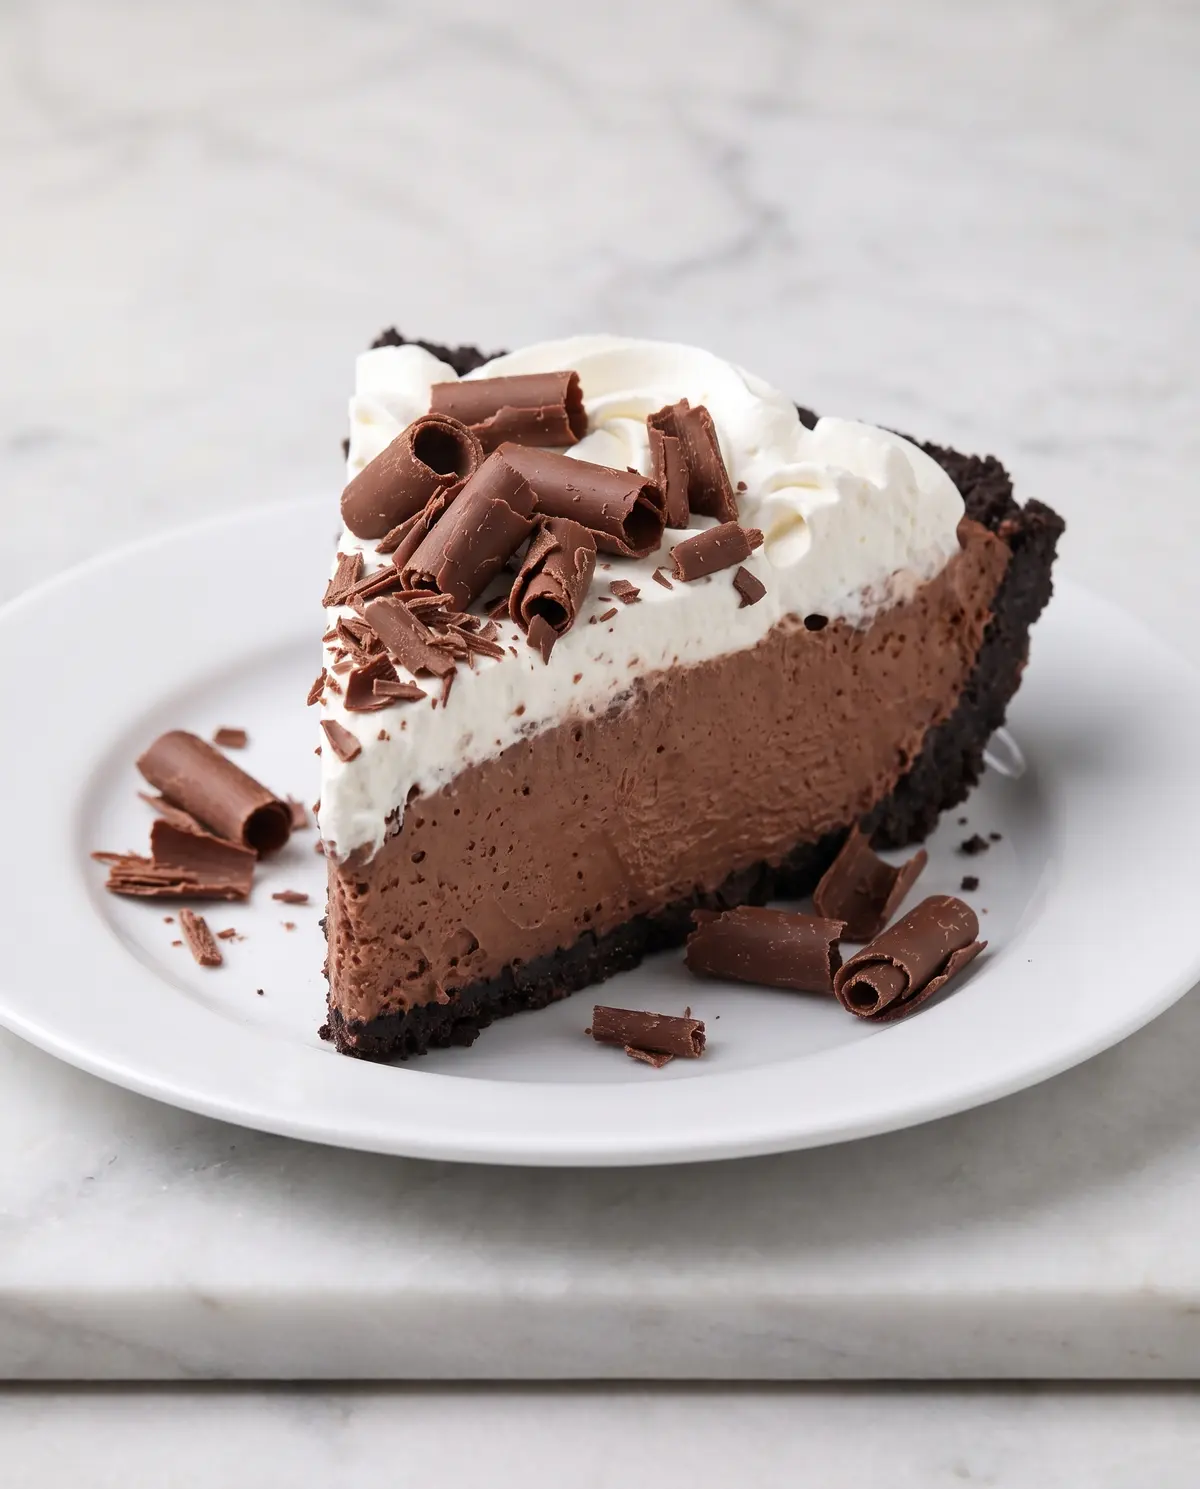
Step 6: When you’re ready to serve, make the whipped cream topping: whip the heavy cream with the powdered sugar to stiff peaks. Pile it on top of the pie in generous swirls. Finish with chocolate curls scattered over the top — I’ve never met a person who didn’t light up when they saw those curls.
Creative Twists Worth Trying
- Swirl ¼ cup of raspberry preserves into the filling before chilling for a beautiful marbled effect and a gorgeous berry-chocolate flavor combination.
- Top with crushed toffee bits and a drizzle of caramel instead of — or in addition to — the chocolate curls for an American diner-style upgrade.
- Add ½ teaspoon of peppermint extract to the filling for a chocolate mint pie that tastes like the inside of a thin mint.
- Press the crust into individual mini tart pans for a cocktail party version that’s perfect for finger-food service.
- Swap the chocolate cookie crumbs for graham cracker crumbs and the Dutch cocoa for regular cocoa for a lighter, honey-colored pie that’s equally delicious.
Serving and Pairing Ideas
This pie needs very little in the way of company. A small glass of ice-cold whole milk is the most perfect pairing imaginable — the cold milk cuts through the richness in exactly the right way. But I also love it alongside a cup of strong black coffee or an espresso.
For a dinner party, I sometimes add a small quenelle of vanilla bean ice cream next to each slice — it melts slowly into the filling as you eat and the contrast of cold cream and warm pie is exquisite. What would you pair this with?
Storage and Make-Ahead Tips
Here’s the thing: this pie actually improves with advance planning. The filling needs at least 4 hours to set, and it’s even better the next day when the flavors have had time to meld together. The pie keeps beautifully in the refrigerator for up to 3 days, covered loosely with plastic wrap. The whipped cream topping should be added just before serving — it doesn’t hold up well overnight in the fridge.
Can you freeze it? Technically yes, for up to a month, but the texture of the whipped cream filling changes when frozen and thawed. I’d only freeze the plain filled crust, thaw it, and add fresh whipped cream after.
Common Mistakes and Easy Fixes
Problem: The filling is lumpy. Cold cream cheese is the culprit. Make sure it’s completely room temperature before you start. If you’ve already committed the sin of cold cream cheese, beat it longer and strain through a fine-mesh sieve — it’ll save you.
Problem: The filling won’t set. The cream was under-whipped, or you didn’t fold it gently enough. If the pie has been in the fridge for less than 4 hours, give it more time. If it’s been overnight and still won’t set, the filling was probably too warm when you added the whipped cream.
Problem: The crust is soggy. You didn’t let the filling chill long enough before serving, or you didn’t use enough butter in the crust. A well-buttered crumb crust should hold together without getting soggy for at least 2–3 days.
Problem: The whipped cream on top is weeping. The cream was over-whipped, or the pie was too warm when you added it. Whip to just-stiff peaks, not dry peaks. Add the topping right before serving and keep the pie cold until the last minute.
Your Chocolate Cream Pie Questions, Answered
Can I use low-fat cream cheese? You can, but the flavor and texture will suffer noticeably. Full-fat cream cheese gives this pie its characteristic richness. If you’re watching calories, have a smaller slice — it’s worth it.
What kind of cocoa powder should I use? Dutch-process cocoa powder is non-negotiable here. It has a smoother, less acidic chocolate flavor than natural cocoa, and it gives the filling that deep, dark color that makes this pie so visually stunning. My favorite brand is Valrhona.
How do I make chocolate curls? Use a vegetable peeler on the side of a room-temperature bar of dark chocolate — not one straight from the fridge. The chocolate needs to be soft enough to curl without breaking. A Y-shaped peeler works even better if you have one.
Can I make this dairy-free? You can substitute the cream cheese with a quality dairy-free cream cheese and the heavy cream with full-fat coconut cream (chill a can of coconut milk overnight, scoop out the solid cream). The result is rich and delicious, though it won’t taste the same.
Is this pie as good as it looks? It’s better. I promise. —Marina Caldwell
A Little Goodbye from My Kitchen
No-bake pies have a reputation for being the less-impressive cousin of the baked variety. This chocolate cream pie exists to demolish that reputation. It is elegant, deeply satisfying, and genuinely one of the best desserts I’ve ever made — baked or otherwise. And because it requires no oven, it’s the perfect dessert to make in the summer when you don’t want to heat up your kitchen.
Make this for someone you love. Make it for yourself on a Tuesday. Make it for a potluck and watch it become the most popular thing on the table. Just make it. —Marina Caldwell 🍫
Silky Chocolate Cream Pie
- Crust: 2 cups chocolate cookie crumbs, 6 tbsp melted butter
- Filling: 8 oz room-temp cream cheese, 1 cup powdered sugar, ½ cup Dutch cocoa, 1 cup heavy cream (whipped), 1 tsp vanilla, ½ cup extra whipped cream
- Topping: 1 cup heavy cream (whipped with 2 tbsp powdered sugar), ½ cup chocolate curls
- Mix cookie crumbs and melted butter; press firmly into a 9-inch pie dish. Freeze 15 minutes.
- Beat cream cheese until smooth; add powdered sugar and cocoa, beat until fluffy.
- In a separate bowl, whip 1 cup heavy cream and vanilla to stiff peaks.
- Fold whipped cream into chocolate mixture in three additions. Pour into crust; smooth top.
- Refrigerate at least 4 hours (overnight is best).
- Top with sweetened whipped cream and chocolate curls. Serve cold.