The Brownie That Made Me Lie To My Friends
I told everyone I was testing a new recipe. The truth was simpler.
I had a chocolate craving that would not quit. And a jar of peanut butter staring at me. So I made these brownies, and I didn’t even share the first batch.
That’s how good they are. What’s your go-to chocolate fix when nobody’s watching?
You Want Fudgy? Skip The Butter
Here’s the thing about fudgy brownies. You don’t cream the butter and sugar together.
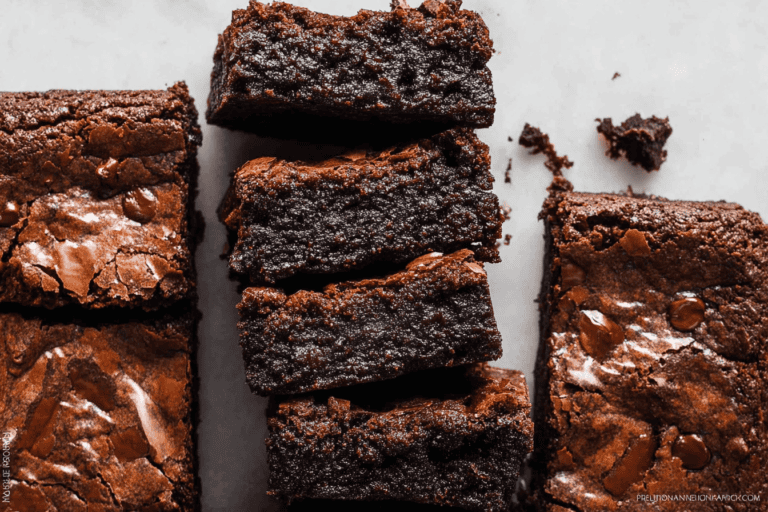
You melt it with the chocolate, and you whisk in the sugar while everything’s warm. That extra fat from the melted butter keeps the crumb dense and soft. I learned that after years of making dry, sad brownies. This method never fails.
Does that sound right to you? It felt completely wrong the first time I tried it.
The Trick That Makes You Look Like A Pro
Swirling peanut butter into brownies is easy to mess up. You end up with either no swirl or a muddy mess.
Quick tip: Warm your peanut butter for about 10 seconds in the microwave before spooning it on. Cold peanut butter sinks and gets lost. Warm peanut butter stays on top and swirls beautifully.
Then just drag a knife through it. Back and forth, maybe three or four times. Don’t overthink it.
Peanut Butter Wants To Be The Star
I use creamy peanut butter here. Never the natural stuff that separates.
That oily layer ruins the texture, and the swirl dissolves into the batter. Jif or Skippy works perfectly. It’s one of those rare times the processed version wins.
The salt in the peanut butter does something magical here. It makes the chocolate taste deeper. Trust me on this one.
Let Them Cool Or Cry About It
I know it’s hard. The smell fills your kitchen, and you want to dive in.
But warm brownies crumble into sadness. You need them completely cool, almost room temperature. That’s when the fudgy center sets and the peanut butter firms up. I once ruined a whole pan because I was impatient. Never again.
Give them at least an hour. Maybe two. Your future self will thank you.
Go Make A Mess
This recipe comes together in one bowl. You don’t even need a mixer.
Melt things. Whisk things. Pour and swirl and bake. Then eat a piece with a tall glass of milk and remember what a simple joy tastes like.
Let me know when you make them. I want to hear about your swirl pattern. And if you eat the whole pan in one day, I won’t judge. I already did.
Instructions
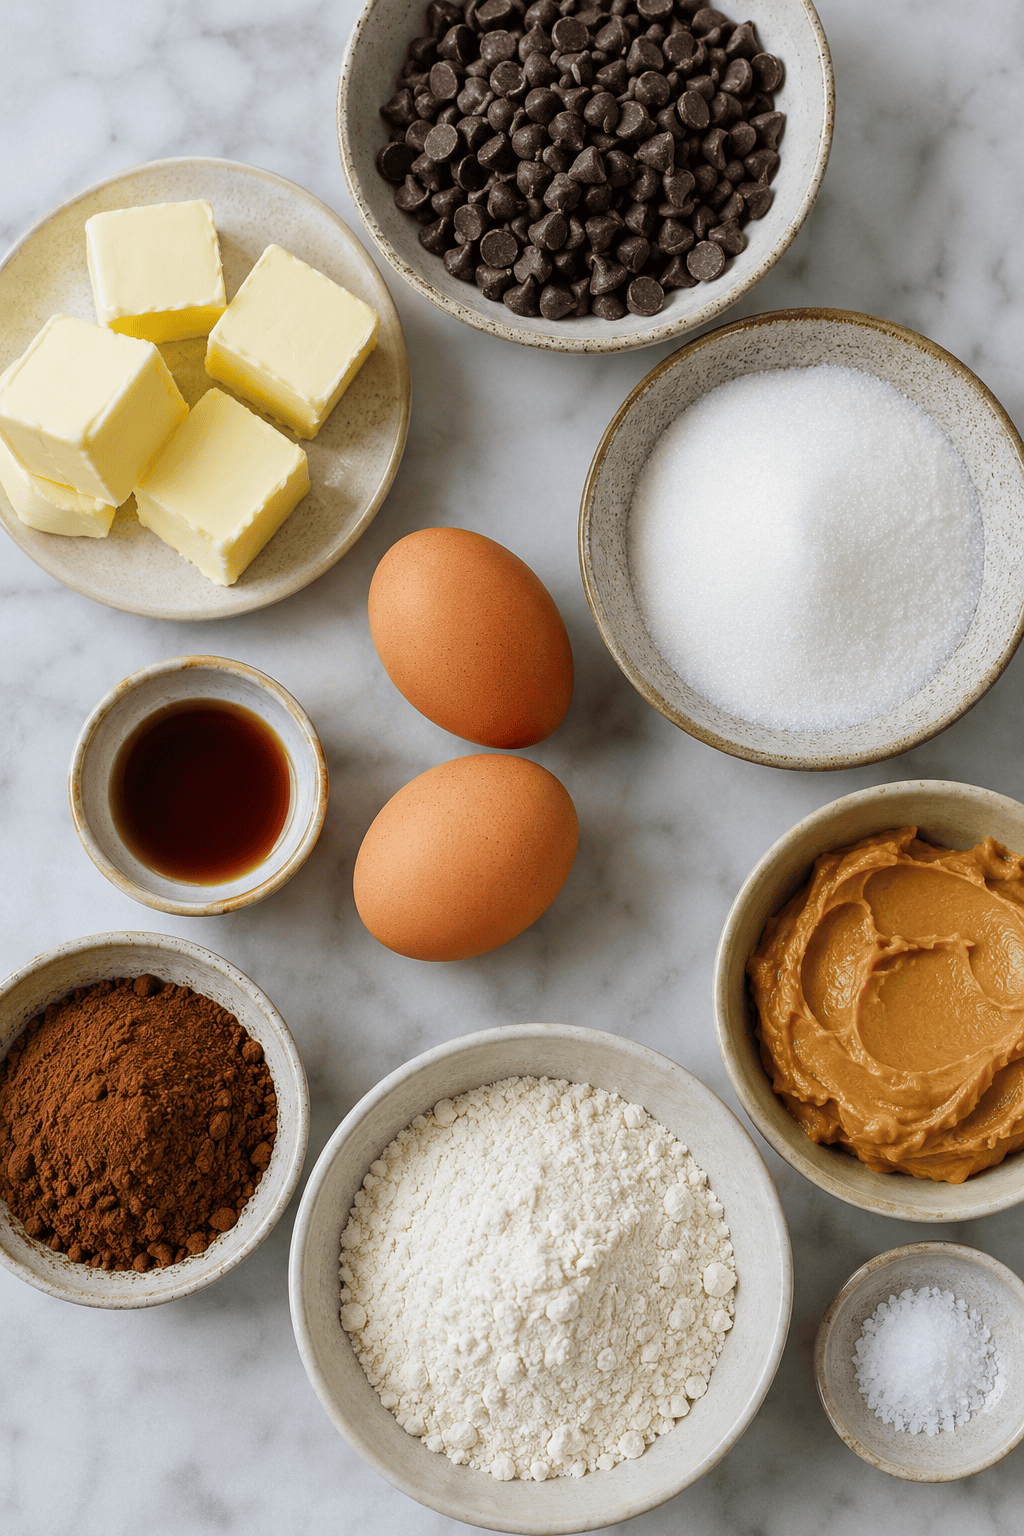
Step 1: Preheat your oven to 350°F and line an 8×8 pan with parchment. Melt the butter and chocolate chips together—I always do this in the microwave in 30-second bursts, stirring each time. Once it’s smooth, whisk in the sugar. (Don’t skip the parchment, or you’ll be chiseling brownies out of the pan, trust me.) That sweet, shiny mix already smells like heaven. Step 2: Whisk in the eggs one at a time, then add the vanilla. Keep whisking until the batter gets glossy and thick—I’m always surprised how much it changes. You want that ribbon-like texture that falls off the whisk in a slow, thick stream. What’s your go-to trick for knowing when batter is mixed enough? Share below! This is where the fudginess starts. Step 3: Fold in the cocoa powder, flour, and salt using a spatula. Just until you don’t see any dry streaks—overmixing will give you cakey brownies, not fudgy ones. (Here’s a hard-learned tip: scrape the bottom of the bowl, because dry flour always hides there.) I always stop a little early and let the last few streaks blend in naturally. Step 4: Pour about two-thirds of the batter into the pan, spreading it evenly. Warm your peanut butter for 15 seconds in the microwave so it’s runny, then drop spoonfuls all over the batter. Cover with the rest of the batter, but don’t worry if some peanut butter peeks through—that’s the good part. Step 5: Take a knife and drag it through the layers in a zigzag pattern to create swirls. I used to over-swirl and lose the peanut butter pockets, so just four or five firm passes is enough. The batter will look messy, but that’s exactly what you want. I always pause here and think, “Please let the swirls stay visible after baking.” Step 6: Bake for 28–32 minutes, until the edges are set and the center still jiggles a little when you shake the pan. Let them cool completely in the pan—this is the hardest part, I know. (Cutting them warm will turn them into a puddle, so be patient.) Room-temperature brownies slice clean and keep that gooey middle.Creative Twists
… Swap the peanut butter for Nutella and add a handful of chopped hazelnuts on top before baking. … Sprinkle flaky sea salt over the batter right before it goes in the oven—it cuts the sweetness and makes the chocolate pop. … Stir a tablespoon of instant espresso powder into the cocoa powder for a mocha kick that nobody will guess. Which one would you try first? Comment below!Serving & Pairing Ideas
Serve these brownies slightly warm with a big scoop of vanilla ice cream—the cold and warm together is just right. Or cut them into tiny squares and pile them on a plate for a party; they disappear fast. For a lazy night, just pour a glass of cold milk and eat one straight from the pan, no shame. Which would you choose tonight?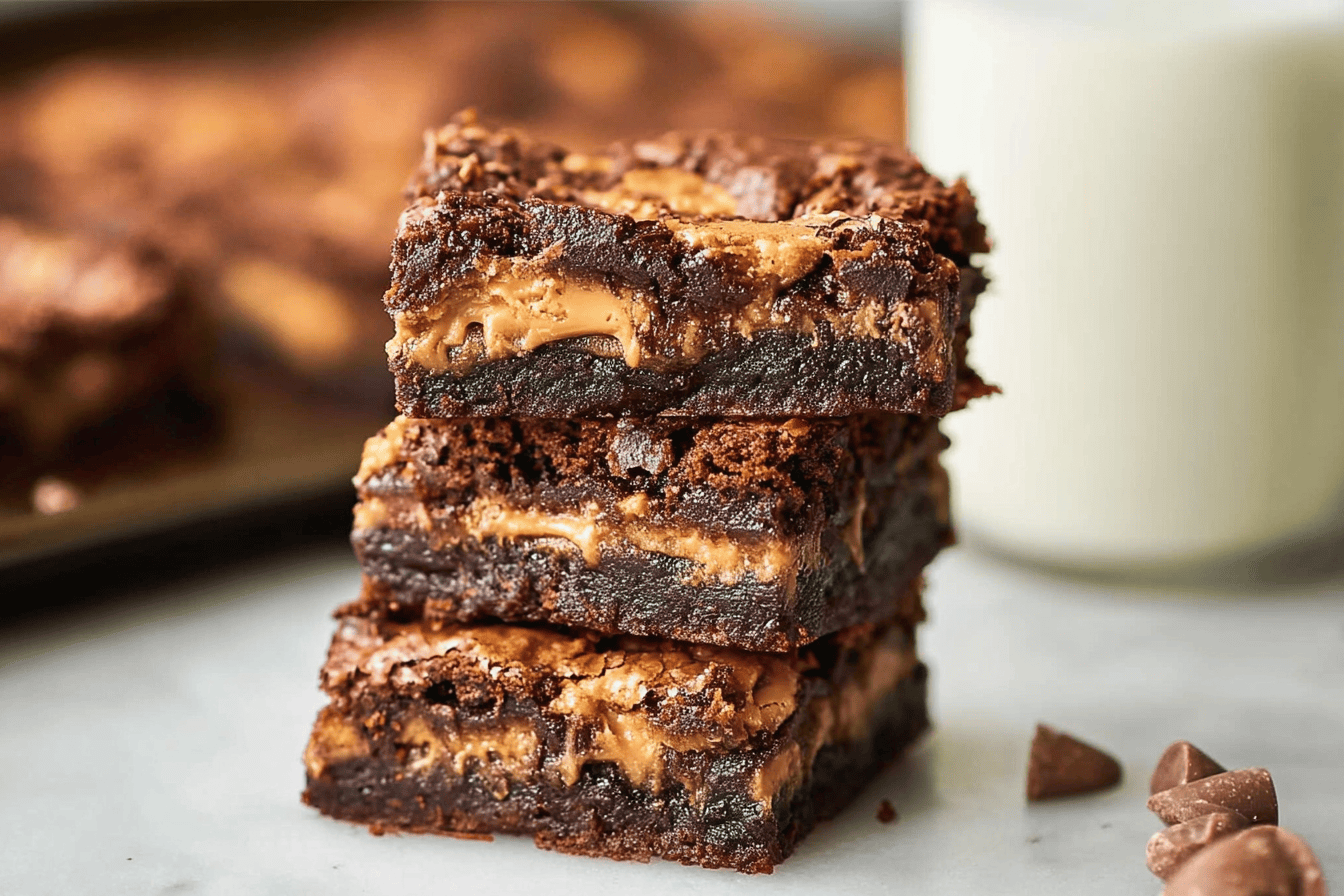
Storage & Make-Ahead Tips
These brownies keep beautifully, if you can resist eating them all in one go. Let them cool completely before you even think about storing – warm brownies get soggy in a container. For the fridge, wrap them tightly in plastic or put them in an airtight container. They’ll stay fresh for about a week. I once forgot a batch in the fridge for ten days and they were still fudgy, just a little dense. That surprised me, honestly.
Freezing is a lifesaver. Cut them into squares, wrap each one in plastic, then toss them in a freezer bag. They’ll keep for three months. When you want one, just let it sit on the counter for 20 minutes or zap it in the microwave for 15 seconds. For reheating, the microwave is fine, but a toaster oven gives the edges a tiny crunch – my favorite trick. If you’re batch cooking, double the recipe and freeze half. You’ll thank yourself on a lazy Sunday.
Why this matters: storing smart means less food waste and more brownie days without extra work. Have you ever saved leftovers like this? Tell me below!
Common Mistakes & Easy Fixes
Mistake number one: overmixing the batter. Once you add the flour, stir just until you can’t see white streaks. I used to whisk like I was angry at the bowl, and the brownies came out tough. Fix: fold gently with a spatula. Mistake two: baking them too long. The recipe says set at the edges with a soft center. That soft center is exactly what you want. I once baked an extra five minutes because I was nervous, and they turned into dry cake. Fix: pull them out when a toothpick comes out with a few moist crumbs, not clean.
Mistake three: using cold peanut butter. It’s too stiff to swirl nicely. Warm it in the microwave for 10–15 seconds until it’s drizzly. I almost skipped this step once, but the swirl looked like lumpy blobs. Fix: warm it up, and use small spoonfuls. Two why-this-matters thoughts: better texture means better taste, and getting the swirl right makes you feel like a real baker. Did this ever happen to you?
Your Brownie Questions, Answered
Can I use natural peanut butter? Yes, but beware. Natural peanut butter separates and can be oily. If you use it, stir it really well before warming. The brownies might be a little less fudgy, but still delicious. I’ve done it, and the texture was slightly softer – not a bad thing, just different. If you want that classic rich swirl, stick with standard creamy peanut butter. The stabilizers in it help the swirl hold its shape better during baking.
Can I substitute the semi-sweet chips with milk or dark chocolate? Absolutely. Dark chocolate (60–70%) will make them more intense and less sweet. Milk chocolate makes them sweeter and a bit lighter in color. I once used dark chocolate chips and the brownies were almost bittersweet – great for grown-up taste. Just keep the amount the same. No need to adjust anything else. Play around and find your favorite.
How do I get clean, sharp cuts without the brownies crumbling? The secret is patience. Let them cool completely – I mean, completely. Then use a sharp chef’s knife and wipe it clean between cuts. If you try to cut them warm, you’ll get a gooey mess. I learned this the hard way after serving a plate of brownie rubble. Also, run the knife under hot water and dry it before slicing. That smooths through the fudgy layers.
Can I make these gluten-free? Yes, swap the all-purpose flour for a 1-to-1 gluten-free baking blend. I’ve used Bob’s Red Mill with great results. Don’t use almond flour or coconut flour – they change the texture too much. The brownies will be slightly more delicate, so let them cool longer before cutting. My neighbor has celiac and she loved these. Just make sure your cocoa powder and chocolate chips are certified gluten-free if that’s a concern.
My brownies came out greasy on top. What went wrong? That usually means the butter and chocolate weren’t fully emulsified, or the peanut butter was too oily. Next time, melt the butter and chocolate slowly and whisk until smooth before adding sugar. Also, make sure your peanut butter isn’t the super oily natural kind unless you stir it well. I had a greasy batch once after using a cheap brand. A paper towel blot helps if it’s already baked, but prevention is better.
Can I add mix-ins like nuts or caramel? Go for it. Fold in a half cup of chopped peanuts or walnuts with the flour. For caramel, drizzle it on top after the peanut butter swirls, then drag the knife deeper. Just be careful not to overmix. The brownies will hold up fine. I added salted peanuts once and the crunch was perfect against the fudgy base. Just keep an eye on the baking time – extra weight might need a minute or two more. Which answer helped you most?
Final Thoughts
Making these brownies feels like a warm hug on a rainy afternoon. There’s something about that chocolate and peanut butter swirl that makes everything better. I remember the first time I pulled a pan out of the oven – the smell filled my whole kitchen, and I stood there grinning like a kid. That’s the kind of moment I hope you get, too.
This recipe doesn’t ask for fancy tools or rare ingredients. It’s just simple, honest baking that anyone can nail. Even if your swirl looks a bit messy or you cut crooked squares, it won’t matter. The taste will carry it. I’ve made these for birthdays, Tuesday nights, and “I-need-a-break” afternoons. They never disappoint. My fun fact for you: the original version of this recipe came from a stained index card my grandmother kept in a tin box – she swore by the peanut butter trick.
So go ahead, preheat that oven. Give these a try, and let me know how they turn out. Share your photo, your story, or just a quick “they were gone in ten minutes.” I’d love to hear it. Will you make this soon?
Happy cooking!
—Marina Caldwell
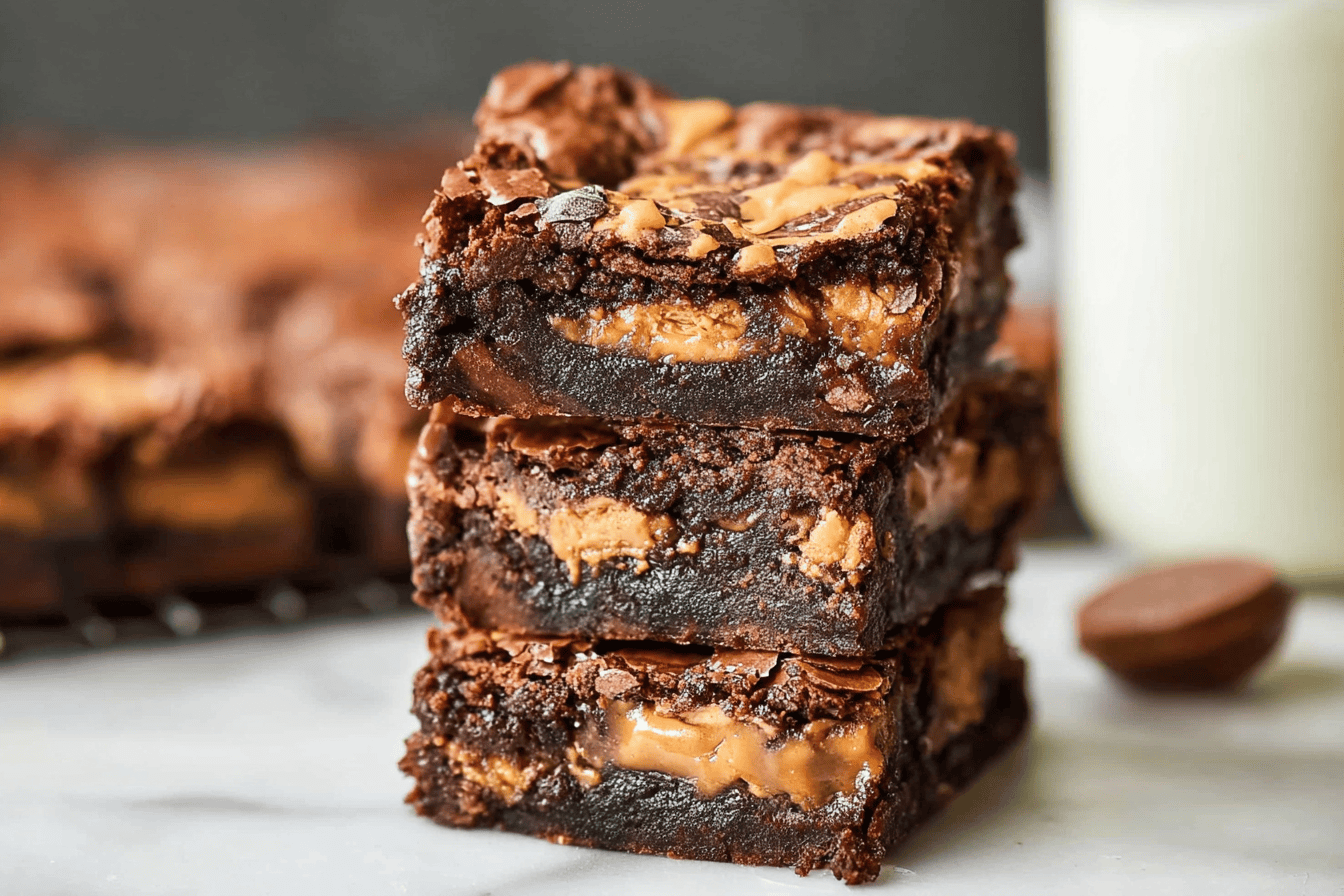
Ultimate Fudgy Chocolate Peanut Butter Brownies
Description
Rich, fudgy chocolate brownies swirled with creamy peanut butter for the ultimate indulgent dessert.
Ingredients
Instructions
- Preheat oven to 350°F and line an 8×8-inch pan with parchment.
- Melt butter and chocolate chips together until smooth; whisk in sugar.
- Whisk in eggs and vanilla until glossy.
- Fold in cocoa powder, flour, and salt just until combined.
- Pour two-thirds of the batter into the pan. Dot spoonfuls of peanut butter over the top, then cover with remaining batter.
- Drag a knife through the layers to create a swirl pattern.
- Bake 28-32 minutes until set at the edges with a slightly soft center. Cool completely before cutting.
Notes
- For best results, use an 8×8-inch metal pan and let brownies cool completely before slicing for clean edges.