The Cake That Fooled Me
I remember the first time I saw a red velvet cake. I was maybe eight, standing in a bakery. The color seemed impossible. Like magic you could eat.
Turned out it was just a little vinegar and some dye. But that feeling never left. So when I turned that cake into a brownie? I had to share it. You ever have one of those days where only chocolate will do?
The Trick With That Tiny Spoonful
Here’s the part that changed everything for me. You take a couple tablespoons of your batter and mix the red food coloring into that first. Then you fold that bright pink mess back into the big bowl.
No streaky patches. No guessing. This little trick saves you from overmixing the whole batch. Just two spoonfuls of batter and a good stir. Your brownies stay tender and the color goes all the way through.
Why We Add All Those Eggs
Three eggs plus an extra yolk feels like a lot. It is a lot. That extra yolk gives you the fudgy center without making it heavy.
The vinegar does something quiet back there too. It reacts with the cocoa and keeps the crumb soft. Science you can taste. And honestly, it’s why these brownies don’t dry out by day two.
The Frosting That Steals The Show
I always lick the beaters. Tell me you do the same. Cream cheese and butter at room temperature is non-negotiable here.
If they’re cold, you’ll get lumps. Lumpy frosting on red velvet is a sad thing. I learned that the hard way one Christmas. Now I leave the cream cheese out for an hour before I even think about starting.
When To Pull Them From The Oven
Pull them when the edges pull away from the pan but the middle still looks soft. That jiggle is your friend. A toothpick will come out with a few moist crumbs.
If you wait until the toothpick is clean, you’ve gone too far. Let them cool completely before you even think about that frosting. I know it’s hard. But patience is what makes these brownies worth the wait.
One Last Thing Before You Slice
These brownies are for the people you love. Or for yourself on a Tuesday night. No judgment here.
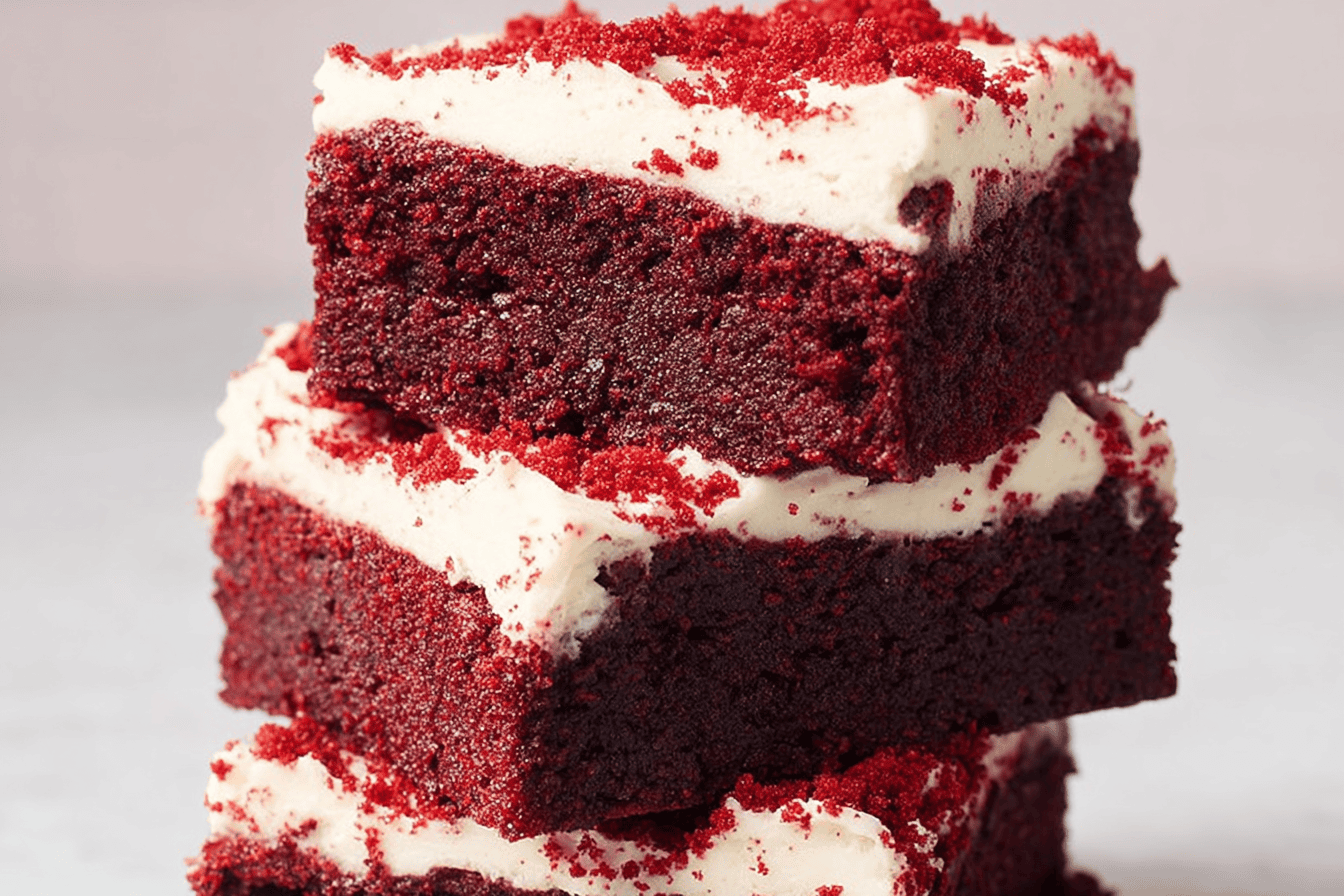
Cut them into small squares because they’re rich. That little bit of vinegar and the tangy frosting makes each bite balance perfectly. What would you serve them with? I’m partial to cold milk, but coffee works too.
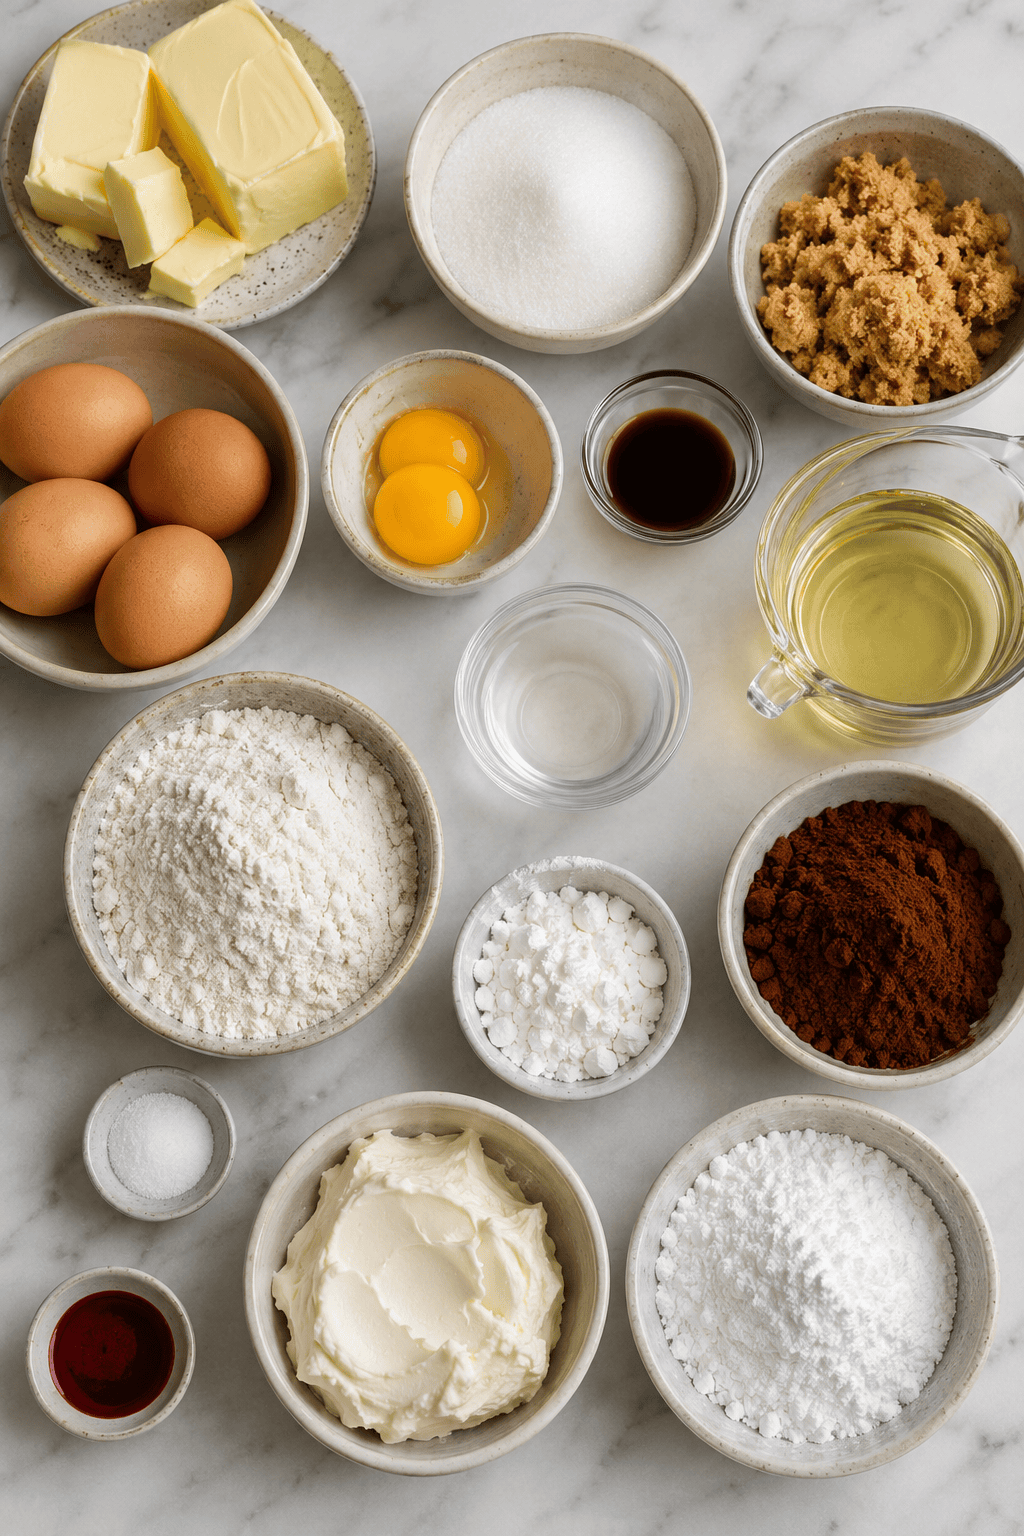
Step 1: Preheat the oven to 350°F and line an 8-inch square pan with parchment. I always cut the parchment so it hangs over the sides – makes lifting the whole block out so much easier. Whisk the melted butter with both sugars until it looks like wet sand. Then whisk in the eggs, egg yolk, and vanilla. Be gentle here; don’t overbeat. (Here’s a tip I learned the hard way: overbeating eggs into butter makes brownies puff up and then sink, so stop as soon as it’s combined.)
Step 2: Next, whisk in the vegetable oil and white vinegar until the batter turns glossy. That shiny moment always feels like it’s coming together right. Mix a tablespoon of red food coloring into a couple tablespoons of batter first, then fold that back into the main batter. This trick keeps the color even without streaks. Do you ever struggle with getting red velvet color even? Share below!
Step 3: Sift together flour, cornstarch, cocoa powder, and salt. I sift even when I’m lazy, because cocoa clumps ruin everything. Gently fold the dry ingredients into the wet in two additions. Stop folding the second you don’t see any dry streaks – overmixing makes them tough. Pour the batter into the pan and spread it even.
Step 4: Bake for 20 to 25 minutes. The edges should pull away from the pan, but the center will still look a little soft. I always check at 20 minutes because my oven runs hot. Let them cool completely in the pan – don’t rush this or the frosting will melt into a mess.
Step 5: Make the cream cheese frosting. Beat room-temperature cream cheese and butter until smooth, no lumps allowed. Add the vanilla, then gradually beat in powdered sugar until it’s thick and spreadable. Taste it – you might want a pinch of salt or a little more sugar. Frost the cooled brownies, then slice into squares. That’s it.
Creative Twists
… Add a pinch of cinnamon and a tiny pinch of cayenne to the dry ingredients for a warm, subtle kick that plays off the cocoa.
… Swirl in a handful of dark chocolate chunks just before baking – they melt into gooey pockets.
… Swap half the cream cheese for mascarpone in the frosting – it’s richer and a little less tangy.
Which one would you try first? Comment below!
Serving & Pairing Ideas
Serve these brownies with a tall glass of cold milk. The richness cuts right through the sweetness. Or pile a couple squares into a bowl and top with a scoop of vanilla ice cream – that’s my go‑to when I want dessert. For something lighter, just cut them small and serve with strong black coffee. Which would you choose tonight?
Storage & Make-Ahead Tips
These brownies keep really well, which is a lifesaver when you want a treat without baking every time. Let them cool completely before you even think about covering them – I learned that the hard way when steam turned my frosting into a slippery mess. Store them in an airtight container in the fridge for up to five days. They actually get fudgier on day two, which surprised me at first.
For the freezer, wrap each brownie square in plastic wrap, then pop them into a zip-top bag. They’ll stay good for three months. When you’re craving one, just let it sit on the counter for about twenty minutes. I often bake a double batch and freeze half for busy weeks. Batch cooking like this saves me from last-minute dessert panics, and it cuts down on waste too. Have you ever saved leftovers like this? Tell me below!
Reheating? If you want that warm brownie experience, microwave a single square for ten seconds. Don’t go longer or the cream cheese frosting will separate – trust me, I ruined a perfectly good slice that way. This matters because you can enjoy freshly baked taste without the full effort, and you’ll throw away less food.
Common Mistakes & Easy Fixes
One mistake is overmixing the batter after you add the flour. I once stirred it like I was angry at the bowl, and the brownies turned out tough and cakey. The fix? Fold gently until you don’t see any white streaks – stop right there. That keeps them fudgy and tender.
Second mistake: skipping the vinegar. I almost skipped this step because it sounded weird, but the vinegar reacts with the cocoa to make the red color pop and the texture soft. Don’t leave it out. Just use a plain white vinegar – no fancy stuff needed.
Third: frosting while the brownies are warm. I did that once and ended up with a pink puddle. Wait until they’re completely at room temperature. Pop them in the fridge for twenty minutes if you’re impatient. Getting this right means a beautiful, spreadable frosting that doesn’t slip off. Did this ever happen to you? Getting these small steps right builds your confidence in the kitchen and makes every batch taste better.
Your Questions, Answered
Can I use regular cocoa powder instead of Dutch-processed?
You can, but it changes the flavor and color. Dutch-processed gives that deep, almost dark-chocolate taste and a richer red hue. If you only have natural cocoa, add an extra pinch of baking soda? Wait – this recipe doesn’t use baking soda. So stick with Dutch-processed if possible. Natural cocoa will work, but the brownies might be a little less tender and lighter in color.
Why do you use an extra egg yolk?
The extra yolk adds richness and moisture without making the batter too loose. It’s what gives these brownies that melt-in-your-mouth fudge factor. I started doing this after a friend’s grandmother shared the trick – now I never skip it. Just remember to bring your eggs to room temperature first so they blend in smoothly.
Can I use liquid food coloring instead of gel?
You can, but you’ll need a lot more, and that adds extra liquid to the batter. Gel coloring is concentrated, so a half teaspoon does the job perfectly. With liquid, you might need a tablespoon or more, which can throw off the texture. I’ve done it in a pinch, and the brownies were still good – just a bit cakier. If you use liquid, reduce the oil by one tablespoon.
How do I know when the brownies are done?
The edges will pull away from the pan, and the center will look slightly soft and a little shiny. A toothpick inserted in the center should come out with a few moist crumbs, not wet batter. I always take them out at the 22-minute mark even if they look underdone – they keep cooking as they cool. Overbaking is the number one way to lose that fudgy texture.
Can I make this recipe gluten-free?
Yes. Swap the all-purpose flour for a 1-to-1 gluten-free baking blend that contains xanthan gum. I’ve used Bob’s Red Mill with good results. The cornstarch in the recipe already helps with tenderness, so the swap works well. Just handle the batter gently – gluten-free batters can be more delicate. Let me know if you try it.
What’s the best way to cut clean slices?
Use a long, sharp knife, and wipe it clean with a damp paper towel between each cut. For the neatest edges, chill the frosted brownies in the fridge for thirty minutes first. I use a hot knife (run it under hot water and dry it) and it glides right through. That trick changed my brownie game – no more crumbly mess. Which answer helped you most?
Final Thoughts
This recipe has become my go-to for birthdays, potlucks, and those quiet evenings when I crave something sweet and deeply chocolatey. There’s something about the contrast between the rich, fudgy brownie and that tangy cream cheese frosting that feels like a little celebration every time. I hope you make these and find your own moment of calm in the kitchen.
If you try them, let me know how it goes. Did you add a twist? Did the kids help you stir? I love hearing your stories almost as much as I love eating these brownies. Will you make this soon? Remember, even if something goes wrong – too soft, too hard, frosting sliding off – it’ll still taste wonderful. Cooking is about trying, not perfecting.
Fun fact: Red velvet’s signature color originally came from a chemical reaction between cocoa and acidic ingredients – now we just use food coloring to get that dramatic look. Happy cooking!
—Marina Caldwell
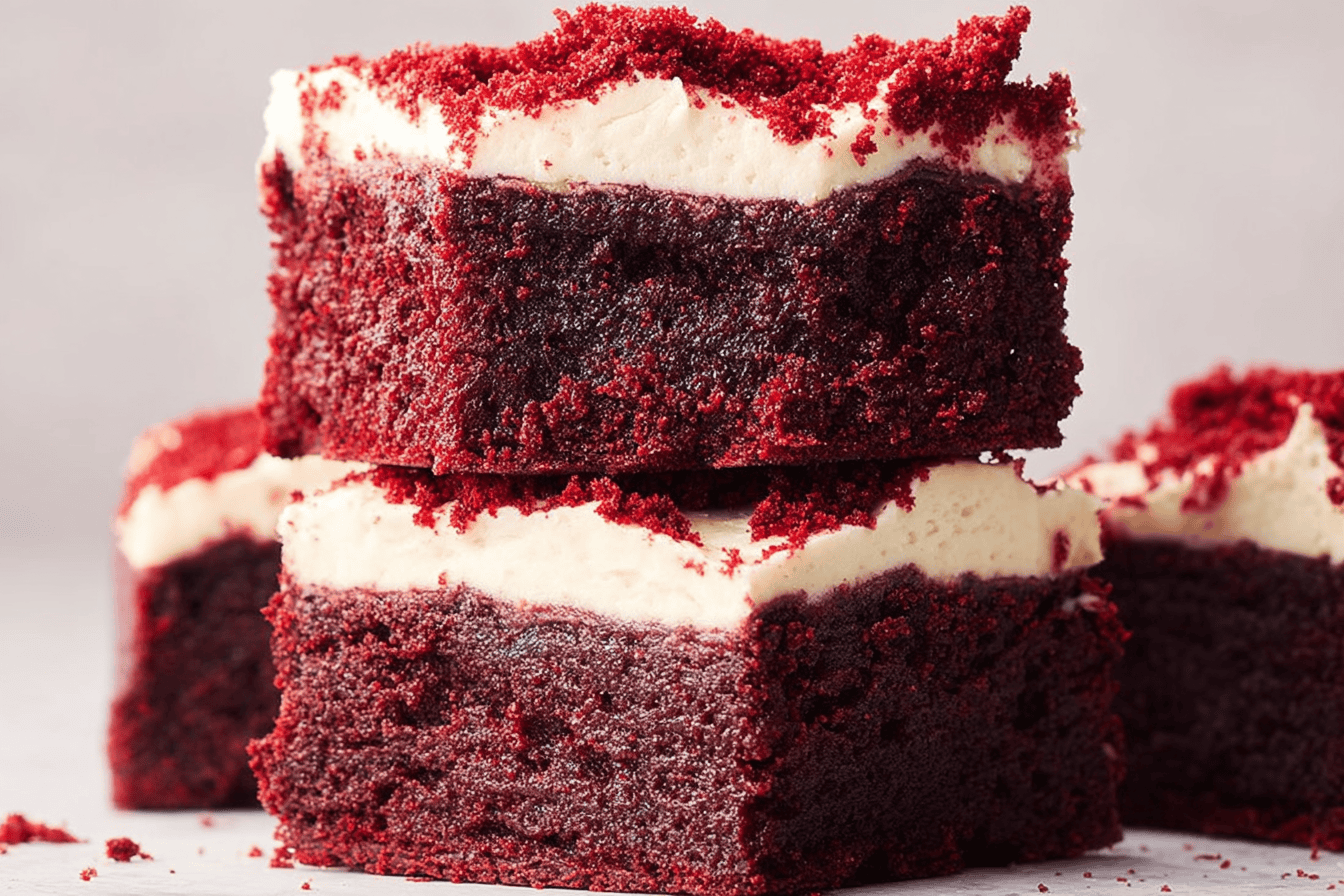
Ultimate Rich Red Velvet Brownie Recipe
Description
Decadent red velvet brownies topped with creamy cream cheese frosting.
Ingredients
4 oz full-fat cream cheese, room temperature
6 tbsp unsalted butter, room temperature
2-3 cups powdered sugar
1 tsp vanilla extract
Instructions
- Preheat oven to 350°F. Line an 8-inch square pan with parchment.
- Whisk melted butter with both sugars until combined.
- Whisk in eggs, egg yolk, and vanilla, being careful not to overbeat.
- Whisk in oil and vinegar until glossy.
- Mix the red food coloring into a couple tablespoons of the batter first, then fold that back into the main batter until evenly colored.
- Sift together flour, cornstarch, cocoa powder, and salt, then gently fold into the batter in two additions — stop as soon as no dry streaks remain.
- Pour into the pan and bake 20-25 minutes, until the edges pull away from the pan and the center still looks slightly soft. Cool completely.
- Beat cream cheese and butter until smooth, then add vanilla and powdered sugar gradually until thick and spreadable.
- Frost the cooled brownies and slice into squares.
Notes
- Store in an airtight container in the refrigerator for up to 5 days.