

I burned the chocolate the first time. Not badly, just enough that the whole batch tasted bitter and weird.
The second time I made this, my daughter asked why there were “chocolate chunks with orange bits.” I told her it was gourmet. She said it looked like I dropped orange peels in by accident.
She wasn’t wrong.
But here’s the thing about chocolate and orange together — it works in a way that feels a little fancy but isn’t actually complicated. The orange cuts through how heavy chocolate ice cream can get. You taste it right after the chocolate hits, not at the same time.
I don’t make ice cream often. My freezer’s too small and I forget about the base until it’s been sitting in the fridge for three days. But this one’s different because you can’t buy it anywhere that tastes right.
Store-bought chocolate orange ice cream is always too sweet or tastes like chemical orange flavoring. This one uses real zest and fresh juice, and the difference is obvious the second you try it.
About the cocoa powder situation
Most chocolate ice cream recipes tell you to melt chocolate bars into the base. Some say use cocoa powder. This one uses both, which sounds redundant but it’s not.
The cocoa powder gives you that deep, almost dusty chocolate flavor. The chopped dark chocolate makes it richer and adds little pockets of intense chocolate when it doesn’t melt all the way.
I used 3/4 cup of cocoa powder the first time and it was almost too much — the ice cream came out so dark it looked like fudge. But when I dropped it to 1/2 cup, the orange overpowered everything. 3/4 cup is the right amount even though it feels like a lot when you’re whisking it in.
You want unsweetened cocoa powder here, not the stuff with sugar already in it. I grabbed the wrong container once and the whole thing turned out way too sweet. Had to throw it out.
Quick tip: Whisk the cocoa powder with the sugar first, before you add the hot cream. If you dump it straight into the liquid it clumps up and you’ll be fishing out cocoa lumps for ten minutes.
The orange part that actually matters
Orange zest is not optional. The juice alone doesn’t do enough.
When you zest an orange, you’re getting the oils from the peel, and that’s where the real orange flavor lives. The juice adds brightness and a little acidity, but the zest is what makes it taste like actual orange instead of orange-flavored candy.
I use about one tablespoon of zest — that’s usually one large orange or two smaller ones. Don’t zest down to the white pith. It’s bitter and will ruin the whole thing. Just the orange part.
For the juice, I use 1/2 cup fresh-squeezed. You could use store-bought, but fresh tastes cleaner. I tried the carton stuff once because I didn’t feel like squeezing oranges — honestly? It was fine. Not amazing, but fine.
Some recipes tell you to infuse the orange zest into the cream by heating it, then straining it out. I skip that. I just stir the zest right into the base after everything’s melted together. You get tiny flecks of orange peel in the finished ice cream, and I like that.
My husband thought they were bits of chocolate the first time and didn’t notice until I told him.
What the sea salt does
A pinch of sea salt sounds like one of those pretentious cooking things people add because it sounds fancy. But it actually does something here.
Salt makes chocolate taste more like chocolate. I don’t know the science behind it — something about flavor receptors or whatever — but it works. Without it, the ice cream tastes flat.
I use flaky sea salt, the kind that comes in a little jar and costs too much. But regular table salt works too. Just use less. A tiny pinch. If you can taste the salt, you added too much.
I forgot the salt entirely the first time I made this. The ice cream was fine, but it didn’t have that deep chocolate punch. Second batch, I added it. Big difference.
Okay, the texture thing
This ice cream sets up firm. Not rock-hard, but firm enough that you need to let it sit on the counter for a few minutes before you can scoop it.
That’s because of the cocoa powder. Cocoa absorbs liquid, so the base doesn’t stay as creamy as vanilla ice cream would. Some people don’t like that. I think it makes it feel more substantial, less like you’re just eating frozen cream.
If you want it softer, you could add a tablespoon of vodka or another alcohol to the base before churning. Alcohol doesn’t freeze, so it keeps ice cream scoopable straight from the freezer. I’ve never bothered, but my sister does it every time and swears by it.
The chocolate chips also freeze solid, so you get these little hard nuggets throughout. If that bothers you, skip them. But I like the texture contrast — soft ice cream, hard chocolate bits, occasional fleck of orange zest.
Quick tip: Add the chocolate chips in the last five minutes of churning, not at the beginning. If you add them too early, they sink to the bottom and you end up with a chocolate chip puck at the base of your ice cream maker.
Why it needs to chill first
You can’t pour warm base into an ice cream maker. Well, you can, but it won’t freeze properly and you’ll just end up with chocolate soup.
The base needs to be completely cold — like, actually cold, not just room temperature. I chill mine for at least two hours, sometimes overnight if I’m making it the day before.
When it’s cold enough, it should feel thick when you stir it, almost like it’s starting to set up on its own. That’s when you know it’s ready.
I tried rushing this once. The ice cream never got firm in the machine, just stayed sort of slushy, and when I transferred it to the freezer it turned icy instead of creamy. Don’t skip the chill time.
Step 1: Heat the milk and cream in a saucepan over medium heat until it’s steaming but not boiling. You’ll see little wisps of steam coming off the surface, and if you dip your finger in — don’t actually do this, it’s hot — it would be too hot to hold there. That’s the right temperature. If it starts to bubble, you’ve gone too far. Pull it off the heat.
Step 2: While that’s heating, whisk the cocoa powder and sugar together in a separate bowl. This is the step everyone skips and then regrets. If you dump cocoa powder straight into hot liquid, it clumps. I’ve done it. You end up with cocoa powder balls floating in your cream and no amount of whisking will break them up completely. Mix the dry ingredients first, then slowly add the hot cream mixture while whisking constantly. It should come together smooth, no lumps.
Step 3: Add the chopped dark chocolate and stir until it’s completely melted. I use a wooden spoon for this because it feels like it melts faster, but that’s probably in my head. The mixture should look glossy and thick, almost like hot fudge sauce. If you see any chunks of chocolate that won’t melt, don’t worry — they’ll add texture later. (Unless they’re huge chunks. Then fish them out.)
Step 4: Take the saucepan off the heat and let it cool for about ten minutes. Then stir in the vanilla extract, orange zest, and orange juice. The smell when you add the orange is ridiculous — like chocolate and orange blasted together in the best way. Don’t add the orange while the mixture is still super hot or the zest will cook and turn bitter.
Step 5: Add a pinch of sea salt and mix it in thoroughly. This is also when I taste it, even though it’s warm and weird. You’re checking for balance — can you taste both the chocolate and the orange, or is one overpowering the other? If the orange is too strong, you can’t really fix it at this point. If it’s too weak, add a little more zest. Have you ever tasted ice cream base warm and thought it was terrible, then it turned out perfect frozen? Share below!
Step 6: Strain the mixture through a fine-mesh sieve into a bowl. I know, another dish to wash. But this catches any cocoa lumps you missed, any bits of cooked egg if you’re unlucky, and any big pieces of orange zest that might be too intense. It takes 30 seconds and makes a difference in the final texture.
Step 7: Refrigerate the base for at least two hours. I usually make it in the morning and churn it after dinner. The base needs to be completely cold before it goes into the ice cream maker, or it won’t freeze properly and you’ll end up with soft-serve that never firms up.
Step 8: Pour the chilled base into your ice cream maker and churn according to the manufacturer’s instructions. Mine takes about 25 minutes. Yours might be different. You’ll know it’s done when the mixture pulls away from the sides of the bowl and looks thick and creamy, like soft-serve. It won’t be fully frozen yet — that happens in the freezer.
Step 9: During the last five minutes of churning, add the chocolate chips. I just dump them in while the machine is running. They’ll get distributed throughout as the paddle keeps turning. If you add them too early, they sink. If you add them after churning, they don’t mix in evenly and you get a chocolate chip layer on top.
Step 10: Transfer the ice cream to a freezer-safe container — I use a metal loaf pan because it freezes faster than plastic — and freeze for at least two hours before serving. This is the hardening stage. The ice cream is technically edible straight from the machine, but it’s too soft. After two hours in the freezer, it scoops properly.
Step 11: Scoop and serve immediately. If the ice cream’s been in the freezer for more than a day, let it sit on the counter for about five minutes before you try to scoop it. Otherwise you’ll bend your spoon. I’ve bent two spoons. Don’t be like me. You can garnish with extra chocolate chips and orange slices if you want it to look fancy, but honestly I never bother unless someone’s coming over.
Ways to Change It Up
Try this: Swap the orange for raspberry. Use 1/2 cup of raspberry puree instead of the orange juice and zest. The chocolate-raspberry combination is more common, but it’s common because it works. You get that tart berry hit right after the chocolate.
Try this: Add a tablespoon of espresso powder to the base along with the cocoa. It won’t make the ice cream taste like coffee — it just intensifies the chocolate flavor. I did this once by accident because I grabbed the wrong container, and it turned out better than the regular version. Now I do it on purpose sometimes.
Try this: Use white chocolate chips instead of dark or semisweet. The white chocolate doesn’t add more chocolate flavor obviously, but it adds creaminess and a different kind of sweetness. My neighbor tried this and said it tasted like a creamsicle but chocolate. I don’t know if that’s a compliment but she made it twice.
Which would you go for? Drop it in the comments.
How to Serve It
This ice cream is rich enough that you don’t need much with it. A small scoop is more satisfying than a huge bowl.
I like it with a piece of dark chocolate on the side — sounds redundant, but the cold ice cream and room-temperature chocolate together is good. Sometimes I’ll crumble a little flaky sea salt on top right before serving. The salt crystals crunch against the smooth ice cream and make the chocolate taste deeper.
It’s also good with a warm brownie. The temperature contrast makes both things taste better. I’ve served it that way for dinner parties and people always ask for seconds, which doesn’t happen with regular vanilla.
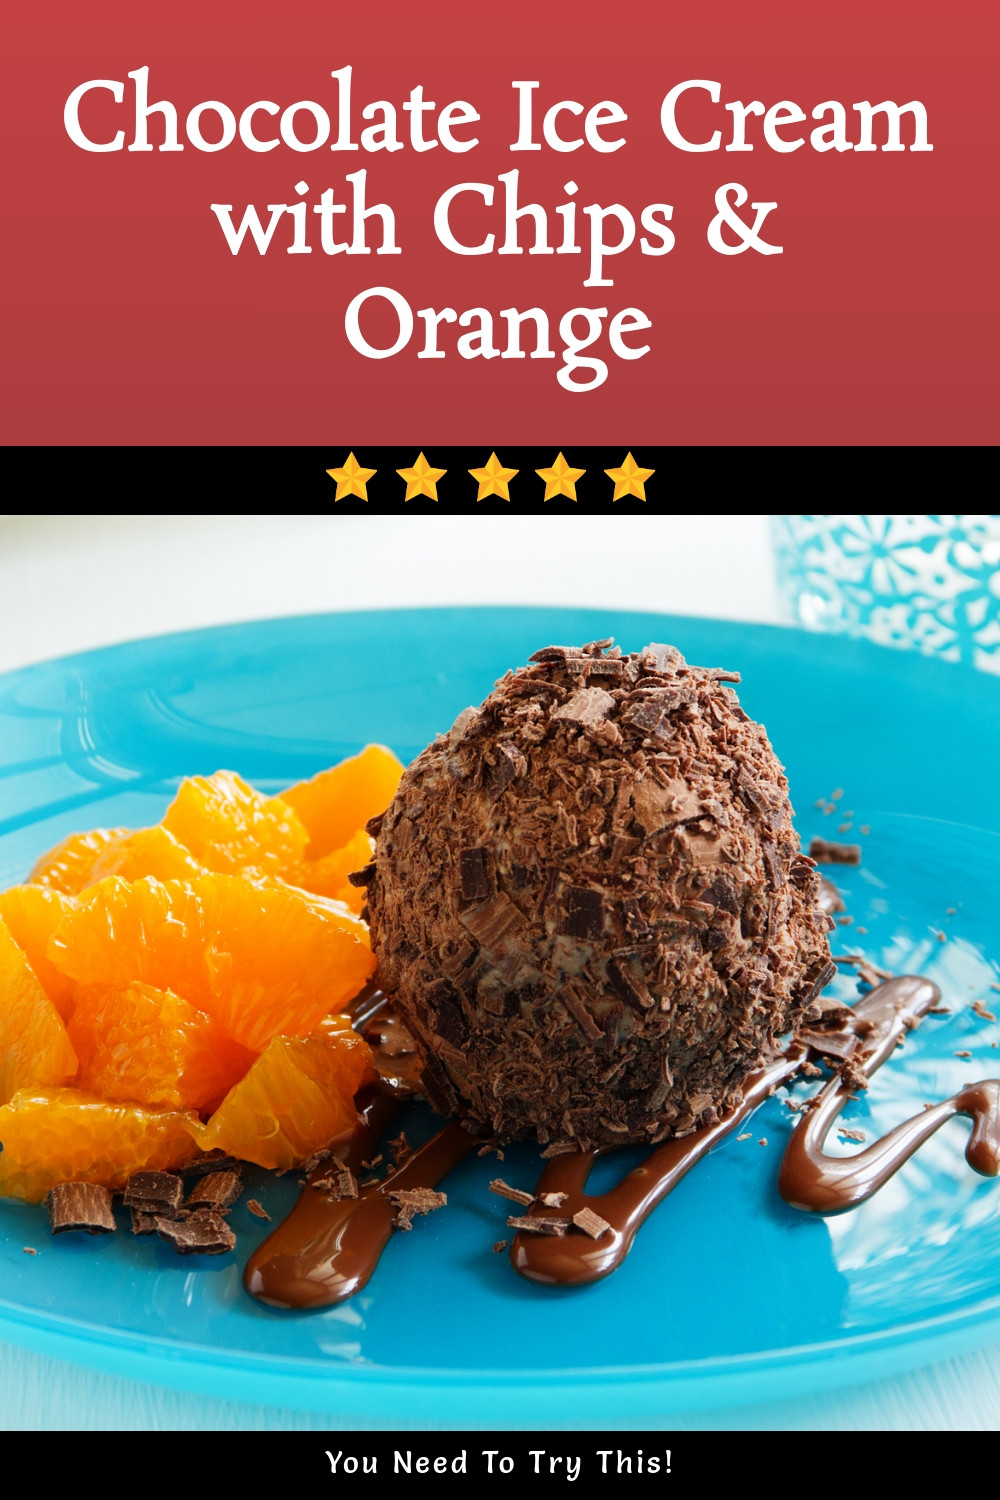
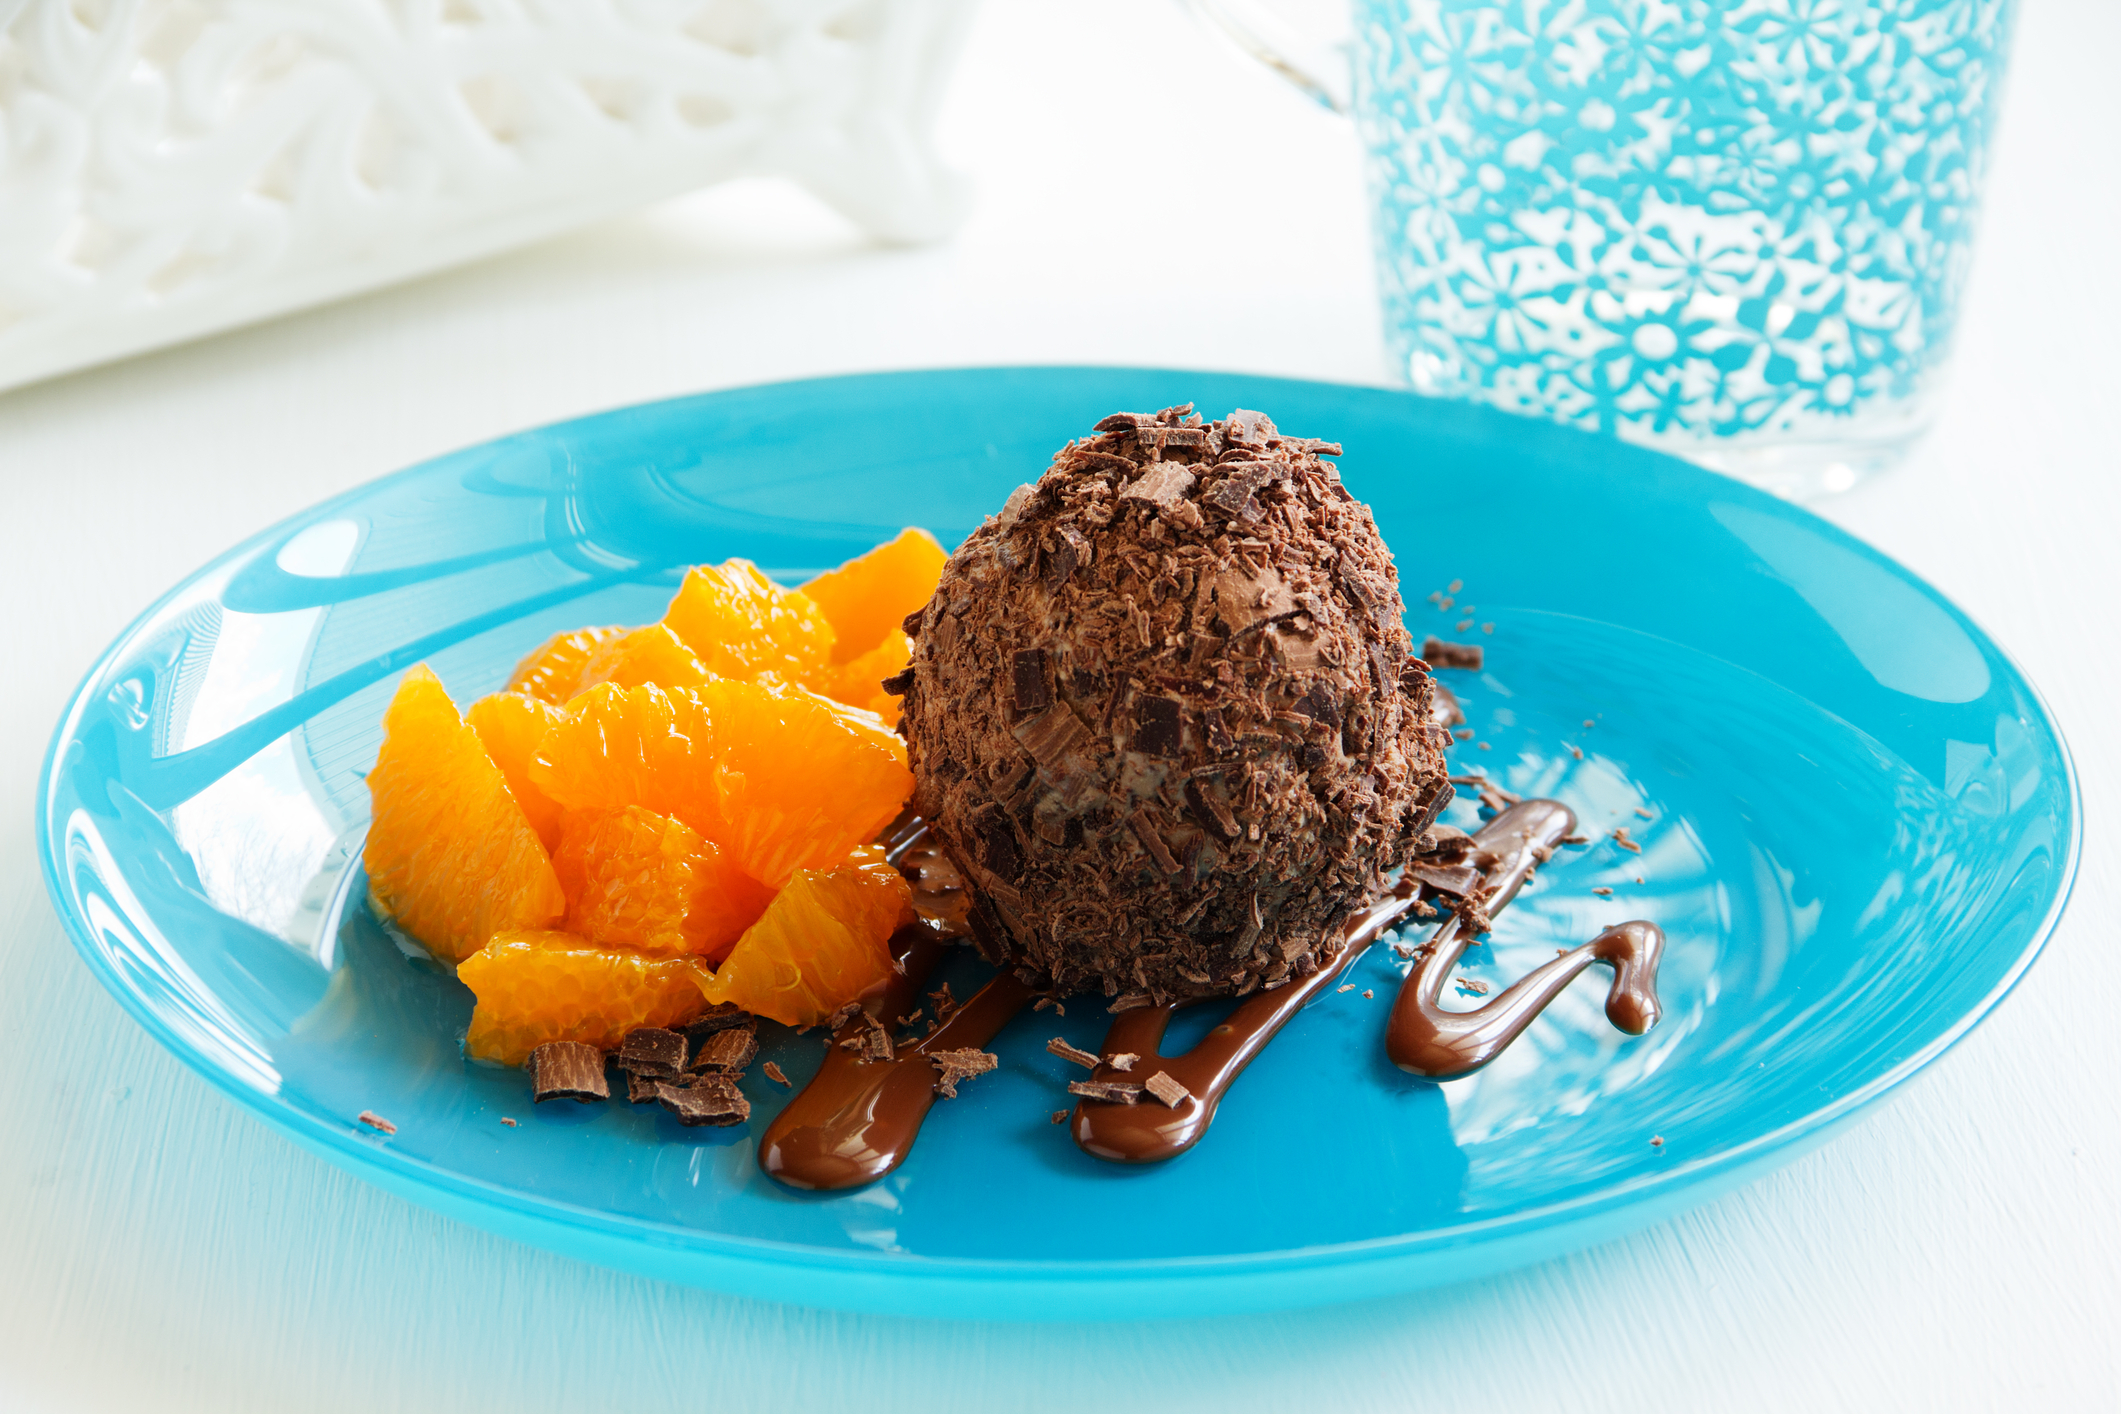
If you want something lighter, serve it with fresh orange segments on the side. The juicy, bright orange against the dense chocolate ice cream balances out how heavy it can feel.
What would you pair it with?
Storing It Without Ruining It
This ice cream keeps in the freezer for about two weeks before it starts to get icy. After that, ice crystals form on the surface and the texture goes grainy.
Press a piece of plastic wrap directly onto the surface of the ice cream before you put the lid on the container. That prevents freezer burn and keeps it smooth longer. I forget to do this half the time and regret it every time.
Don’t store it in the freezer door. The temperature fluctuates too much there and the ice cream will melt slightly and refreeze, which makes it icy. Keep it in the back of the freezer where it stays consistently cold.
If you need to soften it before serving, leave it on the counter for 5–7 minutes. Don’t microwave it. I tried that once and ended up with chocolate soup around the edges and a frozen center. Just let it sit.
Have you ever saved leftovers like this? Tell me below!
Mistakes I Made So You Don’t Have To
I once added the orange juice while the chocolate mixture was still boiling hot. The juice curdled slightly and the whole thing looked separated and wrong. I churned it anyway because I wasn’t starting over, and it tasted fine, but the texture was grainy. Let the base cool for ten minutes first.
I also skipped straining the mixture one time because I was in a hurry and didn’t want to wash the sieve. Big mistake. The finished ice cream had little cocoa powder lumps throughout, and every few bites you’d get this burst of bitter cocoa. Straining takes 30 seconds. Do it.
The worst one was when I didn’t chill the base long enough. I was impatient and threw it in the ice cream maker after only 30 minutes in the fridge. It never froze properly, just stayed liquidy and sloshed around in the machine for 40 minutes before I gave up. The base has to be actually cold, not just cool. Did something like this happen to you?
Questions You Might Actually Want Answered
Can I make this without an ice cream maker?
You can, but it’s annoying. Pour the chilled base into a shallow metal pan and freeze it. Every 30 minutes for the first 3 hours, take it out and stir it vigorously with a fork to break up ice crystals. I tried this once and the texture was okay, not great. Icy in some spots, creamy in others. An ice cream maker is worth it if you make ice cream more than twice a year.
What if I don’t have dark chocolate?
Use semisweet chocolate chips. The ice cream will be slightly sweeter but it’ll still work. I wouldn’t use milk chocolate — it’s too sweet and the flavor isn’t strong enough to stand up to the orange and cocoa powder. But semisweet is fine.
Can I use a different citrus instead of orange?
Sure. Lemon works, but it’s much more tart. Use half the amount of juice or the ice cream will taste sour. I tried grapefruit once and it was weird — too bitter. Blood orange is amazing if you can find it. Tastes like regular orange but deeper, almost berry-like.
How do I know when the base is thick enough?
It should coat the back of a spoon. Run your finger through it — if the line holds and doesn’t immediately run back together, it’s ready. This happens once the chocolate melts and everything combines. Takes about 5 minutes of stirring.
Why does my ice cream taste chalky?
You probably didn’t mix the cocoa powder well enough, or you used too much. Cocoa powder can taste chalky if it’s not fully incorporated into the liquid. Whisk it harder next time. And make sure you’re using 3/4 cup, not a full cup.
Can I leave out the chocolate chips?
Of course. The ice cream is chocolate already, so the chips are just extra. I like the texture they add, but plenty of people skip them. You could also use chopped dark chocolate instead of chips. Fancier, same result. Which answer helped you most?
The part I haven’t figured out yet
I still can’t decide if this ice cream is better the day you make it or the day after. Fresh from the machine, it’s soft and creamy and tastes brighter. The orange really comes through.
But after it’s been in the freezer overnight, the flavors settle. The chocolate deepens. The orange becomes more of a background note instead of the main thing you taste. It’s richer that way, less sharp.
My daughter likes it fresh. My husband won’t touch it until it’s been frozen for at least a day. I’m somewhere in the middle.
The other thing I haven’t solved is the serving size. The recipe makes 6–8 servings, but that depends entirely on how much you scoop. I can get eight small servings out of one batch if I’m careful. My husband gets four massive bowls and calls it six servings.
I’ve also never managed to make this look as good as it tastes. It’s dark brown, almost black, with orange flecks that some people think are mistakes. When you scoop it, it doesn’t have that smooth, perfect ice cream shop look. It’s more rustic. Homemade.
But it tastes better than anything you’d buy, so I’ve stopped caring what it looks like.
Fun fact: Orange zest contains oils called limonene, which is the same compound that gives lemons their smell. It’s also used in cleaning products, which is why orange cleaner smells so strong. In ice cream, it makes chocolate taste less heavy and one-dimensional.
Will you make this soon?
Happy cooking! —Marina Caldwell
Chocolate Chip Orange Ice Cream Bliss
Ingredients
- 2 cups heavy cream
- 1 cup whole milk
- 3/4 cup unsweetened cocoa powder
- 3/4 cup sugar
- 4 ounces dark chocolate, chopped
- 1 tablespoon vanilla extract
- 1 tablespoon orange zest
- 1/2 cup fresh orange juice
- 3/4 cup chocolate chips
- Pinch of sea salt
Instructions
- 1Heat milk and cream in a saucepan over medium heat until steaming, do not boil.
- 2Whisk cocoa powder and sugar together in a bowl, then gradually add hot cream mixture while whisking constantly.
- 3Stir in chopped dark chocolate until completely melted and smooth.
- 4Remove from heat and let cool for 10 minutes, then stir in vanilla extract, orange zest, and orange juice.
- 5Add a pinch of sea salt and mix thoroughly.
- 6Strain mixture through a fine-mesh sieve into a bowl to remove any lumps.
- 7Refrigerate for at least 2 hours until completely chilled.
- 8Pour into an ice cream maker and churn according to manufacturer’s instructions, approximately 20-25 minutes.
- 9During the last 5 minutes of churning, add chocolate chips.
- 10Transfer to a freezer-safe container and freeze for at least 2 hours before serving.
- 11Scoop and serve immediately, garnish with additional chocolate chips and orange slices if desired.
Notes
See full recipe for nutritional information.


