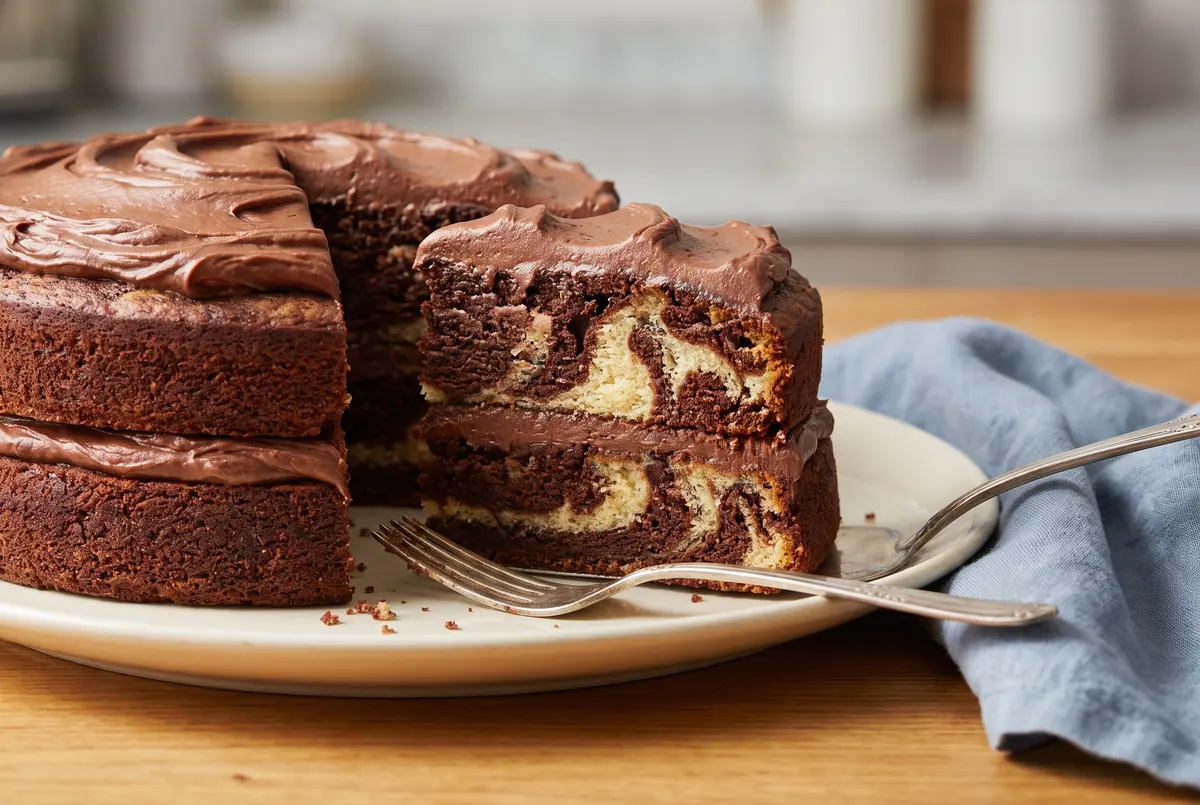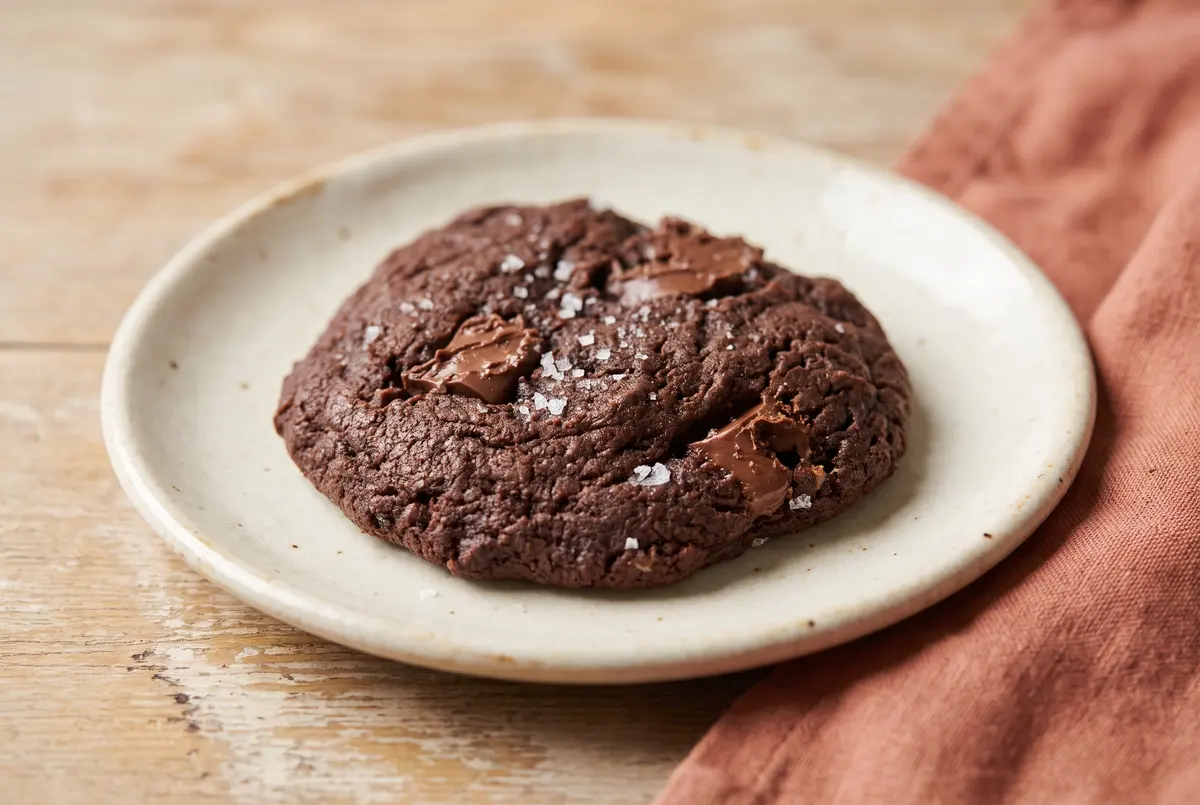
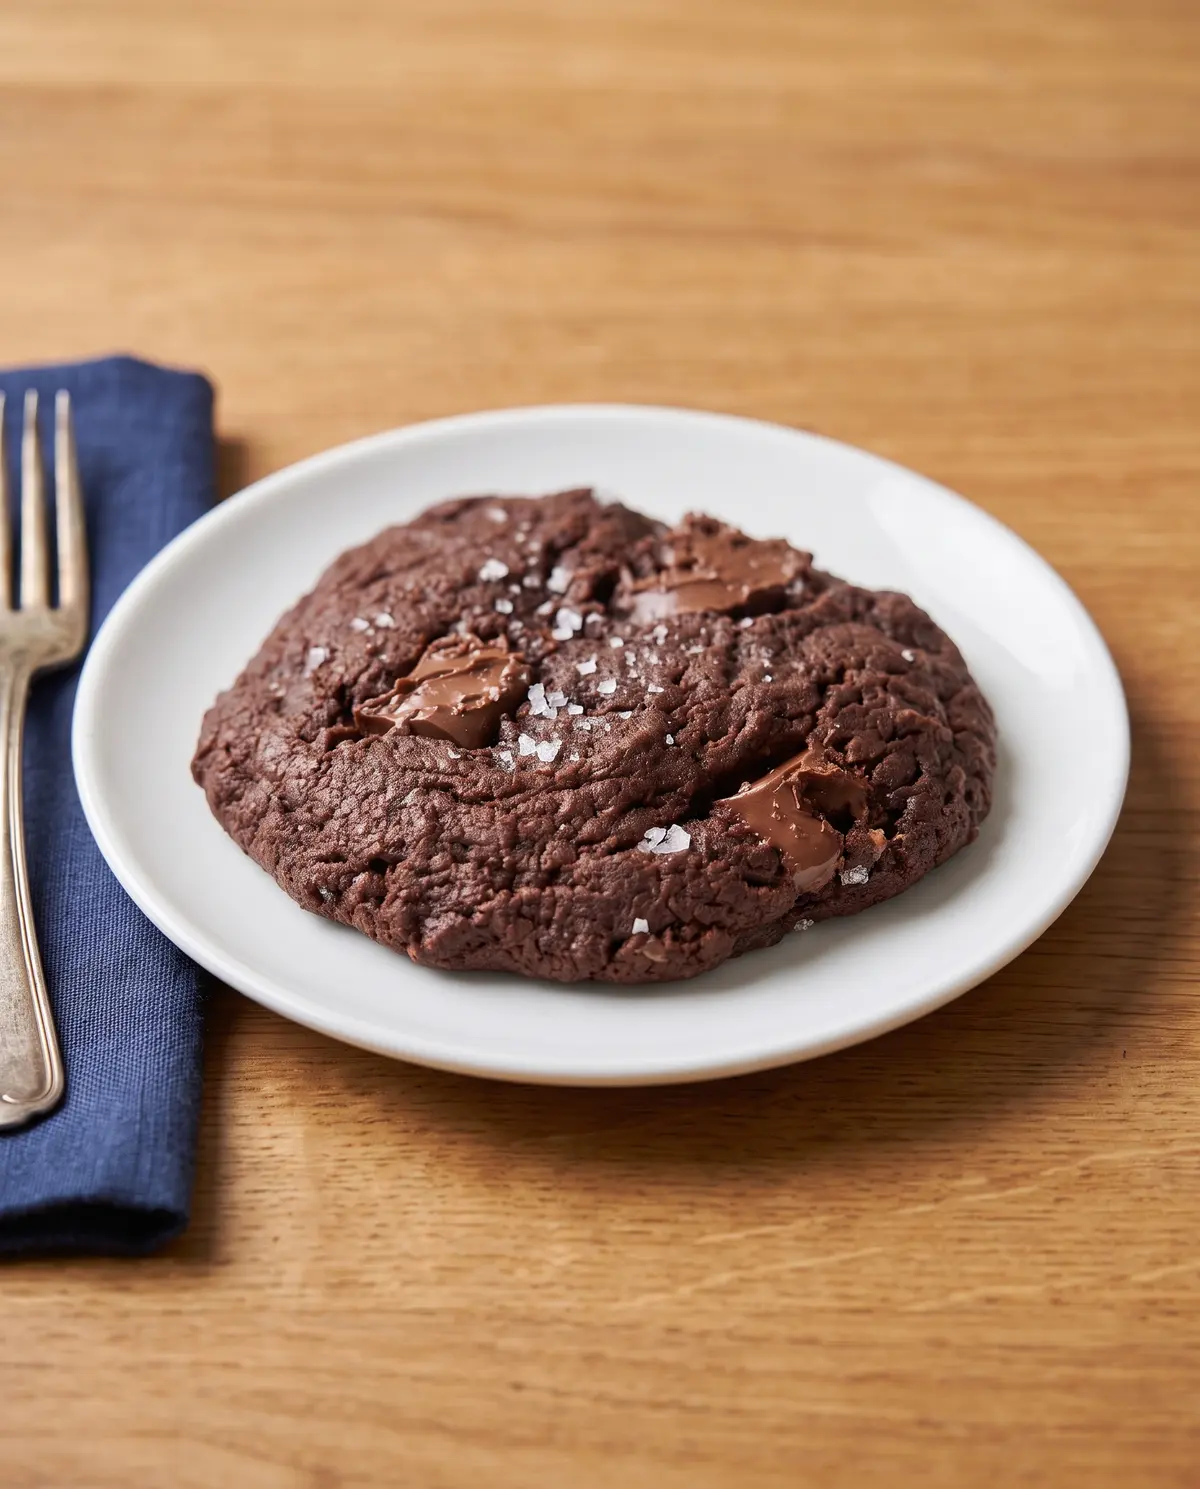
Hey, it’s Marina. Picture this: it’s Saturday afternoon, my dad is in the kitchen, and there is a smell coming out of the oven that could make a grown person weep a little. Chocolate, yes, but with that warm, almost-butterscotchy note you only get from malt. These chocolate malt cookies are the cookie version of that afternoon — soft, fudgy in the middle, just a little crackly on top, studded with chunks of milk chocolate that melt into puddles by the second bite. Have you ever had a malted cookie before? If not, prepare yourself.
I want to tell you where this recipe actually came from. I was deep into a Yossy Arefi cookbook kick — her book Snacking Bakes is the kind where every recipe is doable on a Tuesday and tastes like Sunday. Her malted chocolate cookies were the jumping-off point. I used chopped milk chocolate instead of chips (chunks, always, fight me) and added a generous pinch of flaky sea salt on top because my friend Gina swears any chocolate dessert is better with a salty finish. The result is rich without being heavy, deeply chocolatey with a quiet malt hum underneath.
Why Malted Milk Powder Changes Everything
If you’ve never baked with malted milk powder before, this is your sign to start. It’s a dried powder made from malted barley, wheat flour, and evaporated whole milk — the same stuff that makes malted milkshakes taste malty. In baking, it does something quietly magical: it amplifies the dairy and caramel notes of whatever you’re making. A quarter cup is all you need, and it does the work of three or four “secret” ingredients you couldn’t identify on your own. Find it in the baking aisle near the hot cocoa mixes (Horlicks or Carnation are my go-tos). Skip it and you’ll still have a chocolate cookie, but you won’t have this cookie.
Chocolate Malt Cookies
Soft, fudgy, deeply chocolatey, with a quiet malt hum running underneath every bite. The dough comes together in one bowl, requires no chilling, and bakes off in under ten minutes. Makes about 20 cookies.
Ingredients
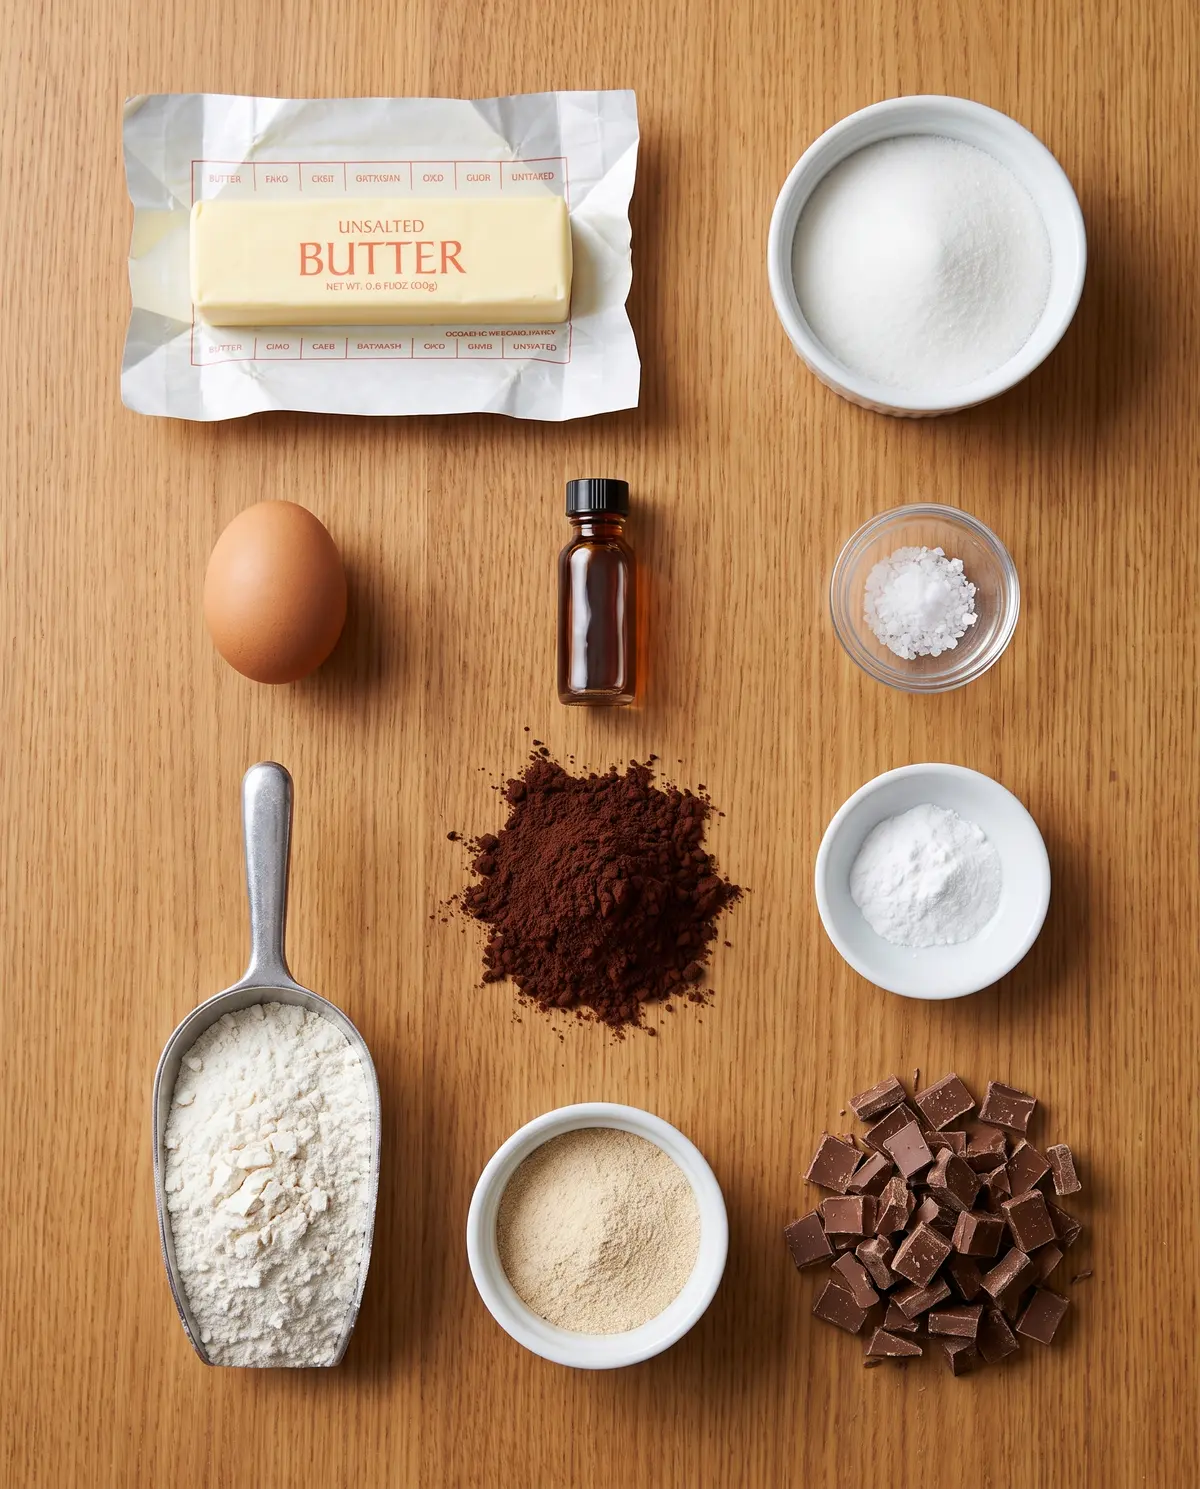
- 8 tablespoons (113g) unsalted butter, melted
- ¾ cup (150g) granulated sugar
- 1 large egg, cold from the fridge
- 1 tablespoon neutral oil
- 1 teaspoon vanilla extract
- ½ teaspoon fine sea salt
- ½ cup (45g) Dutch process cocoa powder, sifted if lumpy
- ½ teaspoon baking powder
- ¾ cup (96g) all-purpose flour
- ¼ cup (30g) malted milk powder
- ¾ cup (128g) chopped milk chocolate
- Flaky sea salt, for sprinkling
Here’s How I Make Them
Step 1: Preheat and prep. Position two oven racks close to the center of your oven and preheat to 350ºF (180ºC). Line two large rimmed baking sheets with parchment paper — not silicone, not bare pans.
Step 2: Whisk the wet base. In a large bowl, whisk the melted butter and granulated sugar until well combined, about 30 seconds. Add the egg, oil, vanilla, and fine sea salt, and whisk again until smooth, thick, and glossy, about another 30 seconds.
Step 3: Bring in the cocoa. Sift the Dutch process cocoa powder right into the bowl (important if it clumps) and whisk until smooth and streak-free. Whisk in the baking powder until evenly distributed.
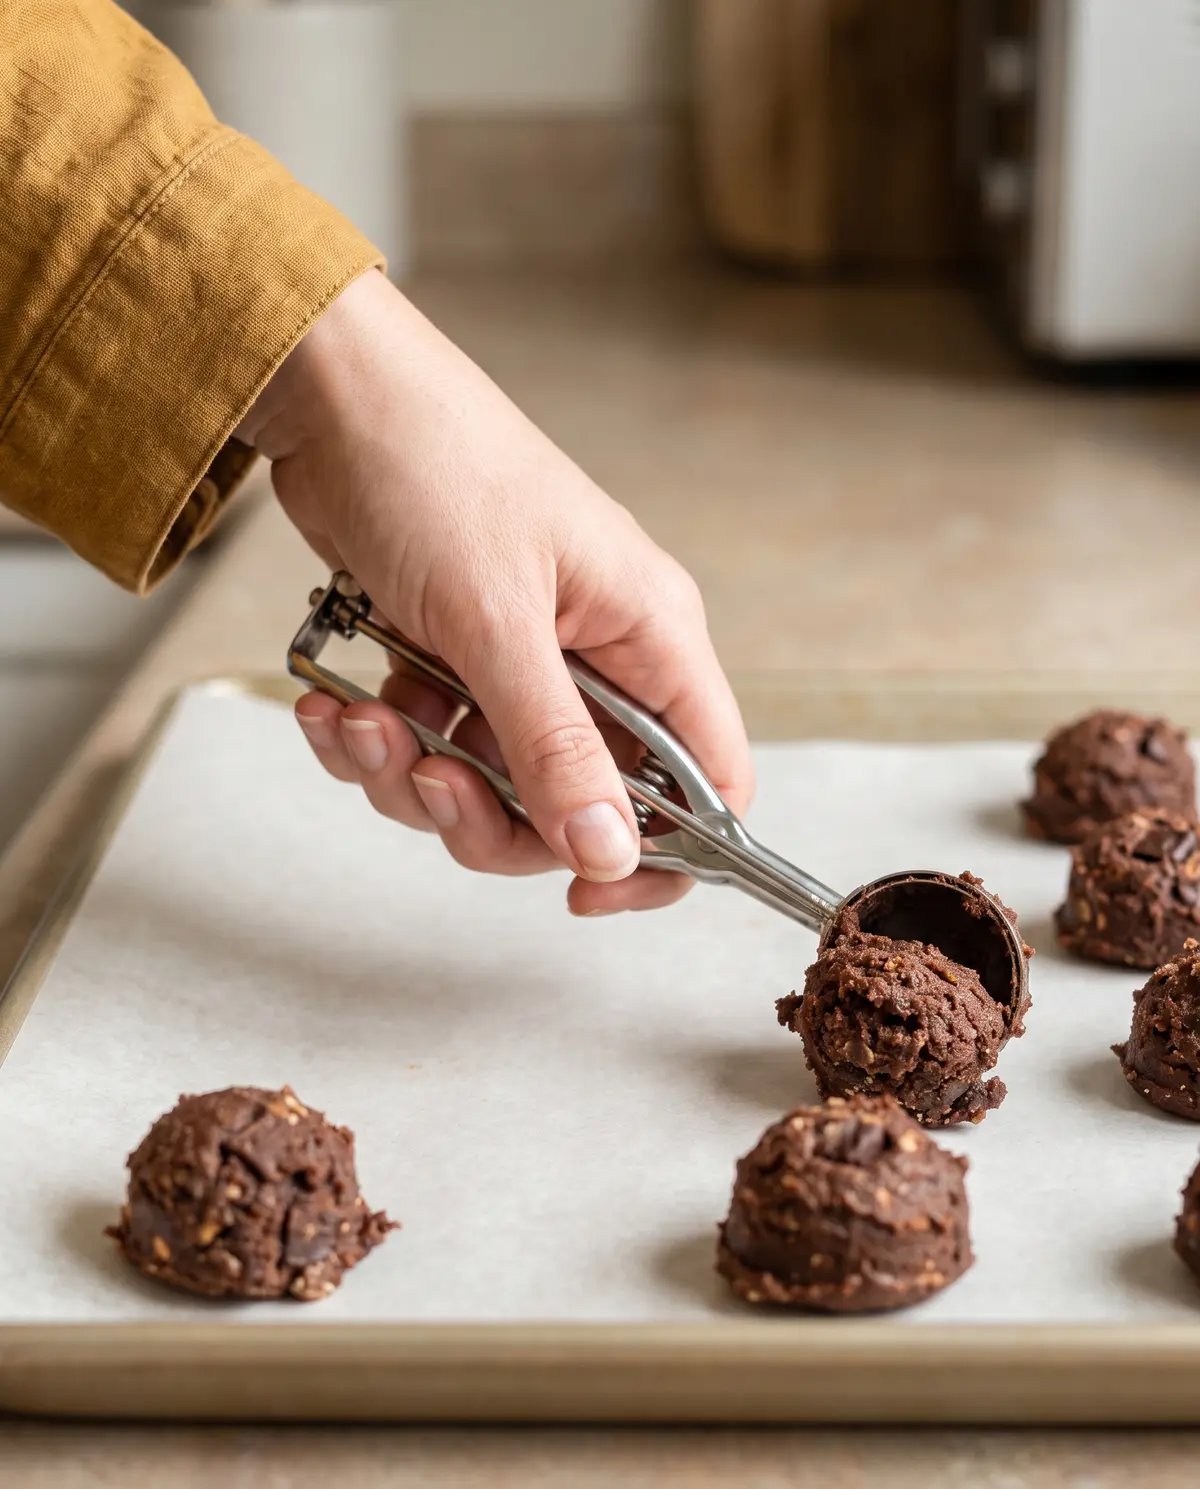
Step 4: Fold in the dry ingredients. Add the flour and malted milk powder at the same time, and fold gently with a spatula. Stop folding as soon as a few streaks of flour remain — you do not want to overwork this dough. Then fold in the chopped milk chocolate until no streaks remain and the chocolate is evenly scattered. The dough will be soft and a little sticky. That’s exactly right.
Step 5: Scoop and sprinkle. Use a 1½-tablespoon cookie scoop to portion the dough into 20 cookies, 10 on each sheet. Leave 2 inches between them. Sprinkle each one generously with flaky sea salt — don’t be shy.
Step 6: Bake. Slide both sheets into the oven and bake for 8 to 10 minutes. Halfway through, switch the racks and rotate the pans front to back. The cookies are done when they are just set around the edges with a few cracks on top. Pull them out — they will continue to set up on the hot pan.
Step 7: Cool and try not to eat them all. Let the cookies cool on the baking sheets for at least 10 minutes — they are very soft when warm and will firm up as they cool. If you try to move them too early, they will fall apart. I learned this the hard way.
Creative Twists Worth Trying
Once you’ve made the classic version a few times, the recipe is a wonderful canvas for small twists:
- Salted pretzel crunch: Fold in ½ cup of crushed pretzels with the chocolate chunks. The pretzels add salt and crunch without making the cookies tough.
- Espresso kick: Add 1 teaspoon of instant espresso powder to the cocoa step. You won’t taste coffee — it just makes the chocolate taste more like chocolate. If you love my chocolate espresso cookies, you’ll love this version too.
- Double malt: Bump the malted milk powder up to ⅓ cup and skip the flaky salt. Tastes like a malted milkshake in cookie form.
- Dark chocolate lovers: Swap the milk chocolate for chopped dark chocolate (70% cacao) and add an extra tablespoon of sugar. More grown-up, equally good.
Serving & Pairing Ideas
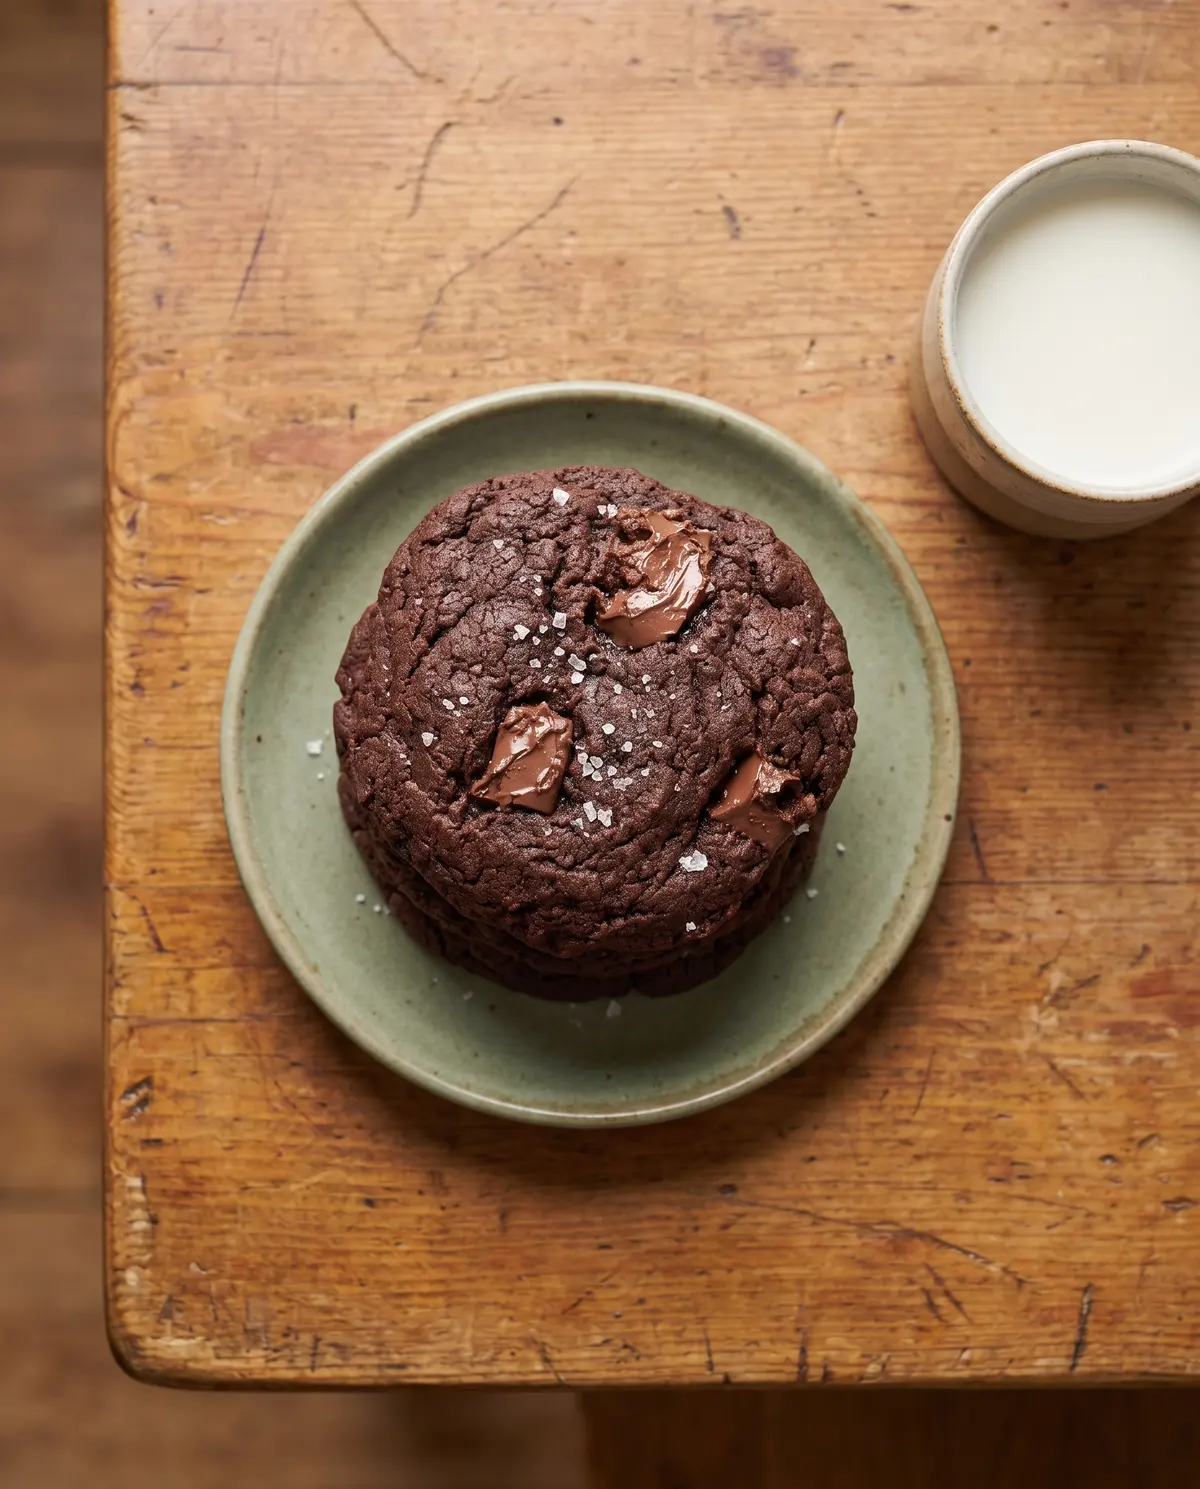
These cookies are best served slightly warm with a tall glass of cold milk. A malted chocolate cookie and a hot cortado is also one of the great flavor pairings of our time — the malt amplifies the caramel notes in the coffee, and the chocolate balances the bitterness. For a party, tuck a scoop of vanilla ice cream between two cookies and roll the edges in mini chocolate chips. My chocolate chip cookie skillet with ice cream uses a similar idea if you want the skillet version.
Why I Love This Recipe
I love this recipe because it is the kind of dessert that makes people ask “wait, what’s in these?” — and the answer is mostly just good ingredients treated well. No fancy technique, no specialty equipment, no obscure ingredients. Just a bowl, a whisk, and ten minutes. It’s the cookie I bring to my dad’s house on Sunday afternoons now. Which one would you try first — the classic, the espresso version, or the double malt?
Storage and Make-Ahead Tips
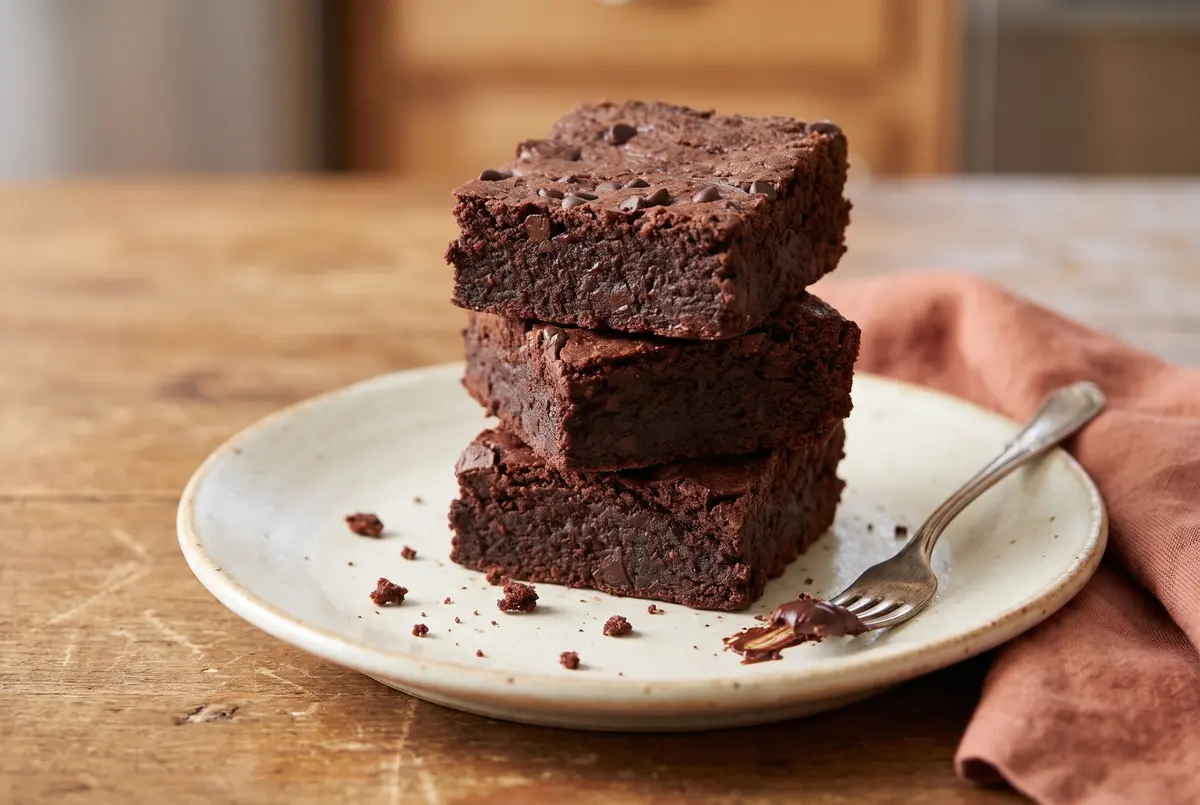
These cookies keep at room temperature in an airtight container for up to 4 days. You can also freeze the raw dough: scoop into balls, freeze until solid on a parchment-lined plate, then transfer to a freezer bag. Bake straight from the freezer, adding 1 to 2 minutes. If you love that kind of freezer-friendly baking, you’ll also love my fudgy chocolate brownies, which freeze even better.
Troubleshooting Your Cookies
- Cookies spread too much: Your butter may have been too warm, or your baking sheets were hot from a previous batch. Let the dough rest for 10 minutes before scooping, and use cool sheets between batches.
- Cookies are dry or cakey: You probably added too much flour. Spoon and level your flour rather than scooping directly from the bag — that one move can add an extra ¼ cup.
- Cookies don’t crack on top: The dough was overmixed after adding the flour. Stop folding as soon as the last streaks disappear.
- The malt flavor is too subtle: Bump the malted milk powder up to ⅓ cup, and use a good brand like Horlicks or Carnation.
Your Quick Questions, Answered
Can I use natural cocoa powder instead of Dutch process? You can, but the cookies will taste a little less rich and a little more sharp. If you only have natural cocoa, it will still work — just expect a slightly more rustic cookie.
Where do I find malted milk powder? Most grocery stores carry it in the baking aisle near the hot cocoa mixes. Look for Horlicks, Carnation, or the store-brand “malted milk powder.” If you can’t find it locally, it’s widely available online.
Can I make the dough ahead of time? Yes! Refrigerate the scooped dough balls for up to 2 days, or freeze for up to 2 months. Bake straight from the fridge, adding 1 minute to the bake time.
Can I use chocolate chips instead of chopped chocolate? You can, but chopped chocolate melts into bigger, more interesting puddles. Chips will still taste great — your cookies will just be slightly less dramatic looking.
A Little Goodbye from My Kitchen
That’s it from me for today. I hope these cookies find a place in your kitchen the way they’ve found one in mine — simple, deeply chocolatey, a little bit nostalgic. The kind of recipe you’ll make once and then wonder how you ever lived without. Drop a comment if you bake them, and tell me what twist you tried. Until next time, friends.
Happy baking!
—Marina Caldwell
Chocolate Malt Cookies
Ingredients
- 8 tablespoons (113g) unsalted butter, melted
- ¾ cup (150g) granulated sugar
- 1 large egg, cold from the fridge
- 1 tablespoon neutral oil
- 1 teaspoon vanilla extract
- ½ teaspoon fine sea salt
- ½ cup (45g) Dutch process cocoa powder, sifted if lumpy
- ½ teaspoon baking powder
- ¾ cup (96g) all-purpose flour
- ¼ cup (30g) malted milk powder
- ¾ cup (128g) chopped milk chocolate
- Flaky sea salt, for sprinkling
Instructions
- Position two racks close to the center of the oven and preheat to 350ºF (180ºC). Line two large rimmed baking sheets with parchment paper.
- In a large bowl, whisk the melted butter and granulated sugar until well combined, about 30 seconds. Add the egg, oil, vanilla, and fine sea salt and whisk until smooth, thick, and glossy, about 30 seconds.
- Whisk in the cocoa powder until smooth. Whisk in the baking powder.
- Fold in the flour and malted milk powder with a spatula. When a few streaks of flour remain, fold in the chopped milk chocolate and mix just until no streaks remain and the chocolate is evenly distributed.
- Use a 1½-tablespoon cookie scoop or heaping tablespoon to portion the dough into 20 cookies, 10 on each prepared sheet, then sprinkle with flaky sea salt.
- Bake until just set with a few cracks on top, 8 to 10 minutes, switching racks and rotating pans front to back halfway through.
- Let cool on the baking sheets. Store in an airtight container at room temperature for up to 4 days.