A Little Story From My Freezer
Have you ever stood in front of an open freezer on a sticky July afternoon, looking for something cold, chocolatey, and worth the trip? That is how these popsicles were born. My friend Gina showed up with a popsicle mold from a tag sale and a very determined look. “We are making these,” she said. I am suspicious of anything that promises fudge with only four ingredients.
But she was right. The first batch disappeared before the second froze. My dad, a tough critic of anything pretending to be ice cream, ate two in a row and asked for the recipe. When my dad asks for the recipe, I know I have something to share. If you have ever wished your favorite dessert could be eaten off a stick in the backyard, this is your moment.
Why Evaporated Milk Matters
Here is the part most recipes skip, and the part that makes all the difference. Whole milk is too thin and turns icy. Heavy cream freezes so hard you cannot bite into a popsicle made with it. Evaporated milk is the in-between. About sixty percent of its water has been cooked off, so there is less water to freeze into rock-hard crystals. The result is a popsicle that stays scoopable, creamy, and a little dense — closer to a frozen pudding than a block of ice.
Gina’s trick, which I now use every time, is to warm the milk to a bare simmer, drop the chocolate in, and walk away for five minutes. Don’t stir, don’t peek. When you come back, stir once and you get the silkiest chocolate base you can imagine.
Chocolate Popsicles
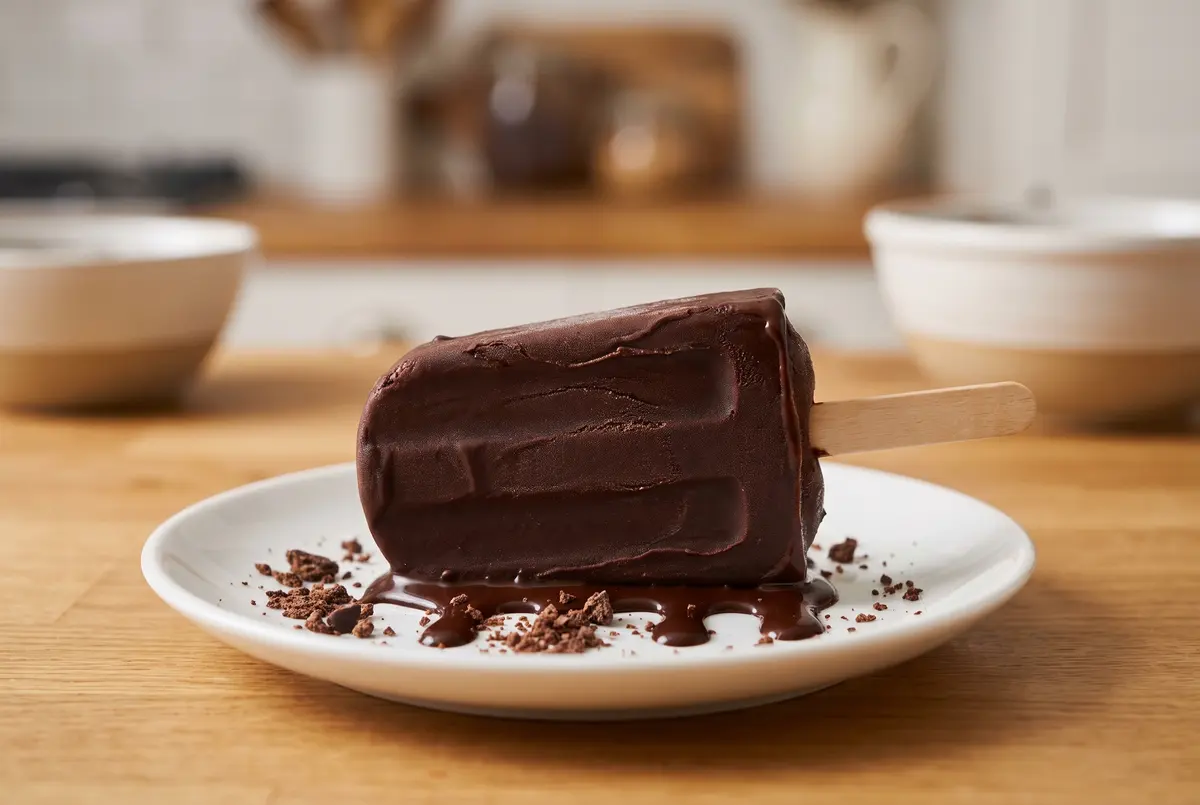
Four ingredients, one saucepan, and a little patience while the freezer does its work. You will end up with six proper popsicles, the kind that snap a little when you bite them and taste like frozen pudding on a stick.
Ingredients
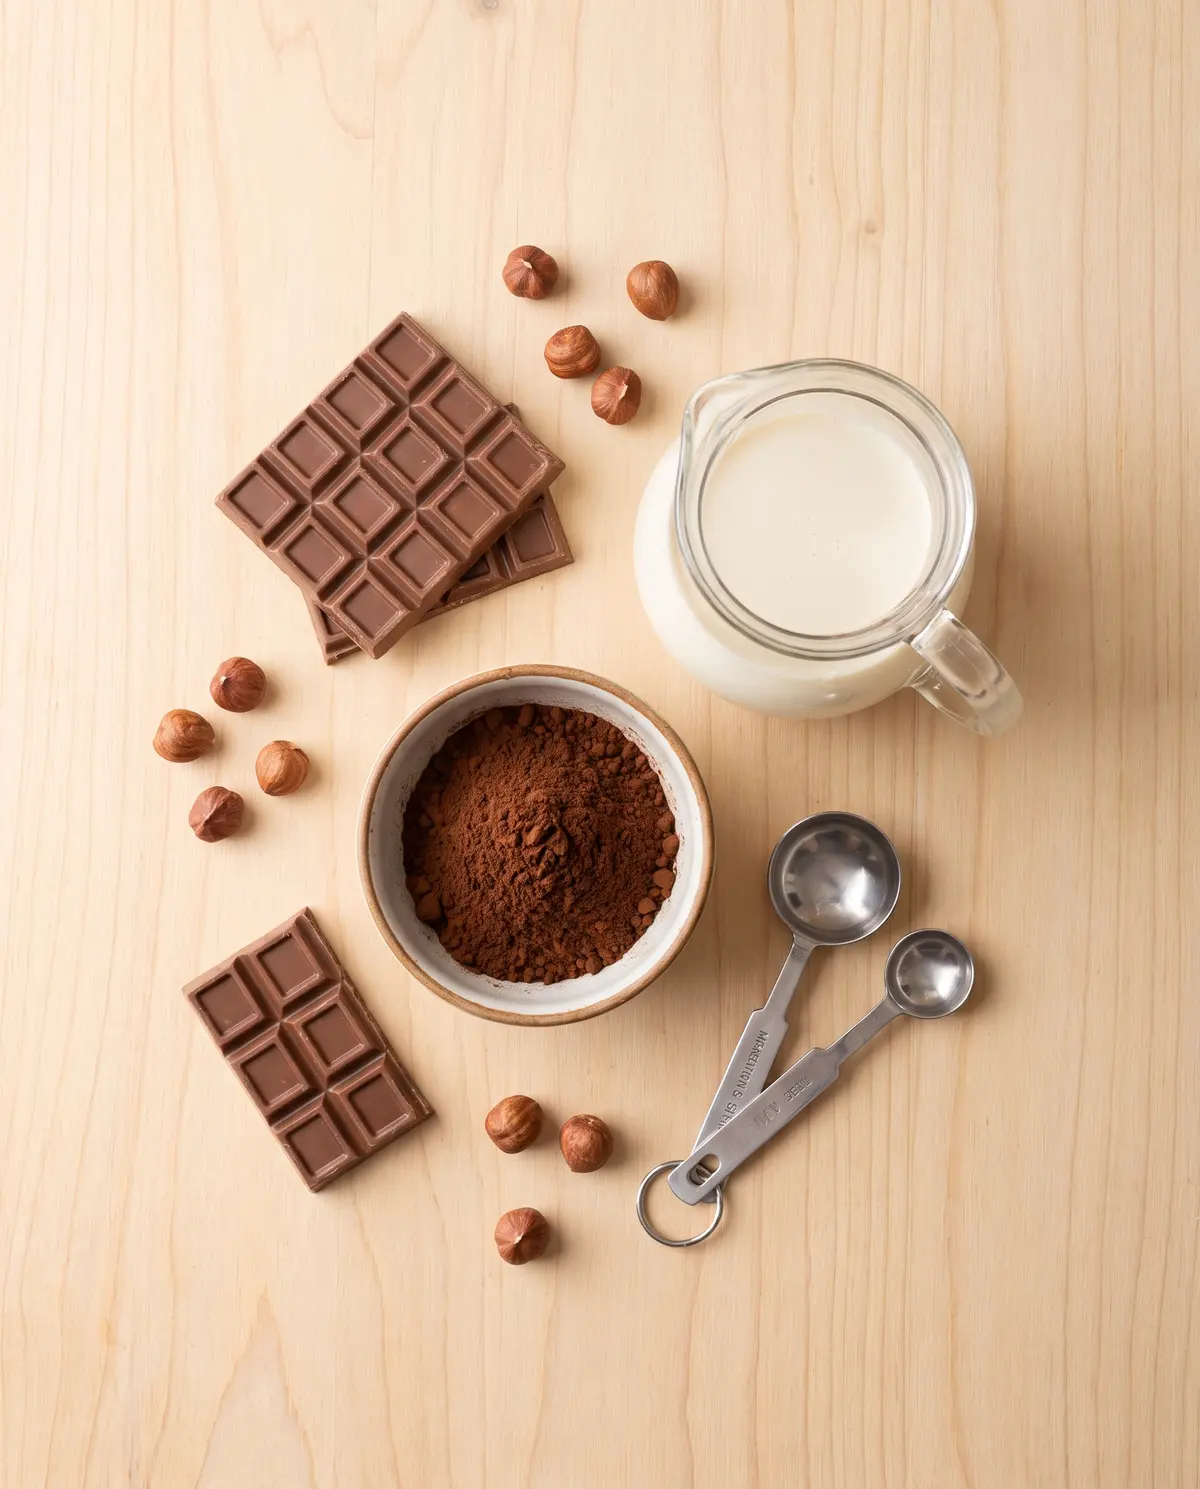
- 250 ml evaporated milk (one small can)
- 50 g milk chocolate, finely chopped
- 200 g milk chocolate, melted (for the optional shell)
- 1 tablespoon shortening or coconut oil (for the optional shell)
- 100 g chopped hazelnuts or sprinkles (for the optional topping)
From Saucepan to Stick
Step 1: Warm the evaporated milk gently. Heat over medium until the tiniest bubbles form at the edge. You are not boiling — you are bringing it to a bare simmer. Take it off the heat the moment you see those bubbles. Milk scalded too hot gives a cooked taste.
Step 2: Add the chocolate and walk away. Drop the finely chopped milk chocolate into the hot milk. Do not stir. Set a timer for five minutes. The residual heat is enough, and not stirring keeps the mixture smooth. Trust the process.
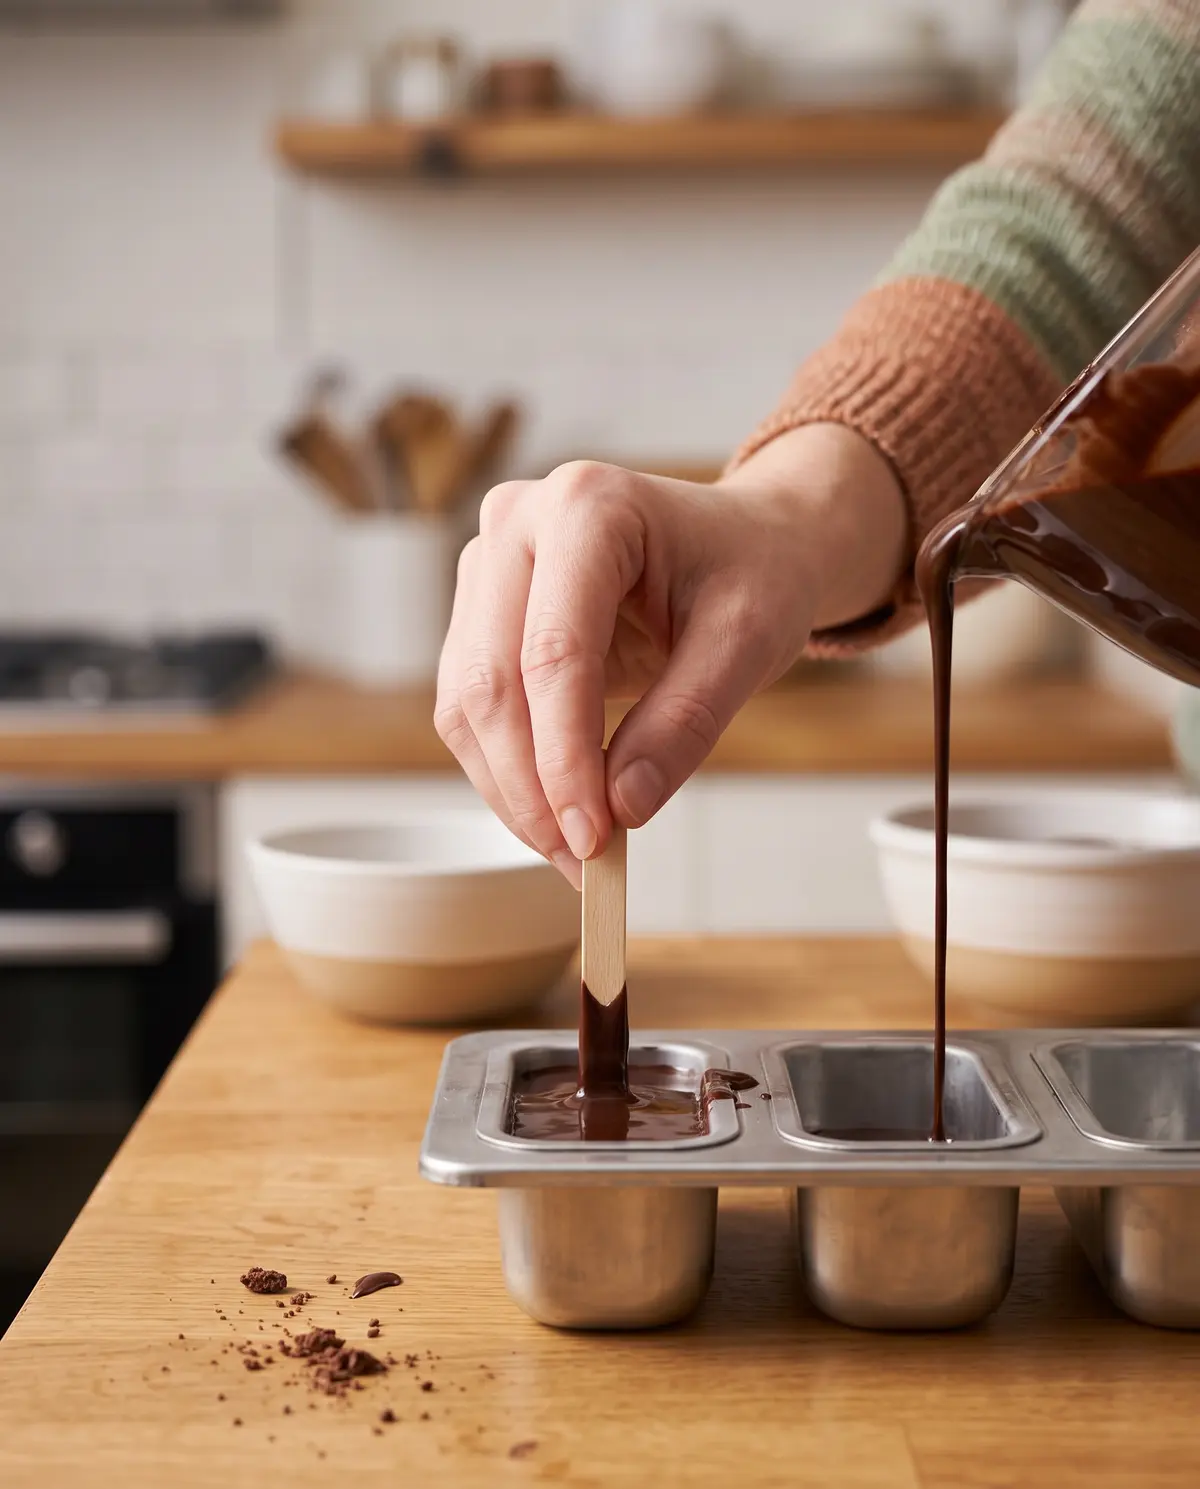
Step 3: Stir once into a glossy base. After five minutes, stir slowly. At first it will look streaky — keep going. Within a few turns you have a glossy chocolate base. If you get a tiny lump, pour it through a fine-mesh sieve.
Step 4: Pour into molds and freeze. Divide the base evenly between six molds. If yours has built-in sticks, pop them in now. With wooden sticks, freeze an hour, push the sticks into the partially set popsicles, and return to the freezer. Freeze at least four hours, ideally overnight.
Step 5: Release and serve. Run the outside of the molds under room temperature water for ten seconds. The popsicles slide right out. Do not pull — they will break.
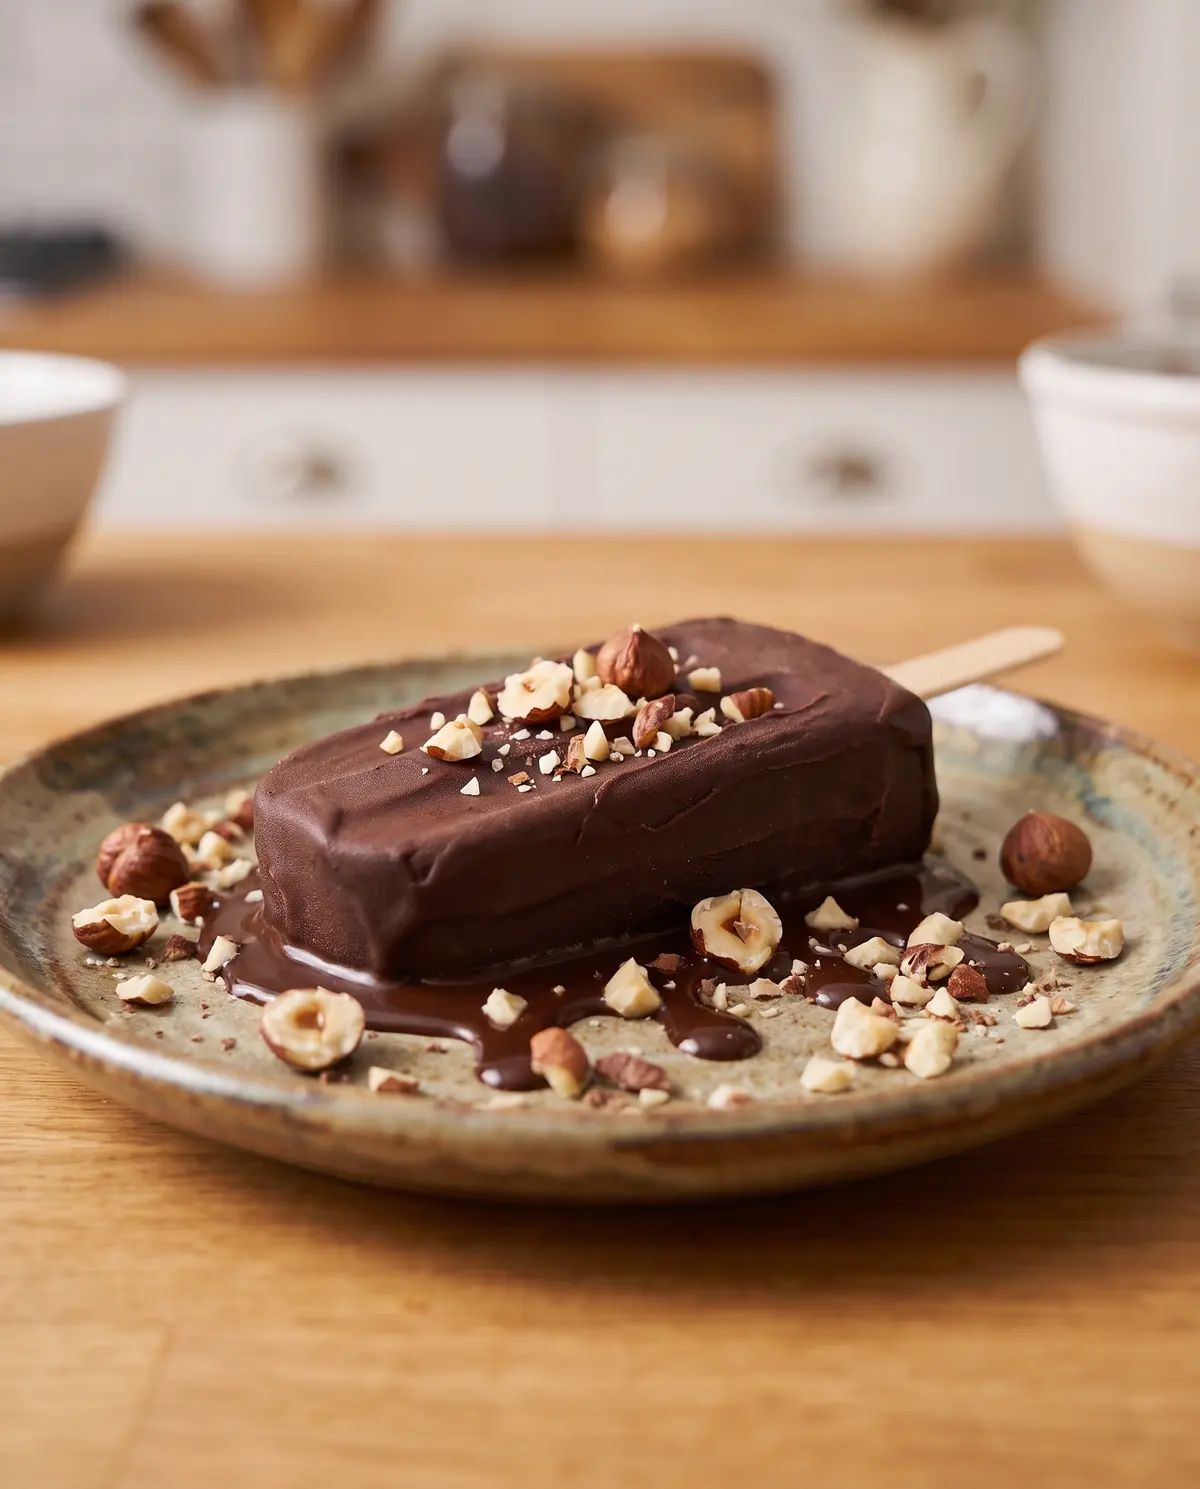
Step 6 (optional): Dip in a chocolate shell. Melt the 200 g of milk chocolate with the shortening over a double boiler. Cool a couple of minutes so it does not melt the popsicle. Dip halfway, let the excess drip, and roll in chopped hazelnuts, sprinkles, or flaky sea salt. Freeze ten minutes to set. This is the move that makes them look like something from a fancy ice cream shop.
Creative Twists
- Dark chocolate: swap the milk chocolate for a 70% dark bar and add a tablespoon of honey.
- Salted caramel: swirl two tablespoons of thick caramel into the base before pouring.
- Espresso kick: dissolve one teaspoon of instant espresso into the warm milk — it deepens the chocolate without tasting like coffee.
- Spiced Mexican chocolate: add a quarter teaspoon of cinnamon and a pinch of cayenne. Gina’s abuela used to make them this way.
- Cookies and cream: fold in a quarter cup of crushed chocolate cookie crumbs before pouring.
Serving and Pairing Ideas
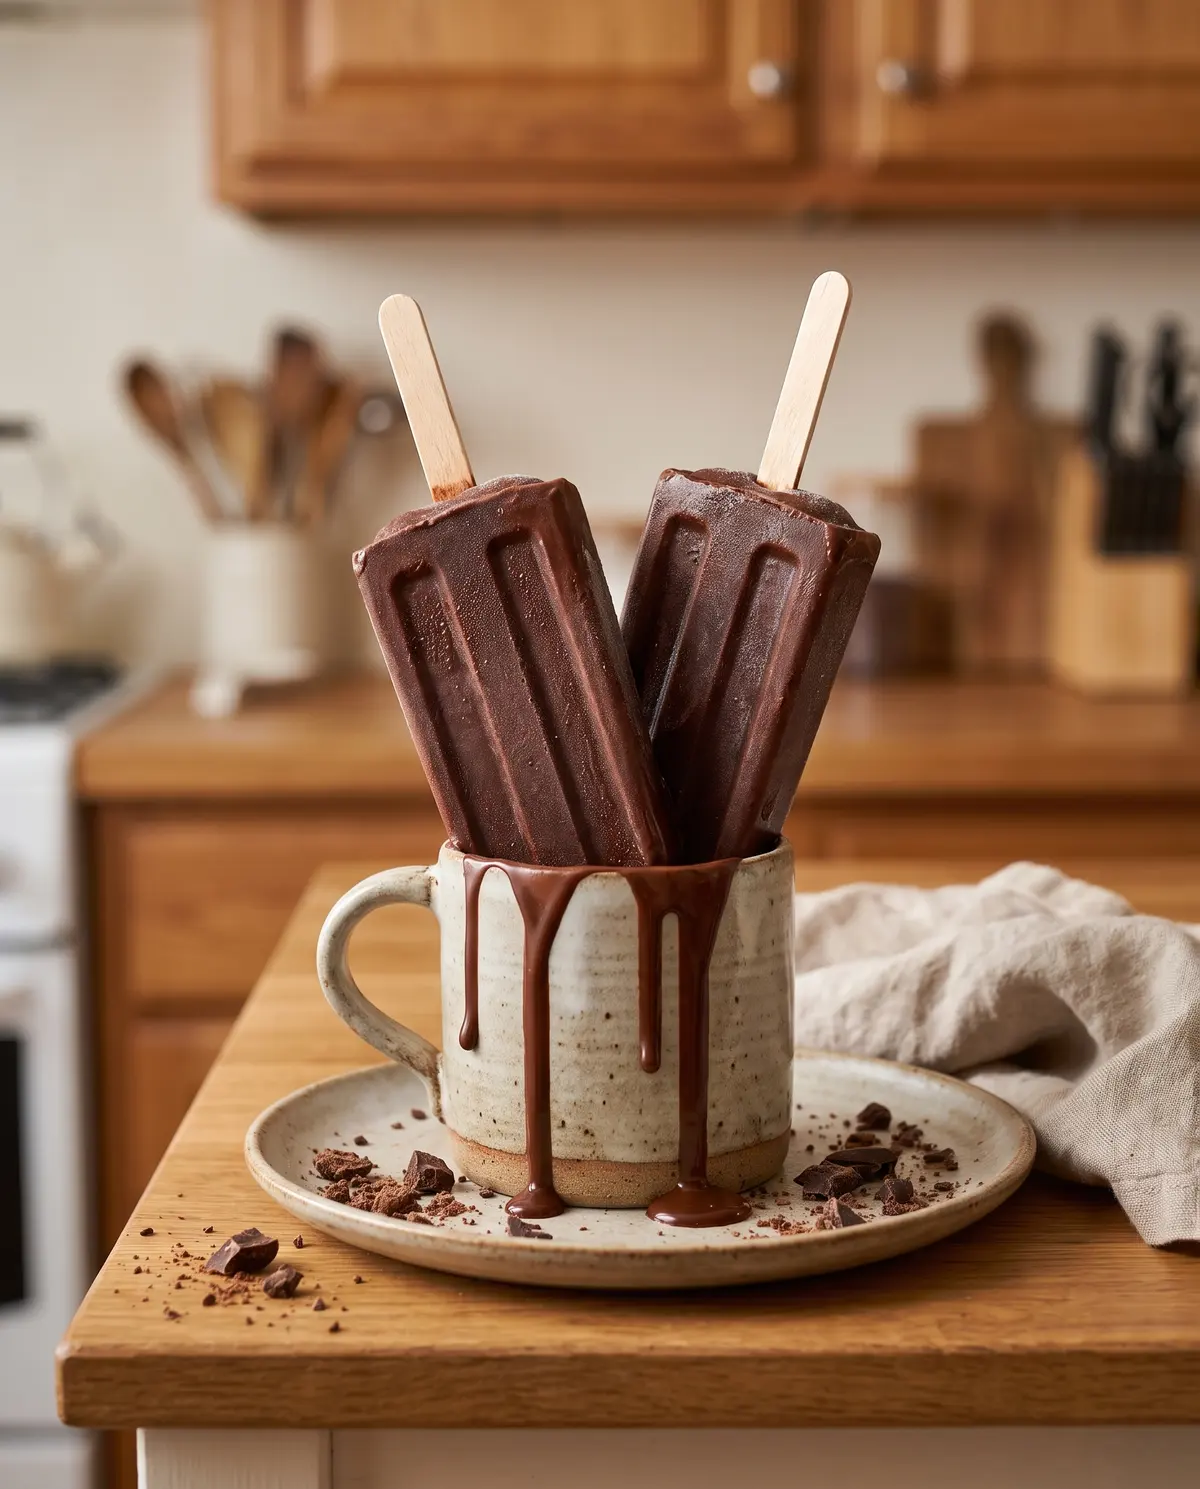
Best straight from the freezer on a hot day, eaten over the sink or outside. They work as a light dessert after a heavy meal — easier than cake, more interesting than sorbet. For a grown-up pairing, try cold espresso, tawny port, or a dark stout. Pair with my Chocolate Guinness Cake for a deep-chocolate spread.
Why I Love This Recipe
I love this recipe because it respects the season. In July, the last thing I want is to turn on the oven. I want the air conditioning on, a tall glass of something cold, and a treat that requires almost no effort. These give me all three. They remind me that Gina is usually right and that my dad will always come back for a second one.
There is something lovely about a dessert you can keep in the freezer for a week and pull out when a craving hits. If you have kids in your life, this is the recipe to teach them. The stirring, the waiting, the dramatic unmolding — that is the magic that makes someone fall in love with cooking.
Storage and Make-Ahead Tips
Leave popsicles in the mold until you are ready to eat. If you unmold ahead of time, wrap each in parchment and store in a freezer bag with air pressed out. They keep up to three weeks.
To get ahead for a party, make the base up to two days in advance and keep it in a jar in the fridge. When guests arrive, give it a quick whisk and freeze. By dessert time the popsicles will be ready.
Troubleshooting Your Popsicles
If your popsicles came out icy, you probably used regular milk. Evaporated milk is the only dairy that gives you that fudgy texture. If they are too soft, you added too much chocolate. Both are fixable by adjusting the next batch. If the chocolate seized, your milk was too hot, or you stirred too aggressively. Next time, take the milk off the heat before adding the chocolate.
Your Quick Questions, Answered
Can I make these dairy-free? Yes — use full-fat canned coconut milk and a good dairy-free chocolate. The texture is icier, but the flavor is excellent.
Do I need a mold? Small paper cups work in a pinch. Pour, freeze an hour, set a stick in the middle, freeze solid, peel the cup off.
Can I use chocolate chips? A bar melts more smoothly. If using chips, chop them finely and let them sit seven minutes. Try my Mini Chocolate Lava Cakes next.
How far ahead? Base keeps two days in the fridge, finished popsicles three weeks in the freezer. Perfect make-ahead dessert.
A Little Goodbye From My Kitchen
I am so glad you made it to the end. Popsicles are one of those small recipes that ends up being a real gift to a household. The freezer quietly holds them, and the next time you open it on a hot day, there they are — a fudgy promise of a good afternoon. That is the kitchen magic I want to keep here: real, doable, and a little joyful.
If you make these, I would love to hear how they turned out. Leave me a note in the comments, and if you have a request for the next recipe, drop that too. I keep a list. Until then, keep something cold in the freezer and a good friend at your counter. That is the secret.
Happy freezing, friends.
—Marina Caldwell
Chocolate Popsicles
Creamy, fudgy, and surprisingly simple. Six ingredients, no special equipment beyond a popsicle mold.
Ingredients
- 250 ml evaporated milk
- 50 g milk chocolate, finely chopped
- 200 g milk chocolate, melted (optional shell)
- 1 tablespoon shortening or coconut oil (optional shell)
- 100 g chopped hazelnuts or sprinkles (optional topping)
Instructions
- Heat evaporated milk in a small saucepan over medium heat until tiny bubbles form at the edge. Remove from heat.
- Add chopped chocolate to the hot milk. Do not stir. Let sit for 5 minutes.
- Stir gently until the mixture is smooth and glossy. Pour through a fine-mesh sieve if needed.
- Divide the base evenly between six popsicle molds. Insert sticks. Freeze at least 4 hours, ideally overnight.
- To release, run the outside of the molds under room temperature water for 10-15 seconds.
- Optional: dip each popsicle in melted chocolate mixed with shortening, then roll in chopped hazelnuts. Return to the freezer for 10 minutes to set.