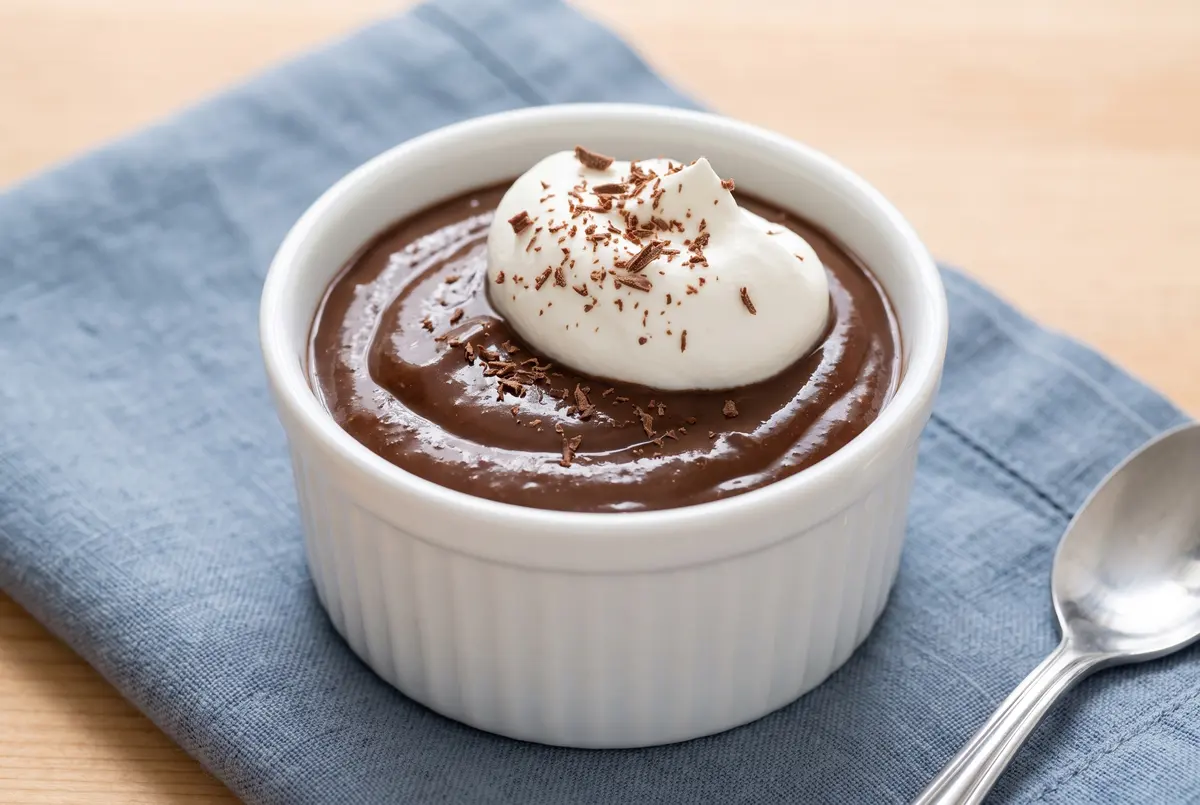
Have you ever stirred a pot of cocoa and sugar on a quiet Sunday afternoon and just known, in your bones, that something good was about to happen? That’s exactly how I felt the first time I made this chocolate pudding for my friend Gina. She came over after church, plopped herself at my kitchen table, and announced she was on a mission to find the creamiest homemade chocolate pudding on the planet. I told her I had her right where she wanted me.
By the time the pudding had chilled and I’d dolloped on the whipped cream, Gina was already texting her husband to bring the kids over. We scraped the bowl clean with our fingertips, laughing like we’d gotten away with something. If you’ve only ever known the little cups from the grocery store shelf, I am so glad you’re here. From-scratch chocolate pudding is one of those quiet little miracles — five minutes of stirring, a few humble pantry staples, and you end up with something so much better than the box. Stick with me, and I’ll show you exactly how to get it silky-smooth, deeply chocolatey, and absolutely foolproof every single time.
Why Homemade Pudding Beats the Box Every Time
You might be wondering, “Marina, is it really worth making this from scratch when I can grab a cup from the fridge in under a minute?” Yes, sweet friend. A thousand times yes. Here is why.
First, the chocolate flavor is in a different league. Real cocoa powder blooms in warm milk, releasing these deep, almost brownie-like notes that powdered mixes simply can’t touch. When you taste a spoonful of this pudding, you’ll close your eyes and finally understand what people mean when they say “chocolate should taste like chocolate.”
Second, the texture is silk. The trick is whisking the dry ingredients together first, then adding the milk slowly, a little at a time, until you’ve got a perfectly smooth slurry. That step — the one most folks skip — is the difference between pudding and lumpy disappointment. My dad taught me that when I was thirteen, standing on a step stool at his old gas stove. “Go slow, Marina-bug,” he’d say. “The milk wants to be coaxed, not rushed.”
Third, you control the sweetness. Some store-bought puddings taste like pure sugar. This one lets the cocoa shine. You can dial it up or down depending on your mood, and you can finish it with a tiny pinch of flaky salt right on top — that contrast is honestly life-changing.
Chocolate Pudding
Creamy, rich, and ready in just 10 minutes on the stovetop. This is the chocolate pudding you’ll come back to over and over. It chills into the most luxurious little dessert cups — exactly the kind of treat that makes a Tuesday night feel like a celebration.
Ingredients
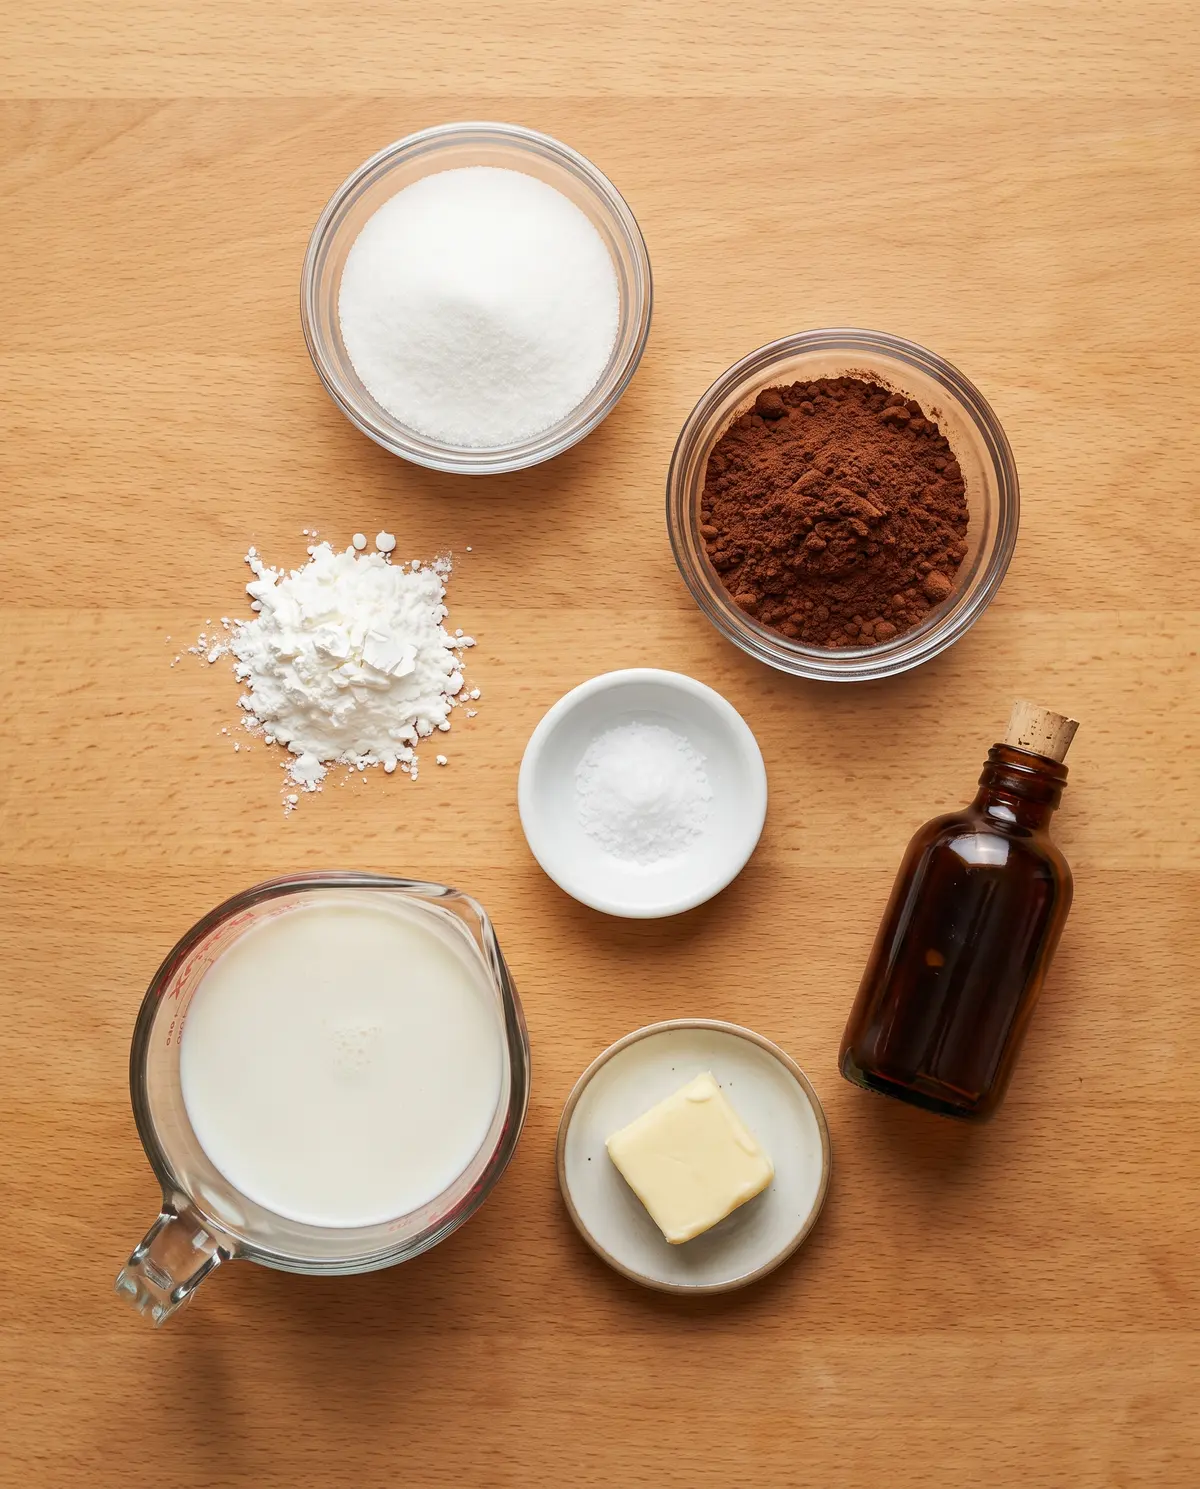
- 1 cup granulated sugar
- 1/2 cup unsweetened baking cocoa
- 1/4 cup cornstarch
- 1/2 teaspoon fine salt
- 4 cups whole milk
- 2 tablespoons unsalted butter
- 2 teaspoons pure vanilla extract
- Optional for serving: sweetened whipped cream, chocolate shavings, a pinch of flaky sea salt
From Pot to Bowl: My Step-by-Step Method
Step 1: Whisk the dry ingredients together. In a heavy-bottomed saucepan (do not skip the heavy bottom — thin pans scorch the milk), whisk together the sugar, cocoa powder, cornstarch, and salt until no streaks remain. This step is the secret to a lump-free pudding. I learned this the hard way the first time I made it and ended up with cocoa clumps. Now I whisk for a full minute, even when I think I’ve whisked enough.
Step 2: Slowly stream in the milk, whisking the whole time. Pour in about a cup of milk to start, whisking like your life depends on it, then add the rest in a slow, steady stream. The mixture will look thin and cocoa-colored at this point. That is exactly right. Resist the urge to crank the heat yet — patience pays off here.
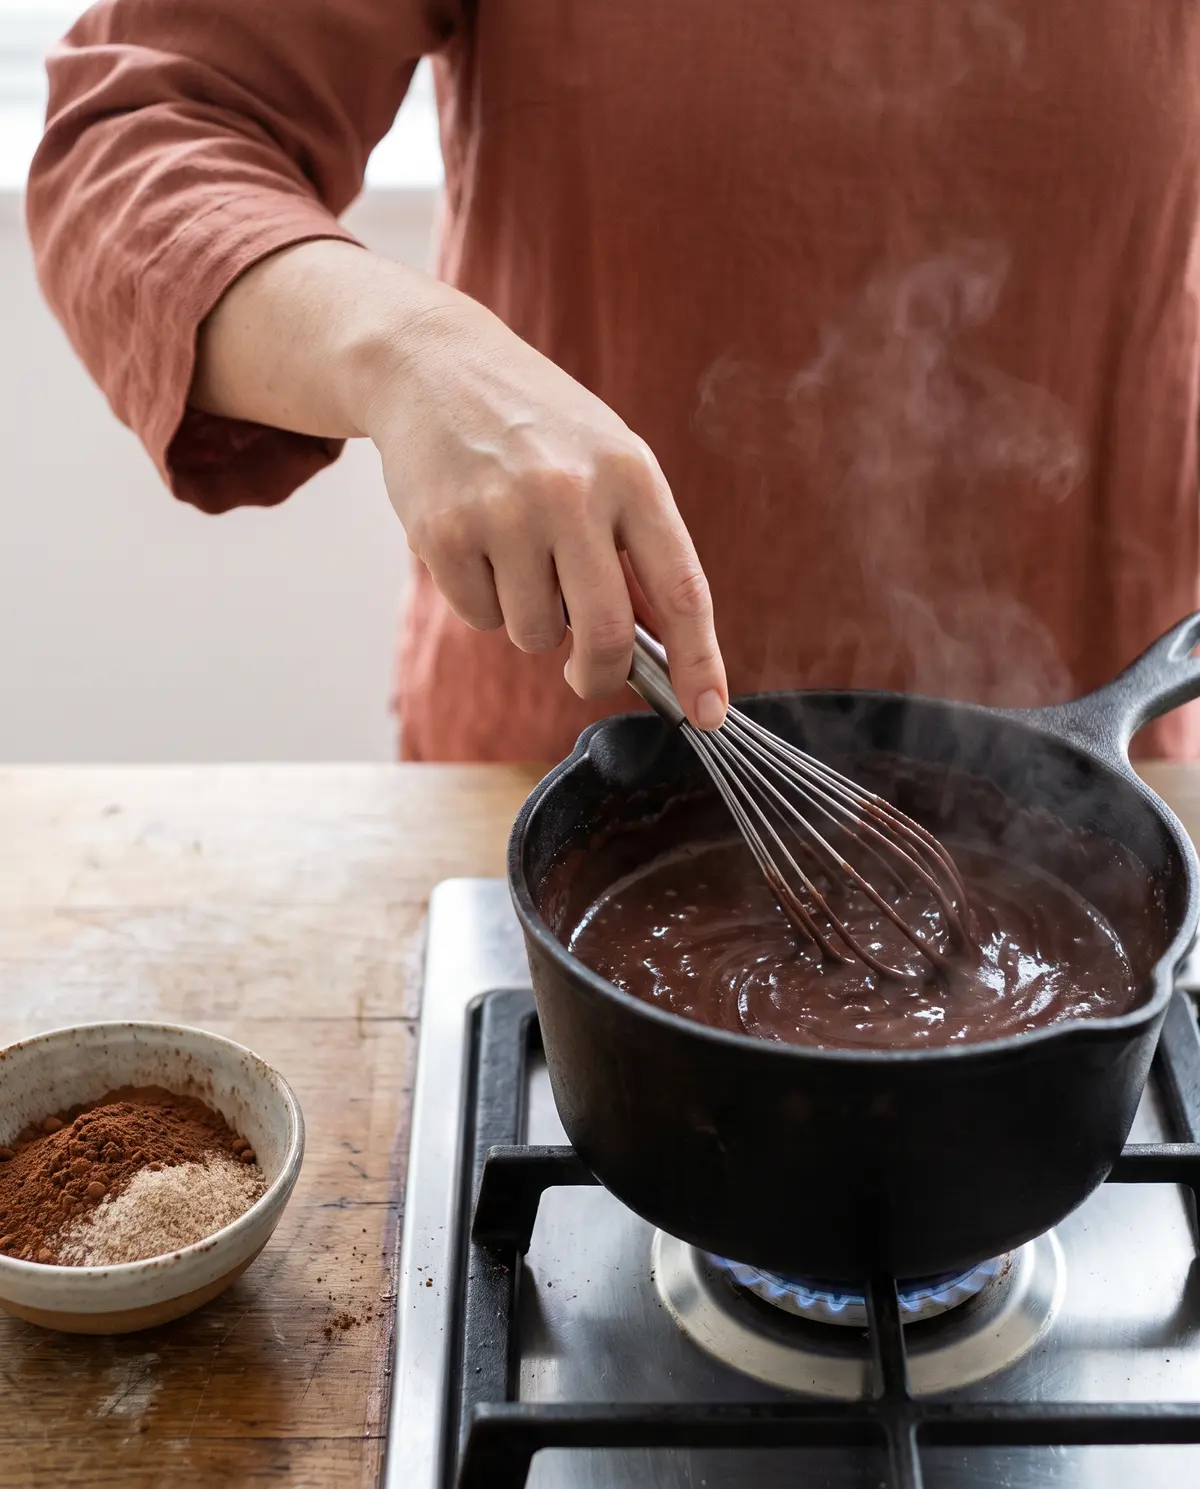
Step 3: Cook over medium heat, stirring constantly, until it boils. Keep your whisk moving — across the bottom, around the corners, never letting it sit still. Within about 5 to 7 minutes, the mixture will thicken and start to bubble. Once it hits a full rolling boil, let it bubble for a full 2 minutes. That boiling time is what cooks out the cornstarch flavor and gives you that clean, glossy set.
Step 4: Pull it off the heat and add the butter and vanilla. Stir until the butter has fully melted and disappeared into the pudding. The vanilla goes in last, off the heat, so its flavor stays bright. Take a tiny taste right now on a cool plate and adjust with a touch more sugar or salt if you like.
Step 5: Pour into cups and chill. Ladle the warm pudding into individual ramekins, small glass jars, or one big bowl. Press a piece of plastic wrap directly onto the surface — touching the pudding itself, not just covering the bowl. This is the only way to keep that dreaded skin from forming. Refrigerate for at least 2 hours, or up to 4 days.
Step 6: Top and serve. A swirl of barely-sweet whipped cream, a few chocolate shavings, and a tiny pinch of flaky salt on top. That’s all you need. If you really want to send Gina into orbit, add a few rainbow sprinkles on the kids’ portions and watch them light up.
Creative Twists to Try Next Time
- Espresso Chocolate Pudding: Stir 1 teaspoon of instant espresso powder into the dry ingredients. It deepens the chocolate without making it taste like coffee.
- Salted Caramel Pudding: Swap the cocoa for 1/2 cup plus 2 tablespoons, and swirl in 1/4 cup of thick salted caramel sauce right before chilling.
- Mexican Hot Chocolate Pudding: Add 1/2 teaspoon of ground cinnamon and a tiny pinch of cayenne to the dry mix. Warm, cozy, and just a little bit spicy.
- Dark Chocolate Decadence: Stir in 2 ounces of finely chopped dark chocolate (70% or higher) along with the butter at the end. Sinfully rich.
- Peanut Butter Swirl: Drop small spoonfuls of warm peanut butter into the pudding cups and swirl with a toothpick before chilling.
Serving & Pairing Ideas
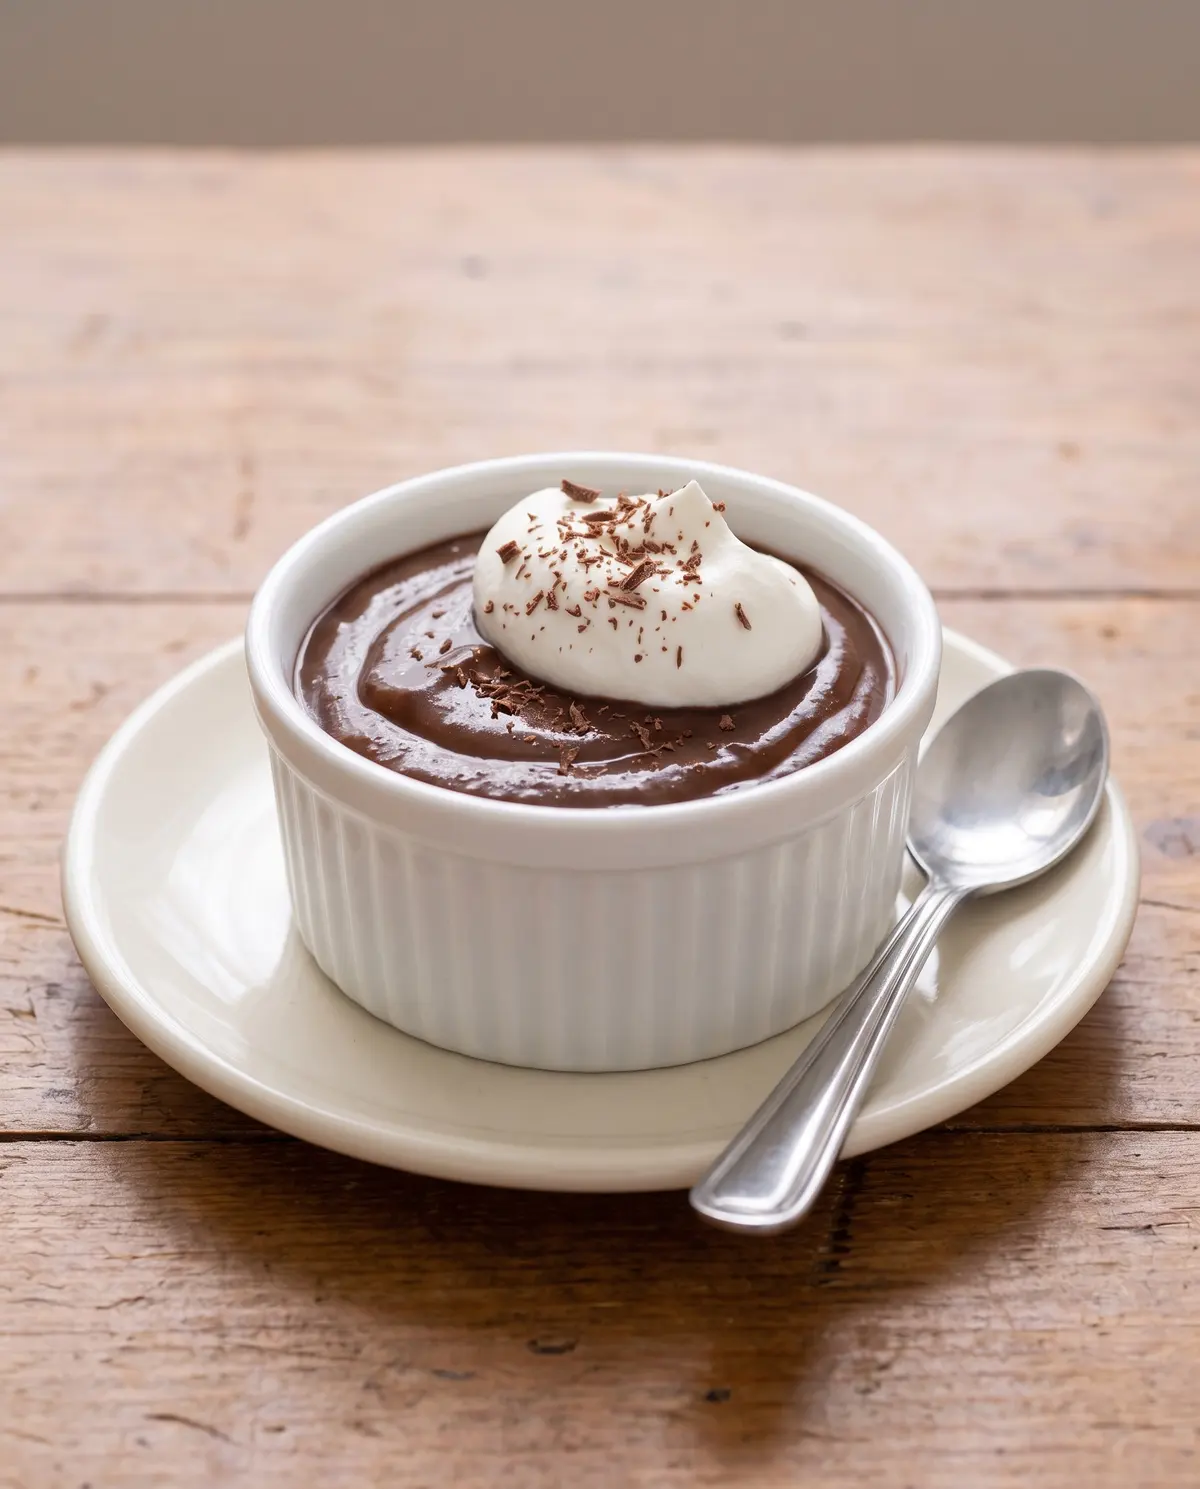
This pudding is a star on its own, but it loves company. Here is what I’d reach for, straight from my own kitchen:
- A warm spoon of fudgy brownies crumbled on top — it turns the pudding into a real sundae moment.
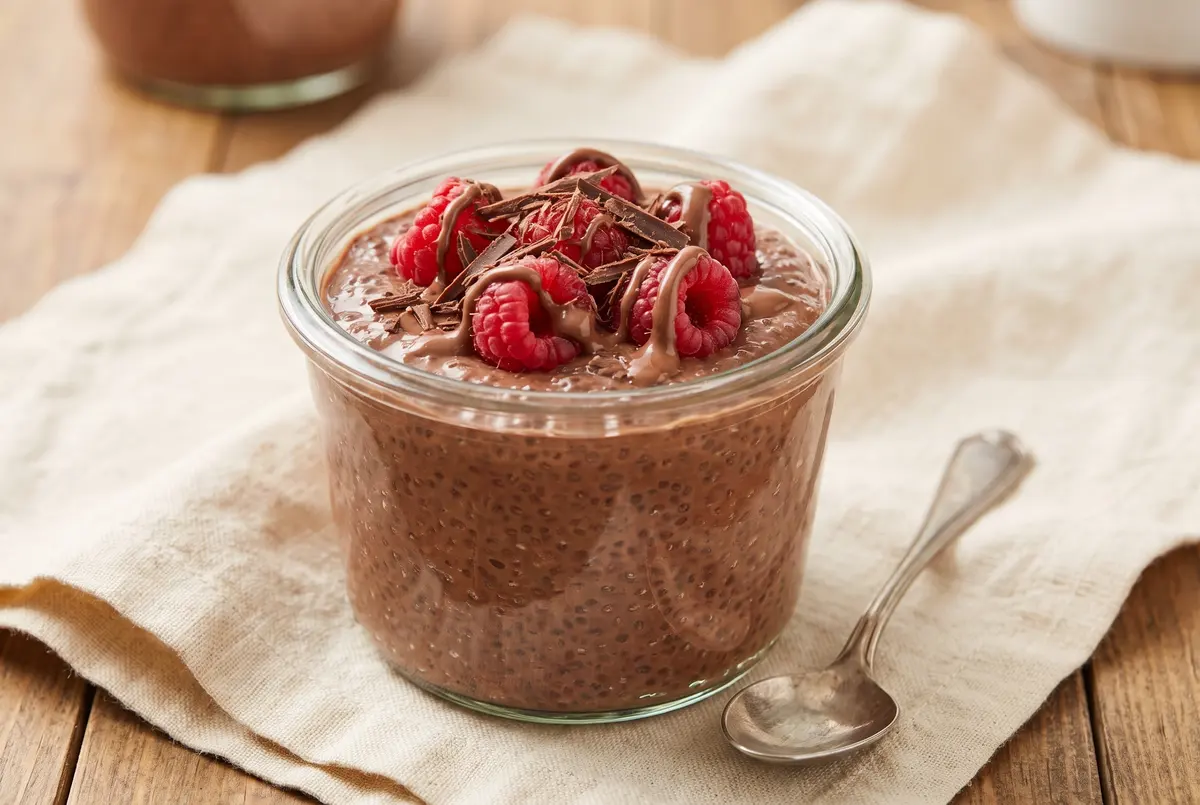
- Fresh raspberries or sliced strawberries tossed on top. The tart-sweet contrast is everything.
- A shortbread cookie on the side. My friend Gina swears by vanilla shortbread; I am partial to chocolate shortbread myself.
- A small espresso or a tall glass of cold milk. Trust me on this pairing.
- A scoop of vanilla bean ice cream dropped in while the pudding is still slightly warm. The melt factor alone will win hearts.
Why I Love This Chocolate Pudding
You know, I’ve been making this pudding for almost twenty years now, and it still makes me happy every single time. It’s the kind of recipe that doesn’t ask for much — no fancy equipment, no hard-to-find ingredients, no special occasion. You just need a pot, a whisk, and ten quiet minutes at the stove. So I share it with you in that same spirit — a recipe worth the few extra minutes, made with patience, and shared with people you love.
Storage and Make-Ahead Tips
- Fridge: Cover each ramekin tightly with plastic wrap (pressed right onto the surface) and refrigerate for up to 4 days.
- Make-ahead: This pudding actually tastes better on day two, once the flavors have had time to really settle in. Make it the night before a dinner party and thank yourself later.
- Freezer: You can freeze the pudding in airtight containers for up to 2 months. Thaw in the fridge overnight, then give it a vigorous whisk before serving to bring back that silky texture.
- Skin prevention: Always, always press plastic wrap directly onto the surface before chilling. Air is the enemy of a smooth pudding top.
Troubleshooting Your Chocolate Pudding
- Lumpy pudding? You probably added the milk too fast. Strain the warm pudding through a fine-mesh sieve before chilling — it will save the whole batch.
- Runny pudding? It didn’t cook long enough. Return it to the saucepan and boil for another 2 minutes, whisking constantly.
- Too thick? Whisk in a splash of warm milk until it loosens to the consistency you want.
- Gritty texture? The cornstarch wasn’t fully cooked out. Boil a touch longer next time — cornstarch needs that full 2-minute boil to lose its raw flavor.
- Bitter taste? Either your cocoa is old (cocoa loses its magic after about a year) or you accidentally used Dutch-processed instead of natural cocoa. Both still work, but they taste quite different.
Your Chocolate Pudding Questions, Answered
Can I use low-fat milk instead of whole milk?
You can, but the pudding won’t be as rich or as silky. Whole milk is the sweet spot here. If you want to go even richer, swap one cup of whole milk for half-and-half — Gina calls that the “special occasion version.”
Is there a way to make this dairy-free?
Yes! Use full-fat canned coconut milk in place of the whole milk, and coconut oil or a vegan butter stick in place of the butter. It will taste a touch tropical, but in a good way. Vanilla extract stays the same.
Can I use cornstarch substitutes?
You can swap cornstarch for an equal amount of arrowroot powder or tapioca starch. Both work beautifully. Just don’t use flour — the texture will be cloudy and the flavor a bit pasty.
How long does it keep in the fridge?
Up to 4 days, tightly covered. After that, it starts to lose its silky texture and the cocoa flavor dulls. Make a fresh batch on day five — your future self will thank you.
Can I make this in the microwave?
Honestly? Yes, in a large microwave-safe bowl, whisk the dry ingredients with the milk, then microwave on high in 2-minute bursts, whisking well between each, until it boils and thickens. It works, but the stovetop gives you more control. Stovetop is my favorite.
A Little Goodbye from My Kitchen
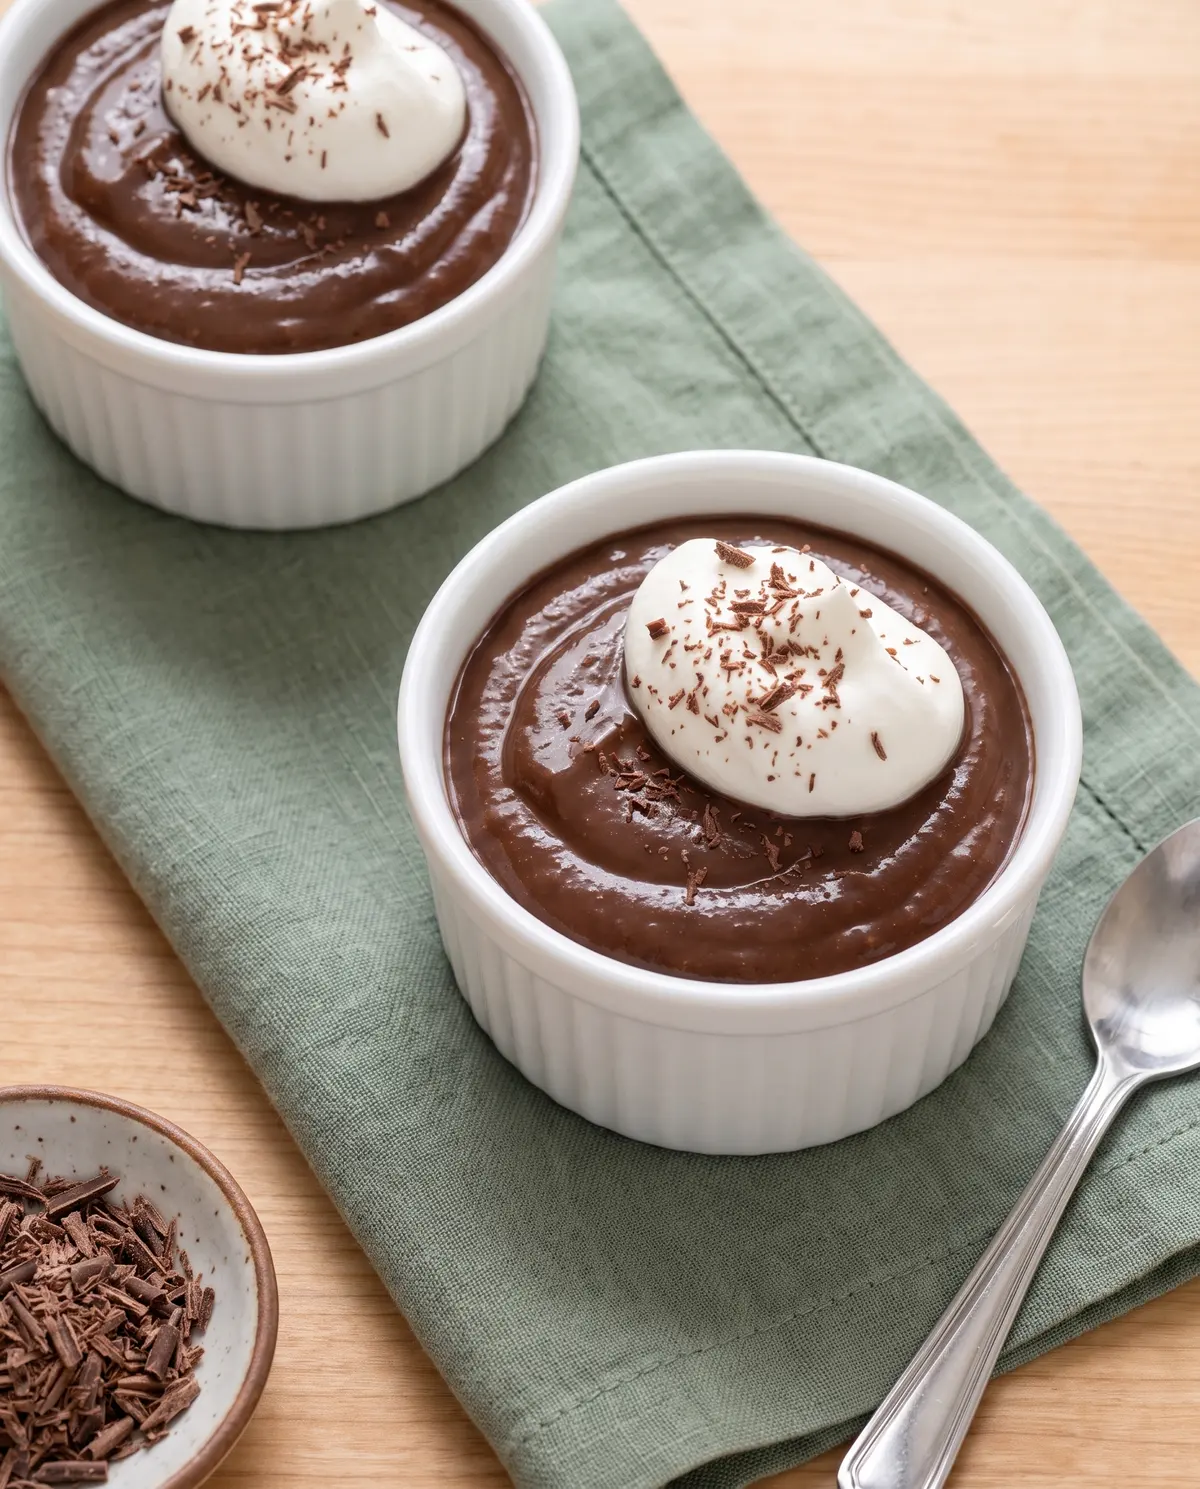
And there you have it, friend. A little pot of chocolate pudding, made with patience, stirred with love, and ready to bring everyone you share it with a little closer to the table. If you make it, I’d love to hear how it turned out — leave a comment and tell me classic or twisted. And if you’ve got a family member who claims they don’t like pudding, wait until they taste this. I have a feeling you’ll be converting a few skeptics.
If you’re a chocolate lover like me, you might also enjoy my mini chocolate lava cakes for a fancier dinner party, or these chocolate chip banana bread slices for a more casual afternoon. Both are made with the same simple, real-ingredient philosophy as this pudding. Until we’re stirring something delicious together again — thank you for being here. It means more than you know.
Happy baking!
—Marina Caldwell
Homemade Chocolate Pudding
Ingredients
- 1 cup granulated sugar
- 1/2 cup unsweetened baking cocoa
- 1/4 cup cornstarch
- 1/2 teaspoon fine salt
- 4 cups whole milk
- 2 tablespoons unsalted butter
- 2 teaspoons pure vanilla extract
- Optional: sweetened whipped cream, chocolate shavings, flaky sea salt
Instructions
- In a heavy-bottomed saucepan, whisk together the sugar, cocoa powder, cornstarch, and salt until evenly combined and no streaks remain.
- Slowly stream in the milk, whisking constantly, until completely smooth.
- Cook over medium heat, stirring constantly, until the mixture comes to a full rolling boil. Let it boil for 2 full minutes, still whisking.
- Remove from the heat and stir in the butter and vanilla until the butter is fully melted and incorporated.
- Ladle into individual ramekins or one large bowl. Press plastic wrap directly onto the surface and refrigerate for at least 2 hours.
- Top with whipped cream, chocolate shavings, and a tiny pinch of flaky sea salt just before serving.