
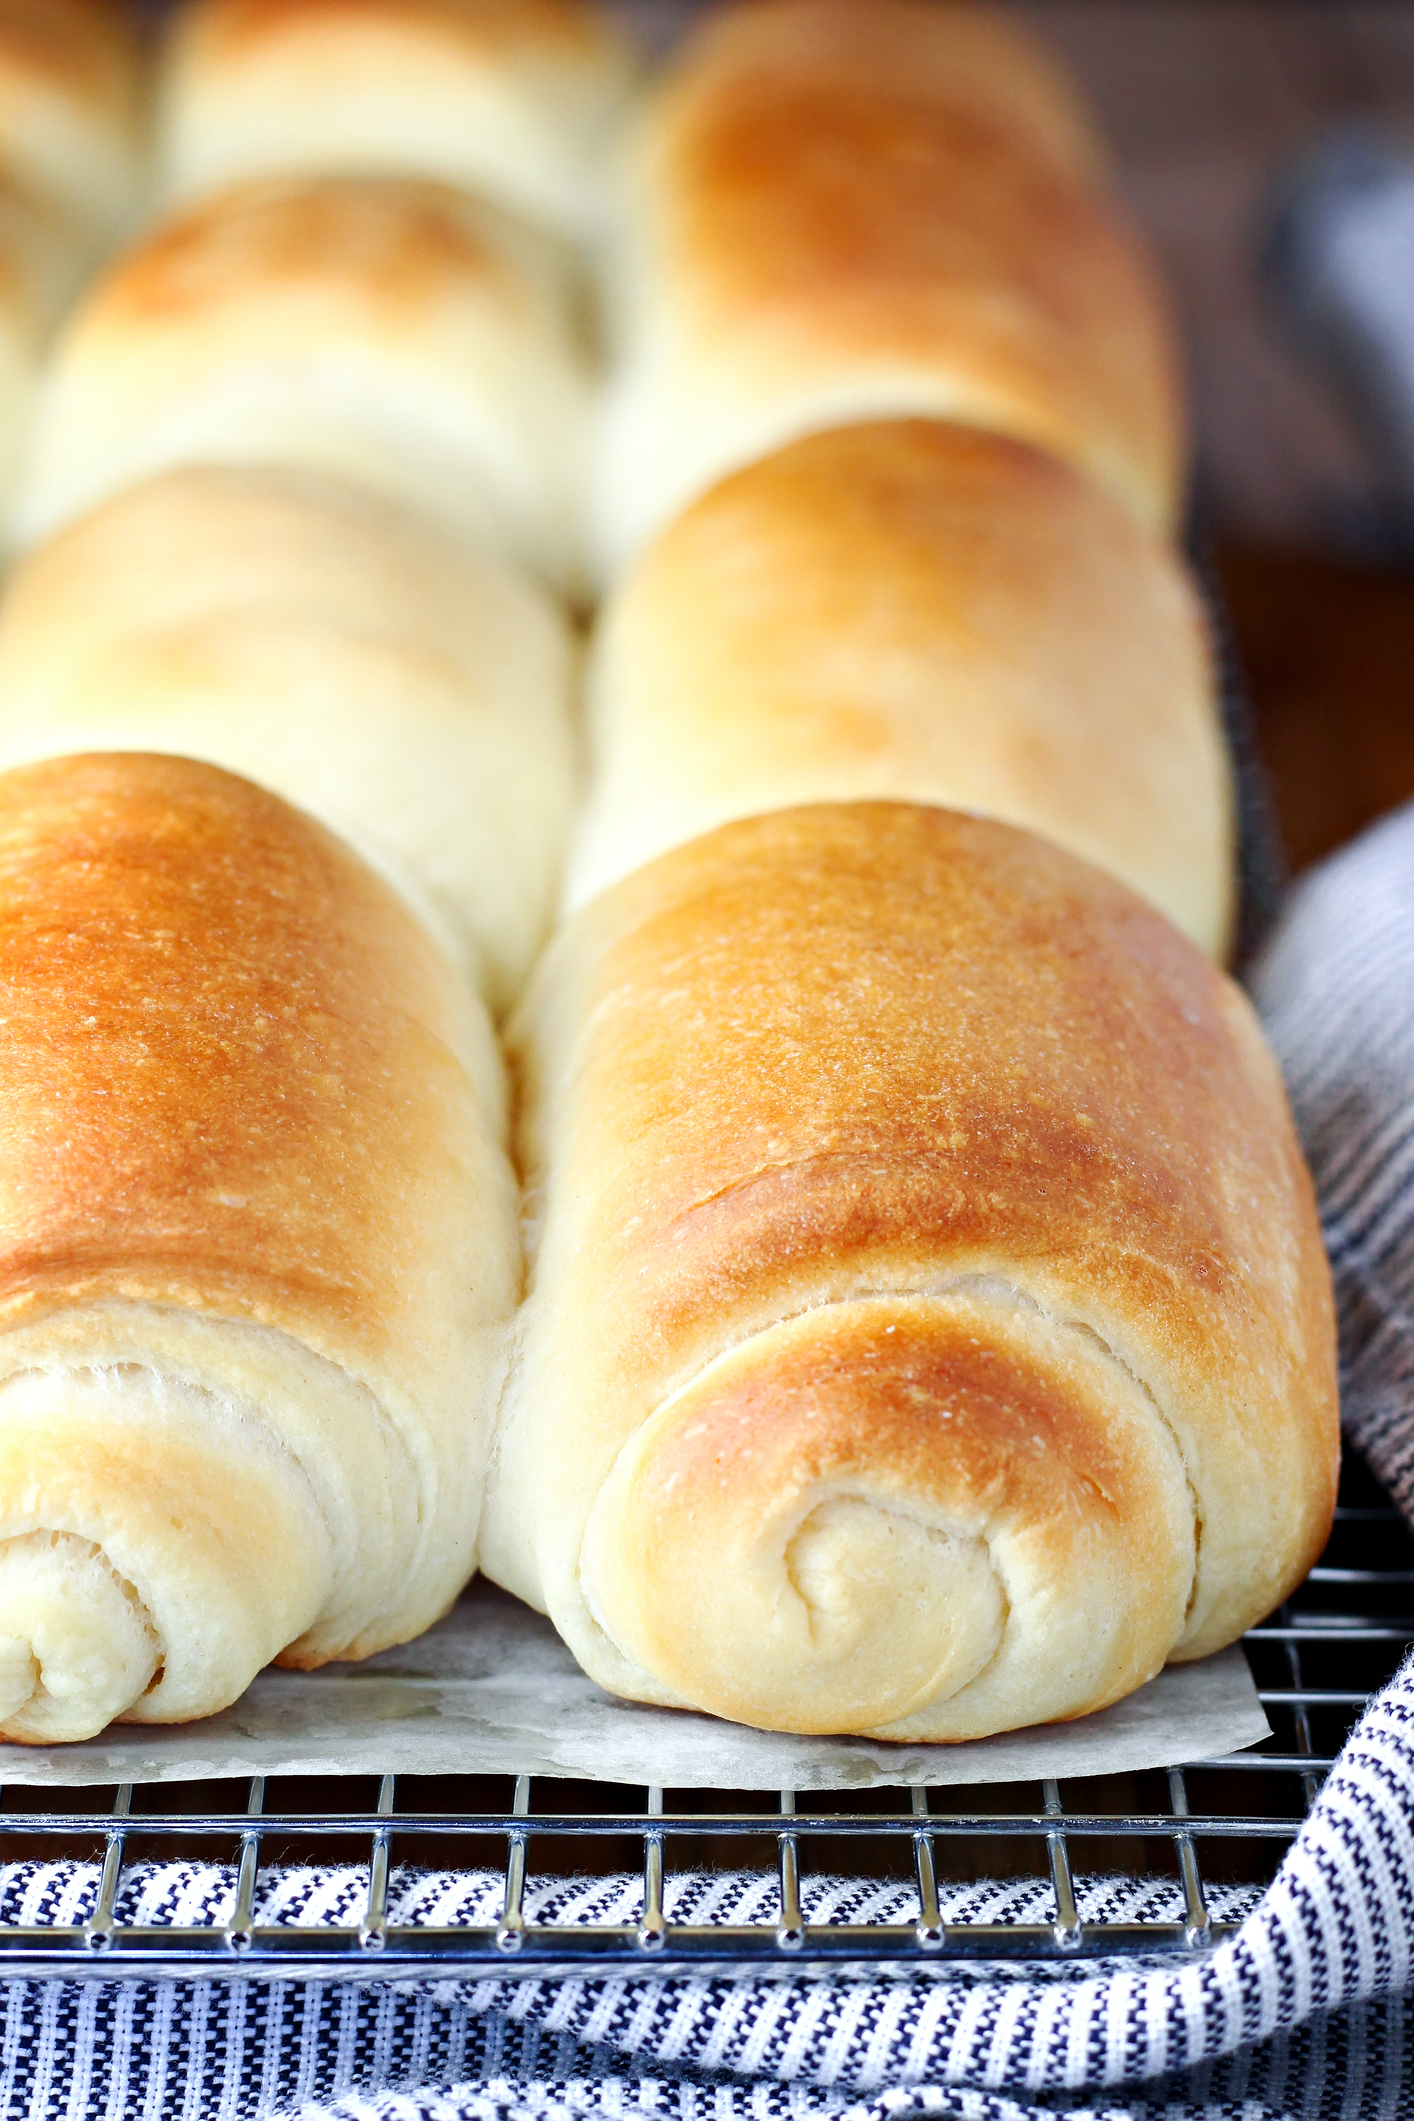
There Is Nothing Like a Warm Roll Right Out of the Oven
I have burned my tongue more times than I can count. And I would do it again.
Soft dinner rolls are the anchor of a good meal. They soak up gravy. They catch the butter that slides off your knife. They make everyone at the table slow down.

What Makes a Dinner Roll Actually Soft
The science is simpler than most recipes make it sound. You need fat, moisture, and proper gluten development.
Fat tenderizes the dough. Milk adds moisture and a slight sweetness. Kneading builds the structure that traps air and creates that fluffy interior.
Quick tip: Warm milk to exactly 110°F. Too hot kills the yeast. Too cold and the yeast stays sleepy. A thermometer is worth the few dollars.
The Step That Most People Rush
The first rise matters more than the ingredients. You need a full hour in a warm spot with no drafts.
Your dough should double. Not puff a little. Double. If it hasn’t, give it more time. Patience is the only shortcut that works.
Here is a surprising fact: The dough should feel slightly sticky before you knead it. Many home bakers add too much flour at this stage and end up with dense, dry rolls. Sticky is fine. Trust the process.
Common Misconceptions About Homemade Rolls
First misconception: You need a stand mixer. You don’t. Kneading by hand for 8–10 minutes works just as well. The mixer is faster, not better.
Second misconception: All-purpose flour is wrong. It’s exactly right. Bread flour can make rolls too chewy. Stick with AP flour for that melt-in-your-mouth texture.
Third misconception: You cannot freeze homemade rolls. You absolutely can. Bake them, cool them completely, wrap tightly, and reheat wrapped in foil at 325°F for 10 minutes. They taste fresh.
How to Know When They Are Done
The timer is a guide, not a ruler. Check at 18 minutes. The tops should be deep golden brown. Not pale. Not burnt. That amber color means the sugars have caramelized and the inside is cooked through.
Brush with melted butter the second they come out. That step adds flavor and keeps the crust soft. Let them rest five minutes in the pan, then transfer to a wire rack.
The One Thing Still Debated
Some bakers insist on an egg wash before baking for a shiny top. Others say butter after baking is enough. I have tried both. The egg wash gives a glossy crust. The butter-only method gives a softer, more rustic top.
Neither is wrong. Try both and decide which you prefer. That is the whole point of cooking at home.
One Last Thought Before You Bake
I have made these rolls for Thanksgiving, for weeknight soups, and for no reason at all. Every time, someone asks for the recipe. That never gets old.
Which part was most useful? I would honestly love to know. Was it the kneading tip? The butter hack? The freezing trick?
Was this helpful? If yes, save this and make them this weekend. You will not regret it.
What do you think about this? Tell me below!
—Marina Caldwell
Soft Homemade Dinner Rolls That Melt in Your Mouth
Ingredients
- 3 1/2 cups all-purpose flour
- 2 1/4 teaspoons active dry yeast
- 1 cup warm milk (110°F)
- 4 tablespoons unsalted butter, melted
- 2 tablespoons granulated sugar
- 1 1/2 teaspoons salt
- 1 large egg
- 2 tablespoons butter, for brushing
Instructions
- 1Whisk together warm milk, sugar, and yeast in a large bowl. Allow mixture to rest 5 minutes until a foamy layer develops on the surface.
- 2Beat in the melted butter, egg, and salt until fully incorporated into the yeast mixture.
- 3Add flour one cup at a time, stirring continuously until a soft, slightly tacky dough comes together.
- 4Turn dough onto a lightly floured surface and knead vigorously for 8-10 minutes until smooth and springy. Alternatively, use a stand mixer with a dough hook on medium speed for 6 minutes.
- 5Transfer dough to a lightly oiled bowl, cover tightly with plastic wrap, and set in a warm, draft-free spot for 1 hour until doubled in size.
- 6Gently deflate the dough and portion into 12 evenly sized pieces, rolling each between your palms into smooth balls.
- 7Arrange dough balls snugly into a greased 9×13 baking pan, cover loosely, and allow a second rise of 45 minutes until noticeably puffed.
- 8Preheat your oven to 375°F (190°C) during the final 15 minutes of rising.
- 9Bake for 18-22 minutes until the tops are deep golden brown.
- 10Pull from the oven and immediately coat the tops generously with melted butter.
- 11Rest rolls in the pan for 5 minutes before transferring to a wire rack to cool another 10 minutes before serving.
Notes
– For extra-soft rolls, avoid adding too much flour — the dough should feel slightly sticky before kneading. – Test your milk temperature with a thermometer; too hot will kill the yeast while too cool will prevent proper activation. – Rolls can be made ahead and frozen after baking — reheat wrapped in foil at 325°F for 10 minutes to restore freshness.


