Do you ever crave a cookie that’s fudgy, rich, and just a little bit salty around the edges? That’s exactly where these chocolate peanut butter cookies live. I keep coming back to them on Sunday afternoons when my friend Gina drops by — she swears chocolate and peanut butter were made for each other, and honestly, after the thousandth batch, I’m not arguing.
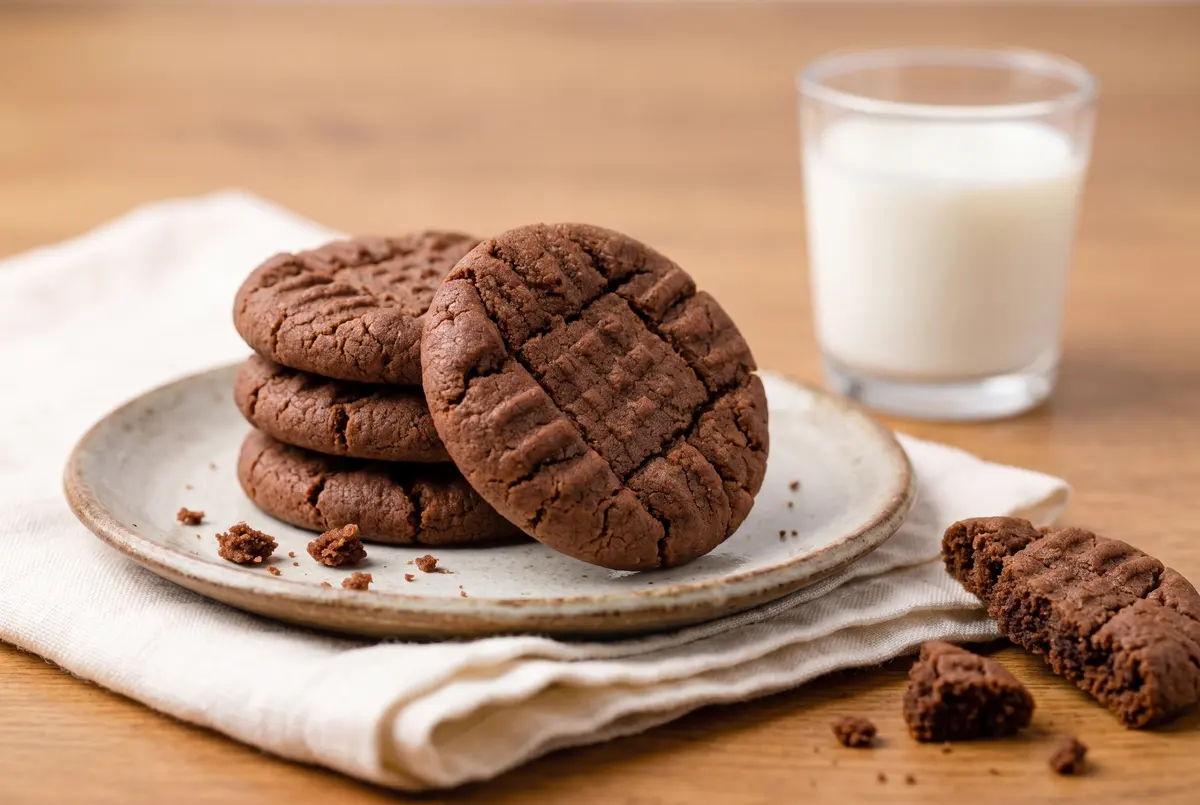
I learned to bake with my dad standing on a step stool beside him, and these cookies carry that same warm, slightly imperfect feeling. A crackled top, soft centers, a crisscross fork mark, and that signature salty-sweet bite. The kind of cookie that makes you close your eyes for just a second.
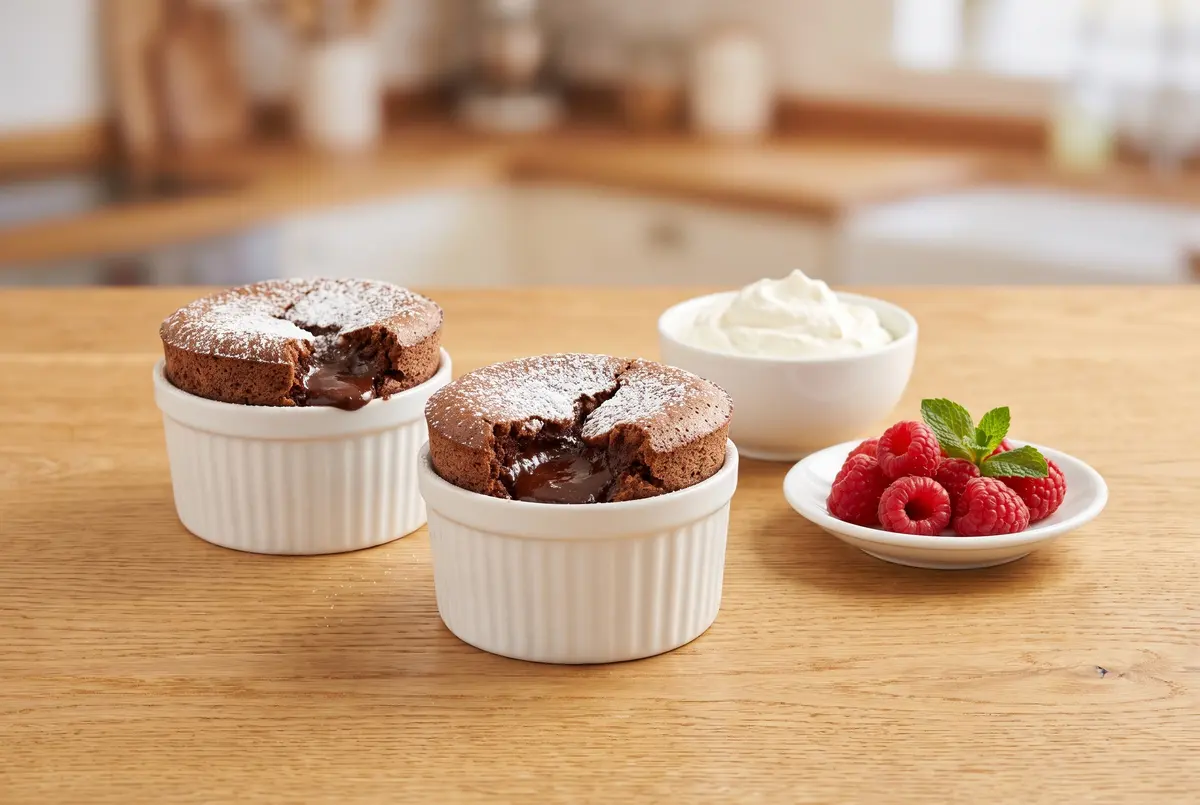
If you love my chocolate peanut butter brownies and my mini chocolate lava cakes, this cookie is going to be your new weeknight favorite. Same chocolate-and-peanut-butter DNA, just in a softer, chewier, less-fancy package.
Why These Cookies Taste Like More
The trick here is two simple things. First, the dough has to rest cold — even just thirty minutes in the fridge gives the butter and brown sugar a chance to firm up so the cookies bake up thick and chewy instead of thin and crispy. Second, the crisscross fork press isn’t just for looks. It flattens the dough evenly so every cookie bakes the same way, with soft middles and slightly crackled edges.
I also use commercial peanut butter (the kind you grew up with — Jif, Skippy, whatever your grandma had in the pantry). Natural peanut butters tend to separate and turn oily, and that oiliness makes the cookies spread way too much. I learned this the hard way, with one sad flat tray of pancakes. Don’t be me — reach for the shelf-stable jar.
Chocolate Peanut Butter Cookies
Yield: about 30 cookies · Prep: 15 minutes · Chill: 30 minutes · Bake: 8 minutes · Total: about 1 hour (including chill time)
Ingredients
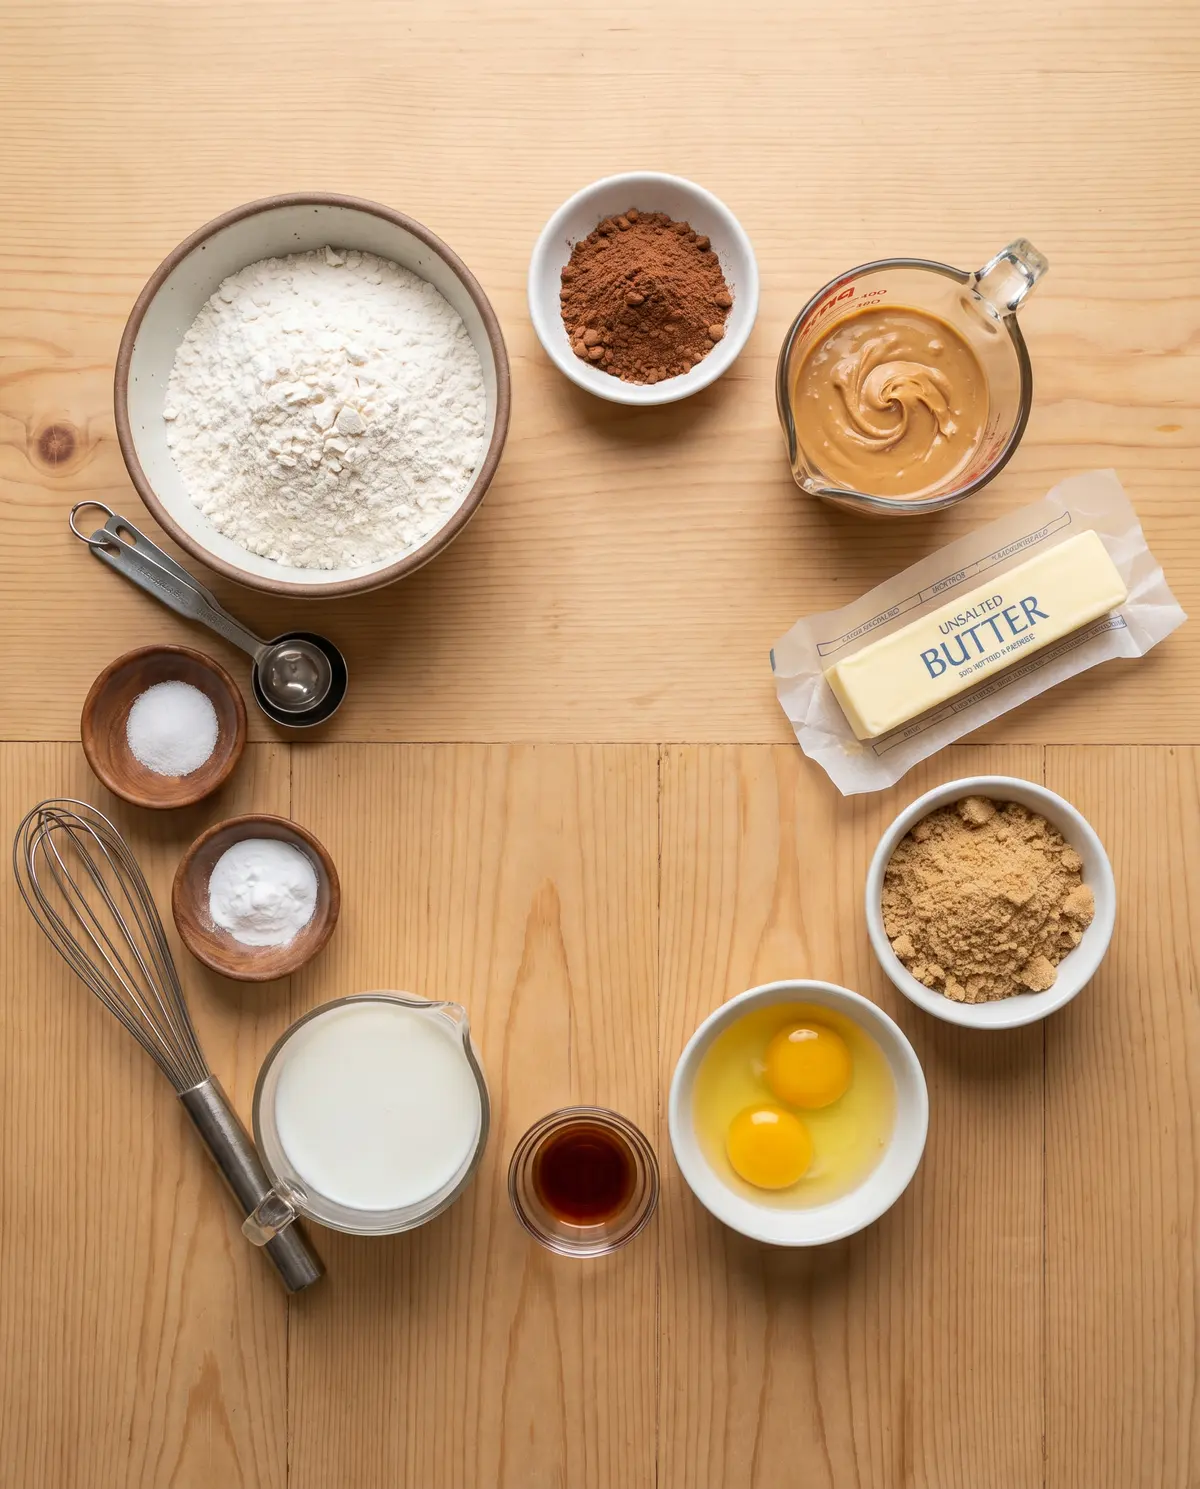
- ½ cup (113 g) unsalted butter, softened
- ¾ cup (210 g) creamy peanut butter (commercial, like Jif or Skippy)
- 1 ¼ cups (250 g) light brown sugar, packed
- 2 tablespoons milk
- 1 teaspoon vanilla extract
- 1 large egg, at room temperature
- 1 ¼ cups (163 g) all-purpose flour (spoon and level, or weigh)
- ½ cup (42 g) unsweetened natural cocoa powder
- ½ teaspoon salt
- ¾ teaspoon baking soda
Putting It All Together
Step 1 — Cream the butter, peanut butter, and brown sugar. In a large bowl, beat the softened butter, peanut butter, brown sugar, milk, and vanilla with an electric mixer on medium speed until smooth and a little fluffy, about 2 minutes. Add the egg and beat just until it’s combined. Don’t overmix at this stage — you want everything to come together, not get fluffy like cake batter.
Step 2 — Whisk the dry ingredients separately. In a small bowl, whisk the flour, cocoa powder, salt, and baking soda until the cocoa is evenly distributed and there are no streaks. Adding the dry ingredients gradually this way keeps the cocoa from clumping. Have you ever bitten into a cookie and gotten a bitter pocket of pure cocoa? That’s what we’re avoiding.
Step 3 — Combine and chill. Add the dry mixture to the wet bowl and mix on low speed just until you no longer see streaks of flour. Cover the bowl with plastic wrap and chill for 30 minutes. The dough will firm up and become scoopable. This rest is what gives the cookies their chewy-thick texture, so don’t skip it.
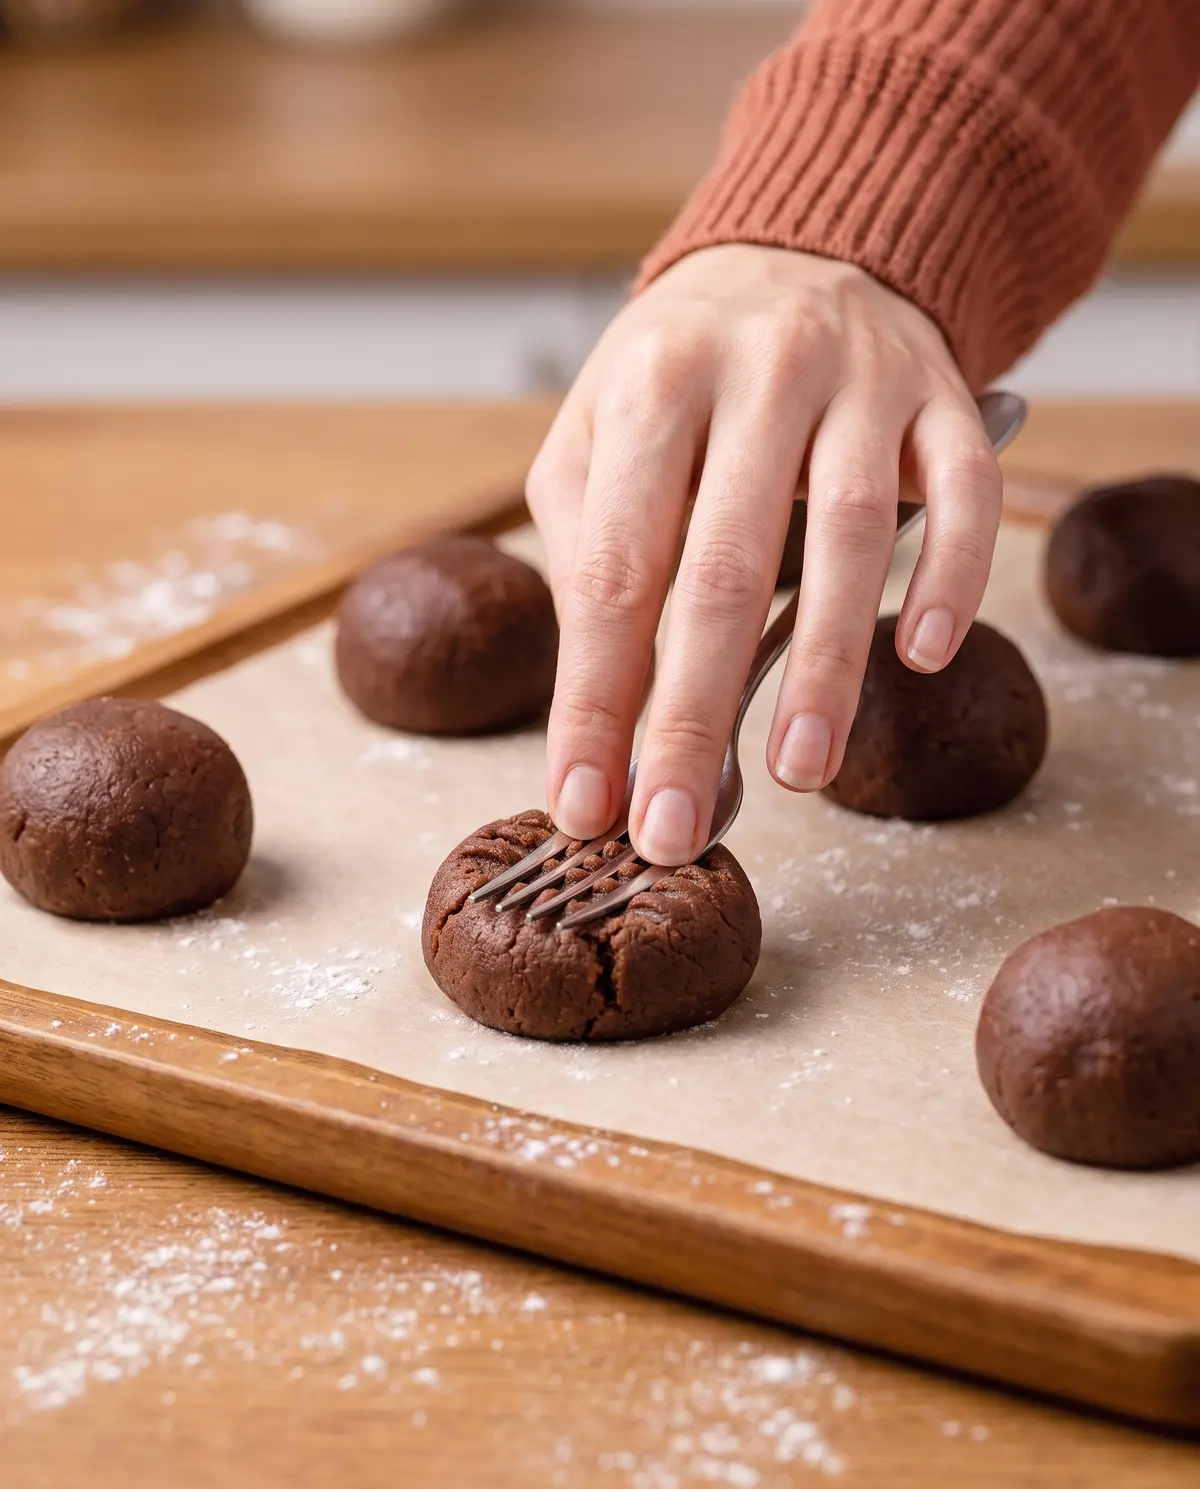
Step 4 — Scoop and crisscross. Preheat the oven to 375°F (190°C) and line two baking sheets with parchment paper. Using a 1.5 tablespoon cookie scoop, portion the dough into balls and place them 2 inches apart on the prepared sheets. Dip a fork in a little granulated sugar (so it doesn’t stick) and press a crisscross pattern onto each ball, flattening them to about ½-inch thick.
Step 5 — Bake just until set. Bake for 7 to 8 minutes. The cookies will look slightly underdone in the centers — that’s exactly right. They finish setting up on the pan. Take them out at the 7-minute mark if your oven runs hot. Cool on the pan for 5 minutes, then transfer to a wire rack to cool completely (or eat one warm with a glass of milk, no judgment here).
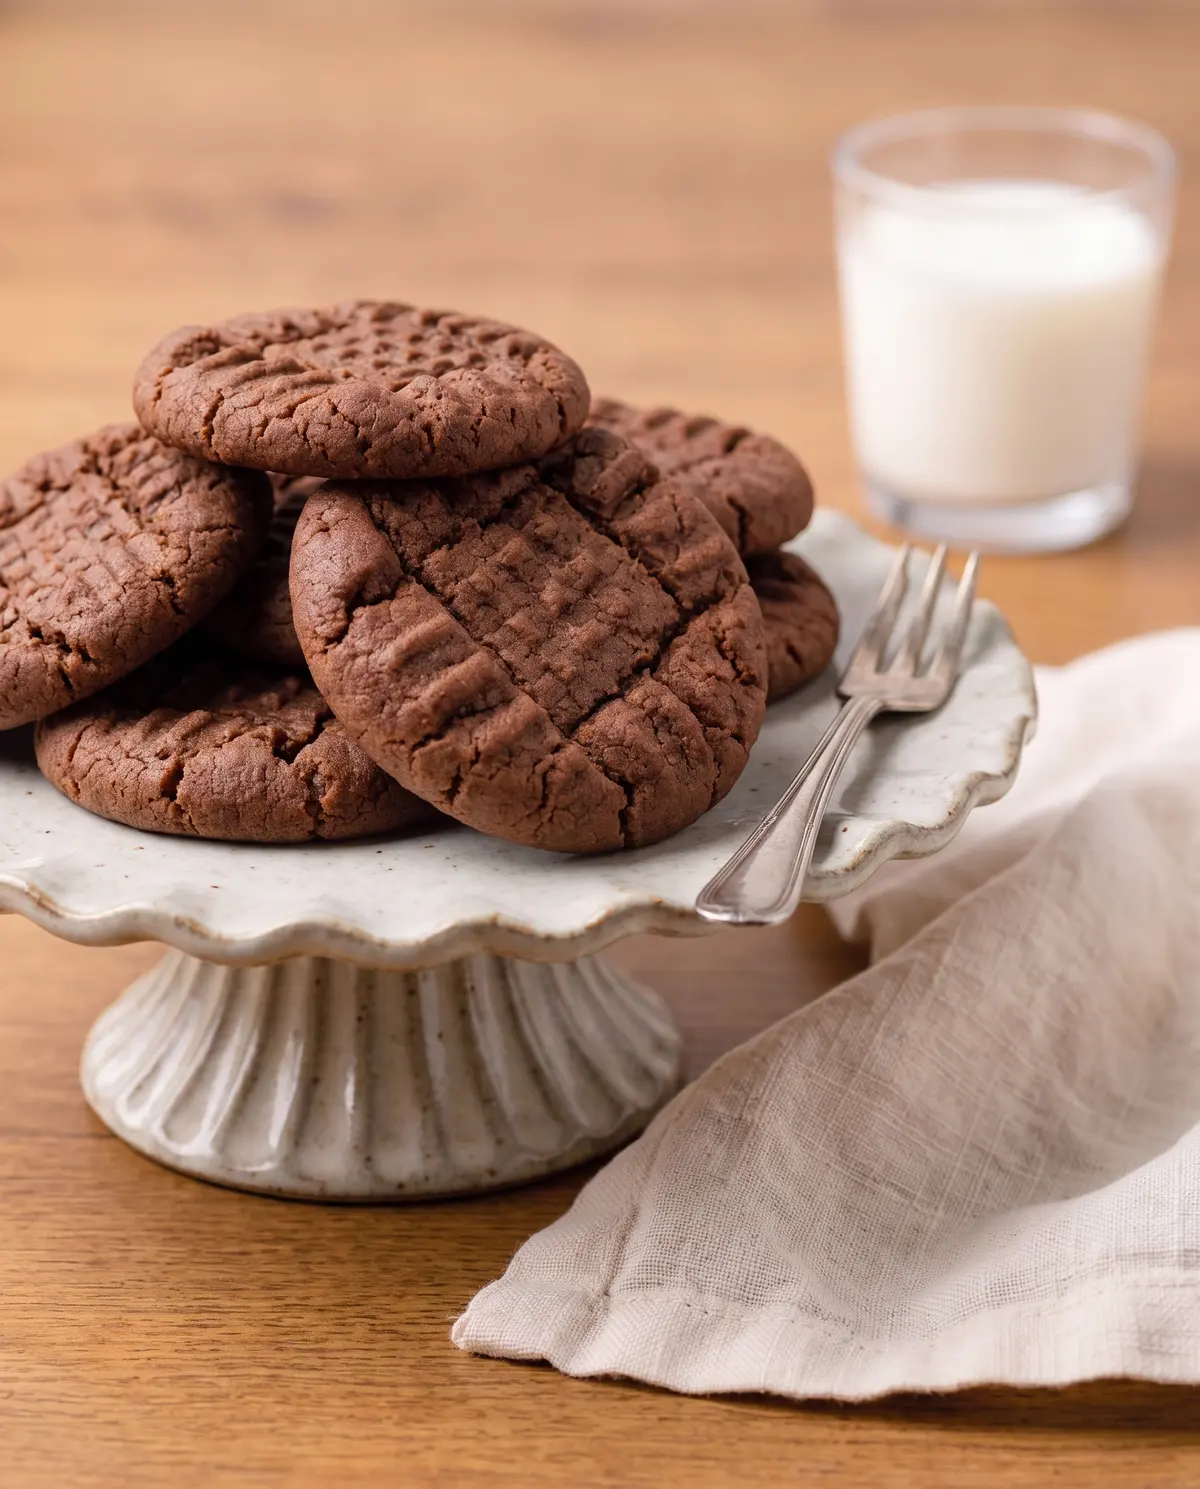
Step 6 — Cool and store. Once cool, store the cookies in an airtight container at room temperature for up to a week. They stay remarkably soft — that’s the brown sugar and peanut butter doing their work. If you’d like to freeze the dough, scoop the balls, freeze them on a sheet pan until solid, then transfer to a freezer bag. Bake straight from the freezer, adding 1 to 2 minutes to the bake time.
Creative Twists
- …Add ½ cup of semisweet chocolate chips to the dough for double-chocolate vibes
- …Press a mini peanut butter cup into the top of each warm cookie right out of the oven
- …Swap half the cocoa for matcha powder for a chocolate-matcha version (weirdly good)
- …Drizzle melted dark chocolate over the cooled cookies and finish with flaky sea salt
- …Use crunchy peanut butter instead of creamy for extra nutty texture
- …Roll the dough balls in granulated sugar before the crisscross press for a sparkly, bakery-style crackle
Serving & Pairing Ideas
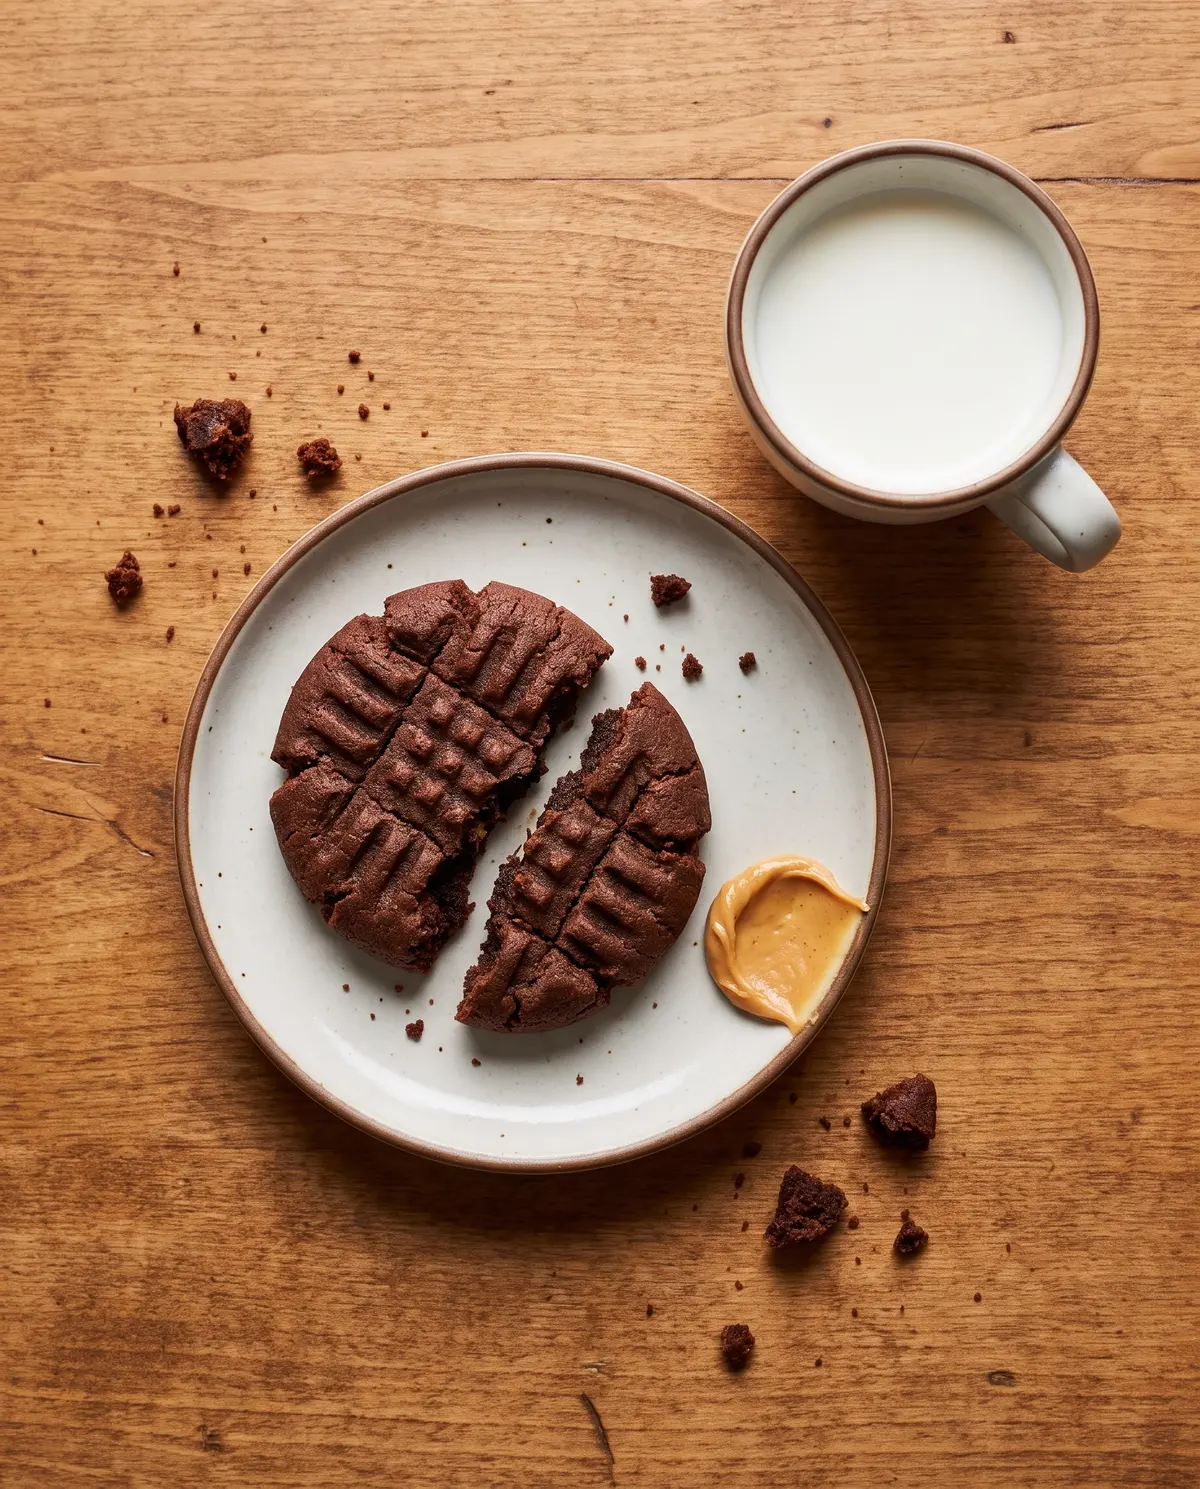
These cookies are perfect with a tall glass of cold milk — that’s the classic, and I’m not messing with it. They also pair beautifully with hot coffee or espresso. For dessert plates, sandwich a scoop of vanilla ice cream between two cookies for an instant ice-cream sandwich. If you want a real showstopper, crumble one over a sundae in place of hot fudge. Gina told me about that trick and I have not stopped using it.
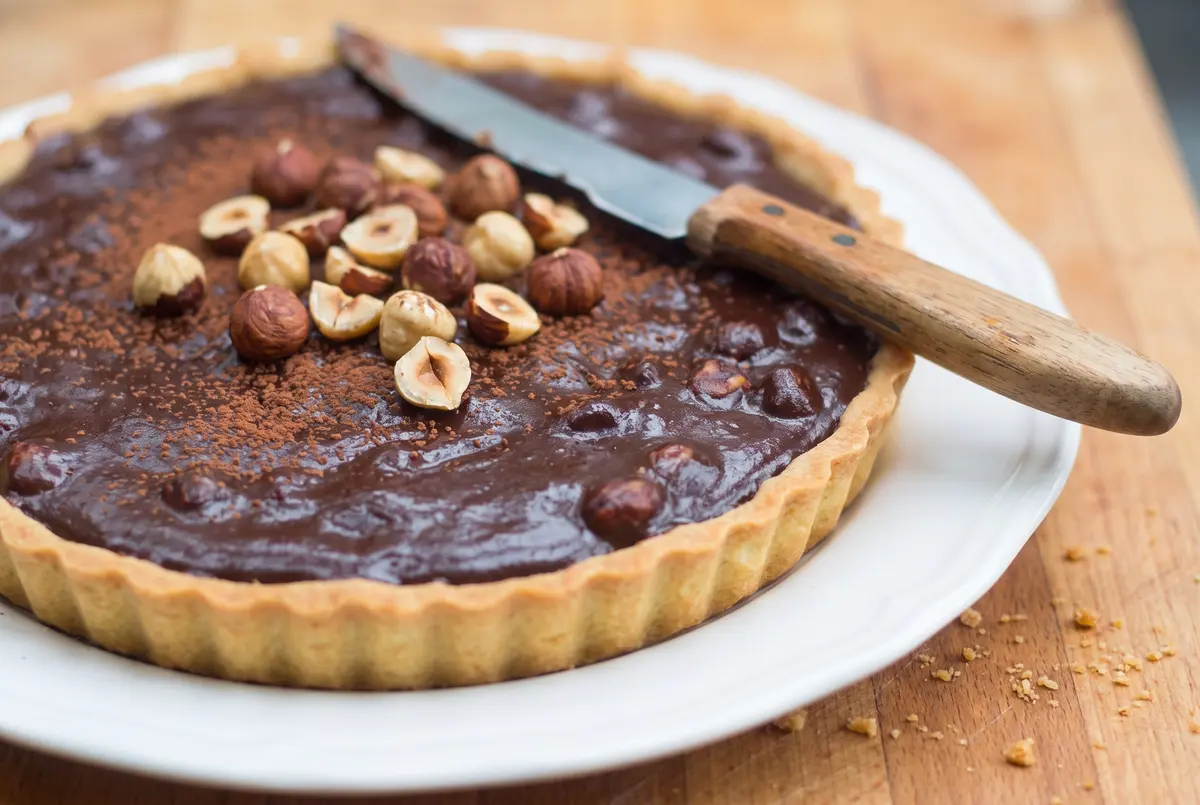
They also travel well — pack a few in a tin for a lunchbox treat, or stack them on a holiday cookie plate. If you love chocolate-peanut-butter combos, you should also try my chocolate chip cookie skillet with ice cream and my chocolate caramel tart for the same flavor family in a more dressed-up form.
Why I Love This Recipe
It’s the cookie I make when friends come over and I want to look like I have my life together. One bowl (well, two — the dry one barely counts), no mixer drama, no fancy ingredients. Just butter, peanut butter, cocoa, and a fork. And somehow it always disappears first from the cookie tray. Which one would you reach for first?
Storage and Make-Ahead Tips
These cookies keep beautifully in an airtight container at room temperature for up to a week. The brown sugar keeps them soft and chewy, so don’t refrigerate them — the fridge dries cookies out. For longer storage, freeze the baked cookies in a freezer bag for up to 3 months, with parchment between layers so they don’t stick.
To make ahead, scoop the dough balls and freeze them on a parchment-lined sheet pan. Once frozen, transfer to a freezer bag. Bake directly from frozen, adding 1 to 2 minutes to the bake time. The dough keeps in the freezer for 3 months, and in the fridge for 3 days. Fresh-baked cookies on a Tuesday morning? Yes, please.
Troubleshooting Your Cookies
Cookies spread too thin. Your butter was probably too soft, or you used natural peanut butter. Chill the dough longer next time (an hour instead of 30 minutes) and stick to commercial peanut butter.
Cookies are dry and cakey. You may have over-measured the flour. Always spoon and level (or weigh — 163 g is the magic number), and don’t pack the flour into the measuring cup.
The bottoms are browning too fast. Your oven might run hot, or you might be using a dark metal baking sheet. Try lining with parchment and dropping the temperature 25°F.
Cookies taste bitter. Check your cocoa — natural unsweetened cocoa is what you want. Dutch-process cocoa will change the flavor and may react differently with the baking soda.
Your Quick Questions, Answered
Can I use natural peanut butter? You can, but the cookies will spread more and the texture will be a little greasier. If that’s your jam, chill the dough for at least an hour to compensate.
Can I make these without an electric mixer? Absolutely. A wooden spoon and a little elbow grease will do the job. Just make sure your butter is truly softened so it creams easily.
How do I know when they’re done? The edges will look set and the centers will look a little underdone. They firm up as they cool on the pan, so don’t wait for the centers to look “baked” in the oven.
Can I freeze the baked cookies? Yes — they freeze beautifully for up to 3 months in a freezer bag. Thaw at room temperature for about 20 minutes before serving.
Can I make them gluten-free? A 1:1 gluten-free flour blend should work here. Let me know how they turn out in the comments — I’m curious whether the texture holds up.
A Little Goodbye from My Kitchen
That’s the whole recipe — a soft, fudgy chocolate peanut butter cookie that tastes like a hug from your favorite aunt. I hope you make a batch this weekend, share them with someone you love, and let me know how they turn out. Which one are you going to try first — the classic version or the chocolate chip twist?
If you make these cookies, send me a picture on the blog. I love seeing your kitchens and your smiles. Until next time, keep your whisk close and your oven warm.
Happy baking!
—Marina Caldwell
Chocolate Peanut Butter Cookies
Prep: 15 minutes · Chill: 30 minutes · Bake: 8 minutes · Yield: 30 cookies
Ingredients
- ½ cup (113 g) unsalted butter, softened
- ¾ cup (210 g) creamy peanut butter (commercial, like Jif or Skippy)
- 1 ¼ cups (250 g) light brown sugar, packed
- 2 tablespoons milk
- 1 teaspoon vanilla extract
- 1 large egg, at room temperature
- 1 ¼ cups (163 g) all-purpose flour
- ½ cup (42 g) unsweetened natural cocoa powder
- ½ teaspoon salt
- ¾ teaspoon baking soda
Instructions
- Preheat the oven to 375°F (190°C). Line two baking sheets with parchment paper.
- In a large bowl, beat the butter, peanut butter, brown sugar, milk, and vanilla with an electric mixer on medium speed until well blended. Add the egg and beat just until combined.
- In a small bowl, whisk the flour, cocoa powder, salt, and baking soda. Add to the wet mixture and mix on low just until combined.
- Cover and chill the dough for 30 minutes.
- Scoop 1.5-tablespoon balls onto the prepared sheets, 2 inches apart. Press a crisscross pattern with a sugared fork.
- Bake 7–8 minutes, until set. Cool on the pan for 5 minutes, then transfer to a wire rack.