

My daughter asked for this three weeks in a row.
She didn’t ask for it nicely the first time — she just said “can you make that cake again” before I’d even put the dishes away. I hadn’t planned to make it a regular thing.
The ganache was still setting when she ate the first slice. I told her to wait an hour. She waited maybe fifteen minutes.
Not the most controlled testing environment.
The coffee, before you skip it.
I know. You see “1 cup strong black coffee” and you think the cake is going to taste like espresso. It doesn’t. What it does — and I didn’t believe this until I tasted both versions back to back — is make the chocolate taste more like chocolate.
I skipped it the first time because I didn’t have any brewed and didn’t feel like making a pot just for a cake. I used hot water instead. The cake was fine. Genuinely fine. But the version with coffee had this deeper, slightly bitter edge that made the ganache seem less sweet by comparison, and the whole thing felt more balanced.
So. Make the coffee.
Don’t overmix the batter once the wet and dry ingredients come together — I did this the second time I made it, kept stirring because the batter looked lumpy, and the crumb came out tighter than I wanted. Just blend until you stop seeing dry flour. That’s it.
Quick tip: Let the coffee cool slightly before adding it to the egg mixture. I poured it in too hot once and the eggs started to cook at the edges of the bowl. The cake still worked but it was annoying.
About the ganache — I almost gave up on it.
The first time I made this ganache, it seized. I added the cream too fast, I think — poured it all at once instead of letting the chocolate absorb it first. What I had was this thick, grainy paste that looked like it had curdled, and I stirred it for three minutes getting increasingly frustrated.
I served it anyway.
It tasted fine — the graininess smoothed out a little once the butter went in — but it wasn’t glossy the way it should be, and it didn’t pour well. I had to spread it with a spatula and you could see the drag marks.
Heat the cream until it’s steaming but not boiling, pour it over the chopped chocolate, then leave it alone for a full minute before touching it. One minute feels longer than it is when you’re standing there. I thought about adding paprika to the ganache at some point — actually no, I don’t know why I considered that, skip it.
The butter goes in after the chocolate is smooth, not before. Adding it early made mine break once.
The raspberries, and why fresh matters here.
Frozen raspberries release too much liquid when they thaw, and that liquid bleeds into the ganache and makes a mess — not a pretty mess, just a wet one. I tried it once with frozen because I didn’t want to go to the store, and the middle layer looked like it was melting from the inside out.
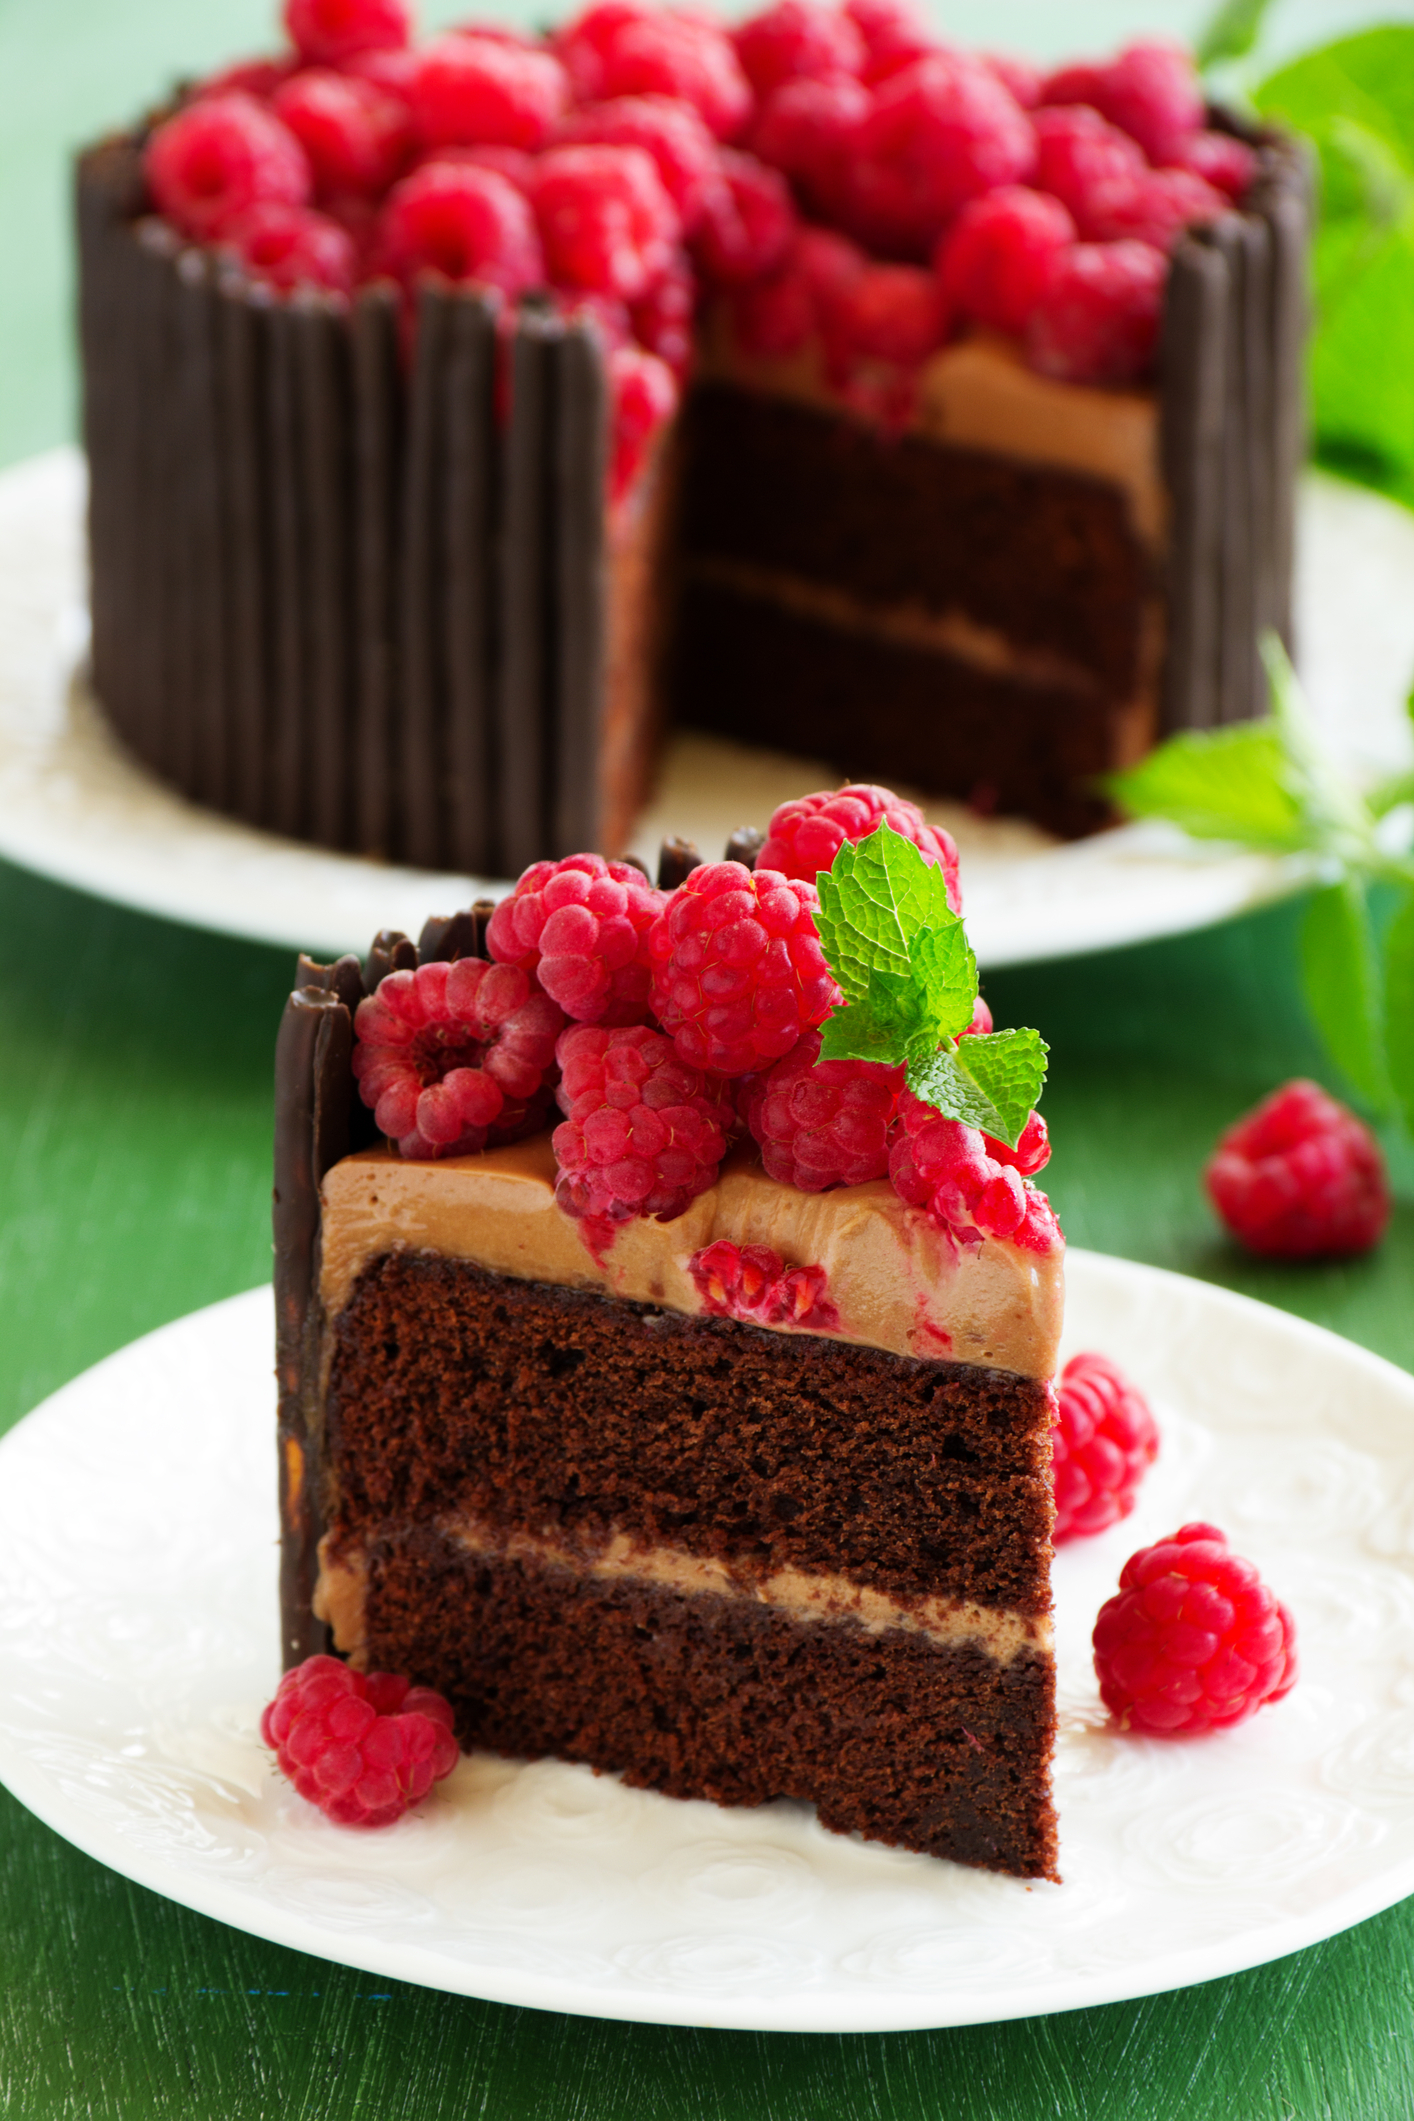
Fresh ones hold their shape. They sit on top of the ganache without sinking in too far, and when you cut the cake, you can actually see them in cross-section. That matters, at least visually.
Don’t press them in. Just scatter them — half on the first layer, the rest on top as garnish. The ganache is sticky enough that they won’t slide off once it sets.
What the bake actually looks like.
350°F, two 9-inch pans, 30 to 35 minutes. The tops will look matte and set when they’re done — not shiny, not wet. Mine pulled very slightly from the edges at about 32 minutes. I tested with a toothpick at 30 and got a few damp crumbs, then again at 33 and it came out clean.
Let them sit in the pans for 10 minutes before flipping. I rushed this once — flipped at about 6 minutes — and the top layer cracked down the middle. Not enough to fall apart, but I had to arrange the garnish very deliberately to hide it.
The cakes need to be completely cool before the ganache goes on. Completely. I know this feels unnecessary. Warm cake melts ganache and then you get a glossy puddle and a very sad-looking dessert.
Wire racks, room temperature, at least 45 minutes. Longer if your kitchen runs warm.
Chilling it — and whether it’s actually necessary.
Most recipes say to chill for an hour. They’re not wrong, but they don’t tell you what happens if you skip it: the ganache stays soft, the layers slide when you cut, and the raspberries roll. I tried to serve it at the one-hour mark once and the slice leaned like it was tired.
Two hours is better. I know that extends an already 55-minute recipe into something you have to plan for, but the structure is noticeably different. The ganache firms into something you can cut cleanly through, and the raspberries stay where you put them.
Honestly? The second day is even better. The flavors settle, the coffee notes fade a little, and the chocolate takes over. My daughter ate a slice cold, straight from the fridge, and said it tasted like a truffle.
She’s not wrong.
How to Make It
Step 1: Preheat your oven to 350°F (175°C). Grease and flour two 9-inch round cake pans. I use softened butter for the grease and then shake flour around the inside until it’s coated — tap out the excess over the sink. (If you skip the flour and just grease, the cakes can stick at the edges. I learned this the hard way.)
Step 2: In a large bowl, whisk together the flour, sugar, cocoa powder, baking soda, baking powder, and salt. The cocoa powder tends to clump — break it up with the whisk before you stop. Uneven dry ingredients means uneven rise and I’ve had one side of a layer come out nearly half an inch taller than the other.
Step 3: In a separate bowl, beat the eggs lightly, then mix in the coffee, buttermilk, vegetable oil, and vanilla extract. Make sure the coffee isn’t hot at this point. I combined the wet ingredients and then watched the edges of my egg-coffee mixture start going opaque once, and I had to fish out a small scrambled bit before it went into the batter.
Step 4: Add the wet mixture to the dry and stir until just combined. Stop as soon as you don’t see streaks of flour. The batter will look thin — thinner than you might expect from a cake batter. That’s correct. (Overmixing at this stage develops the gluten and gives you a dense, chewy crumb instead of a tender one.)
Step 5: Divide the batter evenly between the two prepared pans. I use a ladle and count scoops to keep them roughly equal — otherwise one layer ends up noticeably thicker. Bake for 30 to 35 minutes, rotating the pans halfway through if your oven runs hot on one side. Did your layers bake unevenly? Tell me what happened below!
Step 6: Cool the cakes in their pans for 10 minutes on a wire rack, then turn them out and let them cool completely — at least 45 minutes, more if needed. While they cool, make the ganache: heat the heavy cream in a small saucepan until steaming but not boiling, then pour it over the chopped chocolate in a heatproof bowl. Wait one full minute, then stir from the center outward until smooth. Stir in the butter until it melts in completely.
Step 7: Let the ganache cool to room temperature, stirring every 10 minutes or so. It should thicken to something pourable but not runny — it coats the back of a spoon when it’s ready. This took about 25 minutes in my kitchen, longer in summer.
Step 8: Place one cake layer on a serving plate. Spread a layer of ganache over the top — not too thick — then scatter half the fresh raspberries across it. Set the second layer on top, pressing gently so it sits level. Pour the remaining ganache over the top, letting it run down the sides naturally. Arrange the remaining raspberries on top and dust lightly with powdered sugar.
Step 9: Chill the assembled cake for at least one hour before slicing. Two hours is better. The ganache needs time to firm up or the layers will shift when you cut.
Ways to Change It Up
Try this: Swap the raspberries for blackberries. They’re less tart, a little muskier, and they hold up slightly better in the ganache layer because they’re firmer. I liked the combination — it reads as more autumnal somehow.
Try this: Add a thin layer of raspberry jam between the ganache and the fresh raspberries on the middle layer. About two tablespoons, spread directly on the ganache before you add the berries. It intensifies the fruit flavor without changing the texture of the cake.
Try this: Whip some of the heavy cream with the powdered sugar before using it — skip the ganache on the middle layer and use softly whipped cream instead. You still pour ganache over the top, but the inside is lighter. My husband prefers this version. I think the ganache throughout version is better, but that’s not a unanimous opinion in my house.
Which would you go for? Drop it in the comments.
How to Serve It
Cold, straight from the fridge, with nothing else. The ganache is firm, the raspberries are bright against all that dark chocolate, and the powdered sugar is still visible if you didn’t overdo it.
If you want to go the other direction — serve it slightly warm — take a slice out of the fridge 20 minutes before eating. The ganache softens back to almost-pourable and the whole thing becomes a lot messier and a lot more enjoyable depending on your mood.
A small scoop of vanilla ice cream next to a warm slice isn’t wrong. That’s not a revolutionary suggestion but it’s true.
What would you pair it with?
Storing It Without Ruining It
The assembled cake keeps in the fridge for about 4 days, covered loosely with plastic wrap or a cake dome. I say loosely because pressing the wrap directly against the ganache pulls off the raspberries when you peel it back, which is annoying every single time.
You can freeze the unfrosted cake layers, wrapped tightly in two layers of plastic, for up to a month. I’ve done this and it works, but the layers need to thaw completely before you assemble — assembling while even slightly frozen makes condensation pool under the ganache.
Don’t freeze the assembled cake with the ganache and raspberries already on it. The raspberries turn to mush when they thaw and drag the garnish into something that looks like it had an accident.
Reheating individual slices: 10 seconds in the microwave is usually enough. Fifteen if the ganache looks completely matte and cold.
Have you ever saved leftovers like this? Tell me below!
Mistakes I Made So You Don’t Have To
I once used Dutch-process cocoa when the recipe called for natural unsweetened. The leavening reacted wrong, the cake barely rose, and the layers came out dense and slightly rubbery. They were about half as tall as they should have been. I served them anyway and called it a “flourless-style” cake to my sister, who didn’t believe me.
I added the raspberries to the batter itself — I thought folding them in would make it more interesting. They bled purple into the chocolate, the batter turned an odd grayish color, and the pieces of raspberry mostly disintegrated during baking. The flavor was fine. The appearance was not.
I rushed the ganache cooling. I needed to leave and figured the ganache was cool enough — it wasn’t. It was still warm enough to make the top layer of cake slide sideways when I set it down. I caught it before it fell, but the assembly was off-center for the rest of the evening and the ganache pooled unevenly to one side.
Did something like this happen to you?
Questions I’ve Actually Been Asked
Can I use milk instead of buttermilk? You can, but it’s not the same. Buttermilk reacts with the baking soda in a way regular milk doesn’t, and the crumb ends up slightly more tender. If you don’t have buttermilk, add a tablespoon of white vinegar to a cup of regular milk and let it sit for 5 minutes — it’s not identical but it’s close.
Can I skip the coffee? Yes. Use hot water instead — same amount. The cake will still work. But I tried this once and the chocolate flavor was noticeably flatter. It depends on whether that matters to you.
How far ahead can I make this? The layers can be baked 2 days ahead, wrapped and refrigerated. The ganache can be made a day ahead and rewarmed gently. Fully assembled, it holds well for about 4 days. And honestly — day two is the best day.
My ganache is too thick to pour. What do I do? Warm it. Set the bowl over a pot of barely simmering water for 30 seconds at a time, stirring between each interval. Don’t microwave on high — it can scorch. I’ve overheated ganache this way and it goes grainy again.
Can I make this as a sheet cake instead of layers? Yes. Use a 9×13 pan, bake at the same temperature, check it at 30 minutes. You lose the visual drama of the layers but it’s faster to assemble and easier to cut for a crowd. Pour the ganache on top, scatter raspberries, done.
Do I need a stand mixer? No. A whisk and a bowl handle this batter fine — it’s thin enough that it doesn’t need heavy mixing. The ganache just needs a spatula. I made this four times before I used anything other than a hand whisk.
Which answer helped you most?
Before You Start
This is a straightforward cake. The ingredient list looks long but most of it is pantry staples — the only things I ever have to specifically buy are the fresh raspberries and the semi-sweet chocolate.
The ganache is the part most people worry about. It’s also the part that’s hardest to mess up if you just slow down. Hot cream, chopped chocolate, one minute of patience. That’s most of it.
Fun fact: Raspberries contain naturally occurring salicylates — the same compound found in aspirin — which is part of why they have that slightly astringent edge that cuts through rich chocolate so cleanly.
The chill time is genuinely non-negotiable. I know I’ve said this twice. I’m saying it again because every time I’ve been impatient with it, the cake paid me back in a different way — slipping layers, smeared garnish, ganache that looked half-set when sliced.
Will you make this soon?
My daughter is already asking when I’m making it again. I haven’t decided yet — partly because I still think the ganache on the middle layer could be slightly thicker, and I haven’t landed on exactly how much cream to pull back to get there.
Happy cooking! —Marina Caldwell
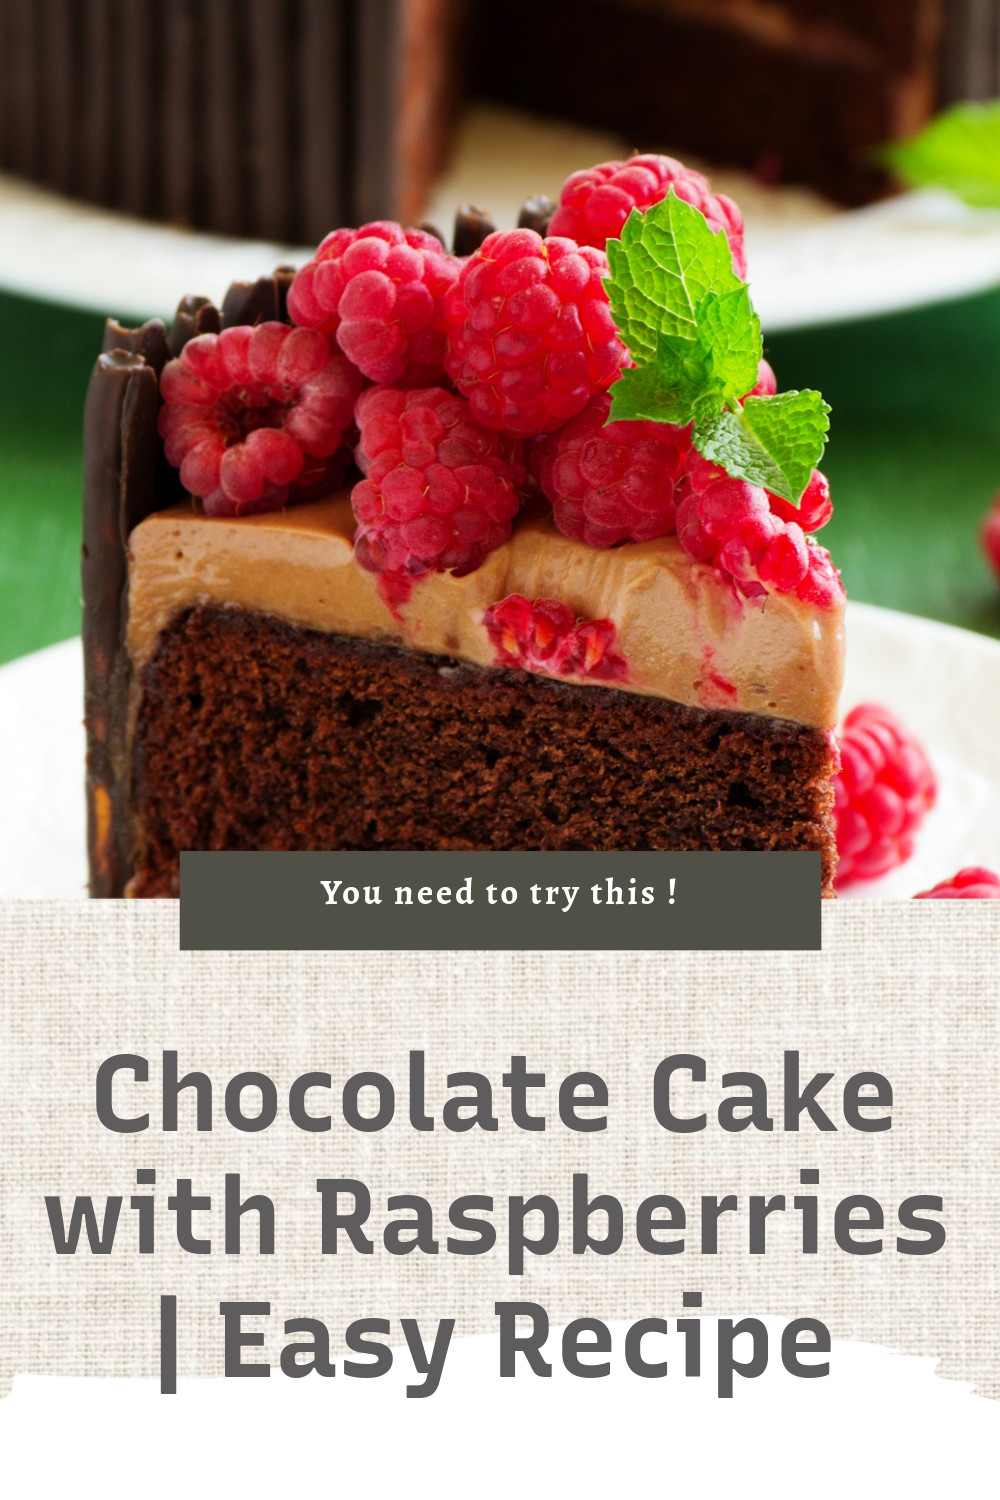
Easy Chocolate Raspberry Cake Recipe for Beginners
Ingredients
- 2 cups all-purpose flour
- 2 cups granulated sugar
- 3/4 cup unsweetened cocoa powder
- 2 teaspoons baking soda
- 1 teaspoon baking powder
- 1 teaspoon salt
- 2 large eggs
- 1 cup strong black coffee
- 1 cup buttermilk
- 1/2 cup vegetable oil
- 1 teaspoon vanilla extract
- 2 cups fresh raspberries
- 1 1/2 cups heavy whipping cream
- 8 ounces semi-sweet chocolate, chopped
- 3 tablespoons butter
- 2 tablespoons powdered sugar
- Fresh raspberries for garnish
Instructions
- 1Preheat oven to 350°F (175°C). Grease and flour two 9-inch round cake pans.
- 2In a large bowl, whisk together flour, sugar, cocoa powder, baking soda, baking powder, and salt.
- 3In another bowl, beat eggs and mix in coffee, buttermilk, oil, and vanilla extract.
- 4Combine wet and dry ingredients until just blended. Do not overmix.
- 5Divide batter evenly between prepared pans.
- 6Bake for 30-35 minutes until a toothpick inserted in the center comes out clean.
- 7Cool cakes in pans for 10 minutes, then turn out onto wire racks to cool completely.
- 8For chocolate ganache, heat cream until steaming. Pour over chopped chocolate and let sit 1 minute.
- 9Stir ganache until smooth. Stir in butter until melted.
- 10Let ganache cool to room temperature, stirring occasionally.
- 11Place one cake layer on a serving plate. Spread ganache on top and scatter half the raspberries.
- 12Place second cake layer on top. Pour remaining ganache over top and sides.
- 13Garnish with fresh raspberries and dust with powdered sugar.
- 14Chill for at least 1 hour before serving.
Notes
See full recipe for nutritional information.


