

My husband took one bite of the store-bought version and put his fork down.
Not dramatically. Just quietly set it down and looked at the pie like he was reconsidering something.
That was two summers ago, and I haven’t opened a can of cherry filling since.
Making it yourself takes about 35 minutes total. The result doesn’t taste like a canned version trying to approximate cherries — it tastes like actual cherries, which sounds obvious until you’ve eaten the real thing side by side with the gel-coated substitute.
The part I got wrong the first few times.
I used only cornstarch the first time I made this. The filling set, but it wept after it cooled — pooled liquid under a stiff top layer, which is not what you want inside a pie.
Adding tapioca starch alongside the cornstarch fixed this. Cornstarch sets fast and firm; tapioca holds moisture more evenly without releasing it back as the filling cools. I noticed the difference immediately — no pooling, cleaner slices.
Most recipes use one or the other. They’re leaving something on the table.
I also thought about adding lemon zest at the same stage as the juice — actually no, I skipped it. The extract combination already has enough going on, and zest pushed it into something sharper than I wanted.
About the almond extract.
Half a teaspoon sounds like it won’t do much. It does a lot.
Almond extract and cherries have an affinity that goes back to the fact that cherry pits — the actual seeds — smell faintly of almonds. Fun fact: cherry pits contain a compound called benzaldehyde, which is the same molecule responsible for almond flavor. That’s why the pairing feels so natural — it’s essentially the cherry completing itself.
Don’t go above half a teaspoon. The first batch I made with a full teaspoon tasted like a bar of marzipan. It wasn’t terrible, but it wasn’t cherry filling either.
The vanilla is quieter, just rounding things out. It goes in at the end with the lemon juice and the almond extract — off the heat, always off the heat, because the volatile compounds cook off fast and you’ll lose the top note entirely if the pan is still hot.
Quick tip: Pull the pan completely off the burner before adding the extracts, not just to the lowest setting. Even residual heat from a low flame is enough to dull them.
Frozen versus fresh, which matters more than I expected.
Fresh cherries give you more control over texture. They stay slightly firmer even after 20 minutes of simmering, which means you get recognizable cherry pieces in the finished filling rather than a smooth jam.
Frozen cherries release more liquid. A lot more. The filling can look dangerously thin around minute eight and you’ll be tempted to add more starch — don’t. It thickens as it cools, and frozen-cherry filling that looks loose at 185°F will be close to set by the time it hits room temperature.
The first time I used frozen, I panicked and added an extra half tablespoon of cornstarch.
The filling set so firm I could have used it as a doorstop. I served it anyway.
Both versions work. Fresh is easier to read while it cooks. Frozen is fine in January when there’s no other option — just trust the timing and leave the starch alone.
The temperature range that actually matters.
Medium heat the whole way. Not medium-high, not a rolling boil.
Cherry juice scorches fast once the sugar dissolves and the liquid thickens. If you let it boil hard, the bottom of the pan will start to caramelize before the top layer has even begun to thicken — and once that bitter note gets into the filling, you can’t take it back. I burned a batch once at about the 12-minute mark by walking away to answer the door. The bottom quarter of the pan was nearly black.
Stir constantly from about minute ten onward.
A silicone spatula works better than a wooden spoon here because you can scrape the bottom flat — corners and all — without leaving any starch-thickened residue behind to scorch. Small detail, noticeable difference.
You’re looking for a filling that coats the spatula and falls in slow, heavy ribbons rather than dripping freely. That’s your visual cue, not the clock. Fifteen minutes is typical; twenty is sometimes necessary depending on how much liquid the cherries gave up early on.
The jar step that most people skip.
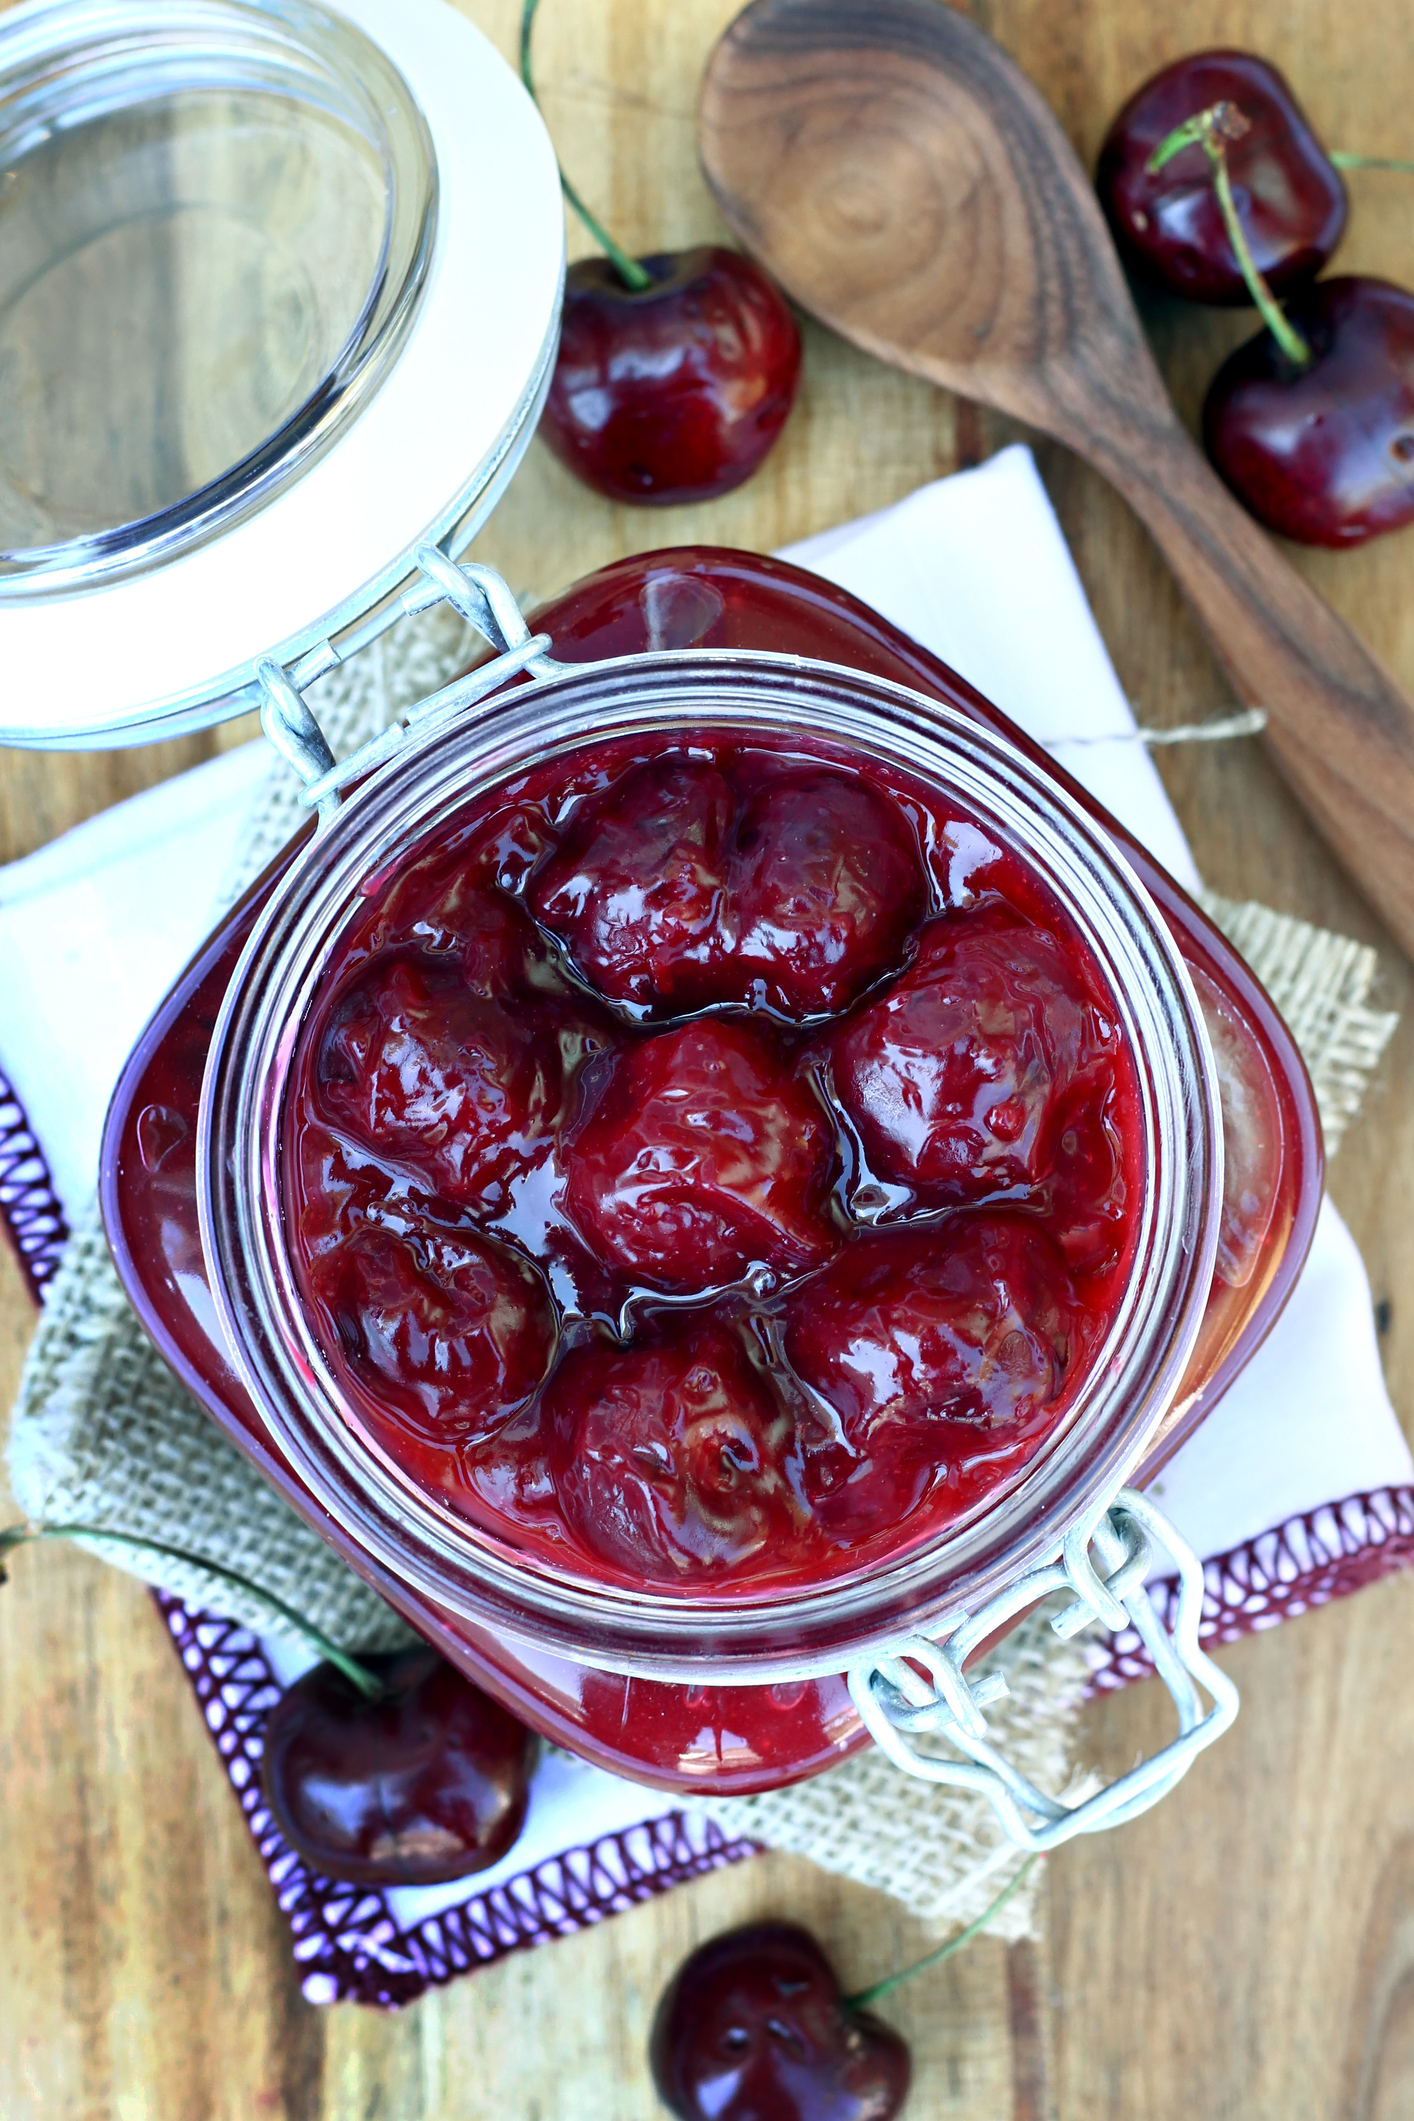
Leaving a half-inch of headspace in the jar is not optional if you’re planning to refrigerate this for more than a day or two. The filling continues to contract slightly as it cools fully, and without that space the lid can seal oddly and the surface closest to the glass can discolor faster than the center.
Let it cool at room temperature for a full ten minutes in the pan before you jar it,
then let the jars cool completely — fully uncovered — before sealing. Trapping steam under the lid creates condensation inside, which thins the top layer of filling. I’ve opened jars that were slightly watery on top for exactly this reason.
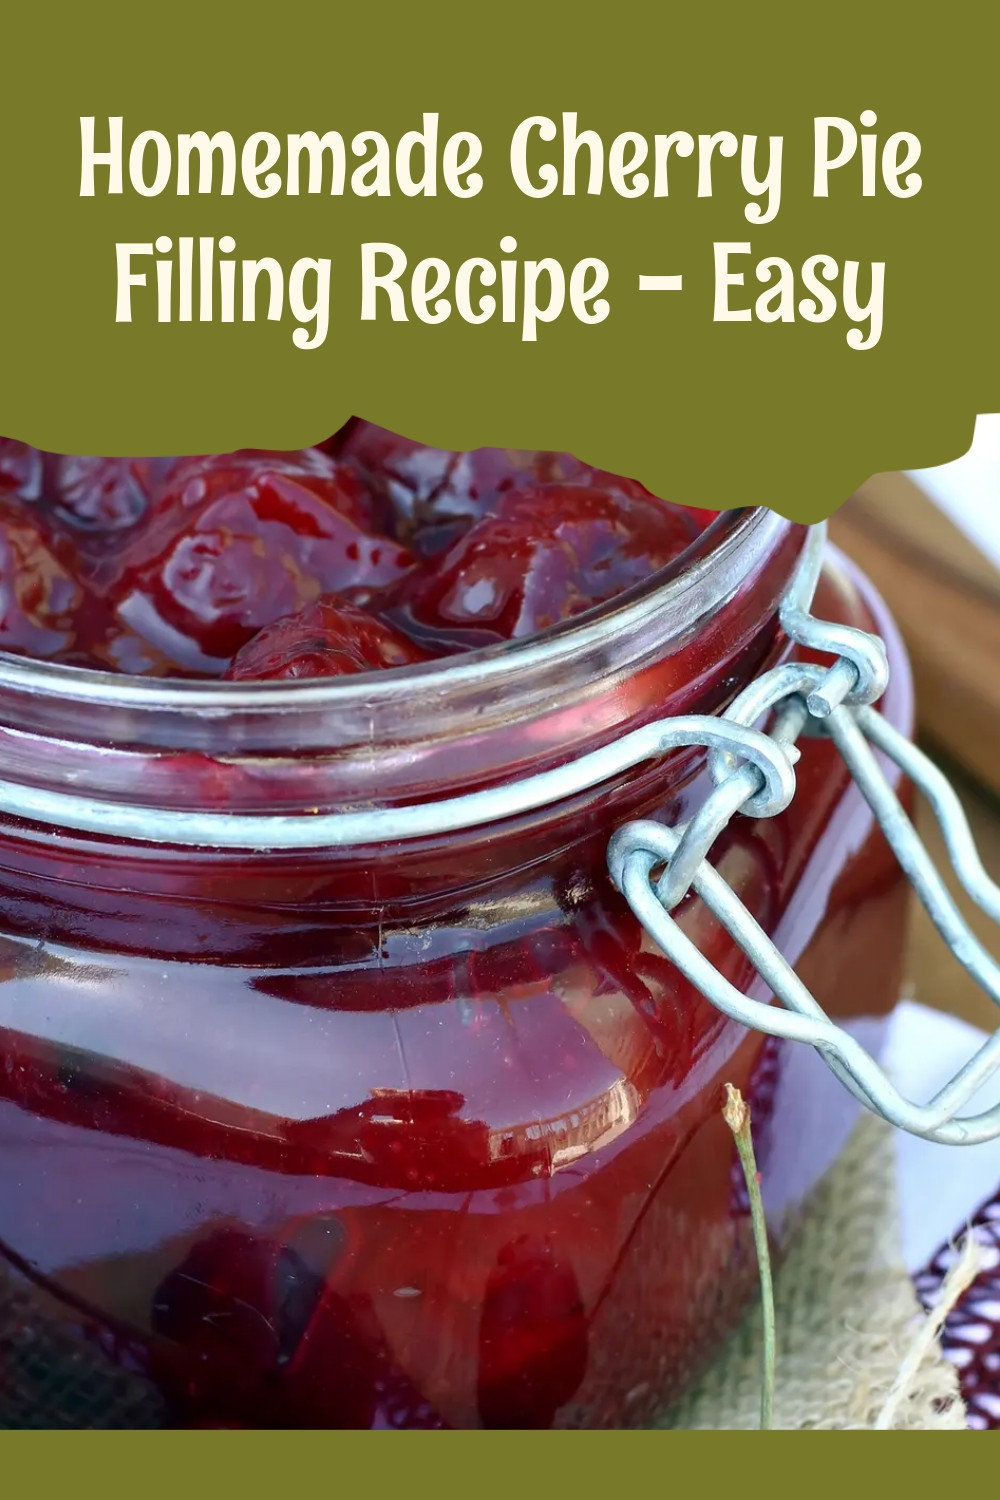
Glass jars only. Not plastic containers, not zip bags. The filling holds heat longer than you’d expect and soft plastic warps. My mother used a plastic quart container once and it came out slightly oval on one side. That’s the only person reference I’ll make here — it was her container, not mine, but I’ve thought about it every time I reach for a jar since.
Does that level of detail seem excessive for fruit filling? I thought so too, until I ruined two batches in a row from rushing the cooling step.
Full Instructions
Step 1: Combine 4 cups of pitted cherries in a large saucepan over medium heat. You don’t need to add any liquid at this stage — the cherries will begin releasing juice within the first 3 to 4 minutes on their own. Stir them once or twice just to get things moving.
Step 2: In a small bowl, whisk together the granulated sugar, brown sugar, cornstarch, tapioca starch, salt, cinnamon, and nutmeg until the dry ingredients are fully combined. (Don’t skip whisking this dry — cornstarch clumps badly in liquid if it goes in unmixed, and you’ll spend the next ten minutes chasing lumps around the pan.)
Step 3: Pour the dry mixture over the cherries and stir well to coat everything evenly. The sugar will start pulling more juice out of the cherries almost immediately. Keep the heat at medium and stir frequently from this point on.
Step 4: Bring the mixture to a gentle simmer. This took me about 6 minutes the first time I watched it carefully — it can feel slow before it suddenly speeds up. Don’t rush it by raising the heat. Once you see slow bubbles breaking the surface consistently, you’re at the right place.
Step 5: Simmer for 15 to 20 minutes, stirring frequently. Use a silicone spatula and scrape the bottom of the pan every 30 seconds or so once you’re past the 10-minute mark. The filling is ready when it falls from the spatula in slow, heavy ribbons and has turned a deep burgundy-red rather than the bright pink it starts as.
Step 6: Remove the pan from heat completely. Stir in the lemon juice, almond extract, and vanilla extract. The filling will look slightly looser for a moment — that’s normal, the lemon juice adds a small amount of liquid. Stir until fully incorporated.
Step 7: Let the filling sit in the pan for 10 minutes at room temperature. Then transfer to clean glass jars, leaving a half-inch of headspace at the top. Do not seal the jars yet.
Step 8: Cool the jars completely — this takes about 45 minutes to an hour at room temperature — before sealing and refrigerating. Use within 2 weeks, or use immediately in your pie. Have you tried making pie filling from scratch before this? Tell me how it went below!
Ways to Change It Up
Try this: Swap the almond extract for a teaspoon of bourbon. It deepens the flavor in a completely different direction — less floral, more smoky-warm. Good with a lattice top pie.
Try this: Use half sweet cherries and half tart. Tart cherries (Montmorency, if you can find them) bring acidity that sweet cherries lack, and the two together have a more layered flavor than either alone. You may need to add an extra tablespoon of sugar depending on how sour the tart ones are.
Try this: Add a quarter teaspoon of cardamom in place of the nutmeg. Cardamom and cherries is an underused combination. The nutmeg version is more familiar; the cardamom version is more interesting.
Which would you go for? Drop it in the comments.
How to Serve It
Use it as a standard double-crust or lattice pie filling. Let the filling cool completely before it goes into an unbaked shell — warm filling softens raw pastry before it has a chance to cook through and you end up with a soggy bottom layer that no amount of baking will fix.
Spoon it over vanilla ice cream while it’s still slightly warm, about 15 minutes out of the pan. At that temperature it’s thick enough to stay on top of a scoop rather than running off immediately.
Stir it into plain yogurt for something that takes about 30 seconds and is significantly better than flavored yogurt from a container. About two tablespoons per cup of yogurt is enough.
What would you pair it with?
Storing It Without Ruining It
In the refrigerator, this keeps well for up to 2 weeks in sealed glass jars. After about day 10 the color starts to deepen further and the texture thickens slightly more — still usable, just denser.
For the freezer: transfer the completely cooled filling to a freezer-safe glass jar or a rigid freezer container. Leave at least an inch of headspace — the filling expands as it freezes and will push the lid off a jar that’s filled too full. It keeps well for up to 3 months. Thaw overnight in the refrigerator, not on the counter.
Do not microwave it to thaw quickly. The starch breaks down unevenly under intense microwave heat and you end up with pockets of gluey thickness surrounded by thin liquid. I found this out the hard way with a jar I needed in a hurry on a Sunday afternoon.
Reheating works fine on the stovetop over low heat, stirring constantly. If it’s slightly too thick after refrigerating, a tablespoon of water stirred in during reheating will loosen it without affecting the flavor.
Have you ever saved leftovers like this? Tell me below!
Mistakes I Made So You Don’t Have To
I once tried to speed up the cooling process by putting the jars directly in the refrigerator while they were still hot. The lids sealed from the temperature shock, trapping steam inside, and when I opened them two days later the top of the filling had a watery, separated layer about a centimeter thick. The rest was fine, but it looked wrong and I threw one jar out before I understood what had happened.
Using too much cinnamon. The recipe calls for half a teaspoon and that’s already assertive. I went to three-quarters once because I thought it would add warmth. What it added was a filling that tasted like a cinnamon candy, not a cherry one. The spice should be in the background.
Not stirring the dry ingredients before adding them to the cherries. The cornstarch went in as a small mound, hit the hot juice, and immediately gelatinized into a solid lump in the center of the pan. I spent four minutes breaking it apart with a whisk while the rest of the filling was already beginning to simmer unevenly around the edges. Mix the dry ingredients first. Always.
Did something like this happen to you?
Questions I Actually Get About This
Can I use canned cherries instead of fresh or frozen?
Drain them very well and reduce your simmer time to about 10 minutes — they’re already soft and will fall apart past that point. And be aware that canned cherries are usually packed in syrup or juice, so the sweetness of your filling will shift; you may want to cut the granulated sugar by two tablespoons.
My filling looks too thin at the 15-minute mark. What do I do?
Keep going. Give it the full 20 minutes before you make any adjustments. It depends entirely on how much liquid your cherries released — frozen ones especially can look worryingly thin well past the halfway mark and still come together. I tried adding starch twice before I learned this. Both times the filling ended up far too thick.
Can I make this without the tapioca starch?
Yes, but increase the cornstarch by about one teaspoon to compensate. The texture will be slightly different — a bit more gel-like and less smooth. It’s fine, just not identical. I’ve made it this way when I’ve run out of tapioca starch, and no one at the table noticed except me.
How far in advance can I make this?
Up to 2 weeks in the refrigerator, or about 3 months in the freezer. But honestly, making it the day before is the sweet spot — it’s fully cooled and set, and the cinnamon and almond extract seem to mellow slightly overnight into something more cohesive.
Does the lemon juice have to be fresh?
It doesn’t have to be, but bottled lemon juice tastes flat compared to fresh. You’re adding it off the heat specifically to preserve its brightness, and bottled juice doesn’t have much brightness to preserve. Fresh makes a noticeable difference here — more than in most applications.
Can I double this recipe?
You can, but use a larger saucepan than you think you need. A double batch in a too-small pan takes much longer to reach a simmer and is harder to stir evenly. The filling in the center of the pan stays cooler longer and the edges can start to scorch while you’re still waiting for the middle to thicken. A wide, heavy-bottomed pot — not a standard saucepan — handles a double batch without those problems.
Which answer helped you most?
A Few Last Things Before You Start
This recipe produces 4 to 5 cups, which fills one standard 9-inch pie with enough left over for a small jar in the refrigerator. That leftover jar is usually gone within two days — on yogurt, on toast, occasionally eaten directly from the jar with a spoon at 11pm, which I’m neither admitting to nor denying.
The color deepens significantly during cooking. What goes into the pan is bright red; what comes out is a dark, saturated burgundy. Don’t be alarmed at the transition around minute 8 when everything looks almost purple — that’s normal.
Cherry season is short if you’re using fresh. Outside of June and July, frozen is genuinely the right call, not a compromise. The flavor difference is smaller than the availability window.
Will you make this soon?
I’ve been making this every few months since that Sunday my husband quietly put down his fork. I still adjust small things each time — the spice balance, whether to use bourbon instead of vanilla. I haven’t landed on a version I consider final. I’m not sure I will.
Happy cooking! —Marina Caldwell
Homemade Cherry Pie Filling Made Easy
Ingredients
- 4 cups fresh or frozen pitted cherries
- 3/4 cup granulated sugar
- 1/4 cup brown sugar
- 2 tablespoons cornstarch
- 1 tablespoon tapioca starch
- 1/4 teaspoon salt
- 1/2 teaspoon almond extract
- 1/4 teaspoon vanilla extract
- 1 tablespoon fresh lemon juice
- 1/2 teaspoon cinnamon
- 1/8 teaspoon nutmeg
Instructions
- 1Combine pitted cherries in a large saucepan over medium heat.
- 2Mix granulated sugar, brown sugar, cornstarch, tapioca starch, salt, cinnamon, and nutmeg in a small bowl.
- 3Add dry mixture to cherries and stir well to combine.
- 4Bring mixture to a simmer, stirring frequently to prevent sticking.
- 5Simmer for 15-20 minutes until filling thickens and cherries soften.
- 6Remove from heat and stir in lemon juice, almond extract, and vanilla extract.
- 7Let filling cool to room temperature for 10 minutes.
- 8Pour filling into clean glass jars, leaving 1/2 inch headspace.
- 9Cool completely before sealing and refrigerating.
- 10Use immediately in pie or store in refrigerator for up to 2 weeks.
Notes
See full recipe for nutritional information.


