

The batch that almost didn’t happen.
My husband asked for cornbread on a Tuesday night when I had exactly one egg left and no buttermilk, which is pretty much the worst possible starting position.
I made them anyway, and the first batch came out flat on top and a little gummy in the middle — not inedible, but not something I’d tell anyone about.
What actually changed the second time around.
400°F matters more than you’d think.
The first time I went lower — 375°F — because I was nervous about burning the tops, and I ended up with muffins that just sat there, pale and slightly sad, for 25 minutes before I pulled them.
Higher heat pushes that initial rise fast, which is what gives you the domed top and that slight crunch on the edge where the batter met the tin.
Okay, the honey situation.
I thought about skipping it — actually no, I kept it, and I’m glad, because the 2 tablespoons in the batter don’t make these sweet so much as they make them taste like something.
Without the honey, a test batch I made tasted like plain cornmeal and flour pressed into a cup shape. Edible. Forgettable.
Have you ever made a baked good that was technically fine but you just didn’t want to eat it? That’s the batch without honey.
The thing about the corn kernels.
Optional on the ingredient list, not optional in my kitchen.
I used frozen kernels — thawed, patted dry — and folded them in right before the batter went into the tin, and what they do is give you a little pocket of sweetness every few bites that you don’t see coming.
Quick tip: Pat your corn kernels completely dry before folding them in — any extra moisture will sink into the batter and leave wet spots in the crumb that won’t bake out.
It looked wrong. It wasn’t.
The batter looks lumpy and a little thick when you spoon it into the tin, and the first time I saw it I genuinely second-guessed the whole thing.
Lumps are fine — the notes say so, and they mean it — because overmixed cornbread batter develops gluten and you end up chewing your muffin like bread, which is not the assignment here.
The 5 minutes you absolutely cannot skip.
Resting the muffins in the tin after they come out of the oven.
I skipped it once, popped them out immediately because my youngest was standing next to me saying “can I have one” on a loop, and two of the muffins tore along the bottom because the crumb hadn’t set yet.
Five minutes. Just wait.
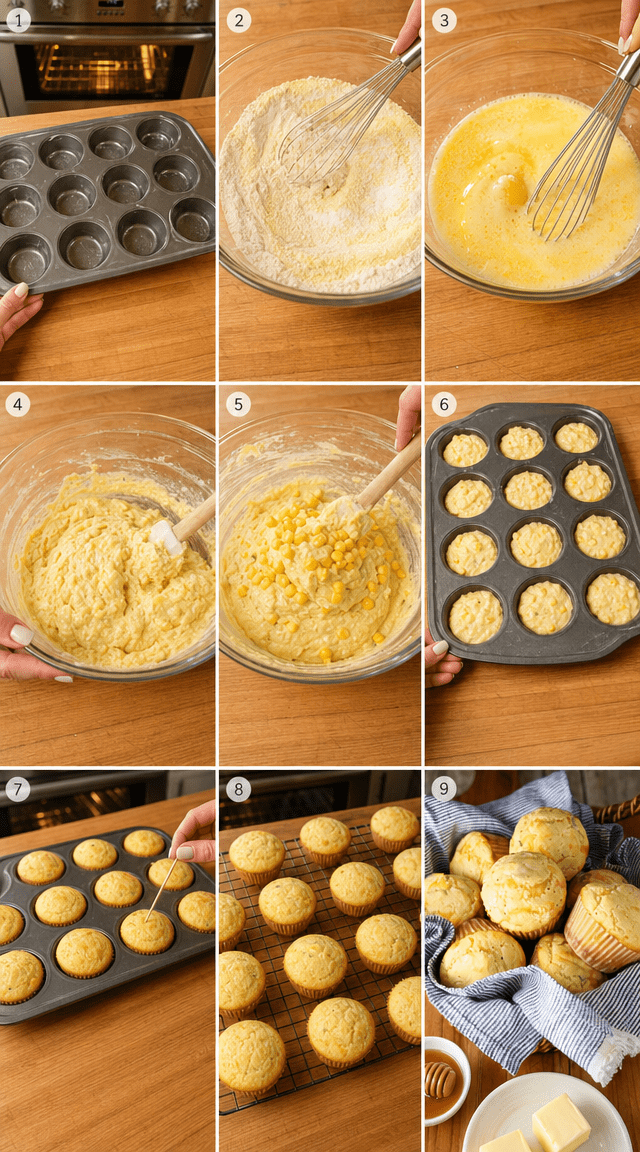
Step 1: Heat your oven to 400°F and coat a 12-cup muffin tin with nonstick spray or butter — get into the edges where the cup meets the flat part, because that’s where they stick. I use butter and go over each cup twice. Thorough prep here saves a lot of frustration later.
Step 2: Whisk together 1 cup cornmeal, 1 cup all-purpose flour, 1/4 cup sugar, 1 tablespoon baking powder, and 1/2 teaspoon salt in a large bowl until the dry ingredients are evenly blended. (Don’t skip the whisk — I used a spoon once and ended up with a pocket of baking powder in one muffin that tasted like chalk.)
Step 3: In a separate bowl, beat together 1 cup whole milk, 1 large egg, 1/4 cup melted butter, and 2 tablespoons honey until the mixture looks smooth and the honey is fully incorporated. The butter should be melted but not steaming hot when it goes in, or it’ll start cooking the egg.
Step 4: Pour the wet mixture into the dry ingredients and fold gently — I mean gently, like you’re turning the batter over rather than stirring it. Stop when you can’t see dry flour anymore, even if the batter still looks lumpy. Overmixing is the one thing that will make these dense, and there’s no fixing it once it’s done.
Step 5: If you’re using corn kernels, fold 1/4 cup in now with two or three slow strokes. I love this part honestly — watching the yellow kernels disappear into the batter feels weirdly satisfying. Make sure they’re dry before they go in.
Step 6: Spoon the batter into the prepared muffin cups, filling each about two-thirds of the way up. (Use an ice cream scoop if you have one — it portions evenly and keeps the edges of the tin clean, which means less scrubbing.)
Step 7: Bake for 18 to 22 minutes until the tops are deep golden and a toothpick inserted in the center comes out clean. My oven runs a little hot so mine are usually done at 18 minutes — check early the first time you make these so you know your oven.
Step 8: Rest in the tin for 5 minutes, then turn onto a wire rack. Serve warm with a pat of butter and a drizzle of honey over the top while they’re still steaming.
What do you add to your cornbread muffins — savory mix-ins or sweet? Share below!
Ways to Change It Up
Try this: Swap the whole milk for buttermilk and add a pinch of cayenne for a muffin that sits somewhere between savory and sweet — my neighbor Rosa makes hers this way and I’ve asked for the ratio twice now.
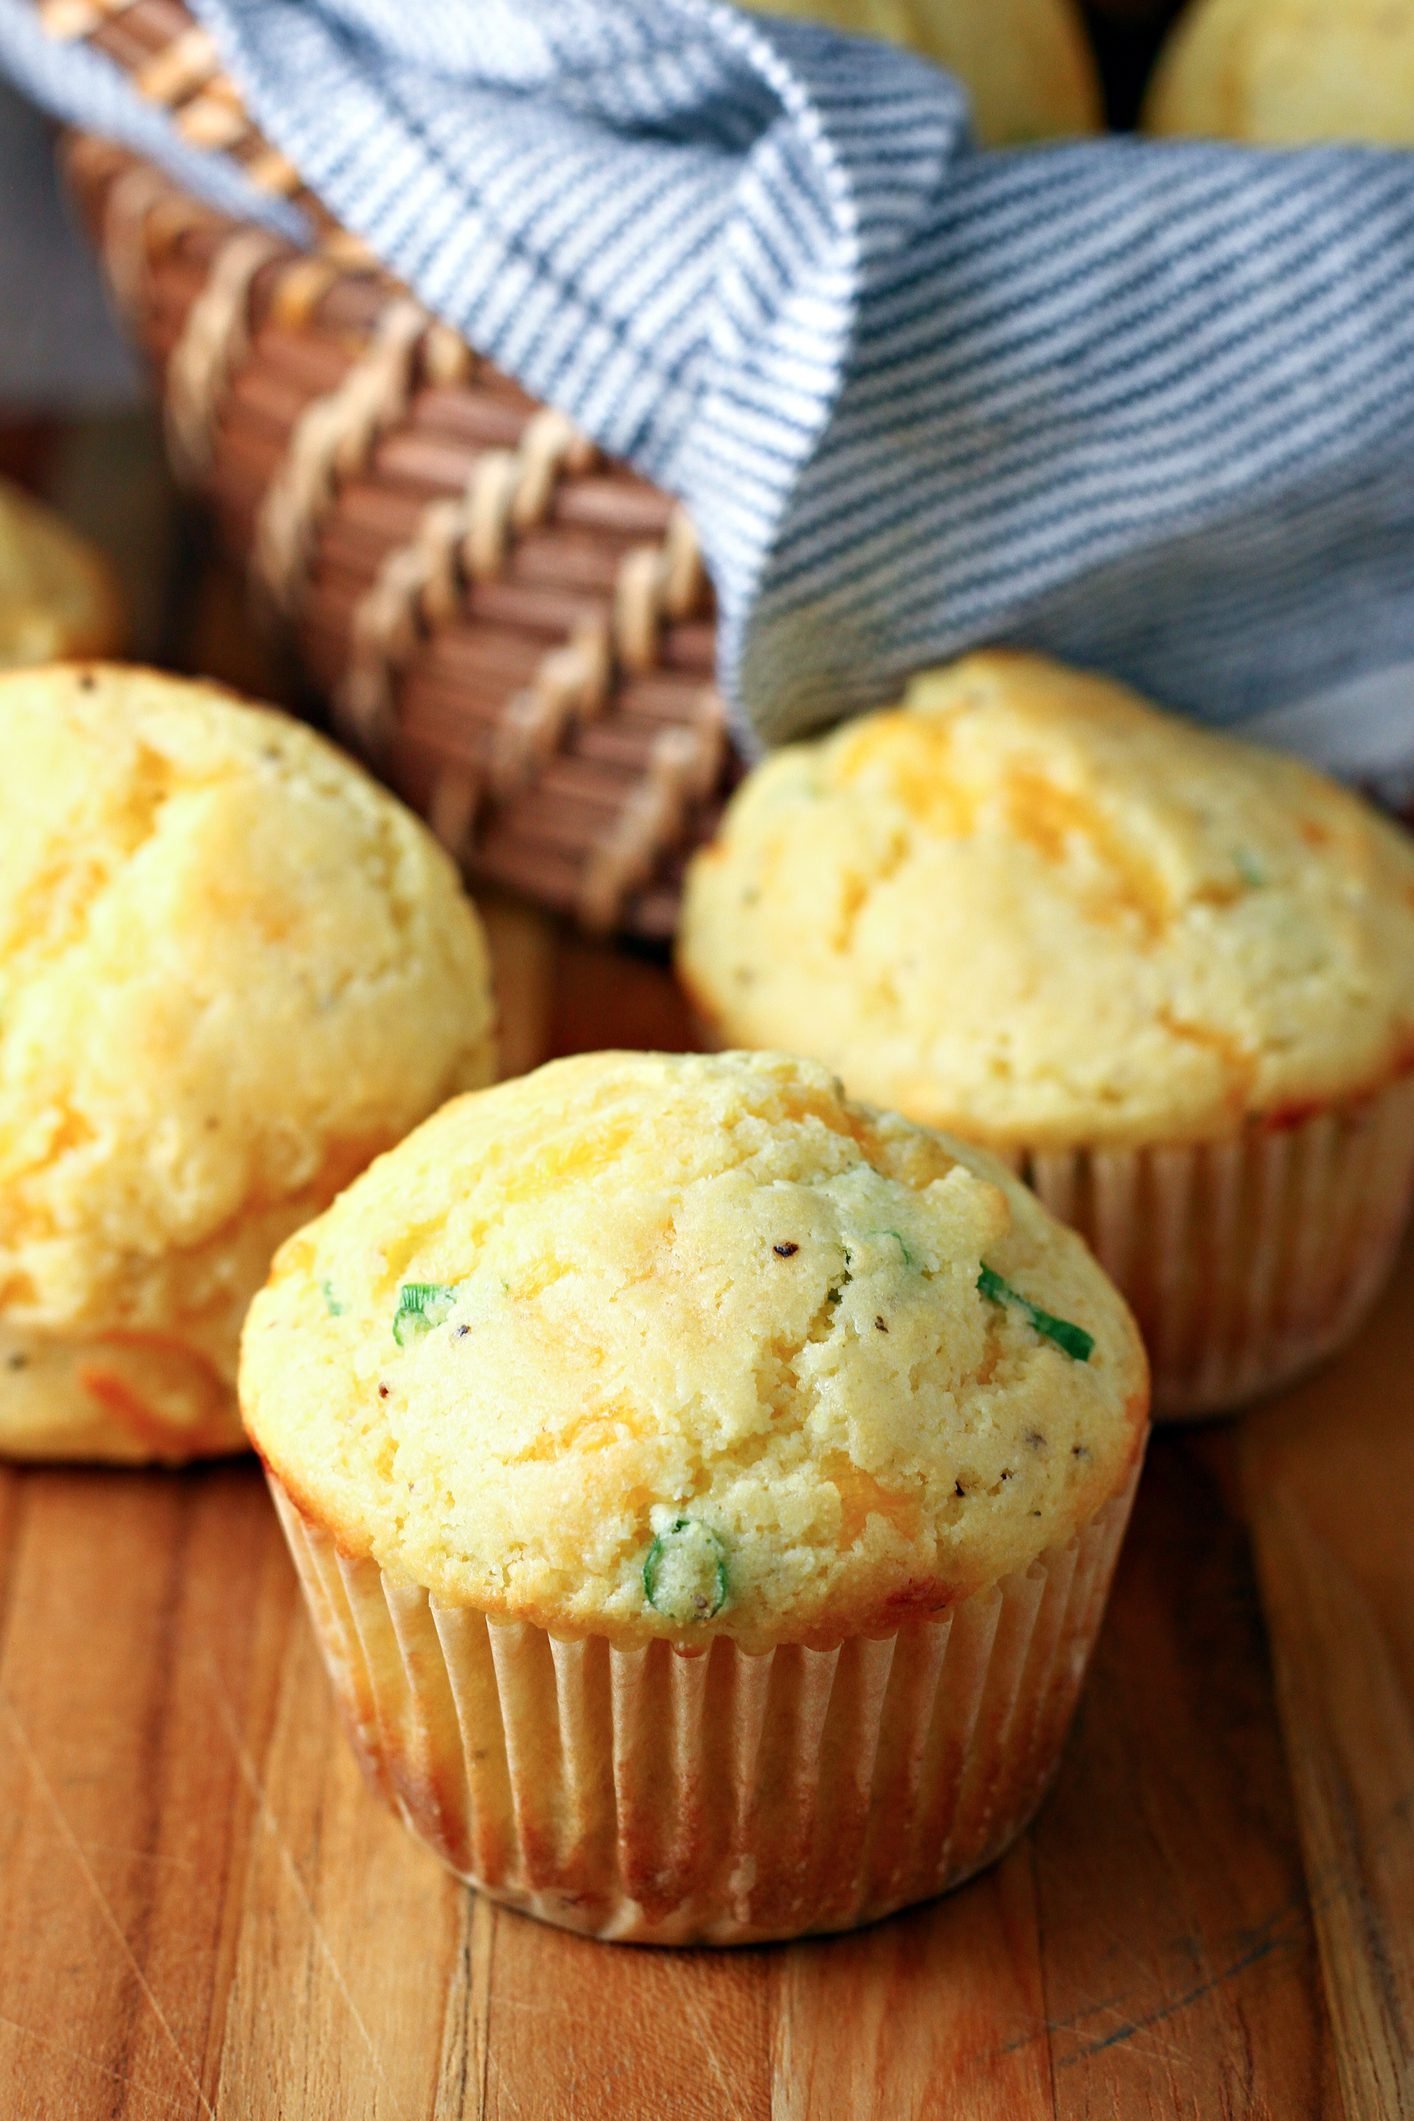
Try this: Fold in 1/3 cup shredded sharp cheddar and a tablespoon of chopped chives instead of the corn kernels — skip the honey if you go this route, or cut it to one tablespoon.
Try this: Use sour cream in place of milk for a noticeably denser, moister crumb — these ones slice better for serving alongside soup or chili.
Which would you go for? Drop it in the comments.
How to Serve It
Warm, straight from the rack, split open with salted butter melting into the crumb — that’s the move, and it doesn’t need anything else.
They also hold up next to a bowl of chili, where the slight sweetness from the honey cuts through the heat in a way that works better than plain cornbread.
I’ve served them at brunch with a small jar of flavored butter — whipped honey butter, specifically — and people ate four each, which tells you something.
What would you pair it with?
Storing It Without Ruining It
Room temperature in an airtight container works for up to 3 days — after that the crumb starts getting dry and a little crumbly at the edges.
For the freezer, wrap each muffin individually in plastic wrap before they go into a bag, because without that layer the outsides get icy and the texture goes off when you reheat them.
To reheat from frozen, put them in a 325°F oven for 8 minutes — not the microwave, which makes them rubbery in about 45 seconds flat.
Have you ever saved leftovers like this? Tell me below!
Mistakes I Made So You Don’t Have To
I once greased only the bottom of the muffin cups and completely ignored the sides, and spent ten minutes with a butter knife prying out every single muffin in pieces. Coat the whole cup.
Filling the cups more than two-thirds full because I wanted bigger muffins — the batter overflowed onto the tin, baked onto the flat surface, and I had a cleanup situation that took longer than making the muffins.
I pulled a batch at 17 minutes because the tops looked golden, but the centers were still wet and collapsed on the rack. The toothpick test is not optional here.
Did something like this happen to you?
Questions I actually get about these muffins.
Can I make these without the honey? You can — they’ll bake up the same way. But the flavor is noticeably flatter. I tried this once and kept reaching for the honey drizzle on top to compensate, which kind of defeats the point of leaving it out.
Does it matter if I use fine or coarse cornmeal? It depends on the texture you want. Fine cornmeal gives a softer, more uniform crumb. Coarse cornmeal gives you more grit and a slightly crunchy edge. I use fine for these and coarse when I’m making cornbread in a cast iron skillet.
Can I make the batter ahead of time? Not really. Baking powder starts reacting the moment it hits liquid, so batter that sits for more than 20 minutes before it goes into the oven loses some of its lift. Make it and bake it.
Can I use a mini muffin tin instead? Yes, but reduce the bake time to about 10 to 12 minutes and start checking at 10. And butter that tin very thoroughly — mini cups have less surface area and they stick more aggressively than standard cups.
What if I don’t have whole milk? I’ve made these with 2% and they were fine. I tried oat milk once and the texture was slightly off — a bit gummy in the center — so I’d stick with dairy if you can. But honestly? It’s not that deep if 2% is what you have.
How do I know they’re really done and not just golden on top? The toothpick method is the most reliable. Insert it in the center of the middle muffin — that one takes the longest because it has the least airflow around it. Clean toothpick, you’re done. Any wet batter, give it 2 more minutes.
Which answer helped you most?
Go make a batch this week.
These take about 30 minutes start to finish, which means they fit into a Tuesday night without a lot of planning.
The ingredients are things most people already have — cornmeal, flour, an egg, butter — and the method is straightforward enough that I’ve made them while also making chili on the stove at the same time.
They’re not fussy. They’re also not boring.
Fun fact: Cornmeal is made from dried and ground field corn, not the sweet corn you eat off the cob — field corn has a lower sugar content and a starchier kernel, which is what gives cornbread its distinctive slightly gritty texture and earthy flavor that sweet corn alone can’t replicate.
Will you make this soon? Drop a comment and let me know what you’re pairing them with.
Happy cooking! —Marina Caldwell
Homemade Golden Honey Cornbread Muffins Worth Savoring
Ingredients
- 1 cup cornmeal
- 1 cup all-purpose flour
- 1/4 cup granulated sugar
- 1 tablespoon baking powder
- 1/2 teaspoon salt
- 1 cup whole milk
- 1 large egg
- 1/4 cup melted butter
- 1/4 cup corn kernels (optional)
- 2 tablespoons honey (optional)
Instructions
- 1Heat oven to 400°F and thoroughly coat a 12-cup muffin tin with nonstick spray or butter.
- 2Combine cornmeal, flour, sugar, baking powder, and salt in a large bowl, whisking until evenly blended.
- 3In a separate bowl, beat together the milk, egg, melted butter, and honey until smooth.
- 4Gently fold the wet mixture into the dry ingredients, stirring only until the batter comes together — lumps are perfectly fine.
- 5If using corn kernels, carefully fold them in now for added texture and sweetness.
- 6Spoon batter evenly into prepared muffin cups, filling each about two-thirds of the way up.
- 7Bake 18–22 minutes until tops are deep golden and a toothpick pierced through the center pulls out clean.
- 8Rest muffins in the tin for 5 minutes before turning out onto a wire rack.
- 9Enjoy warm, topped with a pat of butter and a generous drizzle of honey.
Notes
– Avoid overmixing the batter as this develops gluten and results in dense, tough muffins — a few dry streaks are acceptable before folding in corn. – For extra moisture and richness, substitute sour cream or buttermilk in place of whole milk. – Muffins store well in an airtight container for up to 3 days, or freeze individually for up to 2 months and reheat in a 325°F oven for 8 minutes.


