

This Is Not a Weekend Project
I made this cake on a Tuesday with leftover butter and a 6-inch pan I’d been ignoring for months. It took me under two hours start to finish, including the time I spent staring at the frosting wondering if the color was too pink — it wasn’t, by the way, it was exactly right.
Most small-batch cake recipes talk about scaling down like it’s a favor they’re doing you. I don’t see it that way. A 6-inch cake just makes sense when you’re feeding six people and don’t want leftovers going stiff in the fridge by Thursday.
I thought about adding almond extract — actually no, I skipped it. Vanilla held everything together well enough on its own, and I didn’t want to introduce a flavor that might compete with the frosting.
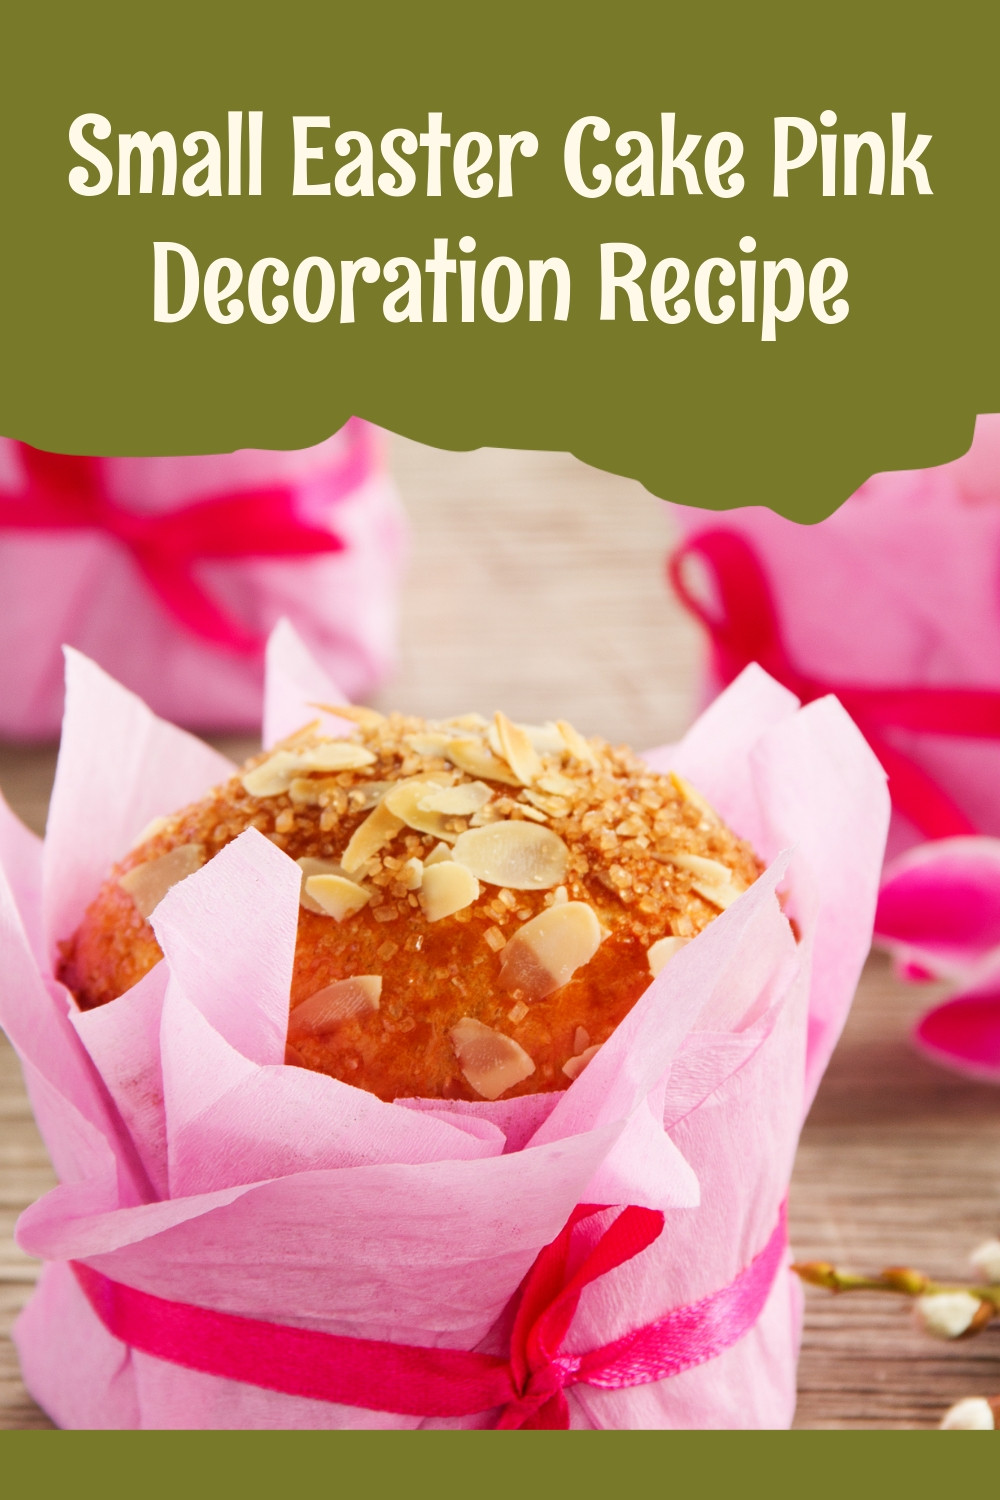
The pink is deliberate. Not shy about it, not apologetic. It’s a pink Easter cake and it looks like one.
About the Pan.
A 6-inch round pan is not interchangeable with an 8-inch. I know that seems obvious but I tried a standard 8-inch the first time I developed this recipe, and the cake came out flat — closer to a thick pancake than an actual cake layer.
The batter depth matters here. In a 6-inch pan, it sits about 1¾ inches deep before baking, which gives you enough lift to get a real crumb structure. That crumb — slightly tender, not too open — is what holds up under the buttercream without compressing.
Line the bottom with parchment. Not optional.
Quick tip: Run a thin offset spatula or butter knife around the edge of the pan before you try to unmold. Even greased pans grip the sides more than you expect with a butter-heavy batter like this one.
The Batter Looked Wrong Around Minute Two.
When you’re creaming the butter and sugar — about 3 minutes on medium — it should go pale and slightly fluffy. Mine looked grainy for the first 90 seconds and I almost stopped. Don’t stop.
The eggs go in one at a time, and each one genuinely needs to be fully incorporated before the next one. I rushed this once and the batter looked slightly curdled going into the pan. The baked cake was fine, structurally, but the crumb was uneven — some parts denser than others in a way I couldn’t fix after the fact.
Alternating the flour and milk isn’t fussy technique for the sake of it. Starting and ending with flour keeps the batter from tightening up or going loose at the wrong moment. Three additions of flour, two of milk. That’s the rhythm.
The batter will be thick. Thicker than you expect for a cake this size. Smooth it into the pan and leave it.
Don’t tap the pan on the counter repeatedly trying to level it. One firm tap, maybe two.
28 Minutes Was Not Enough for Mine.
I pulled it at 28 minutes the first time and the toothpick came out with wet crumbs — not batter, but not clean either. I gave it another 4 minutes and it came out right.
Ovens vary and that’s genuinely annoying. Check at 28 minutes but don’t assume it’s done. The top should be set and just barely golden at the edges. The center should spring back when you press it lightly with one finger.
Cool it in the pan for 10 minutes exactly — not less, or the bottom crust sticks, and not so long that steam gets trapped and makes the base soggy. Then onto a wire rack.
Completely cool before you even think about frosting. I mean completely. An hour, at least. The buttercream will slide if the cake is even slightly warm, and no amount of chilling after the fact will fix a crumb coat that’s moved.
The Pink Took Three Tries to Get Right.
One drop of pink food coloring made almost no visible difference. Two drops gave me the color in the photos — a soft, dusty rose, not electric. Three drops pushed it into something that looked more like a candy store than a spring table.
The buttercream itself: powdered sugar and softened butter beaten together until it stops looking sandy. That takes longer than you’d think — probably 2 full minutes before it smooths out. Then add the milk one tablespoon at a time. I used 2½ tablespoons on my last batch, which gave me a consistency that spread without dragging.
The crumb coat matters more than the final coat. Apply a thin layer of frosting over the whole cake, seal in any loose crumbs, and put it in the fridge for 15 minutes before you do anything else. If you skip this, you will have pink crumbs visible in your final layer. I know because I skipped it once and spent 10 minutes trying to fix a problem I’d created for myself.
After the final coat — spread with an offset spatula or the back of a spoon — the sprinkles go on while the frosting is still slightly tacky. Press them in gently rather than just dropping them on top. They stay better.
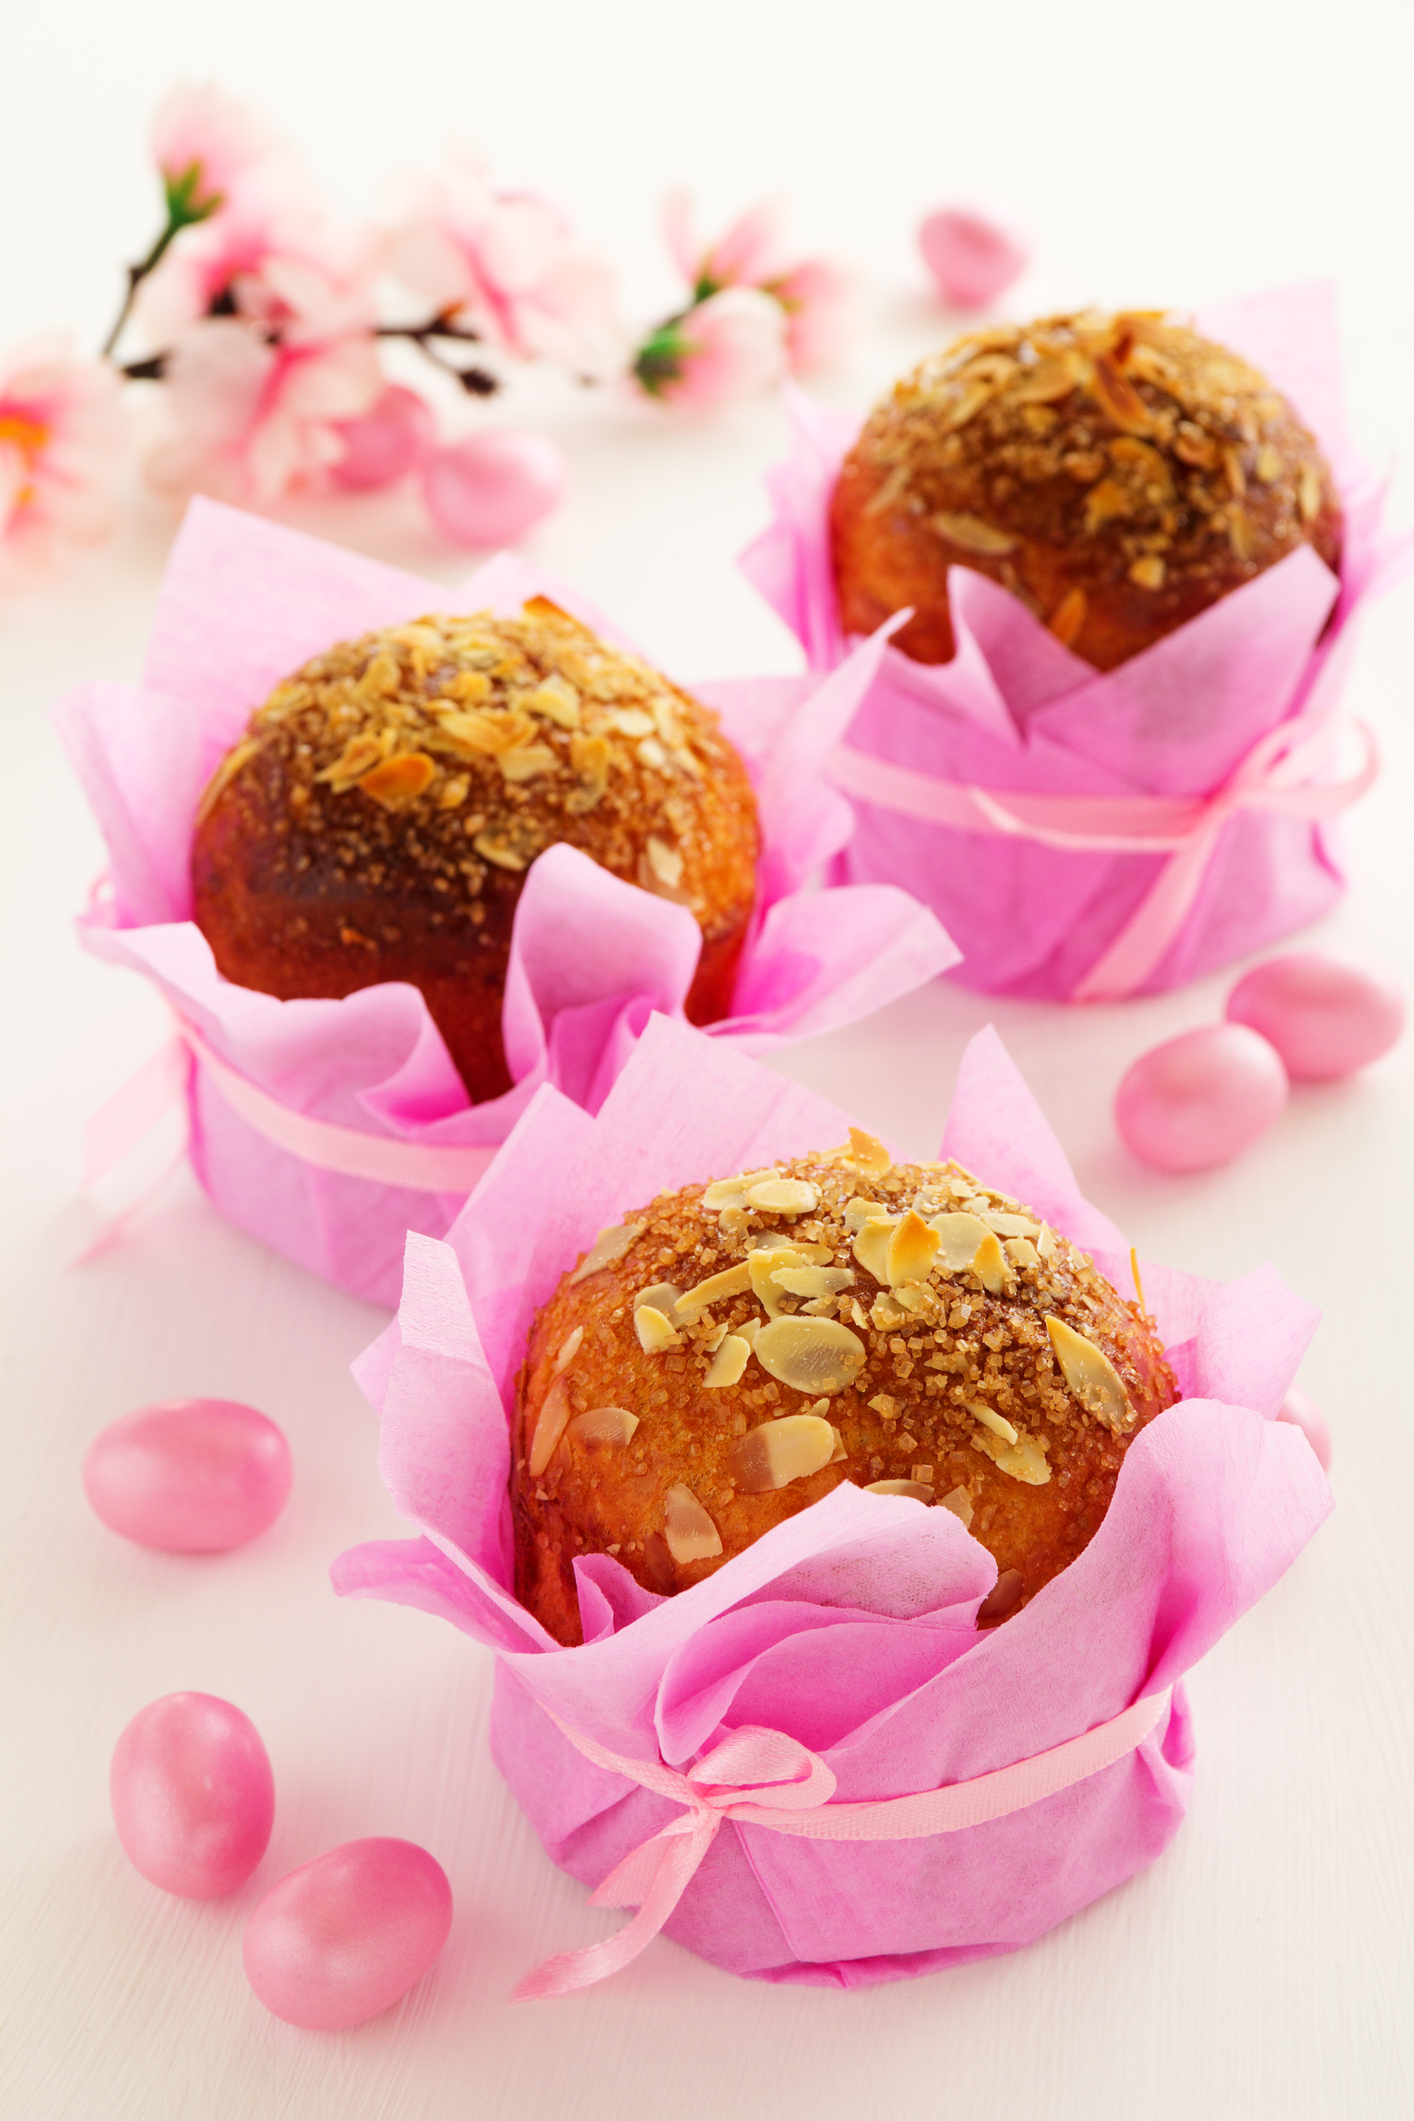
The fondant eggs are decorative. They don’t do anything structurally. Arrange them however you want, or skip them entirely.
The Instructions
Step 1: Preheat your oven to 350°F. Grease a 6-inch round cake pan and line the bottom with a parchment circle. Grease the parchment too. This is not overcautious — butter-heavy batters will stick to ungreased parchment.
Step 2: Sift the flour, baking powder, and salt together into a medium bowl. Set it aside. (Sifting prevents pockets of baking powder that can cause uneven rise — I skipped this once and got a domed top that cracked straight down the middle.)
Step 3: Beat the softened butter and granulated sugar together on medium speed for about 3 minutes. It should go noticeably paler and slightly airy. If your butter was cold, this will take longer and the result will be grainy. Room temperature really does mean room temperature — I’ve held the butter in my hands for two minutes to speed it up and it works.
Step 4: Add the eggs one at a time, beating well after each. Then add the vanilla extract and mix to combine. The batter might look slightly broken at this point — glossy and separated. Keep going. It comes together when the flour goes in.
Step 5: Add the flour mixture and milk in alternating additions — flour first, then milk, then flour, then milk, then flour. Stir gently between each addition, just until combined. Overmixing here develops gluten and makes the cake dense in a way that’s hard to describe but immediately obvious when you eat it.
Step 6: Pour the batter into the prepared pan and smooth the top with a spatula. One firm tap on the counter, then into the oven. Bake for 28–32 minutes. Did your oven run hotter or cooler than expected here? Share below!
Step 7: Cool in the pan for 10 minutes. Turn out onto a wire rack and let cool completely — at least 1 hour. Do not rush this. The frosting will tell you immediately if the cake was still warm.
Step 8: Make the buttercream by beating the softened butter alone for about 1 minute, then adding the powdered sugar gradually. Add milk one tablespoon at a time until the frosting reaches a smooth, spreadable consistency. Add the food coloring last, one drop at a time.
Step 9: Apply a thin crumb coat of pink frosting all over the cooled cake. Refrigerate for 15 minutes. Apply the final layer smoothly, then decorate with pink sprinkles, fondant eggs, and edible flowers if using.
Ways to Change It Up
Try this: Swap the vanilla extract in the cake batter for a half teaspoon of rose water. It stays subtle — just enough to echo the pink without tasting like soap, which is the risk if you go heavier than half a teaspoon.
Try this: Fill the cake with a thin layer of seedless strawberry jam between two layers instead of frosting only. Split the cake horizontally once it’s completely cooled, spread about 2 tablespoons of jam, then reassemble before crumb coating.
Try this: Skip the fondant eggs entirely and press fresh raspberries into the top of the final frosting layer. They add a tartness that cuts through the sweetness and they look more natural than the fondant if you’re not into the candy aesthetic.
Which would you go for? Drop it in the comments.
How to Serve It
Serve it at room temperature, not cold from the fridge. Cold buttercream goes dense and slightly waxy — it’s not bad exactly, but you lose the texture the frosting was supposed to have. Pull it out about 30 minutes before cutting.
Six people get a generous slice each. Eight people get a polite slice. If you’re feeding a table with children who will each take two bites and leave the rest, six servings is plenty.
Alongside: strong black tea, or a sparkling water with a slice of lemon. Nothing heavy. The cake is sweet and doesn’t need competing sweetness next to it.
What would you pair it with?
Storing It Without Ruining It
Covered in the fridge, this cake lasts 2 days without losing much. After that the crumb starts to dry at the edges even through the frosting, and no amount of plastic wrap completely stops that.
If you want to freeze it: freeze the unfrosted cake layers, well-wrapped in plastic and then foil. They last up to a month. Frost after thawing, once the layers are fully back to room temperature.
Do not freeze the frosted and decorated cake if you’ve used fondant eggs or edible flowers. Both will weep and discolor when they thaw, and the decorations won’t survive it.
To reheat a single slice, 10 seconds in the microwave on 50% power. Not full power, not 30 seconds. Ten seconds at half. It softens the crumb and brings the buttercream back to a better texture without melting it.
Have you ever saved leftovers like this? Tell me below!
Mistakes I Made So You Don’t Have To
I once skipped the crumb coat entirely because I was impatient and convinced I could apply the final layer carefully enough. The pink frosting turned visibly streaky with crumbs by the time I finished the second pass. I served it anyway.
I used salted butter in the buttercream when I ran out of unsalted. The frosting tasted sharp in a way that was distracting — not inedible, but noticeable on every bite. There’s already enough sweetness in powdered sugar that you don’t need salt cutting through it unexpectedly.
I added all the milk at once instead of gradually, and the frosting went too loose to hold a clean edge on the cake. I had to add more powdered sugar to compensate, which made it overly sweet. Add the milk slowly. It’s an extra 30 seconds and it matters.
Did something like this happen to you?
Questions I Actually Get About This One
Can I double the recipe for a larger cake? Yes, and it scales well to two 6-inch layers or a single 8-inch. Baking time for an 8-inch will run closer to 35–38 minutes. But the small-batch size is genuinely what this recipe was built for — doubling it makes it a different project.
Can I make this without a stand mixer? A hand mixer works fine. I’ve done it both ways. By hand — technically possible, but the butter and sugar creaming stage will take 6–8 minutes of real effort. And your arm will notice.
How far ahead can I make this? I tried this once and baked the cake two days ahead, stored it wrapped at room temperature, and frosted it the morning of. The crumb was actually better — slightly more settled and easier to work with. But don’t go beyond two days unfrosted, or it dries out.
What if I can’t find a 6-inch pan? It depends on what you have. A standard 8-inch will give you a thinner cake. Two 6-inch disposable foil pans stacked is not the same thing. Your best option if you don’t have a 6-inch is to use a 6-inch springform pan — more forgiving for unmolding, same dimensions.
Can the buttercream be made ahead? About 4 days in the fridge, sealed. Bring it fully back to room temperature and beat it briefly before using. Cold buttercream doesn’t spread — it tears the cake surface instead.
Do the edible flowers need to be refrigerated before use? Keep them in a damp paper towel in the fridge and don’t place them on the cake until close to serving. They wilt within about 2 hours once they’re on. But if you’re not serving immediately, skip fresh flowers and use the fondant eggs only. And yes — use flowers specifically sold as edible. Not every flower is safe.
Which answer helped you most?
A Few Last Things Before You Start
This is a straightforward cake. The ingredients are pantry staples, the technique isn’t demanding, and the result looks considerably more put-together than the effort required.
The part most people underestimate — including me, still — is the cooling time. An hour on the rack sounds like a lot when you’re watching it. It isn’t. The frosting tells you immediately when you’ve rushed it.
Fun fact: Pink food coloring made from natural beet extract can deepen in color as the frosting sits — what starts as a pale blush at mixing time may appear slightly more saturated an hour later. This doesn’t affect flavor, but it’s worth knowing if you’re aiming for a specific shade.
My neighbor brought one of these to a small Easter gathering last year and said three people asked for the recipe. She texted me that same night. I don’t know if that’s a useful data point, but it’s the one I have.
Will you make this soon?
I still haven’t decided whether it needs a second layer or whether the single-layer version is better as-is. Every time I make it, I think about splitting it and adding jam, and every time I end up leaving it whole. That’s probably going to keep happening.
Happy cooking! —Marina Caldwell
Pink Easter Cake Simple Small Batch Recipe
Ingredients
- 1¾ cups all-purpose flour
- 1½ tsp baking powder
- ¼ tsp salt
- ½ cup unsalted butter, softened
- ¾ cup granulated sugar
- 2 large eggs
- ½ cup whole milk
- 1 tsp vanilla extract
- ½ cup pink buttercream frosting
- 1 cup powdered sugar
- 3 tbsp butter, softened
- 2-3 tbsp milk
- ½ tsp vanilla extract
- 1-2 drops pink food coloring
- Pink sprinkles for decoration
- Pastel-colored fondant eggs for garnish
- Fresh edible flowers optional
Instructions
- 1Preheat oven to 350°F and grease a 6-inch round cake pan with parchment paper.
- 2Sift together flour, baking powder, and salt in a bowl.
- 3Cream softened butter and sugar together until light and fluffy, about 3 minutes.
- 4Beat in eggs one at a time, mixing well after each addition.
- 5Add vanilla extract to the wet ingredients.
- 6Alternate adding flour mixture and milk, starting and ending with flour, stirring gently between additions.
- 7Pour batter into prepared pan and smooth the top.
- 8Bake for 28-32 minutes until a toothpick inserted in center comes out clean.
- 9Cool in pan for 10 minutes, then turn out onto wire rack to cool completely.
- 10For pink buttercream: beat softened butter with powdered sugar until creamy.
- 11Add milk gradually and vanilla extract, beating until light and fluffy.
- 12Add pink food coloring drops until desired shade is achieved.
- 13Once cake is cool, level the top if needed with a serrated knife.
- 14Apply a crumb coat of pink frosting and chill for 15 minutes.
- 15Apply final layer of pink buttercream frosting smoothly.
- 16Decorate top with pink sprinkles in a decorative pattern.
- 17Arrange fondant eggs and fresh flowers on top as desired.
- 18Refrigerate until serving time and enjoy within 2 days.
Notes
See full recipe for nutritional information.


