

The oil was at 350°F and I still got it wrong the first time.
My husband watched me pull the first batch out and we both just stared at them — pale, soft, not even close to what I had in my head. I had the temperature right, the seasoning right, and somehow still managed to crowd the pot so badly that the oil dropped and the wings basically steamed instead of fried.
That was a Tuesday I don’t need to relive.
But I kept going, because I knew what crunchy fried wings were supposed to taste like, and I wasn’t going to let one bad batch be the whole story.
What actually makes the crust crack.
Dry wings. That’s it, that’s the answer nobody wants to hear because it sounds too simple.
I pat mine down with paper towels — not a quick swipe, an actual press — and then I let them sit on a rack for a few minutes before they go anywhere near the buttermilk. Moisture underneath the coating means the flour steams off the skin instead of frying into it, and you get this weird, chewy, almost rubbery layer that no amount of seasoning can fix.
Have you ever bitten into a wing and felt the breading just kind of slide? That’s exactly what I’m talking about.
About the flour mixture.
Two cups of all-purpose flour, and then the spices go in heavy — paprika, garlic powder, onion powder, cayenne, salt, pepper, dried thyme. I thought about adding smoked paprika instead of regular — actually no, I kept it regular because smoked paprika can go bitter in really hot oil.
Quick tip: Press the wing firmly into the flour — don’t just dredge it, really press it in and hold for a second so the coating grips the buttermilk layer underneath.
After coating, I let them rest for 5 minutes on the counter before they hit the oil. The flour tightens up. The crust gets thicker. It’s a small thing that made a visible difference when I started doing it.
The buttermilk is doing more than you think.
One cup, in a wide shallow bowl right next to the flour. The acid in buttermilk does something — it loosens the surface of the chicken a little, which sounds bad but actually means the flour has more to grip onto when you press it in.
Whole milk doesn’t do the same thing.
I tried it once when I ran out of buttermilk, and the crust was noticeably thinner and came off in two big pieces when I bit in. Not a disaster, but not what I wanted.
It looked wrong. It wasn’t.
The first few minutes in the oil, the wings look kind of pale and splotchy — honestly unsettling if you’ve never done this before. Don’t touch them. Don’t move them around. Let the crust set for at least 3 minutes before you even think about turning.
I made the mistake of flipping too early once, and the whole crust pulled off in the oil like a sad little fried disk floating next to a naked wing. Served it anyway. My kids ate it so I called it a win.
Around 12 to 15 minutes total — turning occasionally, not constantly — they go deep golden, and the internal temp hits 165°F. Pull them then. Not before.
The last thing, and don’t skip it.
Salt. Right when they come out of the oil, while the crust is still hot and slightly tacky, hit them with a pinch of salt. It disappears into the crust in a way it just doesn’t do once things cool down. This — and I genuinely don’t know why more recipes say it out loud — is what makes the crust taste seasoned all the way through instead of just on top.
Also: rack over paper towels, not paper towels alone. The rack keeps air moving under the wings so the bottom doesn’t go soft while you’re finishing the rest of the batch.
Small things, but they add up fast.
—
How to Make Them
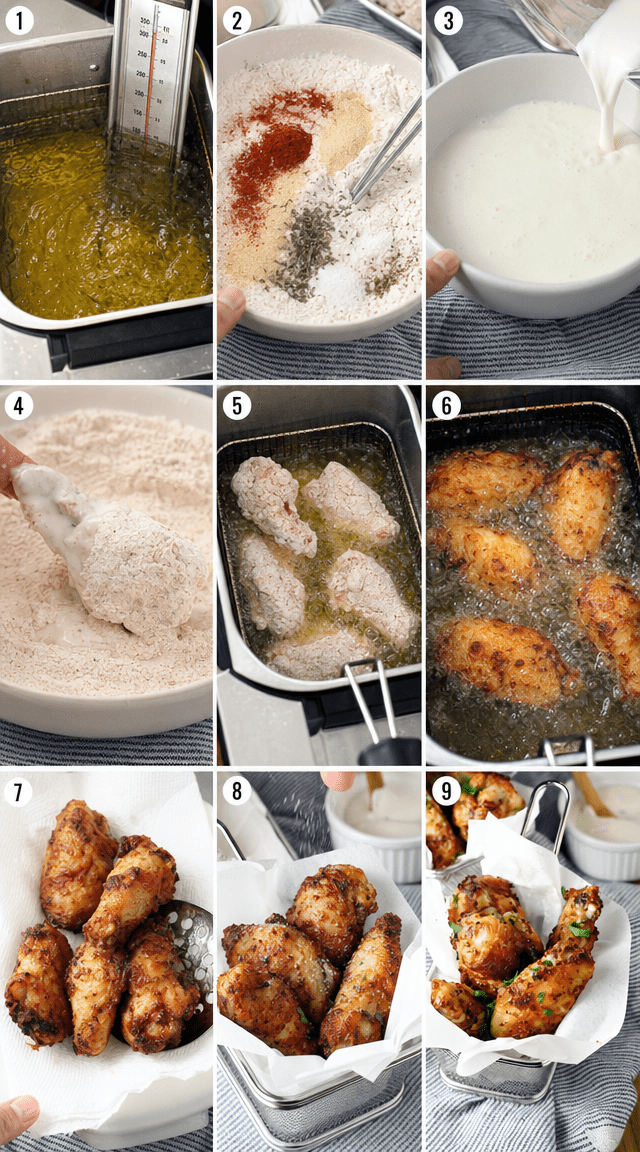
Step 1: Fill a heavy-bottomed pot with enough vegetable or canola oil to submerge the wings — at least 3 inches deep — and bring it to 350°F over medium-high heat. Use a thermometer. Guessing the temperature is how you end up with either raw middles or burnt outsides, and I learned that the hard way on batch number two.
Step 2: Pat your 2 lbs of wings completely dry with paper towels — press, don’t swipe. Set them aside on a rack while you get the breading station ready. (This rest time matters more than it sounds.)
Step 3: In a wide shallow bowl, whisk together 2 cups all-purpose flour, 2 tablespoons paprika, 1 tablespoon garlic powder, 1 tablespoon onion powder, 1 tablespoon cayenne pepper, 2 teaspoons salt, 1 teaspoon black pepper, and 1 teaspoon dried thyme. In a separate shallow bowl, pour 1 cup of buttermilk. Set both bowls next to each other — you’ll be moving quickly.
Step 4: One wing at a time: submerge in buttermilk, let the excess drip off for a second, then press firmly into the flour. Press hard, hold for two or three seconds, flip it, press again. Set the coated wings on a clean rack and let them rest for 5 minutes before frying. (This is the step I used to skip, and the difference when I stopped skipping it was immediate — the coating actually stayed on.)
Step 5: Lower 4–5 wings at a time into the hot oil — no more. I use tongs and go slowly near the surface so I don’t splash. Crowding the pot is what ruined my very first batch, and once the temperature drops below 325°F you’re already behind.
Step 6: Fry for 12–15 minutes, turning occasionally — maybe every 4 or 5 minutes. They’ll look pale at first and then suddenly go deep golden in what feels like two minutes flat; don’t walk away during the last stretch. Internal temperature should hit 165°F.
Step 7: Transfer to a paper towel-lined rack with a slotted spoon. Immediately hit each wing with a small pinch of extra salt while still hot. Do you have a trick for keeping wings crispy between batches? Share below!
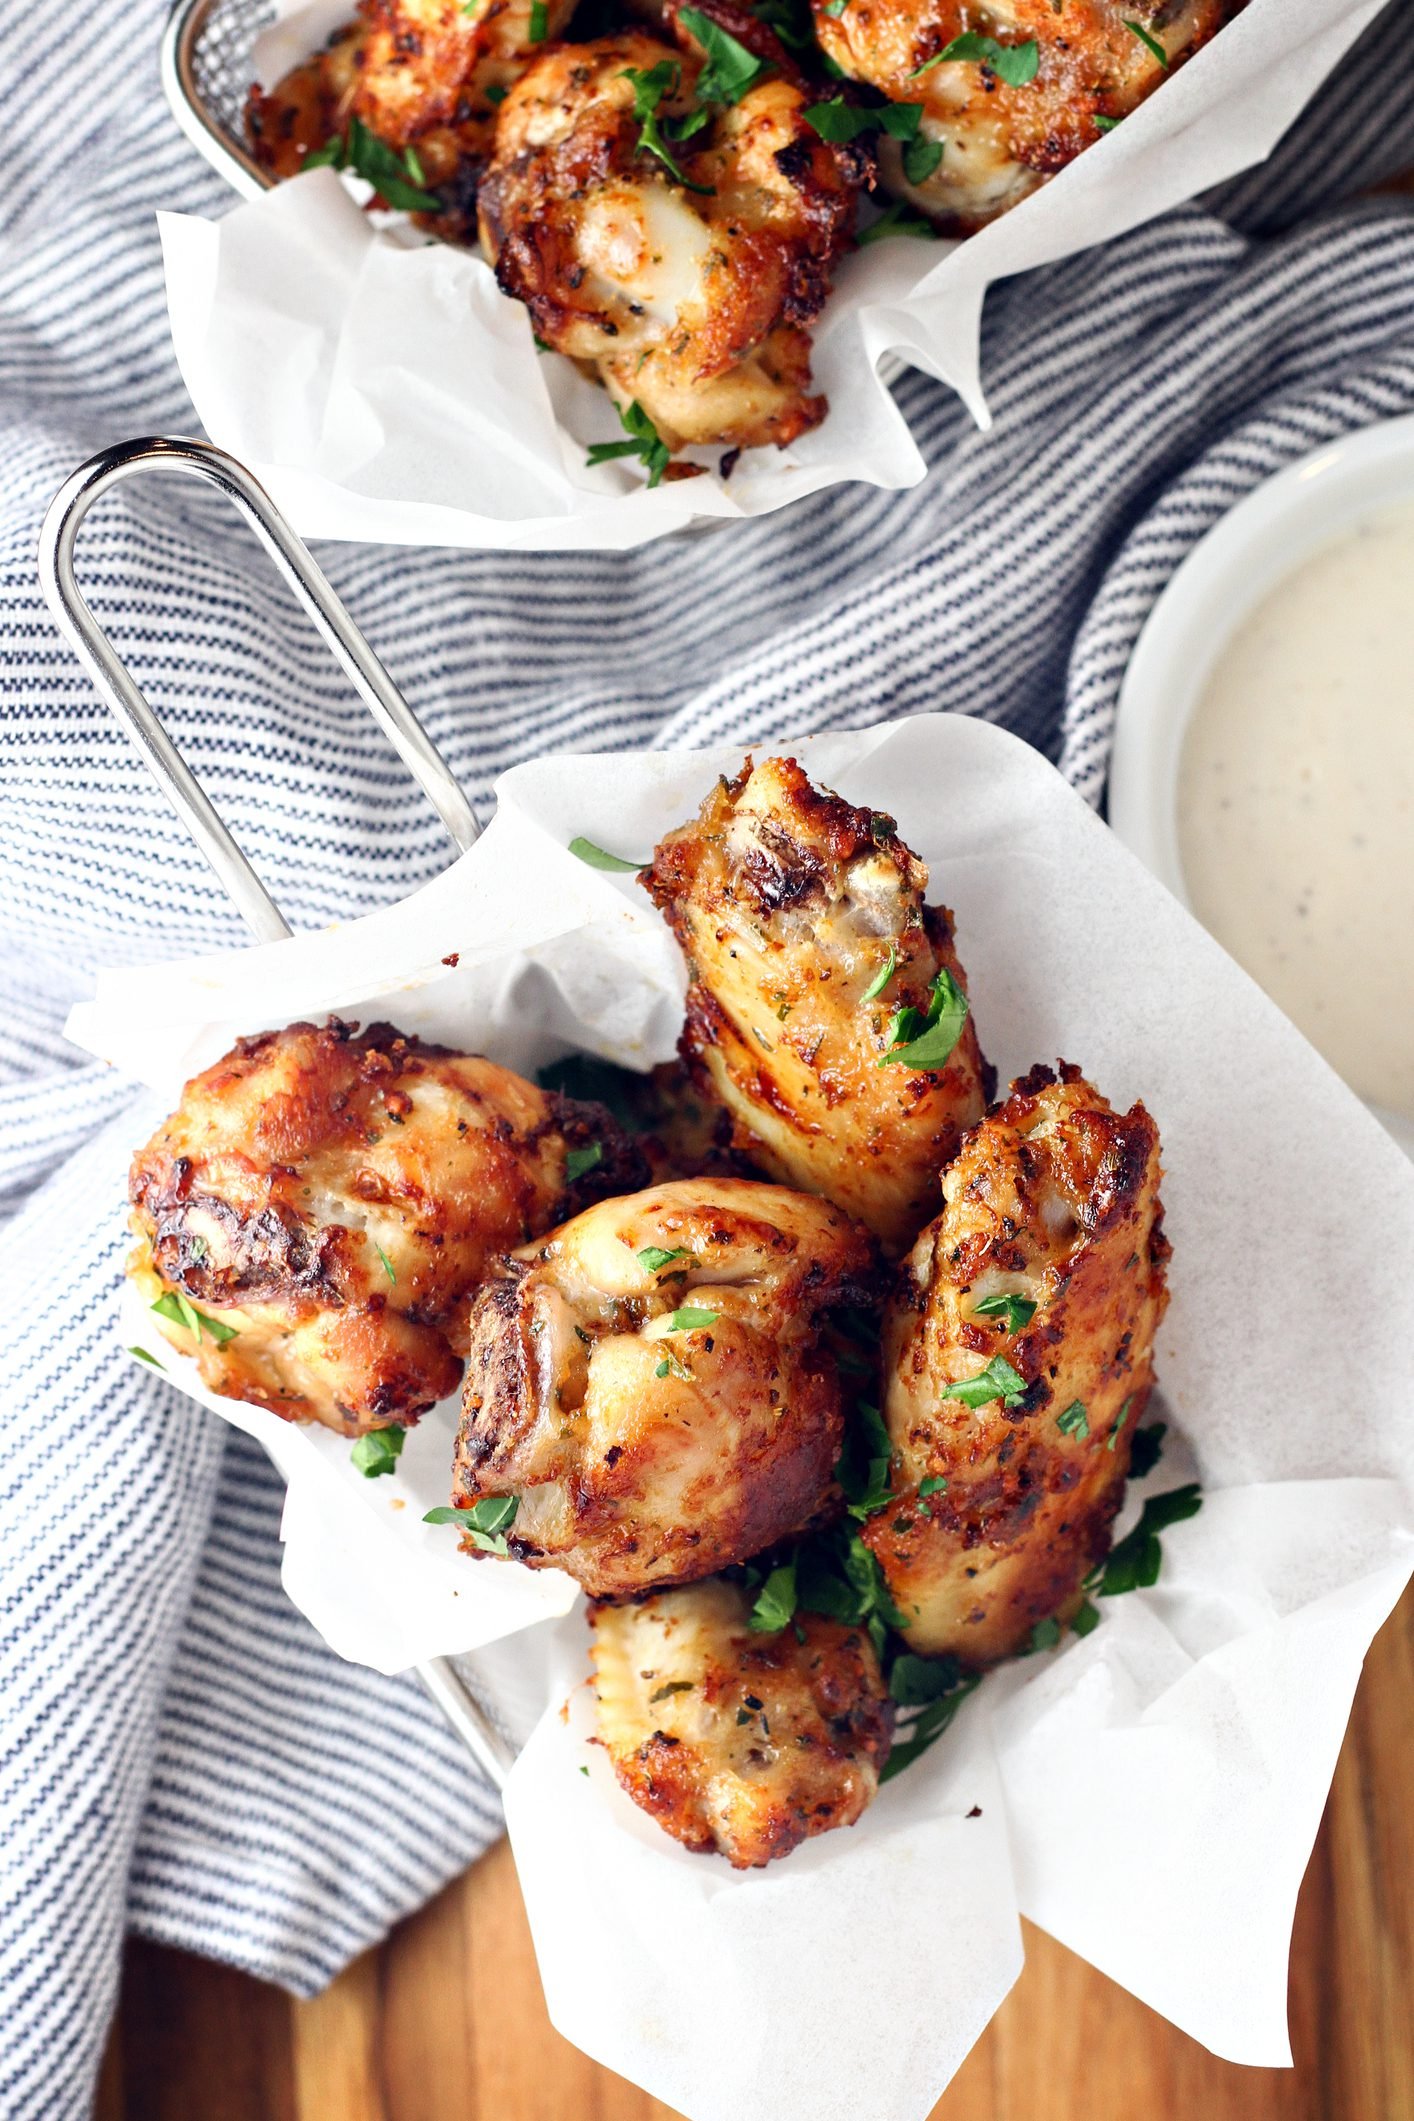
Step 8: Plate them up and serve with hot sauce, ranch, BBQ sauce — or all three, I’m not judging. Let them sit for two minutes before eating if you can stand it; the crust firms up just slightly.
Ways to Change It Up
Try this: Go honey heat — cut the cayenne down to half a teaspoon and toss the finished wings in a mix of two tablespoons honey and one teaspoon of hot sauce right before serving. The glaze hits the hot crust and gets just slightly sticky.
Try this: Add a tablespoon of cornstarch to the flour mixture for extra crunch. I stumbled on this by accident when I ran low on flour and topped it off with cornstarch. The crust came out noticeably crisper and crackled when I bit in.
Try this: Make it lemon pepper — swap the thyme for 2 teaspoons of lemon pepper seasoning and add the zest of one lemon to the flour. My sister thought it needed even more lemon, so feel free to push it.
Which would you go for? Drop it in the comments.
How to Serve It
Classic move: pile them on a big plate with a cup of ranch on the side and a bowl of celery sticks. Nothing needs to change about that.
For something more put-together, I’ve served them over a simple slaw — just shredded cabbage, a little apple cider vinegar, salt — and it cuts through the richness in a way that makes the whole thing feel like an actual meal.
Or go full game-day: hot sauce drizzle, pickled jalapeños on the side, cold drinks. That’s the version I make when more than four people are coming over.
What would you pair it with?
—
Storing It Without Ruining It
Fridge: let them cool completely first, then store in an airtight container. They’ll last about 3 days, but the crust softens — that’s just what happens, and no storage method fully stops it.
Freezer: yes, these freeze. Lay them flat on a baking sheet until solid, then transfer to a freezer bag. Good for up to 2 months. I’ve pushed it to 3 and they were fine, just slightly less crisp after reheating.
Reheating: oven at 400°F on a wire rack for about 12 minutes. Not the microwave. Please not the microwave — it turns the crust into something closer to wet cardboard than fried chicken.
An air fryer at 375°F for 8 minutes works even better if you have one. The crust comes back closer to fresh than anything else I’ve tried.
Have you ever saved leftovers like this? Tell me below!
Mistakes I Made So You Don’t Have To
I once skipped patting the wings dry because I was in a hurry and thought it probably didn’t matter that much. The steam came off the wings during frying, the coating blistered weirdly, and about half of it was sitting at the bottom of the pot by the time they were done. It mattered.
Overcrowding. Every single time I’ve put more than 5 wings in at once, the oil temperature tanks, the crust absorbs oil instead of crisping in it, and I end up with something greasy and soft. Four to five is the real number, not a suggestion.
Flipping too early — within the first two minutes — pulled the whole crust off several wings at once. The coating needs time to set against the oil before you disturb it. Wait at least 3 minutes. Set a timer if you’re the type to wander. Did something like this happen to you?
Questions I Actually Get About These Wings
Can I use an air fryer instead of deep frying? You can, and the wings will still be good — but the crust won’t be the same. Deep frying in oil at 350°F creates a kind of crust that circulating hot air just can’t fully replicate. But if deep frying isn’t an option, air fry at 400°F for about 20 minutes, flipping halfway. Spray the coated wings with a little oil first.
What oil works best? Vegetable or canola — high smoke point, neutral flavor. I tried peanut oil once and it was genuinely great, slightly nuttier in the background. But it depends on whether anyone eating has a nut allergy.
Can I marinate the wings in buttermilk overnight? Yes, and I’ve done it. About 8 hours in the buttermilk made the meat noticeably more tender. And the crust stuck better too — the surface of the chicken was more textured by the time I dredged it. Don’t go past 24 hours or the texture of the meat gets odd.
How do I know the oil is ready without a thermometer? Drop a small pinch of flour in. It should sizzle immediately and float to the surface within a second or two. If it sinks and just sits there, the oil isn’t ready. If it immediately turns brown, it’s too hot. I’ve used this method in a pinch, but honestly a cheap clip-on thermometer is worth the $8.
Can I make these gluten-free? I tried once with a 1:1 gluten-free flour blend. The crust was a little more fragile — it cracked in a few spots when I bit in — but the flavor was close. It depends on which blend you use; some hold together better than others.
Why are my wings still pale after 12 minutes? Oil temperature dropped, most likely. Too many wings in at once, or the oil wasn’t fully up to 350°F before you started. Give the oil 3 or 4 minutes to recover between batches. Also check your thermometer — mine read 30 degrees low for a full month before I figured that out.
Which answer helped you most?
Okay, go make these.
Crispy fried wings at home felt like a bigger project than it was, at least in my head before I actually did it a few times.
Dry the wings. Season the flour hard. Press the coating on. Let it rest. Don’t crowd the pot. Salt right out of the oil. That’s the whole thing, laid out flat.
Fun fact: Cayenne pepper is made from dried and ground red chili peppers, and it can be up to 8 times hotter by weight than a standard jalapeño — even a tablespoon in a large batch like this adds serious heat.
The first batch I got right, I stood at the counter and ate three wings before I even sat down. Not elegant. Worth it.
Will you make this soon? Drop a comment and let me know how they turned out — or what you changed, because honestly the variations are half the fun.
Happy cooking! —Marina Caldwell
Secrets Behind Perfectly Crunchy Southern Fried Wings
Ingredients
- 2 lbs chicken wings, patted dry
- 2 cups all-purpose flour
- 1 cup buttermilk
- 2 tablespoons paprika
- 1 tablespoon garlic powder
- 1 tablespoon onion powder
- 1 tablespoon cayenne pepper
- 2 teaspoons salt
- 1 teaspoon black pepper
- 1 teaspoon dried thyme
- Vegetable or canola oil for frying
- Hot sauce, ranch, or BBQ sauce for serving (optional)
Instructions
- 1Fill a heavy-bottomed pot or deep fryer with oil and bring to 350°F over medium-high heat
- 2Whisk together flour, paprika, garlic powder, onion powder, cayenne, salt, pepper, and thyme in a wide shallow bowl
- 3Add buttermilk to a separate shallow bowl alongside your seasoned flour
- 4Working one at a time, submerge each wing in buttermilk, letting excess drip off, then press firmly into the flour mixture until fully coated
- 5Gently lower the breaded wings into the hot oil in small batches to avoid overcrowding
- 6Fry 12-15 minutes, turning occasionally, until deeply golden and internal temperature hits 165°F
- 7Transfer wings using a slotted spoon onto a paper towel-lined rack to drain excess oil
- 8Immediately hit with an extra pinch of salt while the crust is still hot
- 9Plate and serve alongside your preferred dipping sauce
Notes
– Never skip patting the wings completely dry beforehand — moisture is the enemy of a truly crunchy crust – Fry in small batches of 4-5 wings to maintain consistent oil temperature and avoid soggy breading – Let coated wings rest for 5 minutes before frying so the flour adheres better and creates a thicker crust


