

I Burned the Sugar Four Times Before I Got It Right
Not singed. Burned. Black, bitter, smoking — the kind that makes you open a window and stand there feeling foolish.
The custard underneath was fine every single time. That’s what made it worse.
Crème brûlée has this reputation for being restaurant-only, precious, unapproachable. I bought into that for longer than I’d like to admit. I made it for the first time on a Tuesday in February with nothing else to do, fully expecting to fail at the whole thing — not just the top.
The custard worked. The torch did not cooperate.
I held the flame too close, moved it too slowly, and watched the sugar go from pale gold to char in about three seconds. I thought I needed more heat. I needed less time.
What the Cream Actually Does Here
Steep it. Don’t skip this part, and don’t rush it.
You heat 2 cups of heavy cream with a split vanilla bean — seeds scraped in, pod dropped in too — until it just barely simmers at the edges. Then you pull it off the heat and leave it alone for 15 minutes. The cream is doing something during those 15 minutes. It’s pulling everything out of that pod that hot cream can pull, which is more than you’d expect.
I thought about using extract once — actually no, I didn’t go through with it. The bean is worth it here. The extract would have worked but it wouldn’t have been the same thing.
After steeping, you’ll strain it anyway. So don’t worry about fishing the pod out cleanly. It comes out with everything else.
Quick tip: Don’t let the cream come to a full boil. A gentle simmer — small bubbles at the edges, not a rolling surface — is all you need. Boiling cream added to egg yolks too fast will scramble them before you’ve finished pouring.
The Eggs Go Pale Before Anything Else Happens
Five yolks. Half a cup of sugar. A quarter teaspoon of salt.
Whisk them together until the color shifts — from deep orange-yellow to something closer to cream. That takes about two minutes by hand if you mean it, maybe ninety seconds with a bit of speed. You’re not just mixing. You’re dissolving the sugar and introducing a little air, which affects the final texture in a way you’ll notice when you run a spoon through the finished custard.
The tempering comes next, and this is where most people get nervous.
Pour the warm cream in slowly. I mean a thin, steady stream — not a drizzle, not a dump. Whisk the whole time. The yolks need to come up to temperature gradually, not hit hot cream all at once. I’ve rushed this. The result was tiny yellow flecks floating through an otherwise smooth custard, which strained out fine but still bothered me every time I thought about it.
Strain everything through a fine-mesh sieve into a pourable container. Anything that didn’t temper properly stays in the strainer. The liquid that comes through should be smooth, pale, and smell like vanilla and something faintly eggy that will bake out completely.
The Water Bath Is Non-Negotiable
325°F. Four ramekins. A baking dish large enough to hold them without touching.
Pour the custard evenly between the ramekins — about the same depth in each so they bake at the same rate. Set the dish in the oven before adding the water, otherwise you’re carrying a pan of sloshing hot water across the kitchen. Pour the hot water in carefully, halfway up the sides of the ramekins.
Most recipes tell you to use boiling water from a kettle. I’ve used hot tap water when I forgot to boil any. It added maybe five minutes to the baking time and the custard came out identical. The point is just that the water can’t be cold.
35 to 40 minutes. The edges will look set — firm, not shiny. The center will still move when you nudge the pan.
That jiggle is correct. It firms up in the fridge. If it’s fully set in the oven, it’s overcooked, and you’ll know it when you eat it — slightly grainy, slightly rubbery at the edges. Still edible, but not what you made it for.
Pull the ramekins out of the water bath — carefully, they’re hot and wet — and let them cool on a rack before refrigerating. At least 4 hours. Overnight is easier.
The Torch Part — Which Is Where I Kept Failing
One teaspoon of sugar per ramekin, spread as evenly as possible across the surface.
Thin layer. You want it to melt and caramelize quickly and evenly, not pool in patches and burn in spots while other areas stay white. Tipping the ramekin to spread the sugar works better than using a spoon.
Hold the torch about two inches from the surface — maybe three — and keep it moving in small circles. Don’t stop. The sugar goes from white to pale amber to deep gold in under a minute when you do this right, and the window between golden and black is genuinely narrow. I’ve set a timer before, just so I’d have something to focus on that wasn’t panic.
Honestly? The first time it works properly — that crack when you tap it with a spoon — is one of the better cooking moments. Low bar, maybe. But still.
Let it sit one to two minutes before serving. The caramel needs to harden. If you crack it immediately, it’s still soft in places and the whole point is the contrast between that shell and what’s underneath.

The Night My Neighbor Came Over
I had four ramekins cooling in the fridge and my neighbor Dani knocked on the door around 7pm, which I wasn’t expecting.
I torched them in front of her, which felt slightly performative, but she watched with the kind of attention that made it feel worth doing slowly. She said the smell when the sugar caramelized — that sharp, almost smoky sweetness — was the best part.
She was right, actually.
I’d never paid attention to the smell before. I was always too focused on the color. After that night I started going a little slower with the torch, which fixed the burning problem I’d been fighting for months. Still not sure why watching someone else watch me do it made the difference, but it did.
I still slightly underbaked the custard that batch — it was a shade too loose in the very center — and I served it anyway without saying anything. Dani didn’t notice or didn’t mention it.
Step by Step
Step 1: Preheat your oven to 325°F (160°C). Set out four 6-ounce ramekins in a deep baking dish — a roasting pan works well — and have a kettle of hot water ready nearby.
Step 2: Combine 2 cups of heavy cream with the scraped seeds from one vanilla bean and the pod itself in a small saucepan over medium heat. Watch for small bubbles to appear at the edges — that’s your signal to pull it off. Remove from heat and let the cream steep for 15 minutes. (Don’t walk away during heating and forget it. I’ve done this and the cream boiled over. The cleanup is not worth the distraction.)
Step 3: In a medium bowl, whisk together 5 egg yolks, ½ cup of granulated sugar, and ¼ teaspoon of salt. Keep whisking until the mixture lightens in color and thickens slightly — about 2 minutes. It should fall from the whisk in a slow ribbon.
Step 4: Pour the steeped cream slowly into the yolk mixture in a thin, steady stream while whisking constantly. Don’t stop whisking and don’t pour fast — the goal is to raise the temperature of the yolks gently, not cook them. The combined mixture should look smooth and uniform.
Step 5: Strain the custard through a fine-mesh sieve into a large measuring cup or pitcher — something with a spout makes pouring into ramekins much cleaner. Discard what stays in the strainer.
Step 6: Pour the custard evenly into your four ramekins. Carry the baking dish — with ramekins inside — to the oven shelf before pouring hot water into the dish. Fill to halfway up the sides of the ramekins. This saves you from the terrifying walk across the kitchen with a full water bath sloshing around. Did you ever try carrying a full water bath across the kitchen and regret it immediately? Share below!
Step 7: Bake for 35 to 40 minutes. The edges should be set with only a small circle of jiggle remaining in the very center. Start checking at 35 minutes. Every oven is different and mine runs about 5 degrees hot, so I pulled these at exactly 36 minutes.
Step 8: Lift the ramekins carefully out of the water bath using a towel or tongs. Cool on a wire rack until no longer hot to the touch, then refrigerate uncovered for at least 4 hours. Overnight gives you more flexibility and, honestly, a slightly firmer set.
Step 9: When ready to serve, blot any condensation off the surface of each custard with a paper towel. Sprinkle 1 teaspoon of granulated sugar over each one and tilt the ramekin to spread it into an even layer. Use a kitchen torch in steady, small circles about 2–3 inches from the surface until the sugar melts and turns deep amber. Let sit 1 to 2 minutes before serving.
Ways to Change It Up
Try this: Swap the vanilla bean for a cinnamon stick and two cardamom pods steeped in the cream. The custard comes out with a faint spice underneath the caramel that works better than you’d expect in colder months.
Try this: Add a tablespoon of instant espresso powder to the cream while heating. It dissolves completely and the coffee flavor stays subtle — not coffee custard exactly, just something slightly darker and more interesting underneath the sugar crust.
Try this: Use a mix of half heavy cream and half coconut cream. The vanilla still comes through but the finish is slightly richer and there’s a faint coconut note that doesn’t announce itself loudly.
Which would you go for? Drop it in the comments.
How to Serve It
Serve each ramekin on a small plate with nothing else on it. The dessert doesn’t need company — adding fruit or sauce beside it just pulls attention from the one thing you worked for, which is that caramel surface.
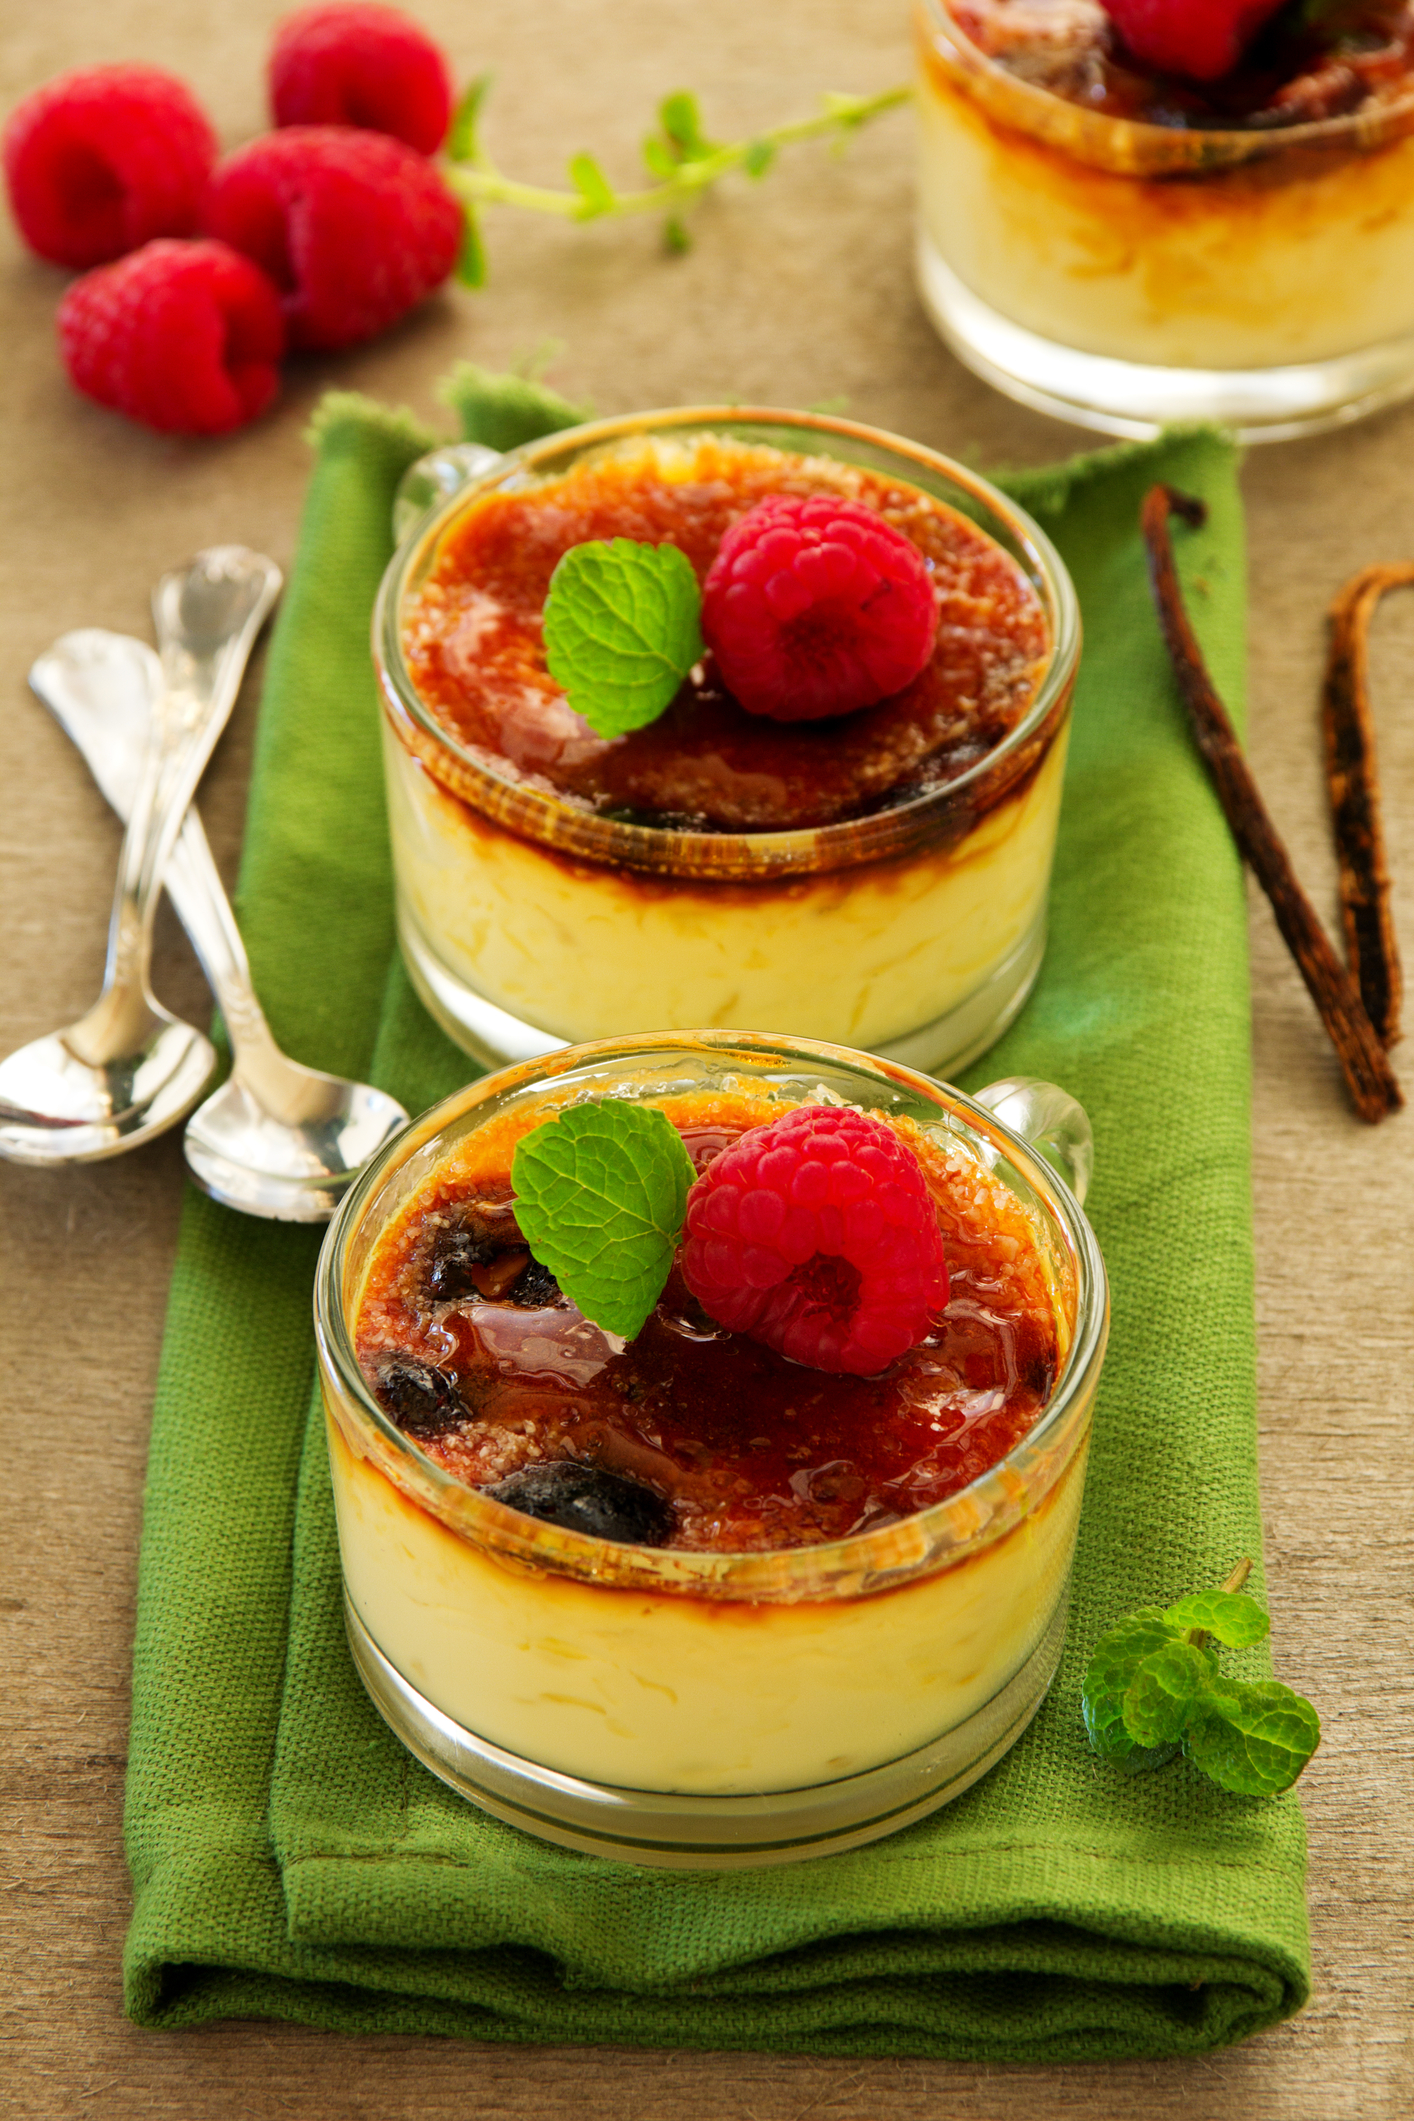
If you want something alongside, a few raspberries placed on the plate — not on the custard — give you a tartness that cuts through the richness without competing. Three or four. Not a pile.
Serve immediately after torching. Don’t torch ahead of time and let it sit on the counter. The caramel softens as it absorbs moisture and within 20 minutes it’s no longer a shell — it’s a sticky film, which is a different and disappointing experience.
What would you pair it with?
Storing It Without Ruining It
Unbrûléed custard keeps in the fridge for up to 3 days, covered tightly with plastic wrap pressed directly against the surface. If air gets in, a skin forms on top and you’ll have to skim it off before torching, which works but isn’t ideal.
Don’t torch and then store. Once the caramel cools and sits, it draws moisture from the custard and turns soft and sticky. There’s no recovering it after that point.
Freezing the custard is technically possible — I tried it once, wrapped individual ramekins in plastic and foil and froze them for about two weeks. The texture when thawed was slightly grainy at the edges. Not inedible. Not what it was supposed to be, either.
Reheating isn’t really a thing with crème brûlée. You eat it cold from the fridge, caramel applied just before. That’s the whole structure of it. If you want it slightly less cold, leave the ramekin out for 10 minutes before torching — the custard will be closer to room temperature by the time the caramel sets.
Have you ever saved leftovers like this? Tell me below!
Mistakes I Made So You Don’t Have To
I once poured the hot cream into the eggs all at once — full stream, not a drizzle — because I was impatient and thought people exaggerated the risk. They don’t. The eggs scrambled partially. The strained custard looked fine but baked with a faint curdled edge on two of the four ramekins.
I skipped blotting the condensation before sugaring once. The moisture dissolved the sugar before the torch could caramelize it, and I ended up with a wet, sandy surface that never fully hardened. I sprinkled more sugar on top of that mess and tried again. It worked the second time but the layer was too thick and tasted mostly of straight sugar.
I pulled the custards from the oven too early — the jiggle in the center looked right but the very edges weren’t fully set. After four hours in the fridge, they were still slightly loose all the way through. Edible, but they slid around in the ramekin when I tried to tap the caramel, which made the whole thing feel precarious. Did something like this happen to you?
Questions That Actually Come Up
Can I make this without a kitchen torch?
You can try the broiler — rack positioned at the very top, ramekins as close to the element as they’ll go, door cracked. It takes about 3 to 5 minutes and you have to watch constantly. I tried this once and two of the four caramelized unevenly, with dark spots on one side. The torch gives you control the broiler doesn’t. But it works in a pinch.
How do I know when the custard is done baking?
Gently shake the pan. The outer inch should be completely still. The center — maybe the size of a quarter — should wobble like Jell-O that hasn’t fully set. If the whole surface ripples, it needs more time. And if nothing moves at all, it’s overbaked. About 37 minutes is where mine usually lands.
Can I use vanilla extract instead of a vanilla bean?
Yes. Use 1 teaspoon of good extract, added after you remove the cream from heat. The flavor will be slightly flatter — vanilla bean has a depth that extract approximates but doesn’t quite reach. It depends on whether you have a bean on hand and whether you care about the difference. I usually care. Sometimes I don’t.
What size ramekins should I use?
Six-ounce ramekins are standard for this recipe. Smaller ones will bake faster — start checking at 28 minutes. Larger ones need more time and the center may still be slightly underdone at 40 minutes. But the depth of the custard matters more than the diameter. You want it about an inch deep.
Why did my caramel turn soft after a few minutes?
Moisture. Either there was condensation on the custard surface, the sugar layer was too thick, or the kitchen is very humid. Four days of this in July taught me to torch and serve immediately. And blot the surface first. Always.
Can I make these ahead for a dinner party?
The custards, yes — up to 3 days ahead, stored covered in the fridge. The torching has to happen right before you serve them. Don’t torch in the morning and pull them out at dinner. You’ll serve soft caramel, which is just warm sugar, which is not the point. Which answer helped you most?
A Few Last Things
This is not a fast recipe. Four hours minimum, and that’s if you started the custard early and the fridge is cooperating. Plan for overnight and remove any time pressure from the equation entirely.
The ingredients are short — cream, yolks, sugar, vanilla, salt — which means there’s nowhere to hide if something goes wrong. Overcooked custard is overcooked. Burned sugar is burned. You’ll notice both.
I’ve made this probably a dozen times now and I still check the custard at 33 minutes out of anxiety, even though I know it’s never done that early. Some habits don’t leave even when you know better.
Fun fact: Vanilla beans come from orchids — specifically Vanilla planifolia — and the plant’s flowers are only open for a single day, during which they must be hand-pollinated. Most commercial vanilla is grown in Madagascar for this reason, where the labor is managed carefully enough to make it economically viable. Which is part of why a single bean costs what it does.
Will you make this soon?
I still haven’t figured out whether my oven runs hot enough to pull these at 35 minutes flat, or whether 37 is just where it lands every time because of the ramekins I’m using. I’ve made notes. The notes don’t fully agree with each other.
Happy cooking! —Marina Caldwell
Silky Custard Caramel Classic Crème Brûlée Recipe
Ingredients
- 2 cups heavy cream
- 1 vanilla bean, split and scraped
- 5 egg yolks
- 1/2 cup granulated sugar, plus more for topping
- 1/4 teaspoon salt
Instructions
- 1Preheat oven to 325°F (160°C).
- 2Heat heavy cream with vanilla bean and scraped seeds in a saucepan over medium heat until it reaches a gentle simmer. Remove from heat and let steep for 15 minutes.
- 3Whisk egg yolks with 1/2 cup sugar and salt in a bowl until pale and thick, about 2 minutes.
- 4Slowly pour the warm cream into the egg mixture while whisking constantly to temper the yolks.
- 5Strain the custard through a fine-mesh sieve to remove lumps and vanilla bean pieces.
- 6Pour custard evenly into 4 ramekins.
- 7Place ramekins in a large baking dish and fill the dish with hot water halfway up the sides of the ramekins to create a water bath.
- 8Bake for 35-40 minutes until custard is set around edges but still slightly jiggles in the center.
- 9Remove ramekins from water bath and refrigerate for at least 4 hours or overnight.
- 10Before serving, sprinkle 1 teaspoon sugar evenly over each custard.
- 11Use a kitchen torch to caramelize the sugar until golden brown and crispy.
- 12Let cool for 1-2 minutes before serving.
Notes
See full recipe for nutritional information.


